The Android multimedia framework includes support for playing variety of common media types, so that you can easily integrate audio, video and images into your applications using MediaPlayer APIs. Android MediaPlayer class can be used to control playback of audio/video files and streams.
So, in this example, we will make a Media Player Activity that can play an mp3 audio file, from the media files stored in the application’s resources (raw resources), in portrait view, that we can pause, resume, go forwards and backwards in time. At the same time, the seek bar will change its position, and the text view that presents the time elapsed will continuously change.
For this tutorial, we will use the following tools in a Windows 64-bit platform:
- JDK 1.7
- Eclipse 4.2 Juno
- Android SDK 4.4.2
Let’s take a closer look:
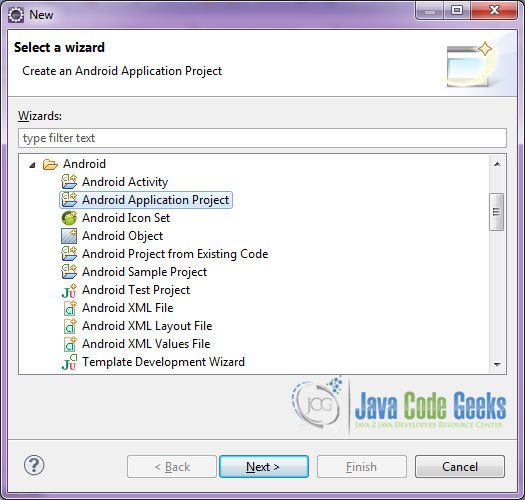
1. Create a New Android Application Project
You may skip project creation and jump directly to the beginning of the example below.
Open Eclipse IDE and go to File → New → Project → Android Application Project.
Specify the name of the application, the project and the package and then click Next.
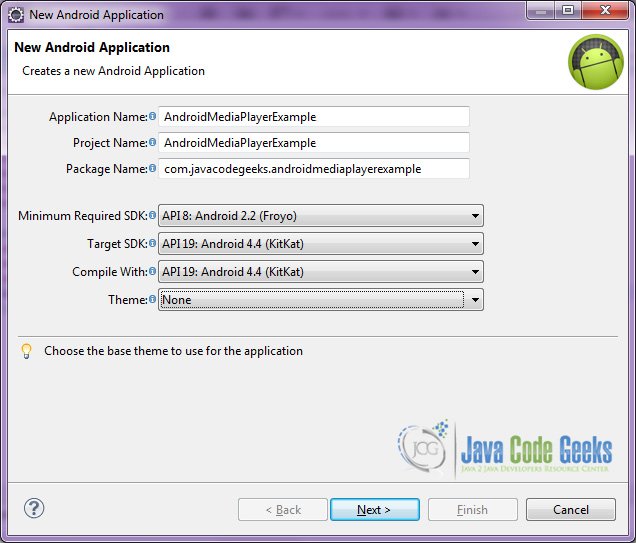
Figure 2. Create a new Android project name
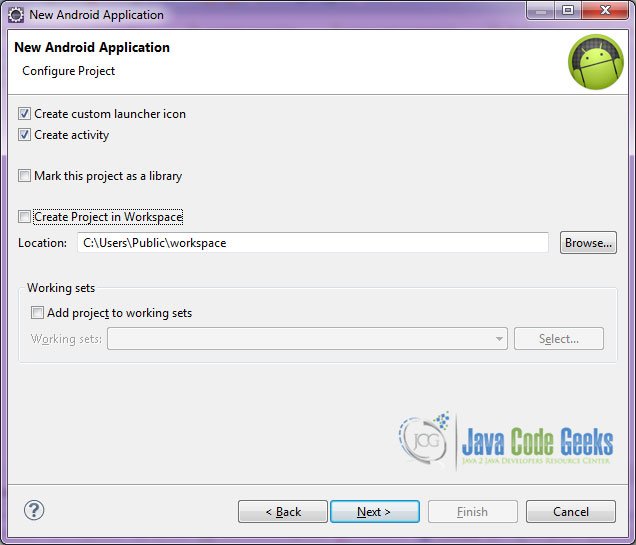
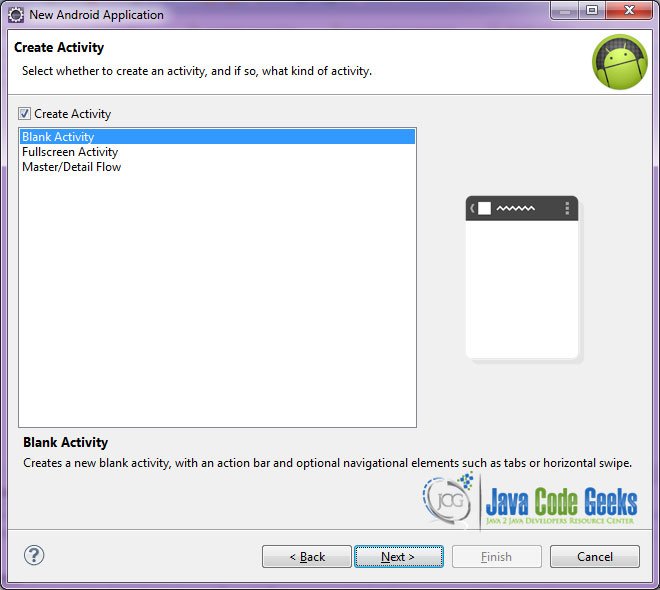
In the next window, the “Create Activity” option should be checked. The new created activity will be the main activity of your project. Then press Next button.
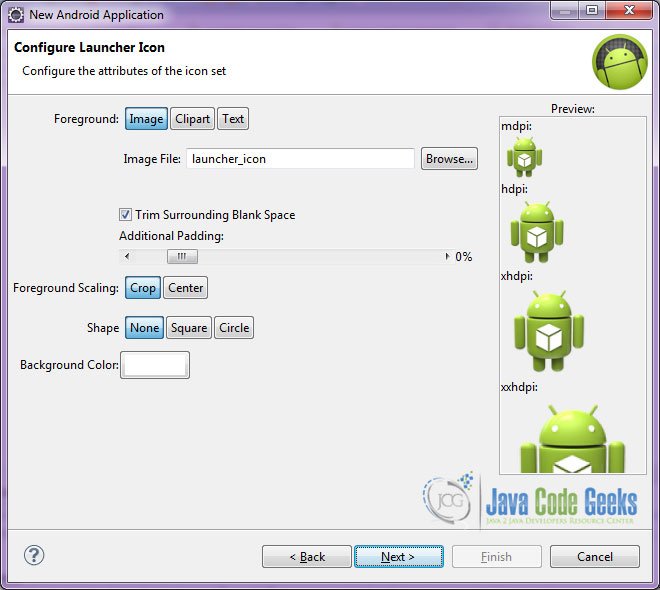
In “Configure Launcher Icon” window you should choose the icon you want to have in your app. We will use the default icon of android, so click Next.
Select the “Blank Activity” option and press Next.
You have to specify a name for the new Activity and a name for the layout description of your app. The .xml file for the layout will automatically be created in the res/layout folder. It will also be created a fragment layout xml, that we are not going to use in this project and you can remove it if you want. Then press Finish.

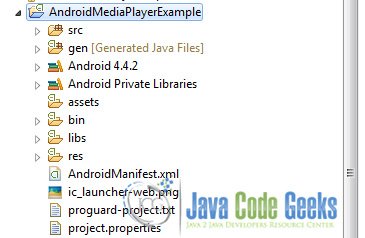
You can see the structure of the project:
2. Creating the layout of the main Activity
We are going to make a very simple layout xml for our activity, that only consists of a LinearLayout that contains the graphical elements for our Media Player.
Open res/layout/activity_main.xml, go to the respective xml tab and paste the following:
activity_main.xml
<LinearLayout xmlns:android="http://schemas.android.com/apk/res/android"
    xmlns:tools="http://schemas.android.com/tools"
    android:id="@+id/container"
    android:layout_width="match_parent"
    android:layout_height="match_parent"
    android:layout_gravity="center"
    android:background="#333333"
    android:orientation="vertical"
    android:paddingBottom="@dimen/activity_vertical_margin"
    android:paddingLeft="@dimen/activity_horizontal_margin"
    android:paddingRight="@dimen/activity_horizontal_margin"
    android:paddingTop="@dimen/activity_vertical_margin" >

    <TextView
        android:id="@+id/songName"
        android:layout_width="wrap_content"
        android:layout_height="wrap_content"
        android:layout_gravity="center"
        android:text="songName" />

    <ImageView
        android:id="@+id/mp3Image"
        android:layout_width="match_parent"
        android:layout_height="200dp"
         android:padding="30dp"
        android:src="@drawable/music"
        android:background="#ffffff"
        android:layout_margin="30dp" />

    <TextView
        android:id="@+id/songDuration"
        android:layout_width="wrap_content"
        android:layout_height="wrap_content"
        android:layout_gravity="center"
        android:text="songDuration" />

    <SeekBar
        android:id="@+id/seekBar"
        android:layout_width="match_parent"
        android:layout_height="wrap_content" />

    <LinearLayout
        android:layout_width="match_parent"
        android:layout_height="match_parent"
        android:layout_marginTop="30dp"
        android:gravity="center_horizontal"
        android:orientation="horizontal" >

        <ImageButton
            android:id="@+id/media_rew"
            android:layout_width="wrap_content"
            android:layout_height="wrap_content"
            android:layout_marginLeft="14dp"
            android:onClick="rewind"
            android:src="@android:drawable/ic_media_rew" />

        <ImageButton
            android:id="@+id/media_pause"
            android:layout_width="wrap_content"
            android:layout_height="wrap_content"
            android:layout_marginLeft="14dp"
            android:onClick="pause"
            android:src="@android:drawable/ic_media_pause" />

        <ImageButton
            android:id="@+id/media_play"
            android:layout_width="wrap_content"
            android:layout_height="wrap_content"
            android:layout_marginLeft="14dp"
            android:onClick="play"
            android:src="@android:drawable/ic_media_play" />

        <ImageButton
            android:id="@+id/media_ff"
            android:layout_width="wrap_content"
            android:layout_height="wrap_content"
            android:layout_marginLeft="14dp"
            android:onClick="forward"
            android:src="@android:drawable/ic_media_ff" />
    </LinearLayout>

</LinearLayout>
You can notice that we will use the smart android:onClick attribute from the xml, in order to avoid setting onTouch listeners in the main Android Java Code. The onClick attribute describes which method is going to “catch” this event.
Also, do not forget to insert a sound clip in the res/raw folder of the project. We have dragged and dropped the sample_song.mp3 file.

We have also added an image jpg file, in res/drawable folders of the project. This image is used as a background source of an ImageView in our layout xml file.
3. Creating the source code of the main Activity
Open src/com.javacodegeeks.androidmediaplayerexample/AndroidMediaPlayerExample.java file and paste the code below.
AndroidMediaPlayerExample.java
package com.javacodegeeks.androidmediaplayerexample;

import java.util.concurrent.TimeUnit;

import android.app.Activity;
import android.media.MediaPlayer;
import android.os.Bundle;
import android.os.Handler;
import android.view.View;
import android.widget.SeekBar;
import android.widget.TextView;

public class AndroidMediaPlayerExample extends Activity {

	private MediaPlayer mediaPlayer;
	public TextView songName, duration;
	private double timeElapsed = 0, finalTime = 0;
	private int forwardTime = 2000, backwardTime = 2000;
	private Handler durationHandler = new Handler();
	private SeekBar seekbar;

	@Override
	protected void onCreate(Bundle savedInstanceState) {
		super.onCreate(savedInstanceState);

		//set the layout of the Activity
		setContentView(R.layout.activity_main);

		//initialize views
		initializeViews();
	}

	public void initializeViews(){
		songName = (TextView) findViewById(R.id.songName);
		mediaPlayer = MediaPlayer.create(this, R.raw.sample_song);
		finalTime = mediaPlayer.getDuration();
		duration = (TextView) findViewById(R.id.songDuration);
		seekbar = (SeekBar) findViewById(R.id.seekBar);
		songName.setText("Sample_Song.mp3");

		seekbar.setMax((int) finalTime);
		seekbar.setClickable(false);
	}

	// play mp3 song
	public void play(View view) {
		mediaPlayer.start();
		timeElapsed = mediaPlayer.getCurrentPosition();
		seekbar.setProgress((int) timeElapsed);
		durationHandler.postDelayed(updateSeekBarTime, 100);
	}

	//handler to change seekBarTime
	private Runnable updateSeekBarTime = new Runnable() {
		public void run() {
			//get current position
			timeElapsed = mediaPlayer.getCurrentPosition();
			//set seekbar progress
			seekbar.setProgress((int) timeElapsed);
			//set time remaing
			double timeRemaining = finalTime - timeElapsed;
			duration.setText(String.format("%d min, %d sec", TimeUnit.MILLISECONDS.toMinutes((long) timeRemaining), TimeUnit.MILLISECONDS.toSeconds((long) timeRemaining) - TimeUnit.MINUTES.toSeconds(TimeUnit.MILLISECONDS.toMinutes((long) timeRemaining))));

			//repeat yourself that again in 100 miliseconds
			durationHandler.postDelayed(this, 100);
		}
	};

	// pause mp3 song
	public void pause(View view) {
		mediaPlayer.pause();
	}

	// go forward at forwardTime seconds
	public void forward(View view) {
		//check if we can go forward at forwardTime seconds before song endes
		if ((timeElapsed + forwardTime)  0) {
			timeElapsed = timeElapsed - backwardTime;

			//seek to the exact second of the track
			mediaPlayer.seekTo((int) timeElapsed);
		}
	}

}
Let’s see in detail the code above.

We set the activity_main.xml layout and we initialize our basic views by:
setContentView(R.layout.activity_main);
initializeViews();
With mediaPlayer.start(); we can start the audio playback, and with timeElapsed = mediaPlayer.getCurrentPosition(); we can take the exact milliseconds in order to set the seekbar progress seekbar.setProgress((int) timeElapsed);
	// play mp3 song
	public void play(View view) {
		mediaPlayer.start();
		timeElapsed = mediaPlayer.getCurrentPosition();
		seekbar.setProgress((int) timeElapsed);
		durationHandler.postDelayed(updateSeekBarTime, 100);
	}
You can also learn more about Android SeekBar in the JavaCodeGeeks Android SeekBar Example.
As you can see, we use a Handler in order to continuously update the seekbar progress and the time remaining duration. In order to achive this we have added the method:
	//handler to change seekBarTime
	private Runnable updateSeekBarTime = new Runnable() {
		public void run() {
			//get current position
			timeElapsed = mediaPlayer.getCurrentPosition();
			//set seekbar progress
			seekbar.setProgress((int) timeElapsed);
			//set time remaing
			double timeRemaining = finalTime - timeElapsed;
			duration.setText(String.format("%d min, %d sec", TimeUnit.MILLISECONDS.toMinutes((long) timeRemaining), TimeUnit.MILLISECONDS.toSeconds((long) timeRemaining) - TimeUnit.MINUTES.toSeconds(TimeUnit.MILLISECONDS.toMinutes((long) timeRemaining))));

			//repeat yourself that again in 100 miliseconds
			durationHandler.postDelayed(this, 100);
		}
	};
This method is continuously executed, with a delay of 100 milliseconds. You can also learn more about Android Handler in the JavaCodeGeeks Android Handler Example.
We alse move our current playback back position forwards and backwards, but we should in the first place check if this move is valid by:
// go forward at forwardTime seconds
	public void forward(View view) {
		//check if we can go forward at forwardTime seconds before song endes
		if ((timeElapsed + forwardTime) <= finalTime) {
			timeElapsed = timeElapsed + forwardTime;

			//seek to the exact second of the track
			mediaPlayer.seekTo((int) timeElapsed);
		}
	}
4. Android Manifest
The AndroidManifest.xml of our project is simple and basic. We have only blocked our orientation to portait by adding the line: android:screenOrientation="portrait"
AndroidManifest.xml
<?xml version="1.0" encoding="utf-8"?>
<manifest xmlns:android="http://schemas.android.com/apk/res/android"
    package="com.javacodegeeks.androidmediaplayerexample"
    android:versionCode="1"
    android:versionName="1.0" >

    <uses-sdk
        android:minSdkVersion="8"
        android:targetSdkVersion="19" />

    <application
        android:allowBackup="true"
        android:icon="@drawable/ic_launcher"
        android:label="@string/app_name" >
        <activity
            android:name="com.javacodegeeks.androidmediaplayerexample.AndroidMediaPlayerExample"
            android:screenOrientation="portrait"
            android:label="@string/app_name" >
            <intent-filter>
                <action android:name="android.intent.action.MAIN" />
                <category android:name="android.intent.category.LAUNCHER" />
            </intent-filter>
        </activity>
    </application>

</manifest>
5. Build, compile and run
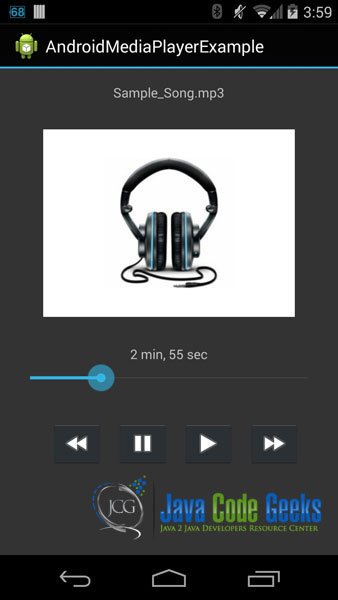
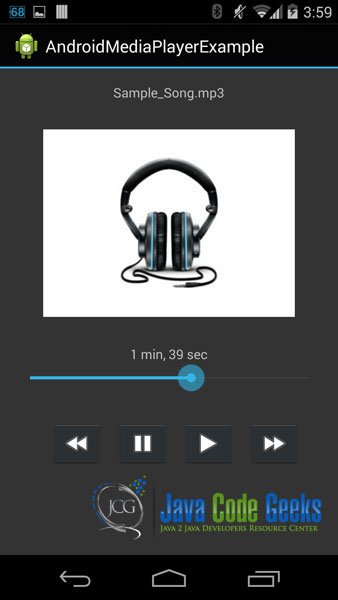
When we build, compile and run our project, the main Activity should look like this:
Download the Eclipse Project
This was an example of Android MediaPlayer.
You can download the full source code of this example here: AndroidMediaPlayerExample.zip

How do we import other musics into this player?