When we want to create an Android application that has an Android Activity inside of which we are planning to play a sound sample, we should consider in the first place Android SoundPool class.The SoundPool class manages and plays audio resources for applications.
The SoundPool helps developers to make a collection of samples, to load them into memory, not only from a resource of the application APK, but also from a folder in the file system. In a closer look, the SoundPool class uses the MediaPlayer service to decode the audio into a raw 16-bit PCM mono or stereo stream and play the sound with very low latency, thus helping the CPU not suffer from the load of decompress effort.
Additionally, SoundPool class can help us manage the number of audio streams being rendered at once. SoundPool loads the sound asynchronously but till Android API level 8, we could not be sure whether the sound had been loaded correctly. This is why we should check if the sample is loaded in the OnLoadCompleteListener.
So, in this example we are going to create an application which plays, plays in a loop, stops, and pauses a beeping sound using the Android SoundPool.class.
For this tutorial, we will use the following tools in a Windows 64-bit platform:
- JDK 1.7
- Eclipse 4.2 Juno
- Android SDK 4.4
Let’s take a closer look:
1. Create a New Android Application Project
You may skip project creation and jump directly to the beginning of the example below.
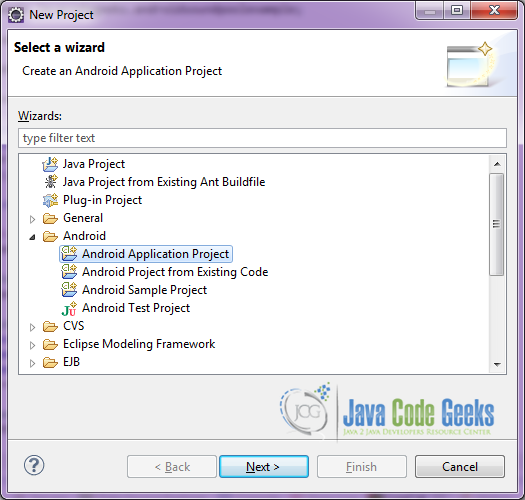
Open Eclipse IDE and go to File → New → Project → Android Application Project.
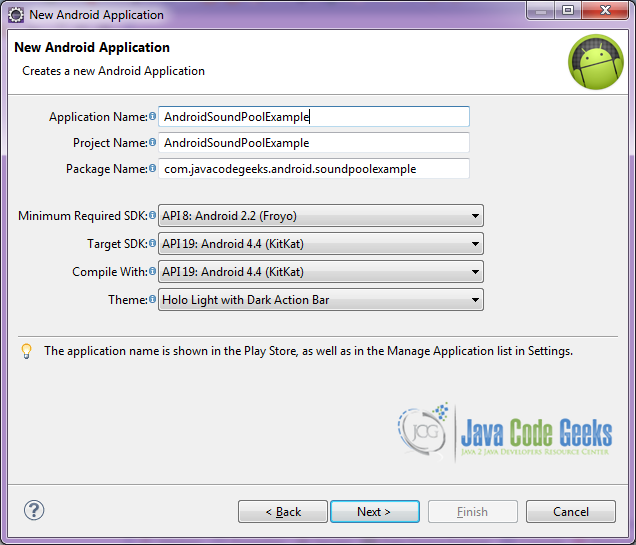
Specify the name of the application, the project and the package and then click Next.
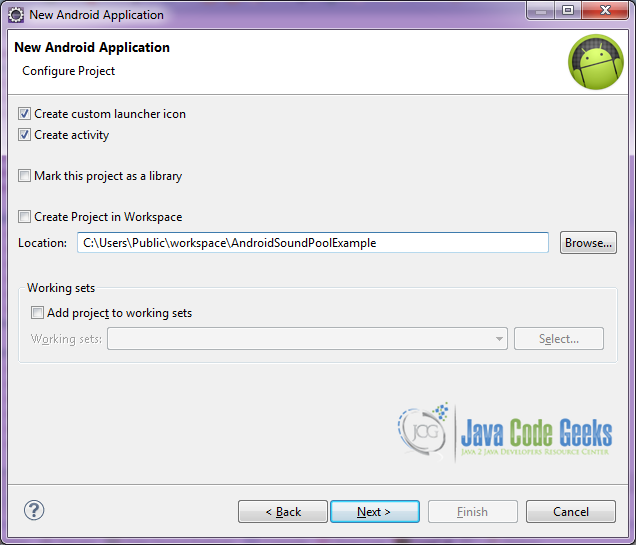
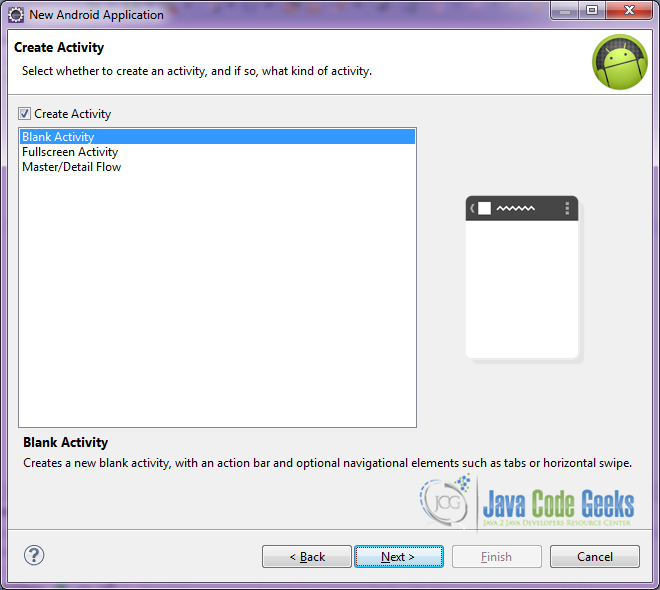
In the next window, the “Create Activity” option should be checked. The new created activity will be the main activity of your project. Then press Next button.
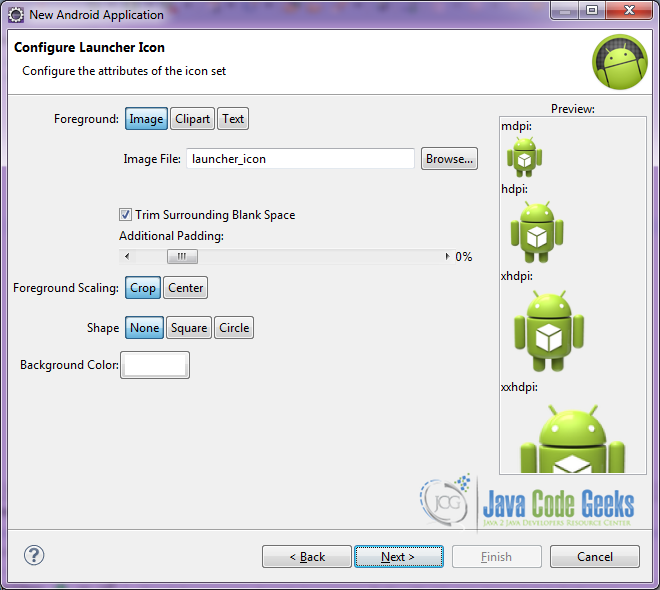
In “Configure Launcher Icon” window you should choose the icon you want to have in your app. We will use the default icon of android, so click Next.
Select the “Blank Activity” option and press Next.
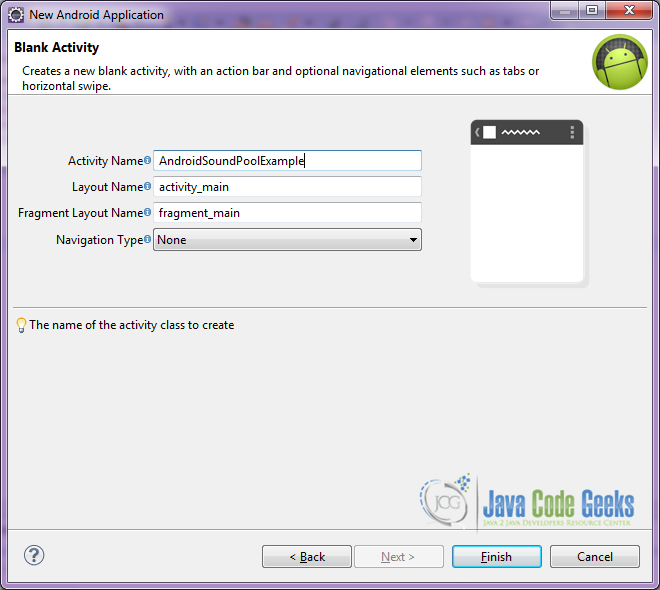
You have to specify a name for the new Activity and a name for the layout description of your app. The .xml file for the layout will automatically be created in the res/layout folder. It will also be created a fragment layout xml, that we are not going to use in this project and you can remove it if you want. Then press Finish.
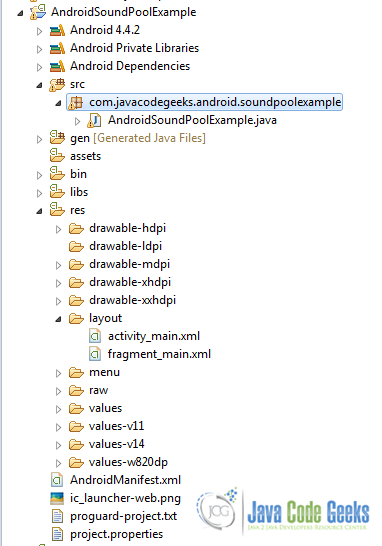
You can see the structure of the project:
2. Creating the layout of the main Activity
We are going to make a simple layout xml, that will have four buttons, each one for each action of the AndroidSoundPool example. These buttons, as well as the TextView title “Press:” will be inside a LinearLayout, so that all these components can align vertically and match their parent size in width.
Open res/layout/activity_main.xml, go to the respective xml tab and paste the following:
activity_main.xml
<?xml version="1.0" encoding="utf-8"?>
 <FrameLayout xmlns:android="http://schemas.android.com/apk/res/android"
   android:layout_width="fill_parent"
   android:layout_height="fill_parent"
   android:layout_gravity="center" >

     <LinearLayout
       android:layout_width="match_parent"
       android:layout_height="wrap_content"
       android:orientation="vertical" >

          <TextView
            android:id="@+id/textView1"
            android:layout_width="fill_parent"
            android:layout_height="fill_parent"
            android:layout_marginTop="20dp"
            android:gravity="center"
            android:text="Press:" >
          </TextView>

          <Button
            android:id="@+id/play"
            android:layout_width="match_parent"
            android:layout_height="wrap_content"
            android:layout_marginTop="5dp"
            android:onClick="playSound"
            android:text="Play" />

          <Button
            android:id="@+id/playloop"
            android:layout_width="match_parent"
            android:layout_height="wrap_content"
            android:layout_marginTop="5dp"
            android:onClick="playLoop"
            android:text="Play loop" />

         <Button
            android:id="@+id/pause"
            android:layout_width="match_parent"
            android:layout_height="wrap_content"
            android:layout_marginTop="5dp"
            android:onClick="pauseSound"
            android:text="Pause" />

         <Button
            android:id="@+id/stop"
            android:layout_width="match_parent"
            android:layout_height="wrap_content"
            android:layout_marginTop="5dp"
            android:onClick="stopSound"
            android:text="Stop" />

    </LinearLayout>
</FrameLayout>
You can notice that we will use the smart android:onClick attribute from the xml, in order to avoid setting onTouch listeners in the main Android Java Code. The onClick attribute describes which method is going to “catch” this event.
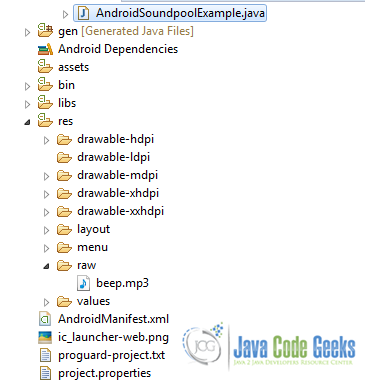
Also, do not forget to insert a sound clip in the res/raw folder of the project. We have dragged and dropped the beep.mp3 file.
3. Creating the source code of the main Activity
From the xml code above we can see that each button has an onClick attribute. In this code we are going to give functionality to each method that is called when we press the buttons created in the xml.
Open src/com.javacodegeeks.android.soundpoolexample/AndroidSoundPoolExample.java file and paste the code below.
AndroidSoundPoolExample.java
package com.javacodegeeks.android.soundpoolexample;

import android.app.Activity;
import android.media.AudioManager;
import android.media.SoundPool;
import android.media.SoundPool.OnLoadCompleteListener;
import android.os.Bundle;
import android.view.View;
import android.widget.Toast;

public class AndroidSoundPoolExample extends Activity {

	private SoundPool soundPool;
	private int soundID;
	boolean plays = false, loaded = false;
	float actVolume, maxVolume, volume;
	AudioManager audioManager;
	int counter;

	/** Called when the activity is first created. */
	@Override
	public void onCreate(Bundle savedInstanceState) {
		super.onCreate(savedInstanceState);

		//set the layout of the Activity
		setContentView(R.layout.activity_main);

		// AudioManager audio settings for adjusting the volume
		audioManager = (AudioManager) getSystemService(AUDIO_SERVICE);
		actVolume = (float) audioManager.getStreamVolume(AudioManager.STREAM_MUSIC);
		maxVolume = (float) audioManager.getStreamMaxVolume(AudioManager.STREAM_MUSIC);
		volume = actVolume / maxVolume;

		//Hardware buttons setting to adjust the media sound
		this.setVolumeControlStream(AudioManager.STREAM_MUSIC);

		// the counter will help us recognize the stream id of the sound played  now
		counter = 0;

		// Load the sounds
		soundPool = new SoundPool(10, AudioManager.STREAM_MUSIC, 0);
		soundPool.setOnLoadCompleteListener(new OnLoadCompleteListener() {
			@Override
			public void onLoadComplete(SoundPool soundPool, int sampleId, int status) {
				loaded = true;
			}
		});
		soundID = soundPool.load(this, R.raw.beep, 1);

	}

	public void playSound(View v) {
		// Is the sound loaded does it already play?
		if (loaded && !plays) {
			soundPool.play(soundID, volume, volume, 1, 0, 1f);
			counter = counter++;
			Toast.makeText(this, "Played sound", Toast.LENGTH_SHORT).show();
			plays = true;
		}
	}

	public void playLoop(View v) {
		// Is the sound loaded does it already play?
		if (loaded && !plays) {

			// the sound will play for ever if we put the loop parameter -1
			soundPool.play(soundID, volume, volume, 1, -1, 1f);
			counter = counter++;
			Toast.makeText(this, "Plays loop", Toast.LENGTH_SHORT).show();
			plays = true;
		}
	}

	public void pauseSound(View v) {
		if (plays) {
			soundPool.pause(soundID);
			soundID = soundPool.load(this, R.raw.beep, counter);
			Toast.makeText(this, "Pause sound", Toast.LENGTH_SHORT).show();
			plays = false;
		}
	}

	public void stopSound(View v) {
		if (plays) {
			soundPool.stop(soundID);
			soundID = soundPool.load(this, R.raw.beep, counter);
			Toast.makeText(this, "Stop sound", Toast.LENGTH_SHORT).show();
			plays = false;
		}
	}
}
Let’s see in detail the code above.
We set the activity_main.xml layout in our Android Activity AndroidSoundPoolExample Activity, by:
setContentView(R.layout.activity_main);
We set the AudioManager audio settings for adjusting the volume, as well as the hardware adjust audio buttons:
audioManager = (AudioManager) getSystemService(AUDIO_SERVICE);
actVolume = (float) audioManager.getStreamVolume(AudioManager.STREAM_MUSIC);
maxVolume = (float) audioManager.getStreamMaxVolume(AudioManager.STREAM_MUSIC);
volume = actVolume / maxVolume;

this.setVolumeControlStream(AudioManager.STREAM_MUSIC);
Also, before Android API level 8, there was not a standard way of checking if a sound had been loaded before using it, because SoundPool loads the sounds asynchronously. So, we are going to use an OnLoadCompleteListener method in order to check whether the loading has been completed successfully:
		soundPool = new SoundPool(10, AudioManager.STREAM_MUSIC, 0);
		soundPool.setOnLoadCompleteListener(new OnLoadCompleteListener() {
			@Override
			public void onLoadComplete(SoundPool soundPool, int sampleId, int status) {
				loaded = true;
			}
		});
		soundID = soundPool.load(this, R.raw.beep, 1);
Imagine, that Android SoundPool.class, works as a pool of sounds (justifying the name of the class!). So, in order to know exactly which one of the sound clips of the pool is played in every play or playLoop method execution, we have used a counter that holds the soundID, so that we can easily stop or pause the right sound clip.
We instantiate the counter in the OnCreate() method of our Activity:
counter = 0;
Before we play the next sound clip of the pool, we check if it is already loaded or already playing, and we hold the id of the sound in a counter:
public void playSound(View v) {
		// Is the sound loaded does it already play?
		if (loaded && !plays) {
			soundPool.play(soundID, volume, volume, 1, 0, 1f);
			counter = counter++;
			Toast.makeText(this, "Played sound", Toast.LENGTH_SHORT).show();
			plays = true;
		}
	}
And we stop the active sound clip by:
public void stopSound(View v) {
		// Is the sound loaded already?
		if (plays) {
			soundPool.stop(soundID);
			soundID = soundPool.load(this, R.raw.beep, counter);
			Toast.makeText(this, "Stop sound", Toast.LENGTH_SHORT).show();
			plays = false;
		}
	}
4. Build, compile and run
When we build, compile and run our project, the main Activity should look like this:
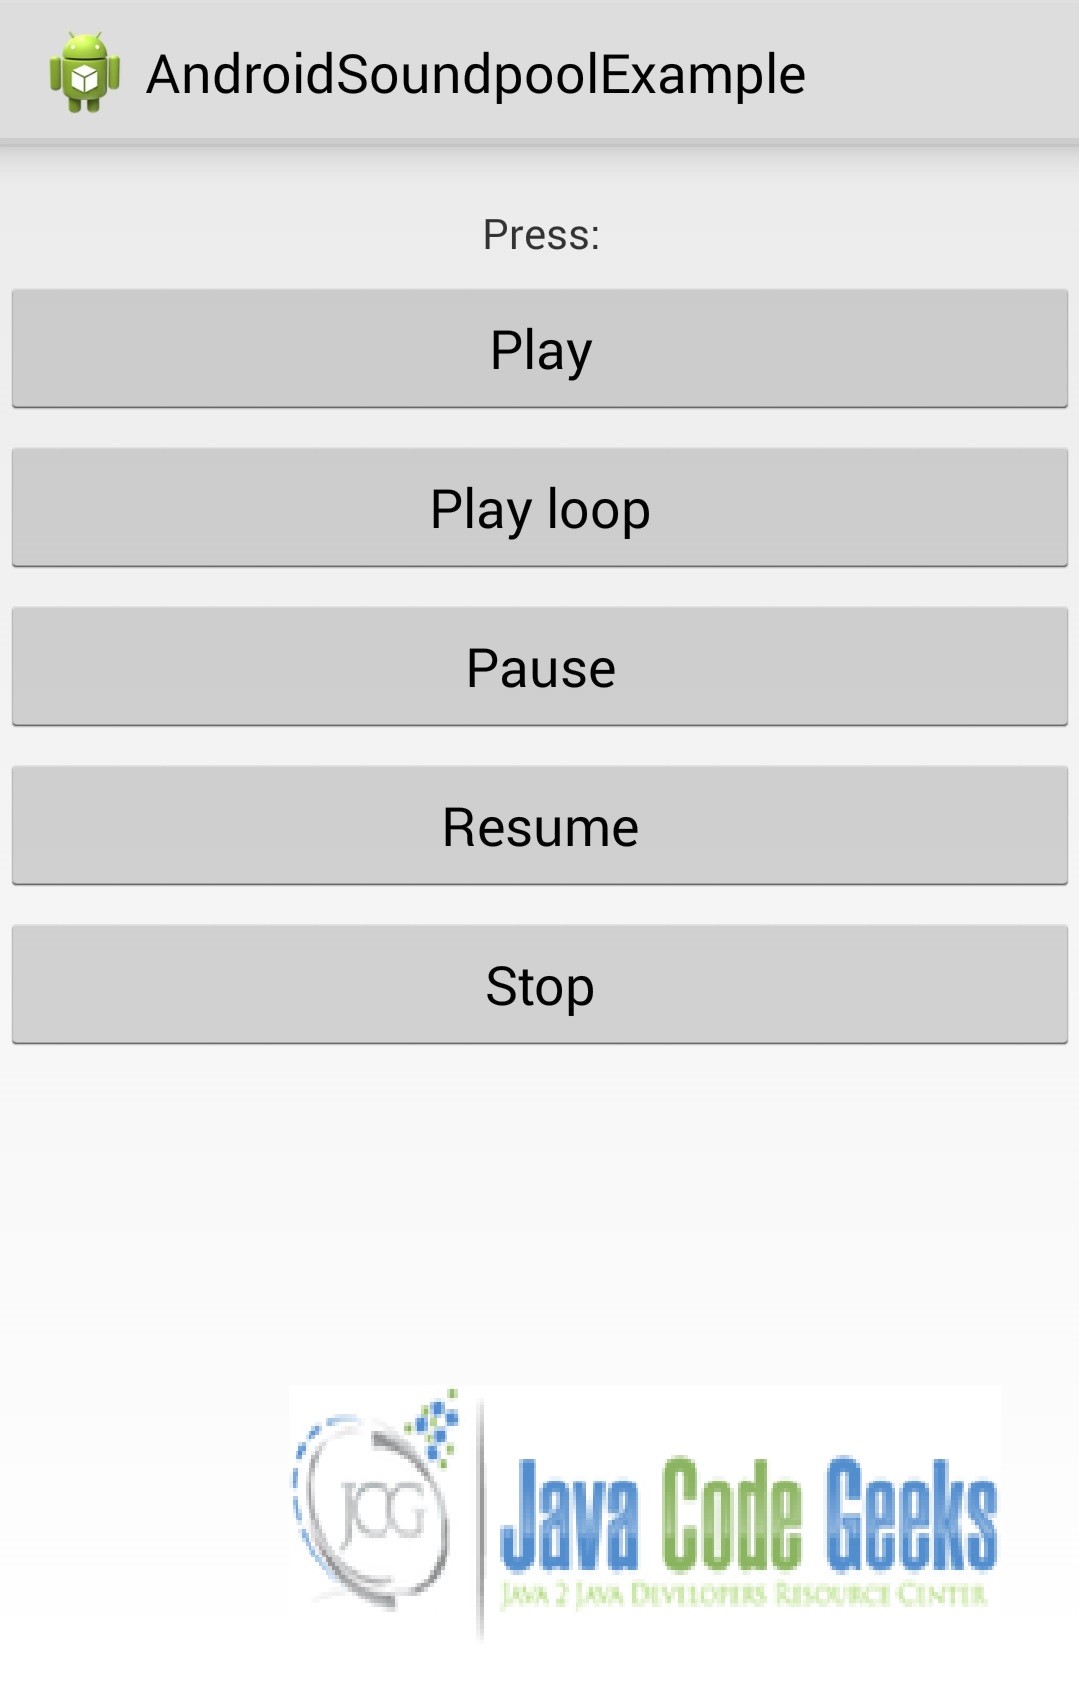
You should click and play, play with loop, pause and stop the sound, by clicking on the right button each time.
This was an example of Android SoundPool. Download the Eclipse Project of this example:AndroidSoundPoolExample.zip

In Android Studio I can count seven squares with rainbow colors and one square white. Help Me add the SoundPool method to the code how to include eight notes by count.