Hi there! Today we ‘re gonna see another easy Android example, regarding a login screen.
What we are going to implement in this example, is a simple login screen, with username and password prompt and a login button. Let’s give the user the ability to submit wrong credentials for 3 times only. If all three fail, application automatically rejects login credentials submission
For the need of this example, we will use the following tools in a Windows 64-bit platform:
- JDK 1.7
- Eclipse 4.4 Luna
- Android SDK 4.4
You may skip project creation and jump directly to the beginning of the example below.
1. Create a New Android Application Project
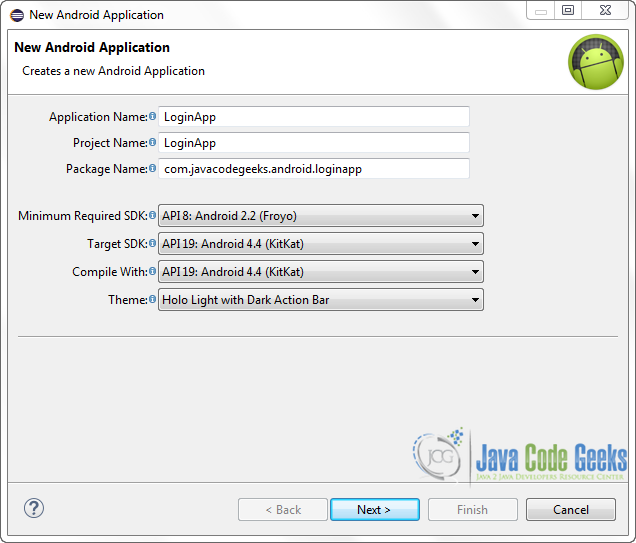
Open Eclipse IDE and go to File → New → Project → Android Application Project.
Fill in the name of the application, the project and the package in the appropriate fields and then click Next.
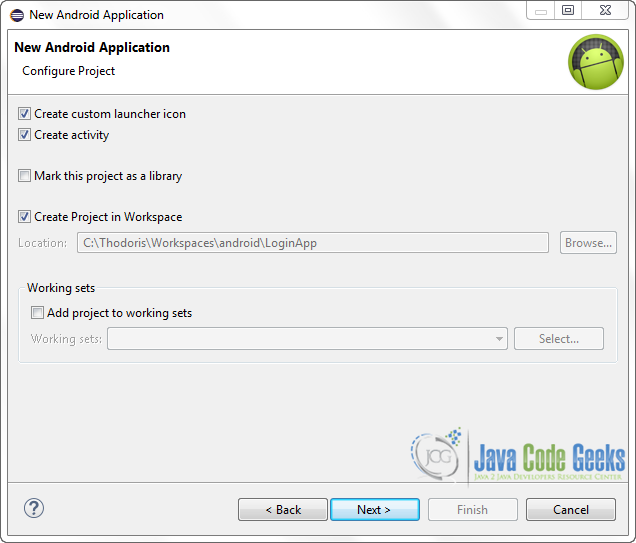
In the next window, the “Create Activity” option should be checked. The new created activity will be the main activity of your project. Then press Next button.
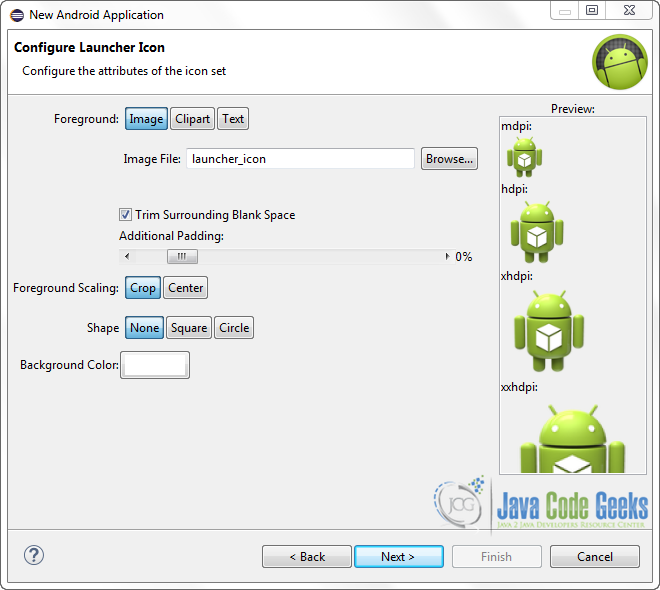
In “Configure Launcher Icon” window you should choose the icon you want to have in your app. We will use the default icon of android, so click Next button.
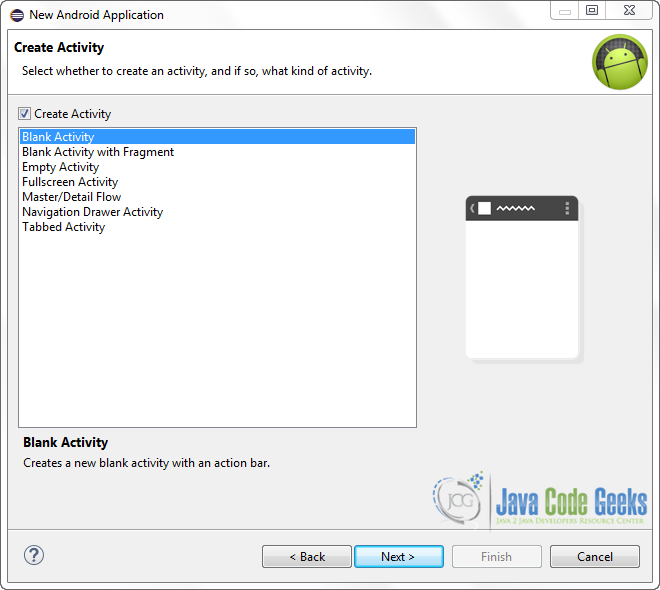
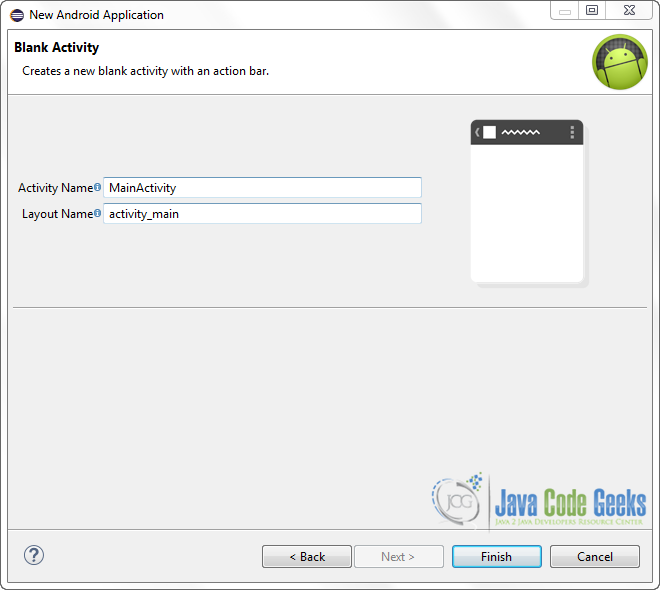
Select the “Blank Activity” option and press Next.
You then have to specify a name for the new Activity and a name for the layout description of your app. The .xml files for the layout will automatically be created in the res/layout folder. Finally, press Finish.
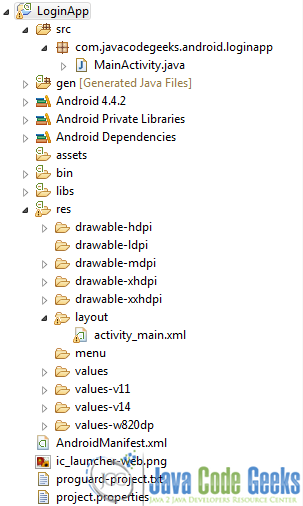
Now you can see the final structure of the project in the following image.
2. Create the layout of the Main Activity
Not pretty much to explain here, we ‘ll only make our “fail scenario” use cases invisible by default and visible only when we have to handle the special cases, in order to interact with the user, in a more gentle manor.
Let’s do it by opening res/layout/activity_main.xml and navigating to the respective xml tab and paste the following.
activity_main.xml
<RelativeLayout xmlns:android="http://schemas.android.com/apk/res/android"
    xmlns:tools="http://schemas.android.com/tools"
    android:layout_width="match_parent"
    android:layout_height="match_parent"
    android:paddingBottom="@dimen/activity_vertical_margin"
    android:paddingLeft="@dimen/activity_horizontal_margin"
    android:paddingRight="@dimen/activity_horizontal_margin"
    android:paddingTop="@dimen/activity_vertical_margin"
    tools:context="com.javacodegeeks.android.loginapp.MainActivity" >

     <TextView
	      android:id="@+id/textView1"
	      android:layout_width="wrap_content"
	      android:layout_height="wrap_content"
	      android:layout_alignParentTop="true"
	      android:layout_centerHorizontal="true"
	      android:layout_marginTop="20dp"
	      android:text="Authentication Required"
	      android:textAppearance="?android:attr/textAppearanceLarge" />

      <TextView
	      android:id="@+id/textView2"
	      android:layout_width="wrap_content"
	      android:layout_height="wrap_content"
	      android:layout_alignParentLeft="true"
	      android:layout_below="@+id/textView1"
	      android:layout_marginTop="75dp"
	      android:layout_marginLeft="10dp"
	      android:text="Username:"
	      android:textAppearance="?android:attr/textAppearanceMedium" />

      <EditText
	      android:id="@+id/usernameET"
	      android:layout_width="wrap_content"
	      android:layout_height="wrap_content"
	      android:layout_alignBottom="@+id/textView2"
	      android:layout_marginLeft="35dp"
	      android:layout_toRightOf="@+id/textView2"
	      android:hint="supermode75" >
      	  <requestFocus />
   	  </EditText>

      <TextView
	      android:id="@+id/textView3"
	      android:layout_width="wrap_content"
	      android:layout_height="wrap_content"
	      android:layout_alignLeft="@+id/textView2"
	      android:layout_below="@+id/textView2"
	      android:layout_marginTop="40dp"
	      android:text="Password:"
	      android:textAppearance="?android:attr/textAppearanceMedium" />

      <EditText
          android:id="@+id/passwordET"
          android:layout_width="wrap_content"
          android:layout_height="wrap_content"
          android:layout_alignBottom="@+id/textView3"
          android:layout_alignLeft="@+id/usernameET"
          android:layout_alignRight="@+id/usernameET"
          android:hint="testpass"
          android:inputType="textPassword" />

       <TextView
	      android:id="@+id/attemptsLeftTV"
	      android:layout_width="wrap_content"
	      android:layout_height="wrap_content"
	      android:layout_alignLeft="@+id/textView3"
	      android:layout_below="@+id/textView3"
	      android:layout_marginLeft="30dp"
	      android:layout_marginTop="48dp"
	      android:text="Attempts Left:"
	      android:visibility="invisible"
	      android:textAppearance="?android:attr/textAppearanceMedium" />

       <Button
	      android:id="@+id/loginBtn"
	      android:layout_width="wrap_content"
	      android:layout_height="wrap_content"
	      android:layout_below="@+id/passwordET"
	      android:layout_centerHorizontal="true"
	      android:layout_marginTop="94dp"
	      android:onClick="authenticateLogin"
	      android:text="Login" />

       <TextView
	      android:id="@+id/numberOfRemainingLoginAttemptsTV"
	      android:layout_width="wrap_content"
	      android:layout_height="wrap_content"
	      android:layout_alignRight="@+id/textView1"
	      android:layout_alignTop="@+id/attemptsLeftTV"
	      android:visibility="invisible" />

       <TextView
	      android:id="@+id/loginLockedTV"
	      android:layout_width="wrap_content"
	      android:layout_height="wrap_content"
	      android:layout_below="@+id/loginBtn"
	      android:layout_marginTop="35dp"
	      android:layout_centerHorizontal="true"
	      android:textAppearance="?android:attr/textAppearanceMedium"
	      android:visibility="invisible" />

</RelativeLayout>
A good solution for those who are not good at designing, is te RelativeLayout; I feel very comfortable using it, each time I want to create a table-like view, without using the TableLayout.
Our app should be user friendly; a simple informative greeting would be very good, so let’s welcome the user by informing him that he has to authenticate his identity. This is the scope of textView1 at lines 11-19.
Next, authentication elements, username and password: a corresponding TextView, regarding the purpose of each EditText. Lines 21-30 define the username’s TextView, while lines 32-41, the text field where user is prompt to insert his username; regarding login pages, it is a best practice to ease user’s experience by having the cursor focused in the username text field, each time a login page is loaded. That’s what we accomplish with line 40.
Lines 43-61 do the same job for the password, as 21-41.
We also want to inform the user, on authentication failure, with a corresponding message, such as text view, regarding the attempts left. Lines 63-73 provide the text, while 85-91 the updated number (each time a login failure occurs, this number has to be updated, so it’s better to keep it in a different xml element).
Th authentication should be fired though a button, obviously, which is good to be presented below the prompts. Lines 75-83 are a good solution for us.
To get the analysis done, according to this paragraph, we also want to inform the user when he has exceeded the final attempts number and that the purpose of the TextView in 93-101.
3. Code the Main Activity
Let’s first navigate to src/com.javacodegeeks.android.textviewtest/MainActivity.java. Next, complete the class like this:
MainActivity.java
package com.javacodegeeks.android.loginapp;

import android.graphics.Color;
import android.os.Bundle;
import android.support.v7.app.ActionBarActivity;
import android.view.View;
import android.widget.Button;
import android.widget.EditText;
import android.widget.TextView;
import android.widget.Toast;

public class MainActivity extends ActionBarActivity {

	private EditText username;
	private EditText password;
	private Button login;
	private TextView loginLockedTV;
	private TextView attemptsLeftTV;
	private TextView numberOfRemainingLoginAttemptsTV;
	int numberOfRemainingLoginAttempts = 3;

	@Override
	protected void onCreate(Bundle savedInstanceState) {
		super.onCreate(savedInstanceState);
		setContentView(R.layout.activity_main);
		setupVariables();
	}

	public void authenticateLogin(View view) {
		if (username.getText().toString().equals("admin") &&
				password.getText().toString().equals("admin")) {
			Toast.makeText(getApplicationContext(), "Hello admin!",
			Toast.LENGTH_SHORT).show();
		} else {
			Toast.makeText(getApplicationContext(), "Seems like you 're not admin!",
					Toast.LENGTH_SHORT).show();
			numberOfRemainingLoginAttempts--;
			attemptsLeftTV.setVisibility(View.VISIBLE);
			numberOfRemainingLoginAttemptsTV.setVisibility(View.VISIBLE);
			numberOfRemainingLoginAttemptsTV.setText(Integer.toString(numberOfRemainingLoginAttempts));

			if (numberOfRemainingLoginAttempts == 0) {
				login.setEnabled(false);
				loginLockedTV.setVisibility(View.VISIBLE);
				loginLockedTV.setBackgroundColor(Color.RED);
				loginLockedTV.setText("LOGIN LOCKED!!!");
			}
		}
	}

	private void setupVariables() {
		username = (EditText) findViewById(R.id.usernameET);
		password = (EditText) findViewById(R.id.passwordET);
		login = (Button) findViewById(R.id.loginBtn);
		loginLockedTV = (TextView) findViewById(R.id.loginLockedTV);
		attemptsLeftTV = (TextView) findViewById(R.id.attemptsLeftTV);
		numberOfRemainingLoginAttemptsTV = (TextView) findViewById(R.id.numberOfRemainingLoginAttemptsTV);
		numberOfRemainingLoginAttemptsTV.setText(Integer.toString(numberOfRemainingLoginAttempts));
	}

}
Initializing all the required layout elements in lines 14-20, we set them up using the setupVariables method (lines 51-59).
When the login button is pressed, authenticateLogin is called (lines 29-49). If the provided credentials are correct, line 32 is executed and the user is greeted, but if not, we have an alternative path of our use case scenario (for those who are unfamiliar with Software Engineering principles, please first take a look here). That’s the reason for the marked lines in above’s paragraph (xml) code; we only want to show error messages in specific cases.
So, if just the credentials are wrong, we inform the user by switching the remaining attempts text view to “visible”, but if it was the third time that he tried to login, we have to prevent him from pushing again the login button; and just another corresponding TextView in line 44).
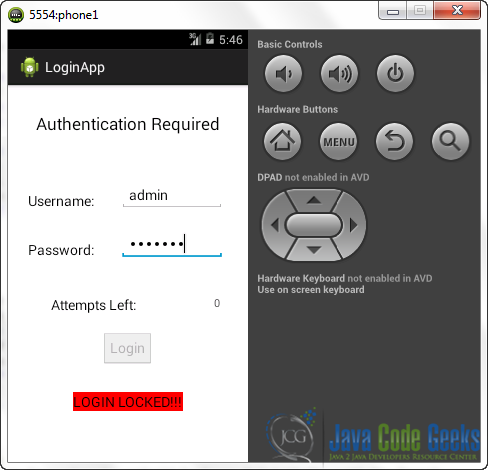
4. Run the Application
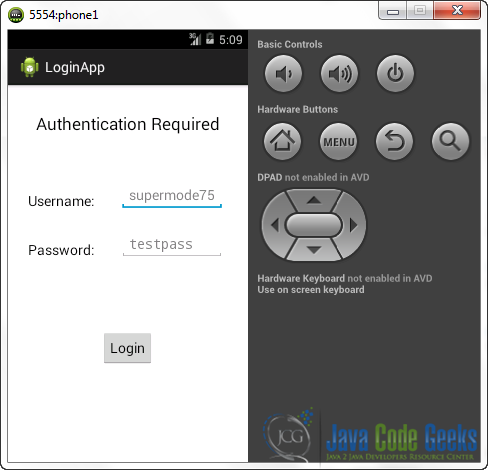
As you see, only the required fields are displayed. Let’s submit wrong credentials to see what happens:
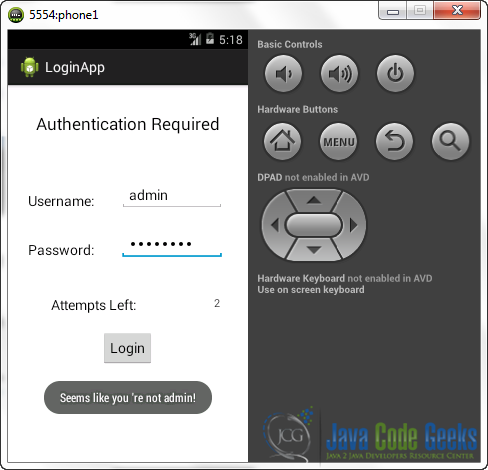
Ok, pretty cool. Now let’s continue on the same basis to see if our “LOGIN LOCKED!!!” TextView is working properly:
That’s it, it works perfectly! And now, the success scenario:

5. Source Code Download
That was it, have a nice day!
This was an example of Login in Android. You can also download the source code for this example: LoginApp.zip
