In this post, we feature a comprehensive Android Alert Dialog Example. Sometimes in our applications we want to alert the user for an event and/or ask him/her about taking a decision. For this purpose AlertDialog class can be used, where a message and one, two or three buttons are displayed in a popup window.
In this example, we are going to show an AlertDialog with three different buttons, where each one leads to a different action.
For this tutorial, we will use the following tools in a Windows 64-bit platform:
- JDK 1.7
- Eclipse 4.2 Juno
- Android SDK 4.4
1. Create a New Android Application Project
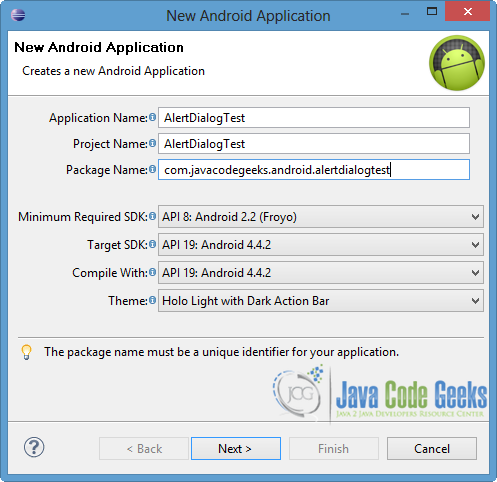
Open Eclipse IDE and go to File → New → Project → Android Application Project.
Fill in the name of the application, the project and the package in the appropriate fields and then click Next.
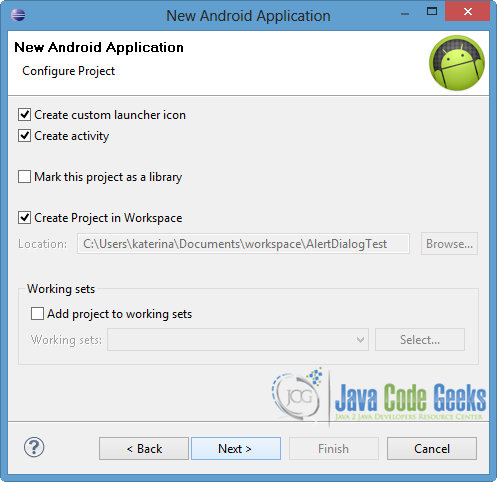
In the next window, check the “Create Activity” option. The new created activity will be the main activity of your project. Then press Next button.
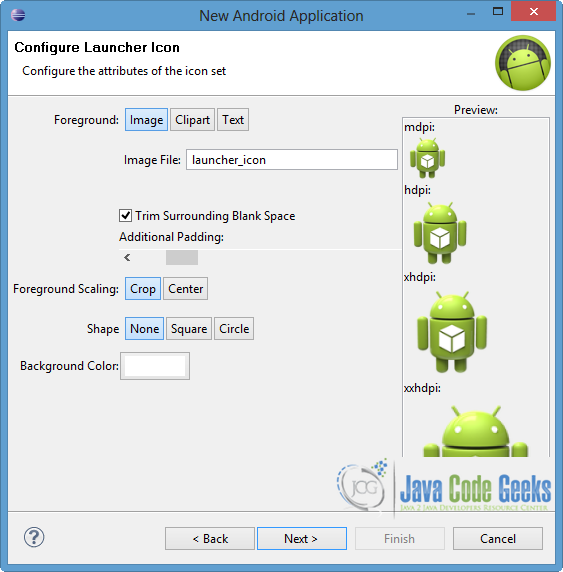
In “Configure Launcher Icon” window you should choose the icon you want to have in your app. We will use the default icon of android, so press Next button.
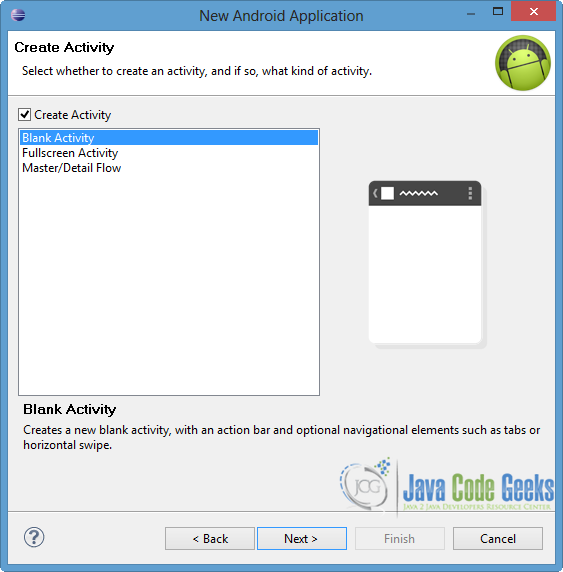
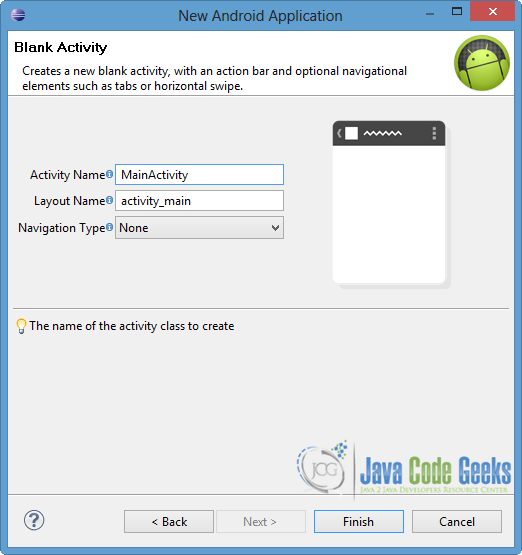
Select the “Blank Activity” option and click Next.
Specify a name for the new Activity and a name for the layout description of your app. The .xml file for the layout will automatically be created in the res/layout folder. Finally, click Finish.
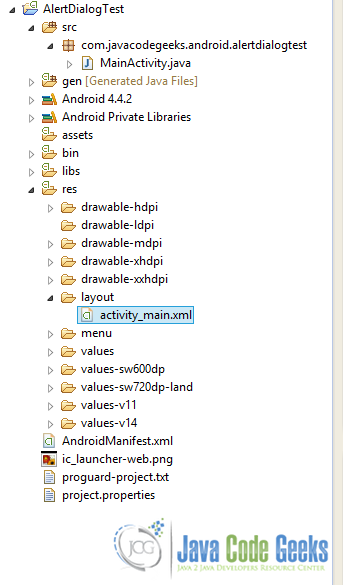
You can see the structre of the AlertDialogTest project in the picture below.
2. Create the layout of the Main Activity
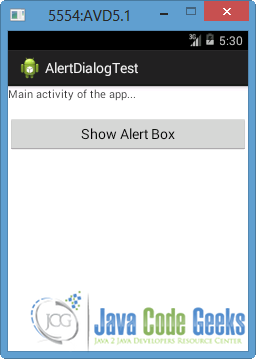
We will create a simple interface, so we will add a TextView and a Button, which enables the AlertDialog box.
Open res/layout/activity_main.xml file and go to the xml tab. Then paste the following.
activity_main.xml:
<RelativeLayout xmlns:android="http://schemas.android.com/apk/res/android"
    xmlns:tools="http://schemas.android.com/tools"
    android:layout_width="match_parent"
    android:layout_height="match_parent"
    tools:context=".MainActivity" >

    <TextView
        android:id="@+id/text"
        android:layout_width="wrap_content"
        android:layout_height="wrap_content"
        android:text="Main activity of the app..." />

    <Button
        android:id="@+id/button"
        android:layout_width="fill_parent"
        android:layout_height="wrap_content"
        android:layout_below="@+id/text"
        android:layout_marginTop="20dp"
        android:text="Show Alert Box" />

</RelativeLayout>
3. Code the Main Activity
AlertDialog is a subclass of Dialog that can display up to three Buttons. In order to create the interface of the alert box, AlertDialog.Builder should be called. AlertDialogBuilder class provides us positive, negative and neutral buttons by setting the setPositiveButton, setNegativeButton and setNeutralButton listeners respectively. At this point it is good to mention that the neutral button appears between the negative and the positive buttons.
In our example, we will use the three listeners. If the user chooses the positive button, a new Activity will launch by enabling an explicit Intent. In contrast, if the user presses the negative button, the alert box will close and we will go back to the main activity of our app. Finally, when the user clicks the neutral button, our application will close and it will lead the user to HOME.
Open src/com.javacodegeeks.android.alertdialogtest/MainActivity.java file and paste the following code.
MainActivity.java:
package com.javacodegeeks.android.alertdialogtest;

import android.os.Bundle;
import android.app.Activity;
import android.app.AlertDialog;
import android.content.DialogInterface;
import android.content.Intent;
import android.view.View;
import android.view.View.OnClickListener;
import android.widget.Button;
import android.widget.Toast;

public class MainActivity extends Activity {

	private Button mainBtn;

	@Override
	protected void onCreate(Bundle savedInstanceState) {
		super.onCreate(savedInstanceState);
		setContentView(R.layout.activity_main);

		mainBtn = (Button) findViewById(R.id.button);
		mainBtn.setOnClickListener(new OnClickListener() {

			@Override
			public void onClick(View v) {
				// TODO Auto-generated method stub
				openAlert(v);
			}
		});
	}

	private void openAlert(View view) {
		 AlertDialog.Builder alertDialogBuilder = new AlertDialog.Builder(MainActivity.this);

		 alertDialogBuilder.setTitle(this.getTitle()+ " decision");
		 alertDialogBuilder.setMessage("Are you sure?");
		 // set positive button: Yes message
		 alertDialogBuilder.setPositiveButton("Yes",new DialogInterface.OnClickListener() {
				public void onClick(DialogInterface dialog,int id) {
					// go to a new activity of the app
					Intent positveActivity = new Intent(getApplicationContext(),
                            PositiveActivity.class);
		            startActivity(positveActivity);
				}
			  });
		 // set negative button: No message
		 alertDialogBuilder.setNegativeButton("No",new DialogInterface.OnClickListener() {
				public void onClick(DialogInterface dialog,int id) {
					// cancel the alert box and put a Toast to the user
					dialog.cancel();
					Toast.makeText(getApplicationContext(), "You chose a negative answer",
							Toast.LENGTH_LONG).show();
				}
			});
		 // set neutral button: Exit the app message
		 alertDialogBuilder.setNeutralButton("Exit the app",new DialogInterface.OnClickListener() {
				public void onClick(DialogInterface dialog,int id) {
					// exit the app and go to the HOME
					MainActivity.this.finish();
				}
			});

		 AlertDialog alertDialog = alertDialogBuilder.create();
		 // show alert
		 alertDialog.show();
	}

}
4. Crete a Custom Activity
We will create a new Activity for the explicit Intent of the positive answer.
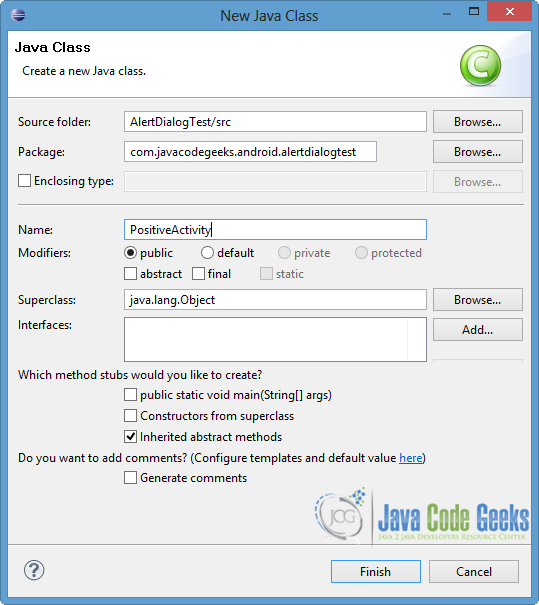
To do so right click on com.javacodegeeks.android.alertdialogtest package → New → Class. Specify the name (PositiveActivity as we defined it in the MainActivity file) and the package that will belong to and finally click Finish.
Open src/com.javacodegeeks.android.alertdialogtest/PositiveActivity.java file and paste the code below.
PositiveActivity.java:
package com.javacodegeeks.android.alertdialogtest;

import android.app.Activity;
import android.os.Bundle;

public class PositiveActivity extends Activity {
	@Override
	   protected void onCreate(Bundle savedInstanceState) {
	      super.onCreate(savedInstanceState);
	      setContentView(R.layout.positive_view);
	   }

}
5. Create the layout of the Custom Activity
We are going to create a simple UI for the layout of the PositiveActivity class.
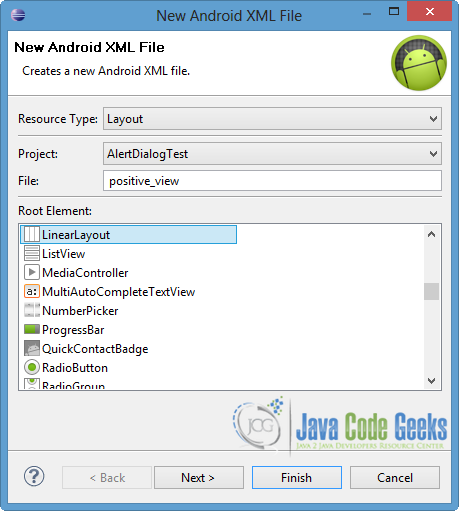
Right click on res/layout → New → Android XML File. Then, specify the name of the file and choose LinearLayout as root element, like in the image below. Then click Finish.
Open res/layout/positive_view.xml and paste the following.
positive_view.xml:
<?xml version="1.0" encoding="utf-8"?>
<LinearLayout xmlns:android="http://schemas.android.com/apk/res/android"
    android:layout_width="match_parent"
    android:layout_height="match_parent"
    android:orientation="vertical" >

    <TextView
        android:id="@+id/textPositive"
        android:layout_width="fill_parent"
        android:layout_height="wrap_content"
        android:text="You chose a positive answer..." />

</LinearLayout>
6. Define the rules for the Custom Activity
We have to define the PositiveActivity activity in our AndroidManifest.xml file. In our occasion, we want PositiveActivity to leads us back to the MainActivity, so we will define the MainActivity as it’s parent Activity. For this reason parentActivityName android element is used.
Open AndroidManifest.xml file and choose the xml tab. Then paste the following code.
AndroidManifest.xml:
<?xml version="1.0" encoding="utf-8"?>
<manifest xmlns:android="http://schemas.android.com/apk/res/android"
    package="com.javacodegeeks.android.alertdialogtest"
    android:versionCode="1"
    android:versionName="1.0" >

    <uses-sdk
        android:minSdkVersion="8"
        android:targetSdkVersion="19" />

    <application
        android:allowBackup="true"
        android:icon="@drawable/ic_launcher"
        android:label="@string/app_name"
        android:theme="@style/AppTheme" >
        <activity
            android:name="com.javacodegeeks.android.alertdialogtest.MainActivity"
            android:label="@string/app_name" >
            <intent-filter>
                <action android:name="android.intent.action.MAIN" />

                <category android:name="android.intent.category.LAUNCHER" />
            </intent-filter>
        </activity>

        <activity
         	android:name="com.javacodegeeks.android.alertdialogtest.PositiveActivity"
         	android:label="Positive Answer"
         	android:parentActivityName="com.javacodegeeks.android.alertdialogtest.MainActivity" >
      </activity>
    </application>

</manifest>
7. Run the application
To run our application, right click on our project → Run as → Android Application. The AVD will appear with the app loaded, as you can see below.
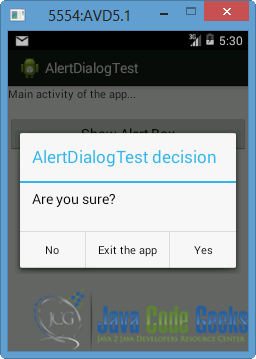
Now press the “Show Alert Box” button. An alert box will popup and the user should take a decision, in order to proceed. Notice that the buttons don’t appear in the order we set them at the MainActivity.java, because Android system defines the button order as NEGATIVE - NEUTRAL - POSITIVE.
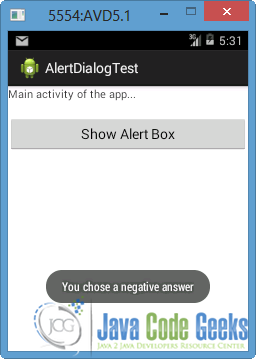
If we click the “No” button, the alert box will be canceled and the user will go back to the MainActivity with the appearance of a Toast, as you can see in the next picture.
When the user presses the “Yes” button, the setPositiveButton listener will be enabled, so the PositiveActivity will launch.
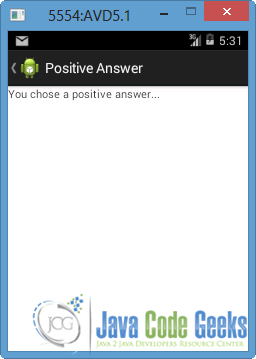
Now we can go back at the parent Activity, by pressing the button at the top left of the screen.
Finally, if we press “Exit the app” button, our app will close down and we will get lead to the main screen of the emulator.
Of course, the user can choose and launch this application again.
Download Eclipse Project
This was an example of Android Alert Dialog. Download the Eclipse Project of this example: AlertDialogTest.zip

thank you for the source code it is very useful.