In this post, we feature a comprehensive Android OnClickListener Example. We are going to see how to work with OnClickListener in an Android Application.
You may use OnClickListener when you want your compoments to react when users click on them. Most (if not all) of the GUI Android components can be bundled with an OnClickListener, so you can see that its a very important component.
In this example we are going to see how to bundle a Button with an OnClickListener.
When the user clicks on the button, a pop up message with show up.
For this tutorial, we will use the following tools in a Windows 64-bit platform:
- JDK 1.7
- Eclipse 4.2 Juno
- Android SKD 4.2
1. Create a new Android Project
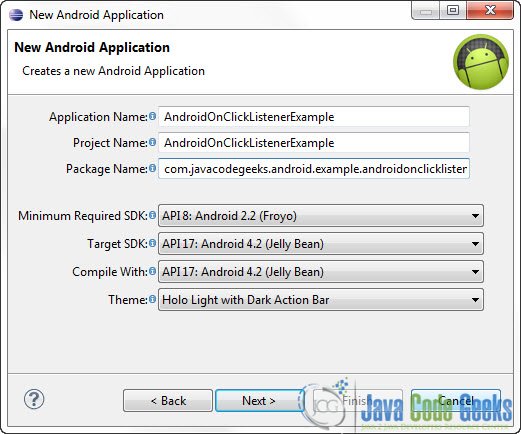
Open Eclipse IDE and go to File -> New -> Project -> Android -> Android Application Project. You have to specify the Application Name, the Project Name and the Package name in the appropriate text fields and then click Next.
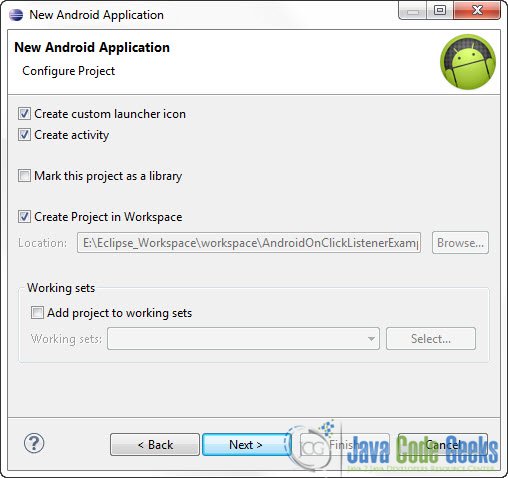
In the next window make sure the “Create activity” option is selected in order to create a new activity for your project, and click Next. This is optional as you can create a new activity after creating the project, but you can do it all in one step.
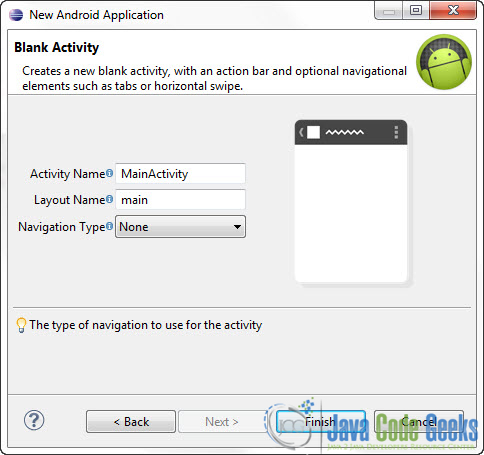
Select “BlankActivity” and click Next.

You will be asked to specify some information about the new activity. In the Layout Name text field you have to specify the name of the file that will contain the layout description of your app. In our case the file res/layout/main.xml will be created. Then, click Finish.
2. Create the main layout of the Application
Open res/layout/main.xml file :
And paste the following code :
<RelativeLayout xmlns:android="http://schemas.android.com/apk/res/android"
    xmlns:tools="http://schemas.android.com/tools"
    android:layout_width="match_parent"
    android:layout_height="match_parent"
    android:paddingBottom="@dimen/activity_vertical_margin"
    android:paddingLeft="@dimen/activity_horizontal_margin"
    android:paddingRight="@dimen/activity_horizontal_margin"
    android:paddingTop="@dimen/activity_vertical_margin"
    tools:context=".MainActivity" >

    <Button
        android:id="@+id/button1"
        android:layout_width="wrap_content"
        android:layout_height="wrap_content"
        android:layout_alignParentLeft="true"
        android:layout_alignParentRight="true"
        android:layout_alignParentTop="true"
        android:layout_marginTop="92dp"
        android:text="Click me" />

</RelativeLayout>
Now you may open the Graphical layout editor to preview the User Interface you created:

3. Code
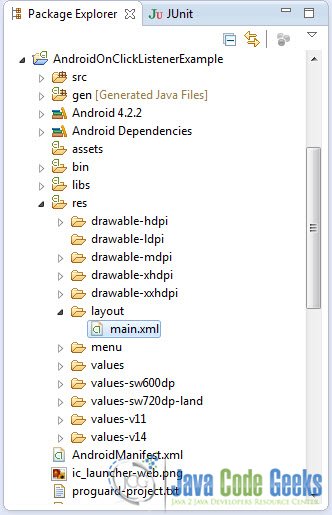
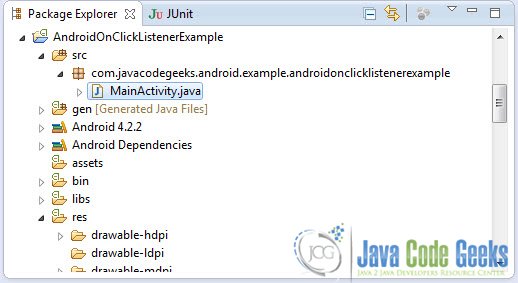
Now we have to write the code of the application. Use the Package Explorer to navigate to the Java file of the Activity you’ve created:
The code of this tutorial is pretty much self explanatory. When you create a new OnClickListener (you can do that as an anonymous class…) you must override the onClick method. This method will be executed, every time the user clicks the button:
package com.javacodegeeks.android.example.androidonclicklistenerexample;

import android.os.Bundle;
import android.app.Activity;
import android.view.Menu;
import android.view.View;
import android.widget.Button;
import android.widget.Toast;
import android.view.View.OnClickListener;

public class MainActivity extends Activity {

	@Override
	protected void onCreate(Bundle savedInstanceState) {
		super.onCreate(savedInstanceState);
		setContentView(R.layout.main);
	}

	@Override
	public boolean onCreateOptionsMenu(Menu menu) {
		// Inflate the menu; this adds items to the action bar if it is present.
		getMenuInflater().inflate(R.menu.main, menu);
		Button button = (Button) findViewById(R.id.button1);

		button.setOnClickListener(new OnClickListener() {

			@Override
			public void onClick(View view) {
				Toast.makeText(MainActivity.this, "Button Clicked",	Toast.LENGTH_SHORT).show();
			}

		});
		return true;
	}

}
4. Run the application
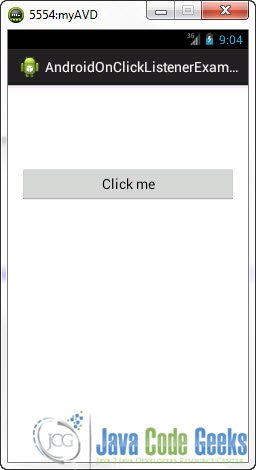
This is the main screen of our Application:

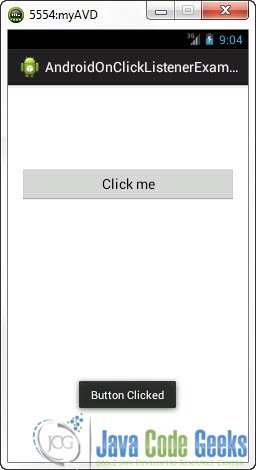
Now, when you press the “Click Me” button, the onClick method will fire up:
5. Define the onClick method in main.xml
You can also define the onClick method in main.xml when declaring the button (or any other clickable) component. When doing so, you have to declare the method you want as the onClick method. For example, as you can see, I’ve added an android:onClick attribute with value clickFunc. That automatically creates an OnClickListener and every time the user presses the button the clickFunc will be executed:
main.xml
<RelativeLayout xmlns:android="http://schemas.android.com/apk/res/android"
    xmlns:tools="http://schemas.android.com/tools"
    android:layout_width="match_parent"
    android:layout_height="match_parent"
    android:paddingBottom="@dimen/activity_vertical_margin"
    android:paddingLeft="@dimen/activity_horizontal_margin"
    android:paddingRight="@dimen/activity_horizontal_margin"
    android:paddingTop="@dimen/activity_vertical_margin"
    tools:context=".MainActivity" >

    <Button
        android:id="@+id/button1"
        android:layout_width="wrap_content"
        android:layout_height="wrap_content"
        android:layout_alignParentLeft="true"
        android:layout_alignParentRight="true"
        android:layout_alignParentTop="true"
        android:layout_marginTop="92dp"

        android:onClick="clickFunc"

        android:text="Click me" />

</RelativeLayout>
MainActivity.java
package com.javacodegeeks.android.example.androidonclicklistenerexample;

import android.app.Activity;
import android.os.Bundle;
import android.view.Menu;
import android.view.View;
import android.widget.Toast;

public class MainActivity extends Activity {

	@Override
	protected void onCreate(Bundle savedInstanceState) {
		super.onCreate(savedInstanceState);
		setContentView(R.layout.main);
	}

	@Override
	public boolean onCreateOptionsMenu(Menu menu) {
		// Inflate the menu; this adds items to the action bar if it is present.
		getMenuInflater().inflate(R.menu.main, menu);
		return true;
	}

	public void clickFunc(View view){
		Toast.makeText(MainActivity.this, "Button Clicked",	Toast.LENGTH_SHORT).show();
	}

}
As you might have noticed, clickFunc has to take at least one argument, and that is a View object. If you change the code of your project to the above, you will notice that the application will run and behave in the same way as before.
Download Eclipse Project
This was an Android OnClickListener Example. Download the Eclipse Project of this tutorial: AndroidOnClickListenerExample.zip