In this example we are going to see how to use Android Handler. As we read from the official documentation: a Handler allows you to send and process Message and Runnable objects associated with a thread’s MessageQueue. Each Handler instance is associated with a single thread and that thread’s message queue. When you create a new Handler, it is bound to the thread / message queue of the thread that is creating it — from that point on, it will deliver messages and runnables to that message queue and execute them as they come out of the message queue.
There are two main uses for a Handler:
- To schedule messages and runnables to be executed as some point in the future.
- To enqueue an action to be performed on a different thread than your own.
For this tutorial, we will use the following tools in a Windows 64-bit platform:
- JDK 1.7
- Eclipse 4.2 Juno
- Android SKD 4.2
1. Create a new Android Project
Open Eclipse IDE and go to File -> New -> Project -> Android -> Android Application Project. You have to specify the Application Name, the Project Name and the Package name in the appropriate text fields and then click Next.

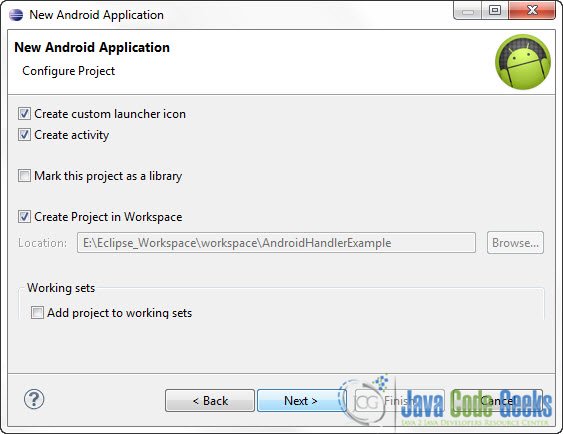
In the next window make sure the “Create activity” option is selected in order to create a new activity for your project, and click Next. This is optional as you can create a new activity after creating the project, but you can do it all in one step.
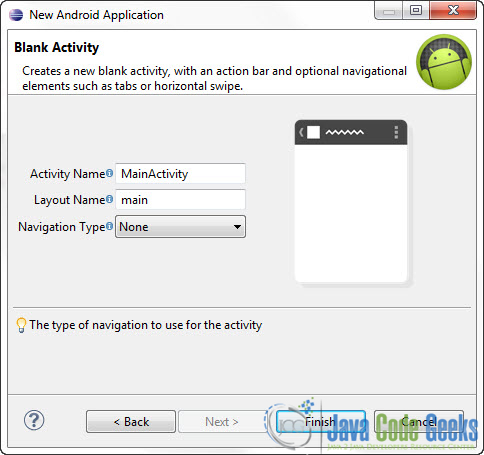
Select “BlankActivity” and click Next.

You will be asked to specify some information about the new activity. In the Layout Name text field you have to specify the name of the file that will contain the layout description of your app. In our case the file res/layout/main.xml will be created. Then, click Finish.
2. Create the main layout of the Application
Open res/layout/main.xml file :
And paste the following code :
<?xml version="1.0" encoding="utf-8"?>
<LinearLayout xmlns:android="http://schemas.android.com/apk/res/android"
android:layout_width="match_parent"
android:layout_height="match_parent"
android:orientation="vertical" >
<ProgressBar
android:id="@+id/progressBar1"
style="?android:attr/progressBarStyleHorizontal"
android:layout_width="match_parent"
android:layout_height="wrap_content"
android:indeterminate="false"
android:max="10"
android:padding="4dip" >
</ProgressBar>
<Button
android:id="@+id/button1"
android:layout_width="wrap_content"
android:layout_height="wrap_content"
android:onClick="startProgress"
android:text="Start" >
</Button>
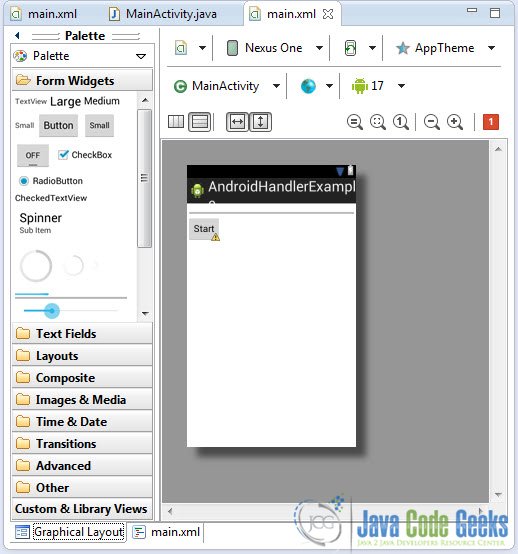
</LinearLayout>Now you may open the Graphical layout editor to preview the User Interface you created:
3. Code
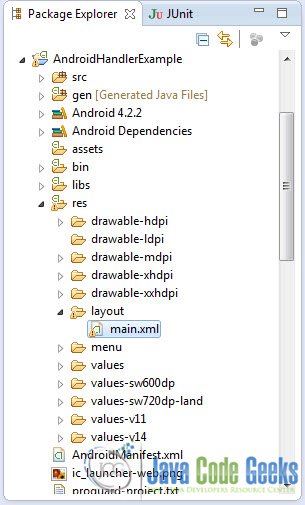
Now we have to write the code of the application. Use the Package Explorer to navigate to the Java file of the Activity you’ve created:

The code of this tutorial is pretty much self explanatory. The interesting part is how to update the value of the Progress bar. We are going to use a Handler for that. The Handler takes a Runnable object and it schedules its execution; it places the runnable process as a job in an execution queue to be run after a specified amount of time. The runnable will be run on the thread to which this handler is attached. In our case the handler is registerd in the main thread.
package com.javacodegeeks.android.androidhandlerexample;
import android.app.Activity;
import android.os.Bundle;
import android.os.Handler;
import android.view.View;
import android.widget.ProgressBar;
public class MainActivity extends Activity {
private Handler handler;
private ProgressBar progressBar;
/** Called when the activity is first created. */
@Override
public void onCreate(Bundle savedInstanceState) {
super.onCreate(savedInstanceState);
setContentView(R.layout.main);
handler = new Handler();
progressBar = (ProgressBar) findViewById(R.id.progressBar1);
}
public void startProgress(View view) {
new Thread(new Task()).start();
}
class Task implements Runnable {
@Override
public void run() {
for (int i = 0; i <= 20; i++) {
final int value = i;
try {
Thread.sleep(1000);
} catch (InterruptedException e) {
e.printStackTrace();
}
handler.post(new Runnable() {
@Override
public void run() {
progressBar.setProgress(value);
}
});
}
}
}
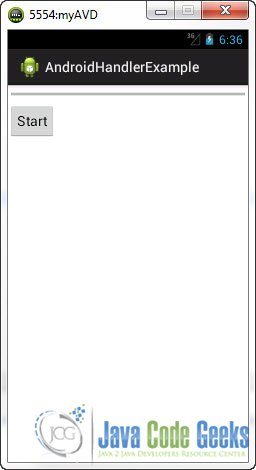
}4. Run the application
This is the main screen of our Application.
Now, when you press the “Start” button, the Handler will launch the thread that updates the bar’s value :

Download Eclipse Project
This was an Android HandlerExample. Download the Eclipse Project of this tutorial: AndroidHandlerExample.zip

Nice post
Thanks too much for such a nice tutorial. AlarmManager cannot be forced to be fired at exact times but this way works.