For years now, in Android, if you wanted to create an application that uses lists to display data, the most common, choice, would be the ListView solution. However, the Android Lollipop introduces a new and faster way to represent list layouts, with the use of Android RecyclerView.
Android RecyclerView is an improved version of Android ListView and has many common things and ideas, such as the ViewHolder pattern, which is a pattern that is used to store references to the views for each RecyclerView item.
However, there are also new features about Android RecyclerView. One of these features, is that Android RecyclerView can help you position a bunch of items either horizontally, or vertically, generally, in whichever way you may want, as the RecyclerView can help you set a LayoutManager and define the layout mode of its items. You can also set default animations for adding and removing items from the RecyclerView.
We can find the RecyclerView class, in the v7 support library, and this gives us the opportunity of the backwards compatibility with Android versions prior to Lollipop. You can lear more in the Android developers’ documentation.
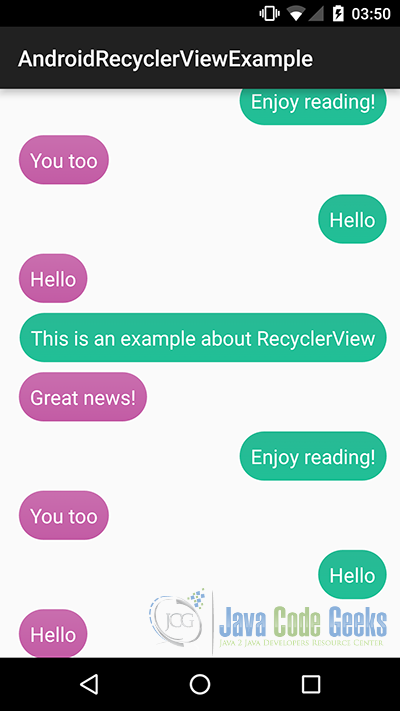
In this example, we are going to show a basic RecyclerView layout implementation, by implementing a very very simple Chat layout view. We are going to have two types of messages, one for the sender and one for the recipient. Let’s see how we are going to implement it.
For our example will use the following tools in a Windows 64-bit or an OS X platform:
- JDK 1.7
- Android Studio 1.3.2
- Android SDK 6.0
Let’s take a closer look:
1. Create a New Android Studio Project
You may skip project creation and jump directly to the beginning of the example below.
Open Android Studio and choose “Start a new Android Studio Project” in the welcome screen.
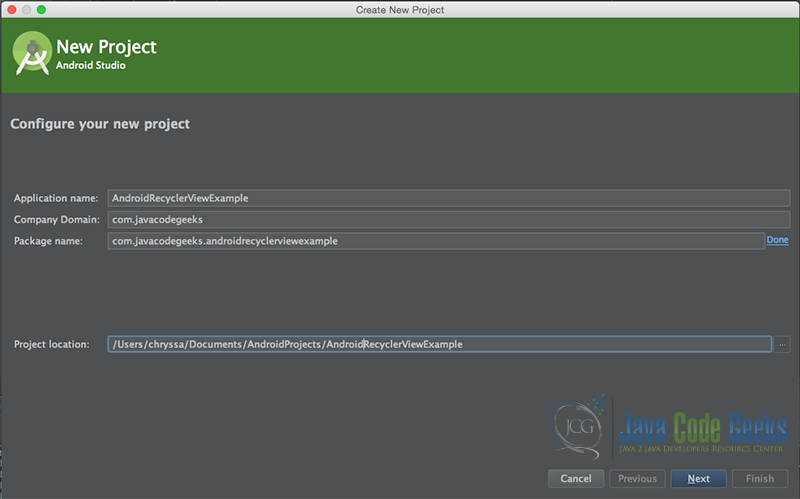
Specify the name of the application, the project and the package..
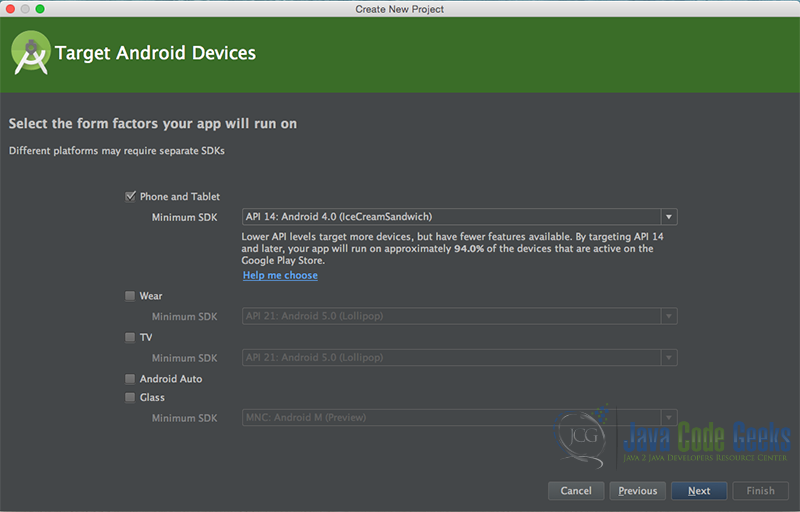
In the next window, select the form factors your app will run on.
In the next window you should choose “Add no activity”. In this example, we are going to create our Activity.
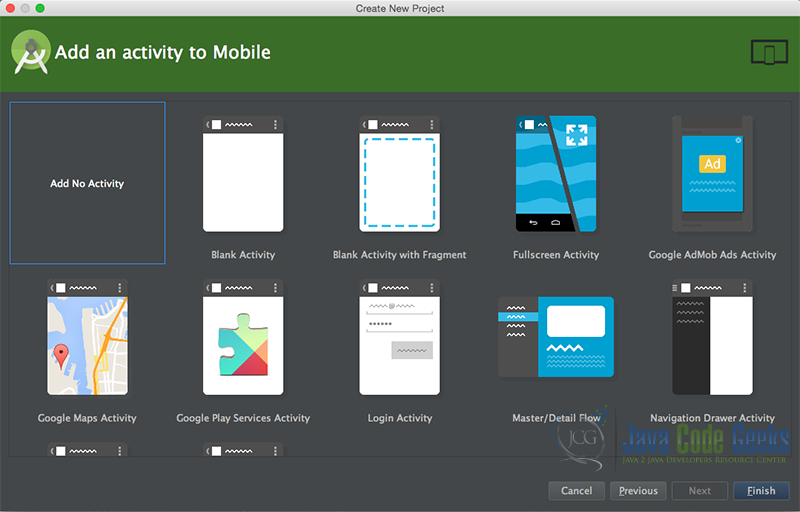
Select the “Blank Activity” option and press Next.
Now, our project has just been created!
2. Create the layout of the main AndroidRecyclerViewActivity
The AndroidRecyclerViewActivity is the main Activity of our example, and this is the Activity in which we are going to create a RecyclerView, set its RecyclerView.Adapter and its RecyclerView.LayoutManager. Now,we are going to make the layout of this Activity, which will be a simple layout xml for the AndroidRecyclerViewActivity.class, that consists of a LinearLayout with vertical orientation, that includes a RecyclerView.
Add a new xml file inside /res/layout folder, with name main_activity.xml. We should have the /res/layout/main_activity.xml file and paste the code below.
main_activity.xml
<?xml version="1.0" encoding="utf-8"?>
<LinearLayout xmlns:android="http://schemas.android.com/apk/res/android"
    android:layout_width="match_parent"
    android:layout_height="match_parent"
    android:orientation="vertical">

    <android.support.v7.widget.RecyclerView
        android:id="@+id/my_recycler_view"
        android:layout_width="match_parent"
        android:layout_height="match_parent"
        android:paddingLeft="10dp"
        android:paddingRight="10dp"
        android:scrollbars="vertical" />
</LinearLayout>
3. Create the source code of the main AndroidRecyclerViewActivity Activity
Add a new Java class inside src/com.javacodegeeks.androidrecyclerviewexample/ so that we are going to have the src/com.javacodegeeks.androidrecyclerviewexample/AndroidRecyclerViewActivity.java file and paste the code below.
AndroidRecyclerViewActivity.java
package com.javacodegeeks.examples.androidrecyclerviewexample;

import android.os.Bundle;
import android.support.v7.app.AppCompatActivity;
import android.support.v7.widget.DefaultItemAnimator;
import android.support.v7.widget.LinearLayoutManager;
import android.support.v7.widget.RecyclerView;

import java.util.ArrayList;
import java.util.List;

public class AndroidRecyclerViewActivity extends AppCompatActivity {
    private RecyclerView mRecyclerView;
    private RecyclerView.Adapter mAdapter;
    private RecyclerView.LayoutManager mLayoutManager;
    private List messageList = new ArrayList();

    @Override
    protected void onCreate(Bundle savedInstanceState) {
        super.onCreate(savedInstanceState);
        setContentView(R.layout.main_activity);
        mRecyclerView = (RecyclerView) findViewById(R.id.my_recycler_view);
        mRecyclerView.setHasFixedSize(true);

        mLayoutManager = new LinearLayoutManager(this);
        mRecyclerView.setLayoutManager(mLayoutManager);

        mAdapter = new MessageAdapter(getBaseContext(), messageList);
        mRecyclerView.setAdapter(mAdapter);
        mRecyclerView.setItemAnimator(new DefaultItemAnimator());

        fillWithNonsenseText();
    }

    public void fillWithNonsenseText() {
        messageList.add(new Message(1,"Hello", "Chryssa"));
        messageList.add(new Message(2,"Hello", "JavaCodeGeeks"));
        messageList.add(new Message(3,"This is an example about RecyclerView", "Chryssa"));
        messageList.add(new Message(4,"Great news!", "JavaCodeGeeks"));
        messageList.add(new Message(5,"Enjoy reading!", "Chryssa"));
        messageList.add(new Message(6,"You too", "JavaCodeGeeks"));
        messageList.add(new Message(7,"Hello", "Chryssa"));
        messageList.add(new Message(8,"Hello", "JavaCodeGeeks"));
        messageList.add(new Message(9,"This is an example about RecyclerView", "Chryssa"));
        messageList.add(new Message(10,"Great news!", "JavaCodeGeeks"));
        messageList.add(new Message(11,"Enjoy reading!", "Chryssa"));
        messageList.add(new Message(12,"You too", "JavaCodeGeeks"));
        messageList.add(new Message(13,"Hello", "Chryssa"));
        messageList.add(new Message(14,"Hello", "JavaCodeGeeks"));
        messageList.add(new Message(15,"This is an example about RecyclerView", "Chryssa"));
        messageList.add(new Message(16,"Great news!", "JavaCodeGeeks"));
        messageList.add(new Message(17,"Enjoy reading!", "Chryssa"));
        messageList.add(new Message(18,"You too", "JavaCodeGeeks"));

        messageList.add(new Message(19,"Hello", "Chryssa"));
        messageList.add(new Message(20,"Hello", "JavaCodeGeeks"));
        messageList.add(new Message(21,"This is an example about RecyclerView", "Chryssa"));
        messageList.add(new Message(22,"Great news!", "JavaCodeGeeks"));
        messageList.add(new Message(23,"Enjoy reading!", "Chryssa"));
        messageList.add(new Message(24,"You too", "JavaCodeGeeks"));
        messageList.add(new Message(25,"Hello", "Chryssa"));
        messageList.add(new Message(26,"Hello", "JavaCodeGeeks"));
        messageList.add(new Message(27,"This is an example about RecyclerView", "Chryssa"));
        messageList.add(new Message(28,"Great news!", "JavaCodeGeeks"));
        messageList.add(new Message(29,"Enjoy reading!", "Chryssa"));
        messageList.add(new Message(30,"You too", "JavaCodeGeeks"));
        messageList.add(new Message(31,"Hello", "Chryssa"));
        messageList.add(new Message(32,"Hello", "JavaCodeGeeks"));
        messageList.add(new Message(33,"This is an example about RecyclerView", "Chryssa"));
        messageList.add(new Message(34,"Great news!", "JavaCodeGeeks"));
        messageList.add(new Message(35,"Enjoy reading!", "Chryssa"));
        messageList.add(new Message(36,"You too", "JavaCodeGeeks"));
    }
}
In the following lines we set the main features of our RecyclerView:
        // set the main recyclerview view in the layout
        mRecyclerView = (RecyclerView) findViewById(R.id.my_recycler_view);
        mRecyclerView.setHasFixedSize(true);

        // set the main layoutManager of the recyclerview
        mLayoutManager = new LinearLayoutManager(this);
        mRecyclerView.setLayoutManager(mLayoutManager);

        // set the recycler view adapter
        mAdapter = new MessageAdapter(getBaseContext(), messageList);
        mRecyclerView.setAdapter(mAdapter);

        // set the recycler item animator
        mRecyclerView.setItemAnimator(new DefaultItemAnimator());
We set the layout manager of the RecyclerView which will set the layout orientation of the items, as well as the animator that will take care of the animation in the addition or removal of an item. In our example we use the DefaultItemAnimator, a declaration that could be omitted, because the DefaultItemAnimator is the default one, even if it does not exist in the code.
4. Create the source code of the Message class
Add a new Java class inside src/com.javacodegeeks.androidrecyclerviewexample/ so that we are going to have the src/com.javacodegeeks.androidrecyclerviewexample/Message.java file and paste the code below.
MessageAdapter.java
package com.javacodegeeks.examples.androidrecyclerviewexample;

public class Message {

    protected int id;
    protected String message;
    protected String senderName;

    public Message(int id, String message, String senderName) {
        this.id = id;
        this.message = message;
        this.senderName = senderName;
    }

    public String getSenderName() {
        return senderName;
    }

    public void setSenderName(String senderName) {
        this.senderName = senderName;
    }

    public String getMessage() {
        return message;
    }

    public void setMessage(String message) {
        this.message = message;
    }

    public int getId() {
        return id;
    }

    public void setId(int id) {
        this.id = id;
    }

}
5. Create the layouts of the RecyclerView.ViewHolder items
Our RecyclerView will have two types of items, one for the “sender” and one for the “recipient”. So we have to make two different layouts one for each item type, if we want to present them in two different ways.

For the sender layout, we will add a new xml file inside /res/layout folder, with name chat_item_green.xml. We should have the /res/layout/chat_item_green.xml file and paste the code below.
chat_item_green.xml
<?xml version="1.0" encoding="utf-8"?>
<LinearLayout xmlns:android="http://schemas.android.com/apk/res/android"
    android:layout_width="match_parent"
    android:layout_height="wrap_content"
    android:padding="2dp"
    android:orientation="vertical">

    <TextView
        android:id="@+id/text"
        android:layout_width="wrap_content"
        android:layout_height="wrap_content"
        android:layout_gravity="right"
        android:background="@drawable/green_chat_button"
        android:gravity="right"
        android:padding="10dp"
        android:text="Medium Text"
        android:textAppearance="?android:attr/textAppearanceMedium"
        android:textColor="#ffffff" />
</LinearLayout>
For the recipient layout, we are going to create another xml file inside /res/layout folder, with name chat_item_purple.xml. We should have the /res/layout/chat_item_purple.xml file and paste the code below.
chat_item_purple.xml
<?xml version="1.0" encoding="utf-8"?>
<LinearLayout xmlns:android="http://schemas.android.com/apk/res/android"
    android:layout_width="match_parent"
    android:layout_height="wrap_content"
    android:padding="2dp"
    android:orientation="vertical">

    <TextView
        android:id="@+id/text"
        android:layout_width="wrap_content"
        android:layout_height="wrap_content"
        android:layout_gravity="left"
        android:layout_margin="5dp"
        android:background="@drawable/purple_chat_button"
        android:gravity="left"
        android:padding="10dp"
        android:text="Medium Text"
        android:textAppearance="?android:attr/textAppearanceMedium"
        android:textColor="#ffffff" />
</LinearLayout>
6. Create the source code of the MessageAdapter RecyclerView.Adapter
Add a new Java class inside src/com.javacodegeeks.androidrecyclerviewexample/ so that we are going to have the src/com.javacodegeeks.androidrecyclerviewexample/MessageAdapter.java file and paste the code below.
MessageAdapter.java
package com.javacodegeeks.examples.androidrecyclerviewexample;

import android.content.Context;
import android.support.v7.widget.RecyclerView;
import android.view.LayoutInflater;
import android.view.View;
import android.view.ViewGroup;
import android.widget.LinearLayout;
import android.widget.TextView;

import java.util.List;

public class MessageAdapter extends RecyclerView.Adapter {

    private List messageList;

    public static final int SENDER = 0;
    public static final int RECEIVER = 1;

    public MessageAdapter(Context context, List messages) {
        messageList = messages;
    }

    public static class ViewHolder extends RecyclerView.ViewHolder {
        public TextView mTextView;

        public ViewHolder(LinearLayout v) {
            super(v);
            mTextView = (TextView) v.findViewById(R.id.text);
        }
    }

    @Override
    public MessageAdapter.ViewHolder onCreateViewHolder(ViewGroup parent, int viewType) {
        if (viewType == 1) {
            View v = LayoutInflater.from(parent.getContext()).inflate(R.layout.chat_item_purple, parent, false);
            ViewHolder vh = new ViewHolder((LinearLayout) v);
            return vh;
        } else {
            View v = LayoutInflater.from(parent.getContext()).inflate(R.layout.chat_item_green, parent, false);
            ViewHolder vh = new ViewHolder((LinearLayout) v);
            return vh;
        }
    }

    public void remove(int pos) {
        int position = pos;
        messageList.remove(position);
        notifyItemRemoved(position);
        notifyItemRangeChanged(position, messageList.size());

    }

    @Override
    public void onBindViewHolder(ViewHolder holder, final int position) {
        holder.mTextView.setText(messageList.get(position).getMessage());
        holder.mTextView.setOnClickListener(new View.OnClickListener() {
            @Override
            public void onClick(View v) {
                remove(position);
            }
        });
    }

    @Override
    public int getItemCount() {
        return messageList.size();
    }

    @Override
    public int getItemViewType(int position) {
        Message message = messageList.get(position);

        if (message.getSenderName().equals("Chryssa")) {
            return SENDER;
        } else {
            return RECEIVER;
        }

    }

}
7. Android Manifest
The AndroidManifest.xml of our project is simple and contains the main Activity of our example:
AndroidManifest.xml
<manifest xmlns:android="http://schemas.android.com/apk/res/android"
    package="com.javacodegeeks.examples.androidrecyclerviewexample">

    <application
        android:allowBackup="true"
        android:icon="@mipmap/ic_launcher"
        android:label="@string/app_name"
        android:theme="@style/AppTheme">
        <activity
            android:name=".AndroidRecyclerViewActivity"
            android:label="@string/app_name"
            android:launchMode="singleTop">
            <intent-filter>
                <action android:name="android.intent.action.MAIN" />
                <category android:name="android.intent.category.LAUNCHER" />
            </intent-filter>
        </activity>
    </application>
</manifest>
8. Composing build.gradle file
We should add the AppCompat V7 support support library as well as strong>RecyclerView V7 support support library the in our project. We can add them as dependencies to our application via build.gradle file.
build.gradle
apply plugin: 'com.android.application'
android {
    compileSdkVersion 23
    buildToolsVersion "23.0.2"

    defaultConfig {
        applicationId "com.javacodegeeks.examples.androidrecyclerviewexample"
        minSdkVersion 15
        targetSdkVersion 23
        versionCode 1
        versionName "1.0"
    }
    buildTypes {
        release {
            minifyEnabled false
            proguardFiles getDefaultProguardFile('proguard-android.txt'), 'proguard-rules.pro'
        }
    }
}

dependencies {
    compile fileTree(dir: 'libs', include: ['*.jar'])
    compile 'com.android.support:appcompat-v7:23.1.1'
    compile 'com.android.support:recyclerview-v7:21.0.+'
}
9. Build, compile and run
When we build, compile and run our project, the main AndroidRecyclerViewActivity should look like this:
10. Download the Android Studio Project
This was an example of Android Android RecyclerView.
You can download the full source code of this example here: AndroidRecyclerViewExample
