Google Analytics is a service offered by Google that generates detailed statistics about a website’s traffic and traffic sources. It’s the most widely used website statistics service. However, nowadays, that mobile applications traffic has increased, detailed statistics from mobile platforms are also very important.
Google Analytics for mobile applications can measure user behavior in your app from installs to engagement and purchases. With Google Analytics platform for mobile applications, we can know what devices user our application, and where they come from and with features like Traffic Sources reports and Google Play integration that show us what brought users to our app.
This is why, Google Analytics is also essential on Android applications. And with this example we are going to elaborate on Google Analytics integration in an Android mobile application.
For our example will use the following tools in a Windows 64-bit or an OS X platform:
- JDK 1.7
- Eclipse 4.2 Juno
- Android SDK 4.4.2
Let’s take a closer look:
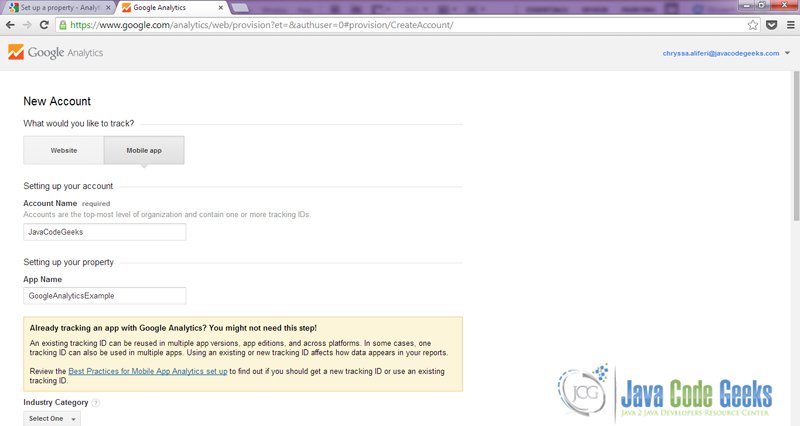
1. Create a Google Analytics Account
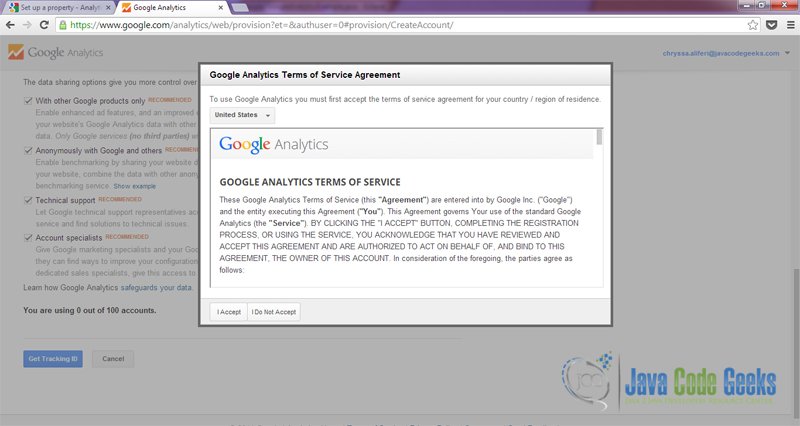
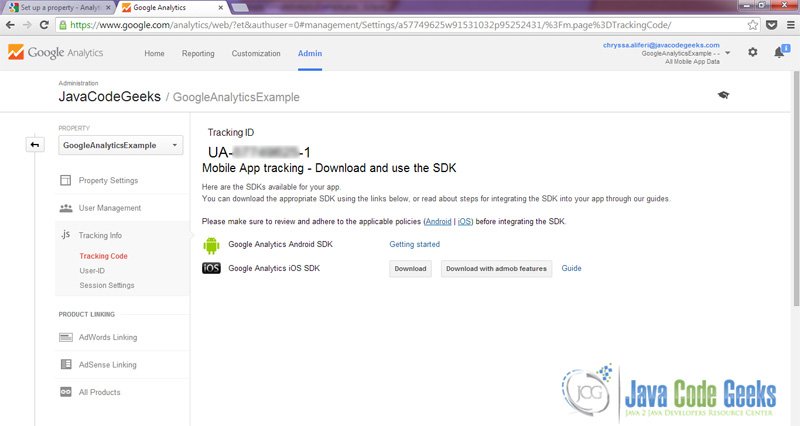
To begin with, we should create a new Google Analytics Account and subscribe our application in order to get a mobile tracking ID.
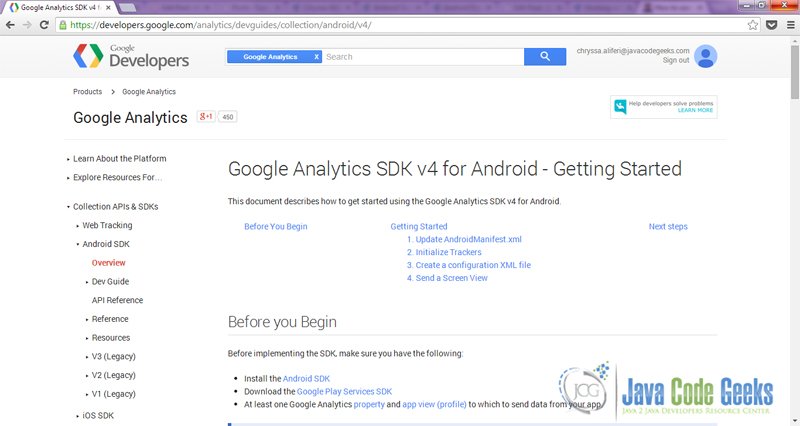
In order to use this API, we will have to enter the Google Analytics portal. Visit Google Analytics SDK v4 for Android platform and create an account, or login with your current Google Plus account.
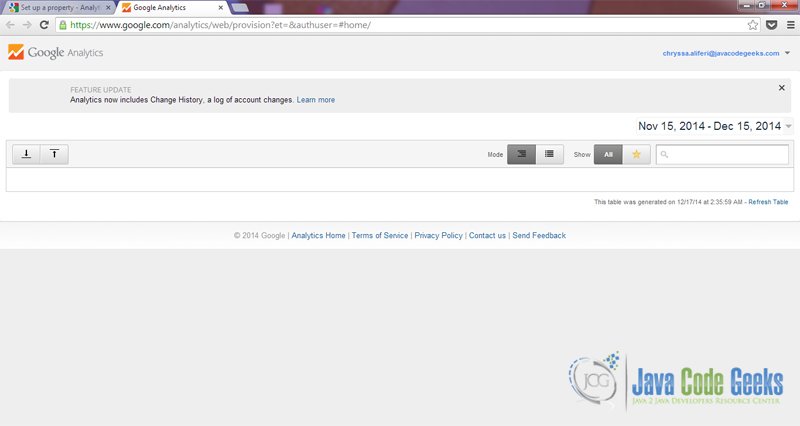
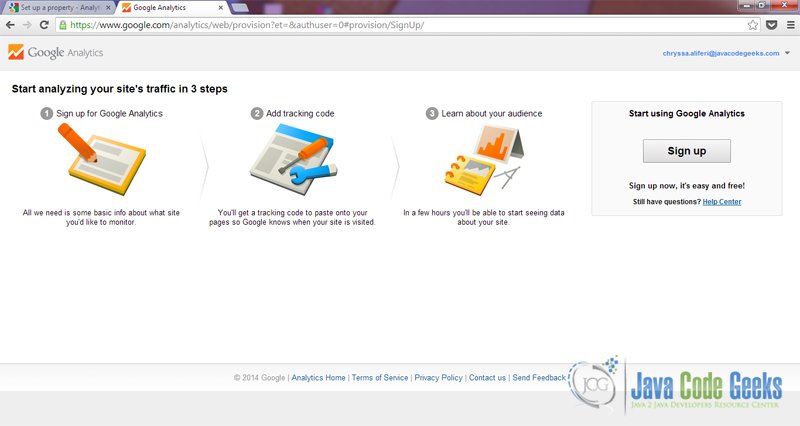
After you have created a Google Analytics account you can visit the Google Analytics dashboard by visiting www.google.com/analytics/.

Then, we enter to the plaform and we follow the flow in order to obtain the tracking ID:
2. Create a New Android Application Project
You may skip project creation and jump directly to the beginning of the example below.
Open Eclipse IDE and go to File → New → Project → Android Application Project.
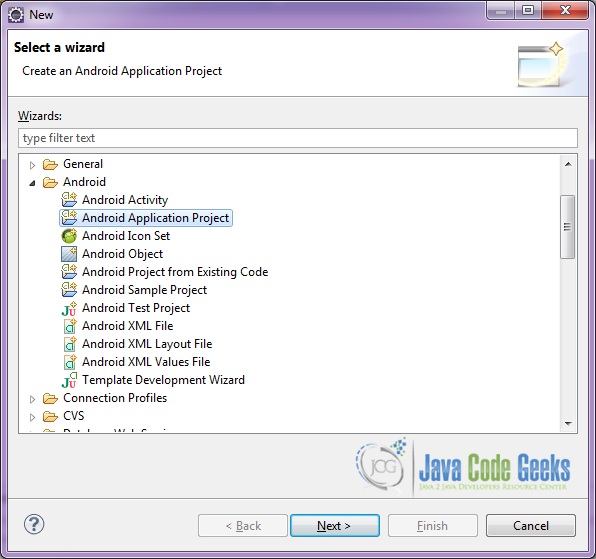
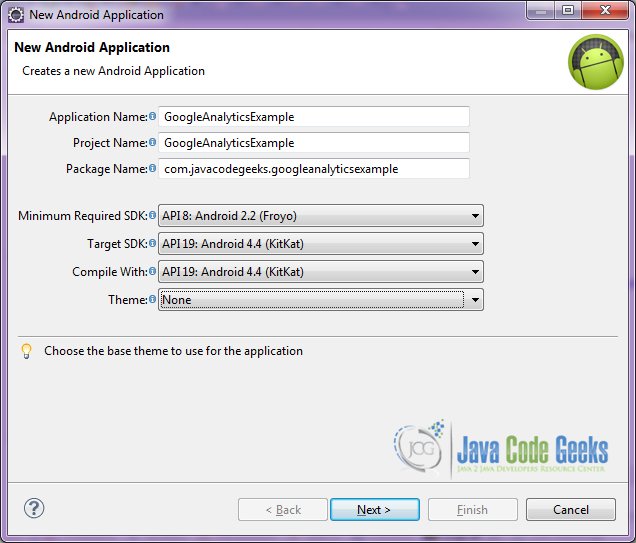
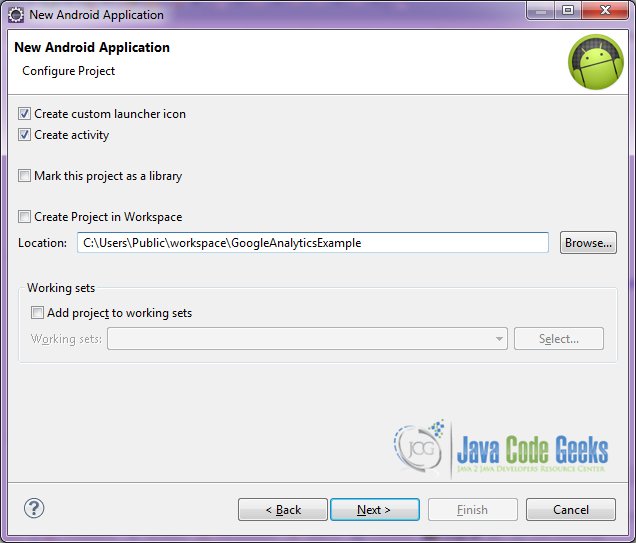
Specify the name of the application, the project and the package and then click Next.
In the next window, the “Create Activity” option should be checked. The new created activity will be the main activity of your project. Then press Next button.
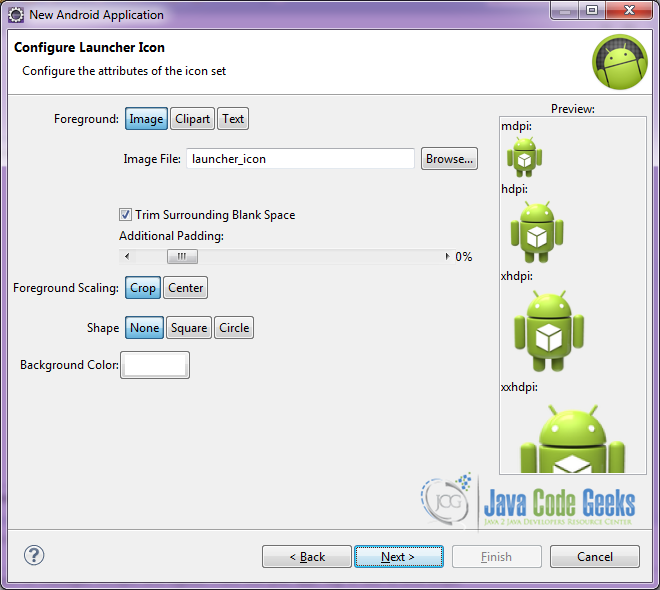
In “Configure Launcher Icon” window you should choose the icon you want to have in your app. We will use the default icon of android, so click Next.
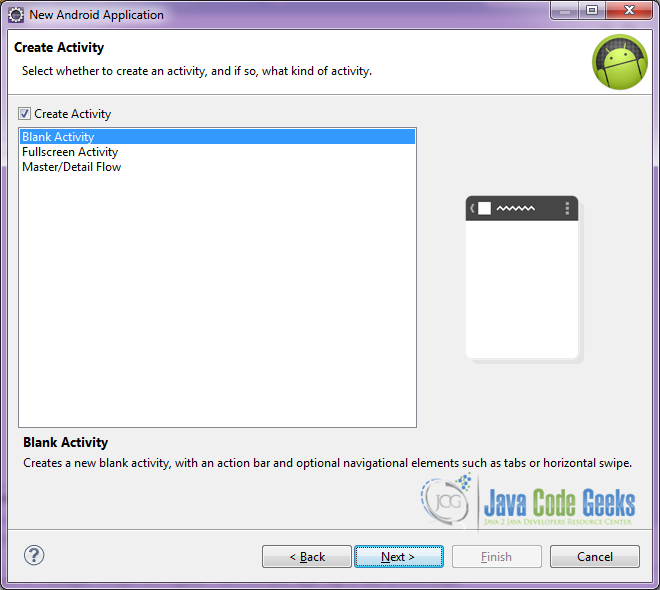
Select the “Blank Activity” option and press Next.
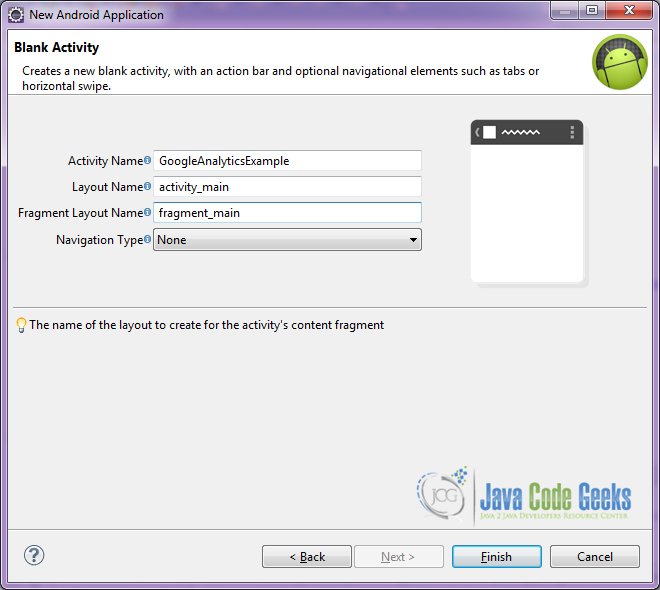
You have to specify a name for the new Activity and a name for the layout description of your app. The .xml file for the layout will automatically be created in the res/layout folder. It will also be created a fragment layout xml, that we are not going to use in this project and you can remove it if you want. Then press Finish.
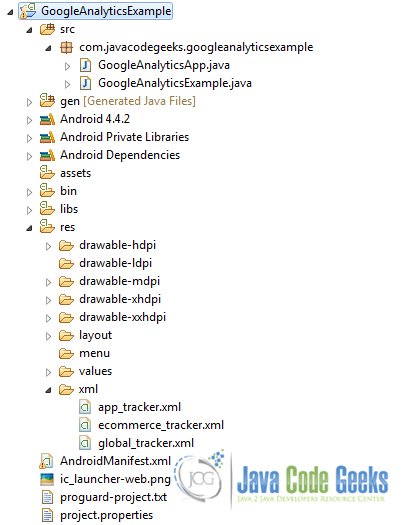
Here you can see, how will the structure of the project become when finished:
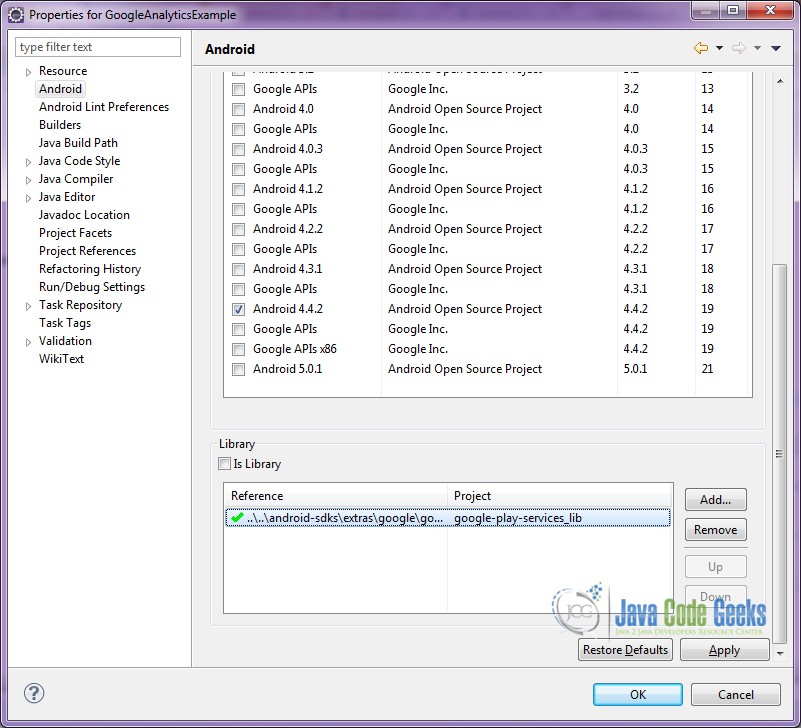
3. Import Google Play Services in your project
In order to be able to work with Google Analytics, we have to import the Google Play Services library in the project.
Google Analytics can be used and will work on devices that do not have Google Play Services. In this case you still have to download and use the Google Play Services SDK and Google Analytics will automatically fall back to local dispatching.
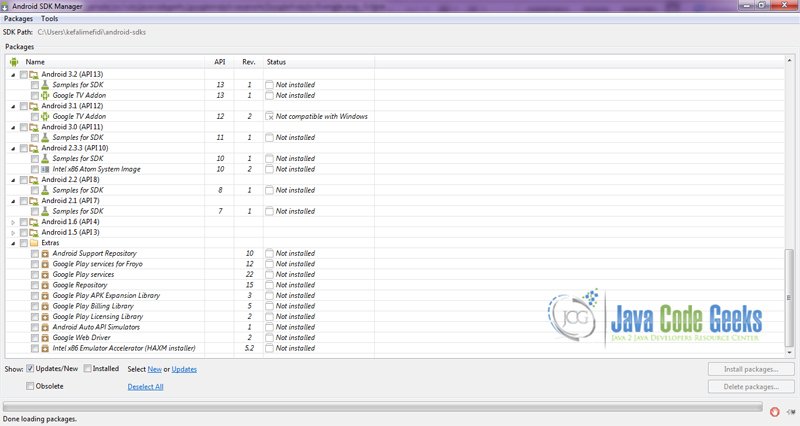
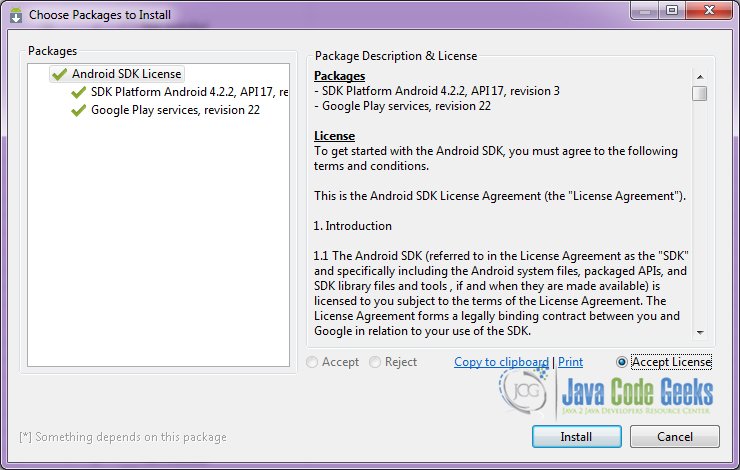
Download Google Play Services SDK. We have to launch Android SDK Manager and install the Google Play services package.

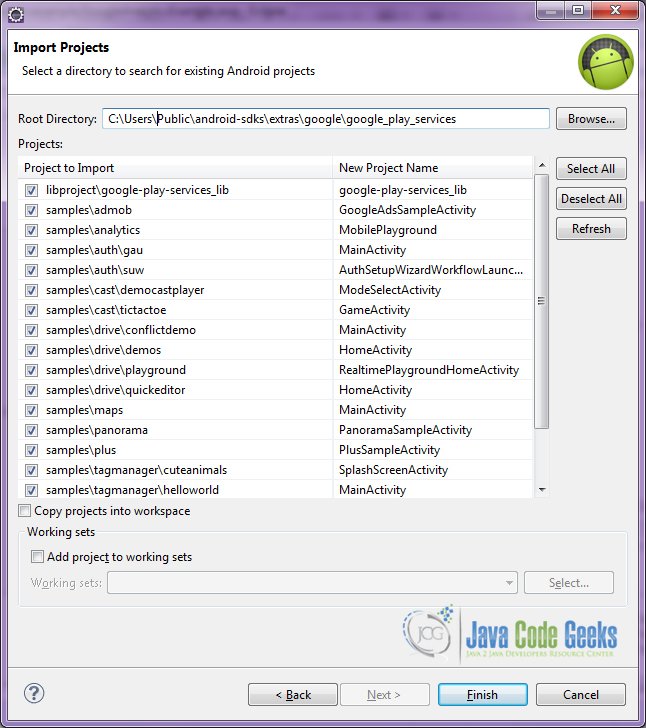
After downloading the Google Play Service package, just import this project into the main GoogleAnalyticsExample project.
4. Creating the layout of the main GoogleAnalyticsExample
We are going to make a super simple layout xml for the GoogleAnalyticsExample.class, we will basically use the default layout, that is created by Eclipse IDE, because in this example we will not add any buttons or other layouts.
Open res/layout/activity_main.xml, go to the respective xml tab and paste the following:
activity_main.xml
<FrameLayout xmlns:android="http://schemas.android.com/apk/res/android"
    xmlns:tools="http://schemas.android.com/tools"
    android:id="@+id/container"
    android:layout_width="match_parent"
    android:layout_height="match_parent"
    tools:context="com.javacodegeeks.googleanalyticsexample.GoogleAnalyticsExample" />
5. Creating the source code of the main GoogleAnalyticsExample Activity
Open src/com.javacodegeeks.googleanalyticsexample/GoogleAnalyticsExample.java file and paste the code below.
GoogleAnalyticsExample.java

package com.javacodegeeks.googleanalyticsexample;

import android.app.Activity;
import android.os.Bundle;

import com.google.android.gms.analytics.GoogleAnalytics;
import com.google.android.gms.analytics.HitBuilders;
import com.google.android.gms.analytics.Tracker;
import com.javacodegeeks.googleanalyticsexample.GoogleAnalyticsApp.TrackerName;

public class GoogleAnalyticsExample extends Activity {

	@Override
	protected void onCreate(Bundle savedInstanceState) {
		super.onCreate(savedInstanceState);
		setContentView(R.layout.activity_main);

		Tracker t = ((GoogleAnalyticsApp) getApplication()).getTracker(TrackerName.APP_TRACKER);
		t.setScreenName("Home");
		t.send(new HitBuilders.AppViewBuilder().build());
	}

	@Override
	protected void onStart() {
		// TODO Auto-generated method stub
		super.onStart();
		GoogleAnalytics.getInstance(GoogleAnalyticsExample.this).reportActivityStart(this);
	}


	@Override
	protected void onStop() {
		// TODO Auto-generated method stub
		super.onStop();
		GoogleAnalytics.getInstance(GoogleAnalyticsExample.this).reportActivityStop(this);
	}
}
6. Creating the source code of the main GoogleAnalyticsApp Application
Open src/com.javacodegeeks.googleanalyticsexample/GoogleAnalyticsApp.java file and paste the code below.
GoogleAnalyticsApp.java
package com.javacodegeeks.googleanalyticsexample;

import java.util.HashMap;

import android.app.Application;

import com.google.android.gms.analytics.GoogleAnalytics;
import com.google.android.gms.analytics.Tracker;

public class GoogleAnalyticsApp extends Application {

	private static final String PROPERTY_ID = "UA-xxxxxxxx-1";

	public static int GENERAL_TRACKER = 0;

	public enum TrackerName {
		APP_TRACKER, GLOBAL_TRACKER, ECOMMERCE_TRACKER,
	}

	public HashMap mTrackers = new HashMap();

	public GoogleAnalyticsApp() {
		super();
	}

	public synchronized Tracker getTracker(TrackerName appTracker) {
		if (!mTrackers.containsKey(appTracker)) {
			GoogleAnalytics analytics = GoogleAnalytics.getInstance(this);
			Tracker t = (appTracker == TrackerName.APP_TRACKER) ? analytics.newTracker(PROPERTY_ID) : (appTracker == TrackerName.GLOBAL_TRACKER) ? analytics.newTracker(R.xml.global_tracker) : analytics.newTracker(R.xml.ecommerce_tracker);
			mTrackers.put(appTracker, t);
		}
		return mTrackers.get(appTracker);
	}
}
7. Creating the source code of the app_tracker.xml
Open res/xml/app_tracker.xml, go to the respective xml tab and paste the following:
app_tracker.xml
<?xml version="1.0" encoding="utf-8"?>
<resources>

    <string name="ga_trackingId">UA-57749625-1</string>

    <bool name="ga_autoActivityTracking">true</bool>
    <bool name="ga_reportUncaughtExceptions">true</bool>

    <string name="ga_appName">GoogleAnalyticsApp</string>
    <string name="ga_appVersion">1.1.3</string>

    <bool name="ga_debug">true</bool>

    <item name="ga_dispatchPeriod" format="integer" type="integer">120</item>

    <string name="ga_sampleFrequency">90</string>

    <bool name="ga_anonymizeIp">true</bool>
    <bool name="ga_dryRun">false</bool>

    <string name="ga_sampleFrequency">100.0</string>

    <integer name="ga_sessionTimeout">-1</integer>

    <string name="com.javacodegeeks.googleanalyticsexample">GoogleAnalyticsExample</string>

</resources>
8. Creating the source code of the ecommerce_tracker.xml
Open res/xml/ecommerce_tracker.xml, go to the respective xml tab and paste the following:
ecommerce_tracker.xml
<?xml version="1.0" encoding="utf-8"?>
<resources>
    <integer name="ga_sessionTimeout">60</integer>
    <string name="ga_trackingId">UA-xxxxxxxx-1</string>
</resources>
9. Creating the source code of the global_tracker.xml
Open res/xml/global_tracker.xml, go to the respective xml tab and paste the following:
global_tracker.xml
<?xml version="1.0" encoding="utf-8"?>
<resources>

    <integer name="ga_sessionTimeout">300</integer>

    <bool name="ga_autoActivityTracking">true</bool>

    <screenName name="com.google.android.gms.analytics.samples.mobileplayground.ScreenviewFragment">GoogleAnalyticsExample ScreenViewSampleScreen
</screenName>
    <screenName name="com.google.android.gms.analytics.samples.mobileplayground.EcommerceFragment">GoogleAnalyticsExample EcommerceSampleScreen
</screenName>

    <string name="ga_trackingId">UA-xxxxxxxx-1</string>

</resources>
9. Android Manifest
The AndroidManifest.xml of our project is simple and contains the permissions:
AndroidManifest.xml
<?xml version="1.0" encoding="utf-8"?>
<manifest xmlns:android="http://schemas.android.com/apk/res/android"
    package="com.javacodegeeks.googleanalyticsexample"
    android:versionCode="1"
    android:versionName="1.0" >

    <uses-sdk
        android:minSdkVersion="8"
        android:targetSdkVersion="20" />

    <uses-permission android:name="android.permission.INTERNET" />
    <uses-permission android:name="android.permission.ACCESS_NETWORK_STATE" />

    <application
        android:name="com.javacodegeeks.googleanalyticsexample.GoogleAnalyticsApp"
        android:allowBackup="true"
        android:icon="@drawable/ic_launcher"
        android:label="@string/app_name" >
        <activity
            android:name="com.javacodegeeks.googleanalyticsexample.GoogleAnalyticsExample"
            android:label="@string/app_name" >
            <intent-filter>
                <action android:name="android.intent.action.MAIN" />
                <category android:name="android.intent.category.LAUNCHER" />
            </intent-filter>
        </activity>
    </application>

    <meta-data
        android:name="com.google.android.gms.version"
        android:value="@integer/google_play_services_version" />
    <meta-data
        android:name="com.google.android.gms.analytics.globalConfigResource"
        android:resource="@xml/global_tracker" />

</manifest>
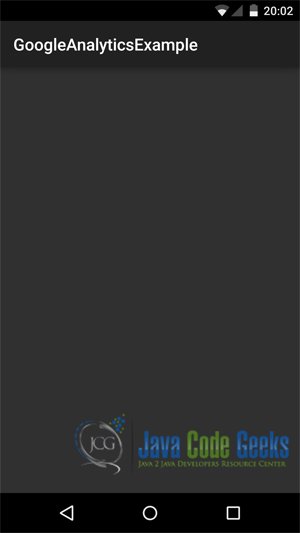
10. Build, compile and run
When we build, compile and run our project, the main GoogleAnalyticsExample should look like this:
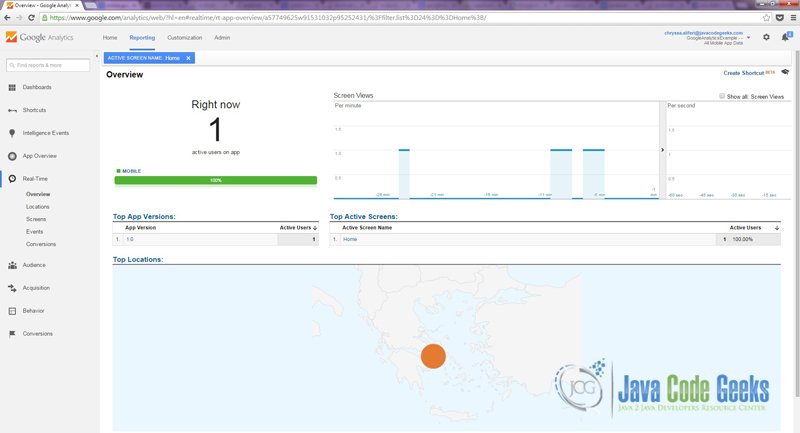
Now enter the Google Analytics dashboard by visiting www.google.com/analytics/. You can see the first set of statistics:
Download the Eclipse Project
This was an example of Android GoogleAnalyticsExample.
You can download the full source code of this example here: GoogleAnalyticsExample.
11. Explore Google Analytics for Android
Google Analytics for mobile apps provides a platform to measure user interactions, and there are numerous of possibilities you can match. You should visit the Google Analytics guide for Android in order to explore how you can implement additional Google Analytics features to better understand your users and their behavior.
