Android Studio is the official IDE for Android development, and with a single download includes everything you need to begin developing Android apps.
This example describes the differences between Eclipse ADT and Android Studio, including project structure, build system, and application packaging, and will help you migrate your Android Eclipse project to Android Studio as your new development environment.
For our example will use the following tools in a Windows 64-bit or an OS X platform:
- JDK 1.7
- Android Studio 1.3.2
- Eclipse 4.2 Juno
- Android SDK
You may skip the theoretical part and jump directly to the beginning of the example below.
Let’s start with a slice of Android Studio theory…
1. Why to use Android Studio over Eclipse ADT?
Android Studio offers:
- Flexible Gradle-based build system
- Build variants and multiple apk file generation
- Code templates to help you build common app features
- Built-in support for Google Cloud Platform, making it easy to integrate Google Cloud Messaging and App Engine
- Rich layout editor with support for drag and drop theme editing
- lint tools to catch performance, usability, version compatibility, and other problem
- Built-in support for Google Cloud Platform, making it easy to integrate Google Cloud Messaging and App Engine
- Official Google Support and usual updates that need no migration
2. Android Studio new project structure
Eclipse provides workspaces as a common area for grouping related projects, configurations, and settings. In Android Studio, each instance of Android Studio contains a top-level project with one or more app modules. Each app module folder contains the equivalent to an Eclipse project, the complete source sets for that module, including src/main and src/androidTest directories, resources, build file, and the Android manifest. In general, to update and build your app you modify the files under each module’s src/main directory for source code updates, the gradle.build file for build specification, and the files under src/androidTest directory for test case creation. Also due to the structural differences between Android Studio projects vs Eclipse ADT projects, they cannot co-exist. Here is a table of the main differences:
| Eclipse ADT | Android Studio |
|---|---|
| Workspace | Project |
| Project | Module |
| Project-specific JRE | Module JDK |
| Classpath variable | Path variable |
| Project dependency | Module dependency |
| Library Module | Library |
AndroidManifest.xml | app/src/main/AndroidManifest.xml |
assets/ | app/src/main/assets |
res/ | app/src/main/res/ |
src/ | app/src/main/java/ |
tests/src/ | app/src/androidTest/java/ |
3. Gradle and build.gradle
Gradle is a build and automation tool, that can automate our building, testing, deploying tasks and many more. Gradle is the next generation build system for Java technologies that includes some advantages from older tools like Ant or Maven systems. Android Studio uses the power of Gradle, in order to provide all the above advantages, such as build variants and multiple apk file generation.
Android Studio projects contain a top-level build file and a build file for each module. The build files are called build.gradle, and they are plain text files that use Groovy syntax to configure the build with the elements provided by the Android plugin for Gradle. In most cases, you only need to edit the build files at the module level.
It looks like this:
apply plugin: 'com.android.application'

android {
    compileSdkVersion 19
    buildToolsVersion "19.0.0"

    defaultConfig {
        minSdkVersion 8
        targetSdkVersion 19
        versionCode 1
        versionName "1.0"
    }
    buildTypes {
        release {
            minifyEnabled true
            proguardFiles getDefaultProguardFile('proguard-android.txt'), 'proguard-rules.pro'
        }
    }
}

dependencies {
    compile project(":lib")
    compile 'com.android.support:appcompat-v7:19.0.1'
    compile fileTree(dir: 'libs', include: ['*.jar'])
}
4. Simple Eclipse ADT project migration to Android Studio
Here, we have an example of this Eclipse ADT project migration to Android Studio. In this example, we are going to migrate the eclipse project that we created in this example: Android Google Maps v2 Tutorial. This is a wonderful example of how we are going to migrate a simple application project, that has a java class package and a Google Play Services library dependency. So, we are going to take this code, import it and compile it under Gradle system, and run it.
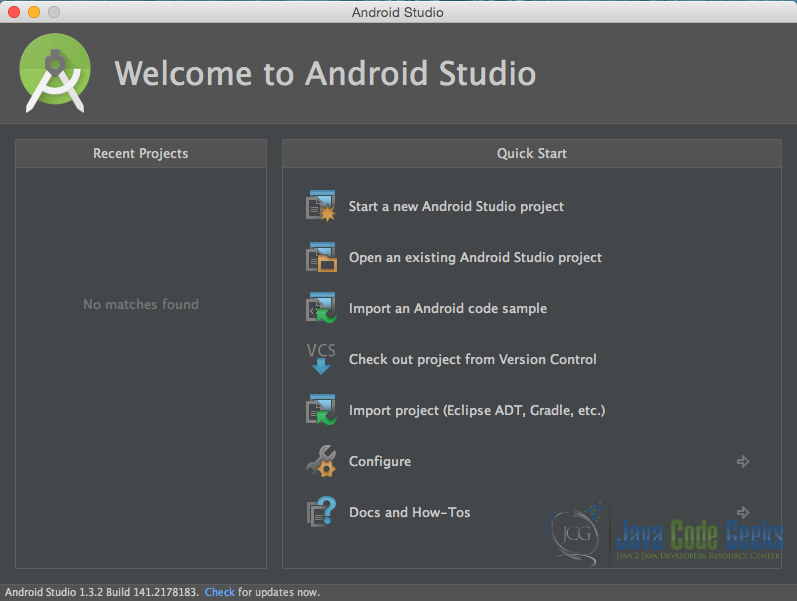
Open Android Studio and choose “Start a new Android Studio Project” in the welcome screen.
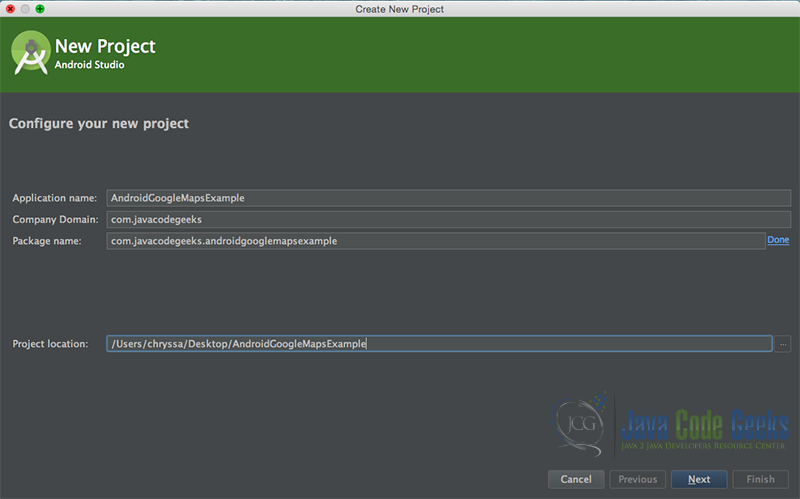
Specify the name of the application, the project and the package.
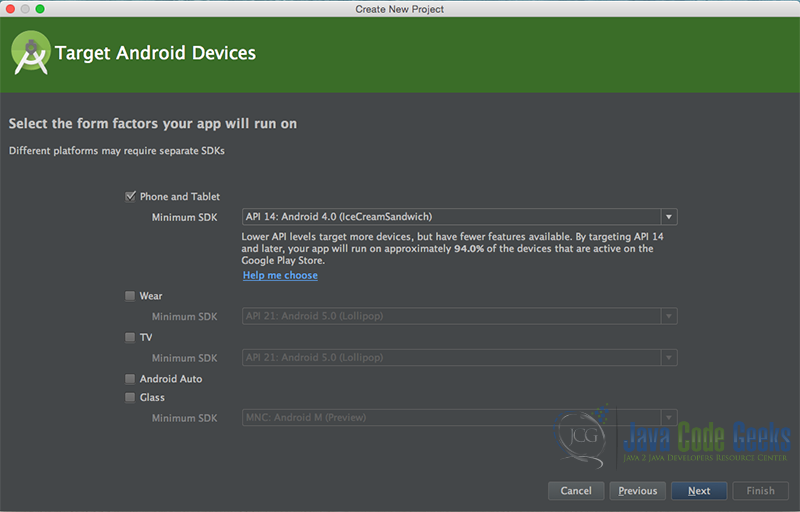
In the next window, select the form factors your app will run on.
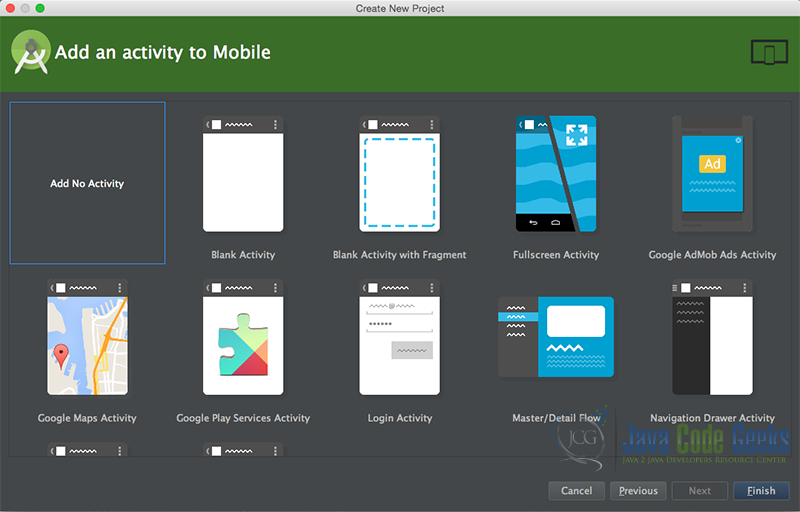
In the next window you should choose to “Add an activity to Mobile”. In our example, we will choose to create a project with no activity, because we will migrate our Activities for the eclipse formed project. So, choose: “Add no activity”.
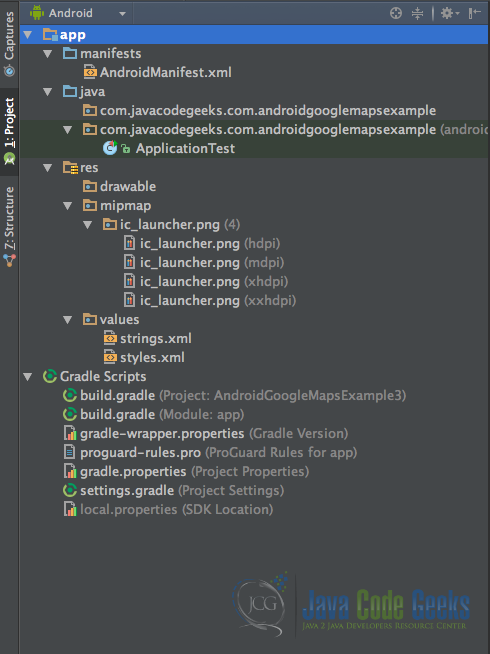
Now, our project has just been created. This is how it looks like in the “Android” project view:

5. Java code and resources migration
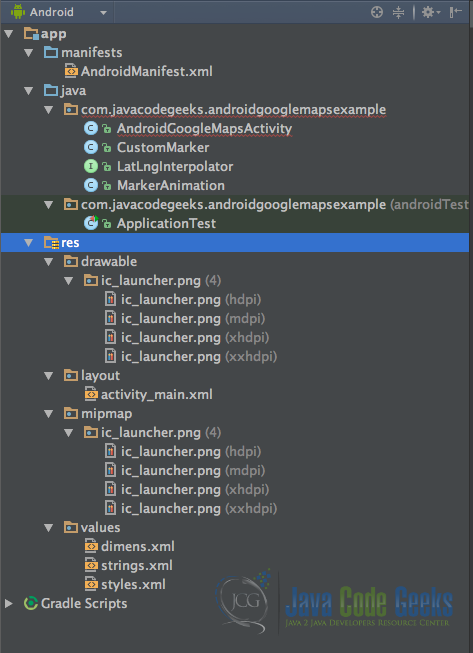
As we discussed above, there are some pretty significant changes between the project structures between Eclipse ADT and Android Projects. The biggest is that both Java classes and the Android resources folder, are under app/src/main/ directory. We are going to copy our Java classes alone, inside the app/java/com.javacodegeeks.androidgooglemapsexample folder, as we see it in Android package view.
After this, we are going to copy also our eclipse resources folders under app/res/ folder, as we see it in Android package view. If this suggest to overwrite some files and folders, we do it cautiously. We should now have something like this:
6. AndroidManifest.xml and build.gradle file
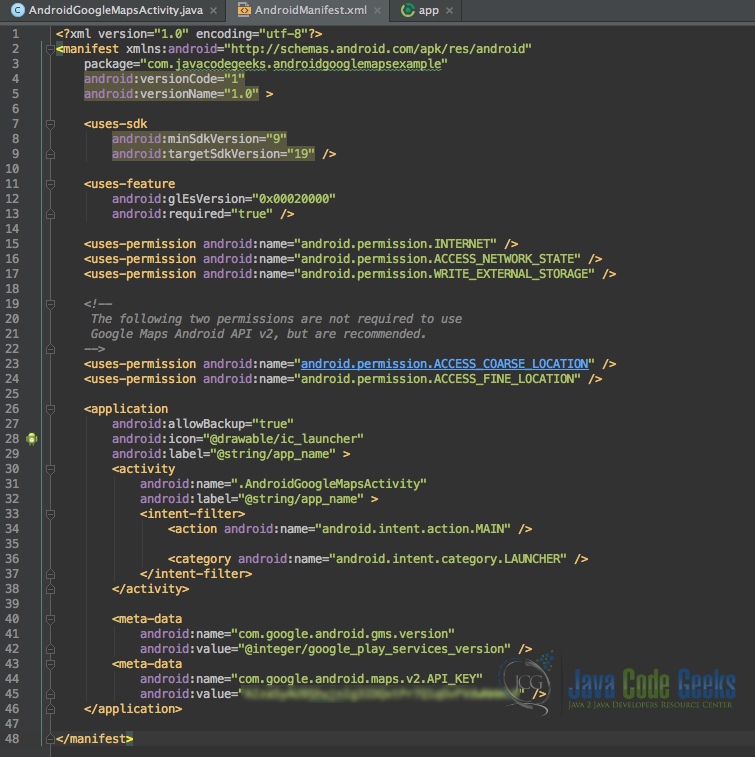
Then, we move on copying our AndroidManifest.xml file. In Android Studio project structure, we can find our manifest files inside the app/manifests folder. We overwrite the Android Studio project AndroidManifest.xml with our eclipse project manifest xml.
We should now have something like this:
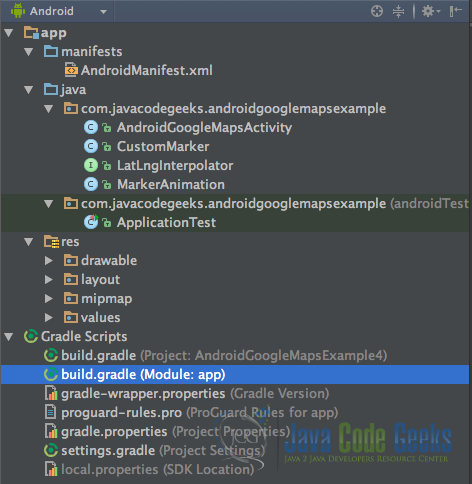
Finally, we have our build.gradle file, that we should be very careful in its configurations.
We write something like this:
build.gradle
apply plugin: 'com.android.application'

android {
    compileSdkVersion 22
    buildToolsVersion "23.0.1"

    defaultConfig {
        applicationId "com.javacodegeeks.androidgooglemapsexample"
        minSdkVersion 14
        targetSdkVersion 22
        versionCode 1
        versionName "1.0"
    }
    buildTypes {
        release {
            minifyEnabled false
            proguardFiles getDefaultProguardFile('proguard-android.txt'), 'proguard-rules.pro'
        }
    }
}

dependencies {
    compile fileTree(dir: 'libs', include: ['*.jar'])
    compile 'com.android.support:appcompat-v7:22.2.1'
    compile 'com.google.android.gms:play-services:8.1.0'
}
With compile fileTree(dir: 'libs', include: ['*.jar']) we add in our Gradle configuration, any external library we might have added in the app/libs project folder. And with the next line compile 'com.google.android.gms:play-services:8.1.0' we add in our Gradle configuration the public repository in which Google supports Google Play Services library with Gradle. In this way we have added Google Play Services library in our project. This library is going to be compiled and packaged in our application project!

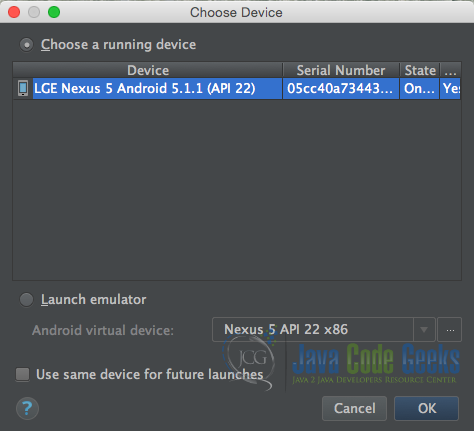
We, now, have to sync our project, and run this module, by pressing the “run” green button. If everything is the right place, and especially the application package names are the right ones, then we should see our project run.
This was the Android Project migration from Eclipse to Android Studio example. This example was a theoretical one. From now on we are going to present examples in Android Studio IDE, as Google has stopped support on Eclipse ADT. Additionally, Android Studio is now the official Android IDE!
7. Download the Android Studio Project
This was an example of Android Google Maps v2 Tutorial migrated to Android Studio.
You can download the full source code of this example here: AndroidGoogleMapsExampleAD
