Twitter has recently released a new software development kit. Its name is Fabric and it provides a set of crash reporting and mobile analytics tools for mobile applications. One of the tools that Fabric offers, is Crashlytics. Crashlytics is a crash reporting service, that can track your Android application crashes and lots of statistical information and analytics. Crashlytics is a very known tool, it is completely free of charge and can help you have a very detailed view of your application crashes in the real production world.
Twitter has also created a plugin both for Android Studio as well as for Eclipse, in order to fasten this procedure with very specific details and step by step instructions.
In this example, we will see how we can use Fabric via Android Studio in order to add Crashlytics in our Android application and implement the crash tracking service step by step.
For our example will use the following tools in a Windows 64-bit or an OS X platform:
- JDK 1.7
- Android Studio 1.3.2
- Android SDK 5.1
Let’s take a closer look:
1. Import Fabric plugin into Android Studio
You may skip the plugin installation on Android Studio and jump directly to the beginning of the example below.
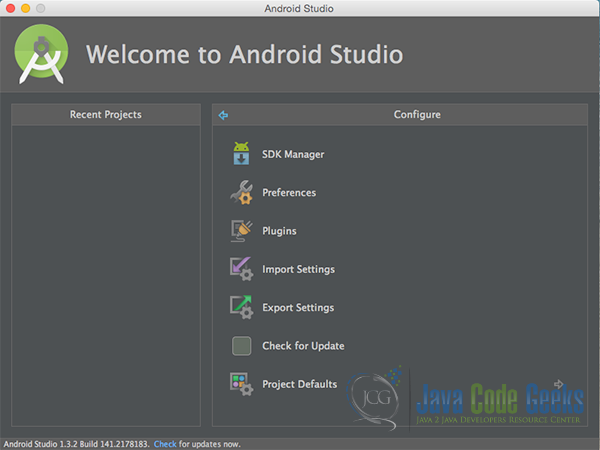
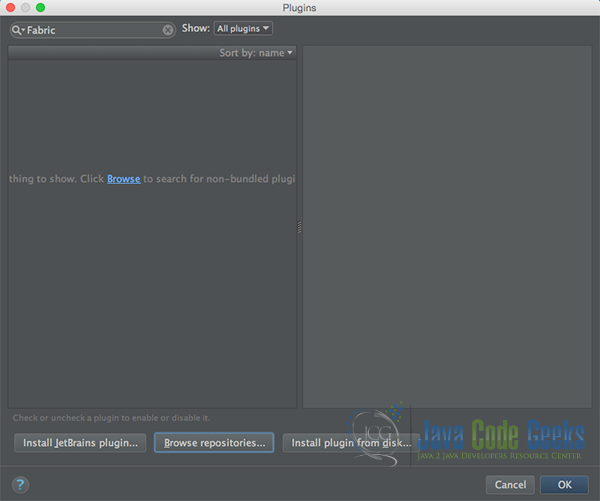
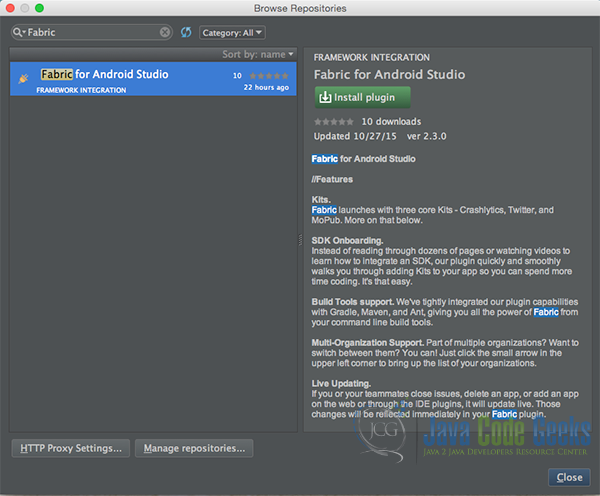
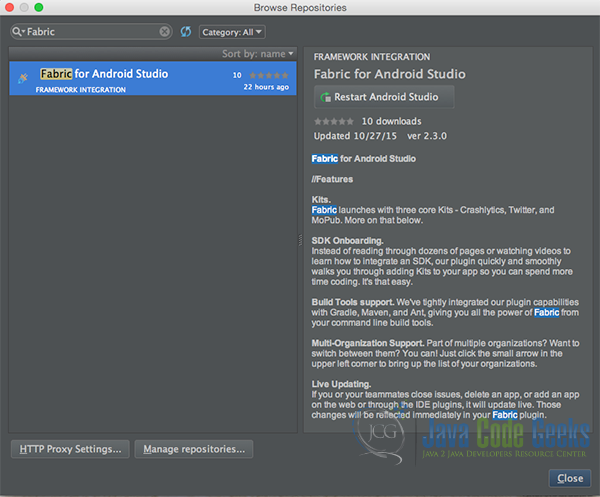
For this example, we have to install the Fabric Plugin for Android Studio. Let’s open Android Studio select Configure > Plugins.

Then we should find the “Fabric” Plugin, download and install it into Android Studio.
2. Create a New Android Application Project (or open a project you want to integrate Crashlytics)
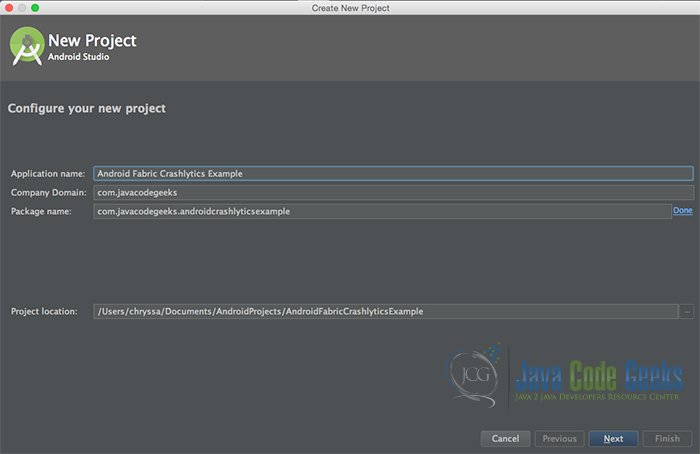
Open Android Studio and choose “Start a new Android Studio Project” in the welcome screen.
Specify the name of the application, the project and the package.
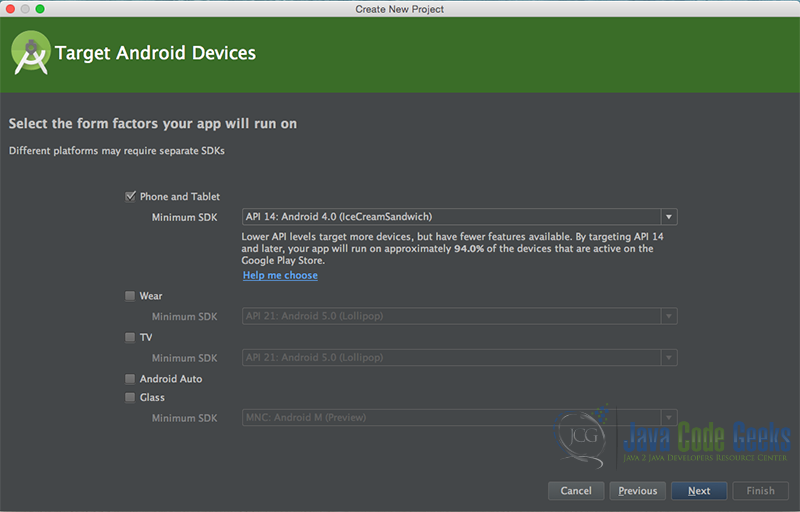
In the next window, select the form factors your app will run on.
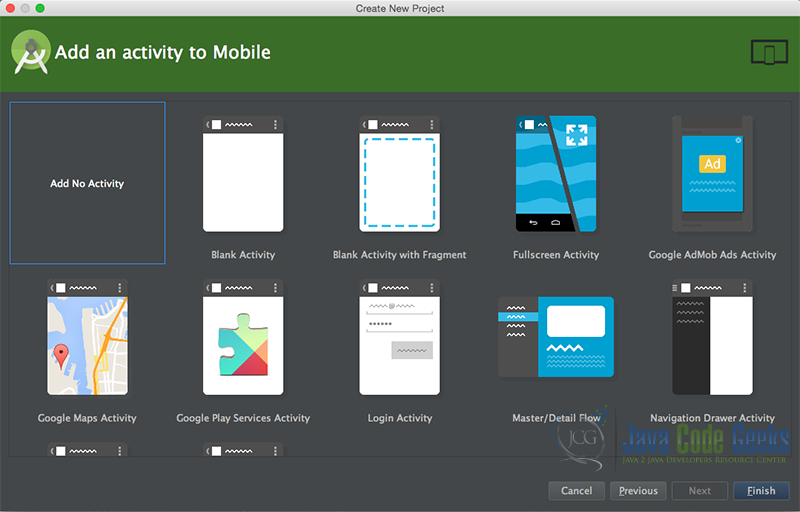
In the next window you should choose to “Add an activity to Mobile”. In our example, we will choose to create a project with no activity, because we will migrate our Activities for the eclipse formed project. So, choose: “Add no activity”.
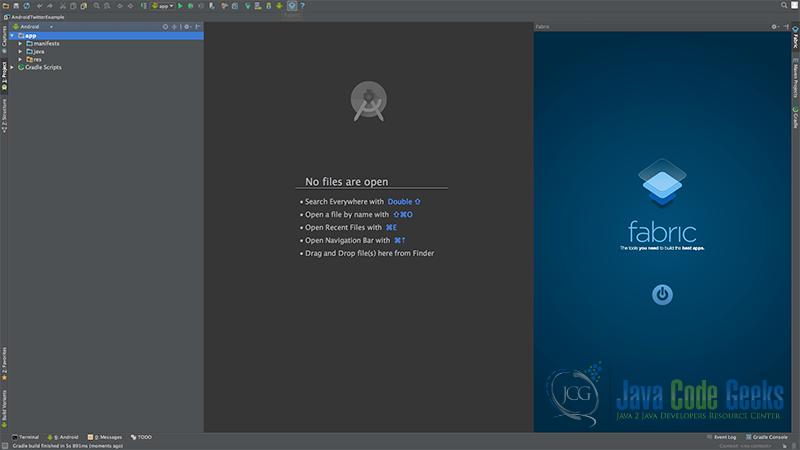
Now, our project has just been created. This is how it looks like in the “Android” project view:
You can add the Fabric library and integrate Crashlytics even if you do not install the Fabric Android Studio Plugin. Just follow the instructions below, and add Fabric on build.gradle and AndroidManifest.xml. Do not forget to register an account on the Fabric.io web application, and add your own Fabric ApiKey for your specific application.
3. Composing build.gradle file to include Crashlytics
Open build.gradle file, and add the following code:

build.gradle
buildscript {
    repositories {
        mavenCentral()
        maven { url 'https://maven.fabric.io/public' }
    }
    dependencies {
        classpath 'com.android.tools.build:gradle:1.5.0'
        classpath 'io.fabric.tools:gradle:1.+'
    }
}

apply plugin: 'com.android.application'
apply plugin: 'io.fabric'


repositories {
    mavenCentral()
    maven { url 'https://maven.fabric.io/public' }
}

android {
    compileSdkVersion 23
    buildToolsVersion "23.0.2"

    defaultConfig {
        applicationId "com.javacodegeeks.androidcrashlyticsexample"
        minSdkVersion 14
        targetSdkVersion 23
        versionCode 1
        versionName "1.0"
    }
    buildTypes {
        release {
            minifyEnabled false
            proguardFiles getDefaultProguardFile('proguard-android.txt'), 'proguard-rules.pro'
        }
    }
}

dependencies {
    compile fileTree(dir: 'libs', include: ['*.jar'])
    testCompile 'junit:junit:4.12'
    compile 'com.android.support:appcompat-v7:23.2.1'
    compile('com.crashlytics.sdk.android:crashlytics:2.5.5@aar') {
        transitive = true;
    }
}
4. Adding the source code in the starting Activity of our application
We are going now to add the Crashlytics code in our starting Activity.
Open src/main/java/com.javacodegeeks.androidcrashlyticsexample/StartActivity.java file and paste the code below.
StartActivity.java
package com.javacodegeeks.androidcrashlyticsexample;

import android.os.Bundle;
import android.app.Activity;
import io.fabric.sdk.android.Fabric;
import com.crashlytics.android.Crashlytics;

public class StartActivity extends Activity {
    @Override
    protected void onCreate(Bundle savedInstanceState) {
        super.onCreate(savedInstanceState);
        Fabric.with(this, new Crashlytics());
        setContentView(R.layout.activity_sample);
    }

    @Override
    protected void onResume() {
        super.onResume();
    }

    @Override
    protected void onDestroy() {
        super.onDestroy();
    }
}
It is essential to register your Fabric account from the Android Studio plugin, or from the Fabric.io web application. Follow the instructions and you will see a full integration guide. Please follow this guide as long you read this example. Throughout this guide you will find out how to make a new account, to add a new Android application and the ApiKey for your specific application.
5. Android Manifest
The AndroidManifest.xml of our project is simple and contains the permissions:
AndroidManifest.xml
<manifest xmlns:android="http://schemas.android.com/apk/res/android"
    package="com.javacodegeeks.androidcrashlyticsexample"
    android:versionCode="1"
    android:versionName="1.0">

    <uses-sdk
        android:minSdkVersion="7"
        android:targetSdkVersion="15" />

    <application
        android:allowBackup="true"
        android:icon="@mipmap/ic_launcher"
        android:label="@string/app_name"
        android:supportsRtl="true"
        android:theme="@style/AppTheme">
        <activity
            android:name=".StartActivity" >
            <intent-filter>
                <action android:name="android.intent.action.MAIN" />
                <category android:name="android.intent.category.LAUNCHER" />
            </intent-filter>
        </activity>
        <meta-data
            android:name="io.fabric.ApiKey"
            android:value="2f160620708ff1ba8a44940d7808bec5d334c9b6" />
    </application>

    <uses-permission android:name="android.permission.INTERNET" />
</manifest>
6. Build and run the application
When we build, compile and run our project, the Fabric web application control panel will start to track crashes and general statistics.
7. Download the Android Studio Project
This was an example of Android Fabric Crashlytics implementation.
You can download the full source code of this example here: AndroidFabricCrashlyticsExample
