Hello, in this tutorial I would like to show the usage of the jsf inputHidden value tag. The tag can be used to pass temporary data or information provided by the user that should be used again and will demonstrate the following:
- Form page having hidden field
- Sending & receiving data to & from a managed bean
- Displaying the result through javascript
This example will show the implementation of inputHidden tag in jsf.
1. Introduction
<h:inputHidden /> tag is used to include the hidden variables in a page. Hidden form fields are typically used to maintain state information and it does not appear in webpage (i.e. client’s browser), so developers can pass the hidden information while submitting a form.
In the below tutorial, we will have the following components:
- demo.xhtml – A jsf page having hidden input value which will not be rendered on the page
- HelloBean.java – A managed bean class which set the default value of the hidden field
- web.xml – Web application configuration file
This application will fill a jsf inputHidden value field and then display the hidden value through JavaScript in an alert box.
1.1 How it can be achieved?
Programmers need to implement the <h:inputHidden /> tag in a jsf application to handle the hidden input field values. Let’s take a look at the tag and understand how it is done:
JSF inputHidden Tag
<h:inputHidden value="hiddenValue " id="hiddenField" />
The above JSF tag is rendered to the following HTML tag in the client’s browser:
HTML Tag
<input id="jsfForm:hiddenField" type="hidden" name="jsfForm:hiddenField" value="hiddenValue" />
1.2 Tag Attributes
There are multiple attributes that can be used with the inputHidden tag, for e.g.:
| # | Attribute | Description |
|---|---|---|
| 1. | id | The unique identifier value for this component. The value must be unique within the closest naming container (e.g. h:form or f:subview). This value must be a static value. |
| 2. | binding | The value-binding expression linking this component tag to a backing bean property. |
| 3. | value | It holds the current value of this component. |
| 4. | converter | The converter attribute sets the converter instance to be registered for this component. It must match the converter-id value of a converter element defined in your Faces configuration file. |
| 5. | immediate | A boolean value that identifies the phase during which action events should fire. During normal event processing, action methods and action listener methods are fired during the “invoke application” phase of request processing. If this attribute is set to “true”, these methods are fired instead at the end of the “apply request values” phase. |
| 6. | required | The required attribute is a boolean flag that indicates whether or not the user is required to provide a value for this field before the form can be submitted to the server. |
| 7. | valueChangeListener | The valueChangeListener attribute accepts a method-binding expression representing a value change listener method to be notified when a new value has been set for this input component. A value change listener method must be a public method that takes a ValueChangeEvent parameter, with a return type of void. |
| 8. | rendered | A boolean value that indicates whether this component should be rendered. Default value: true. |
In case, programmers want to briefly understand the tag they might consider this option. Now, open up the Eclipse IDE and let’s start building the application!
2. JSF Hidden Input Example
2.1 Tools Used
We are using Eclipse Kepler SR2, JDK 8 (1.8.0_131) and Tomcat7 application server. Having said that, we have tested the code against JDK 1.7 and it works well.
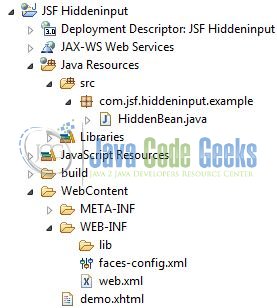
2.2 Project Structure
Firstly, let’s review the final project structure, in case you are confused about where you should create the corresponding files or folder later!
2.3 Project Creation
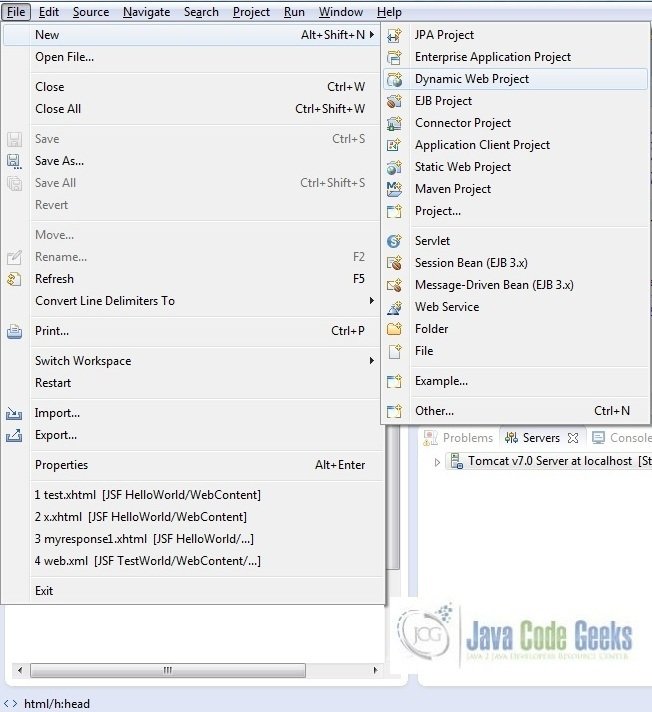
This section will demonstrate on how to create a Dynamic Web Java project with Eclipse. In Eclipse IDE, go to File -> New -> Dynamic web project
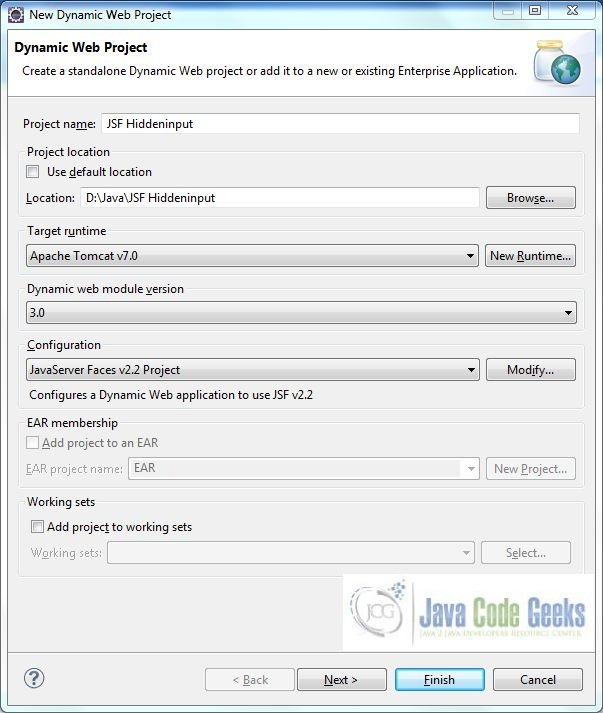
In the New Dynamic Project window fill in the below details and click next
- Enter the project name and project location
- Select Target runtime as Apache Tomcat v7.0 from dropdown
- Select Configuration as JavaServer Faces v.2.2 Project from dropdown (this is required to download the java server faces capabilities in your project)
Leave everything as default in this window as we will be making the required java file at a later stage. Simply click next and we will land up on the web-module window

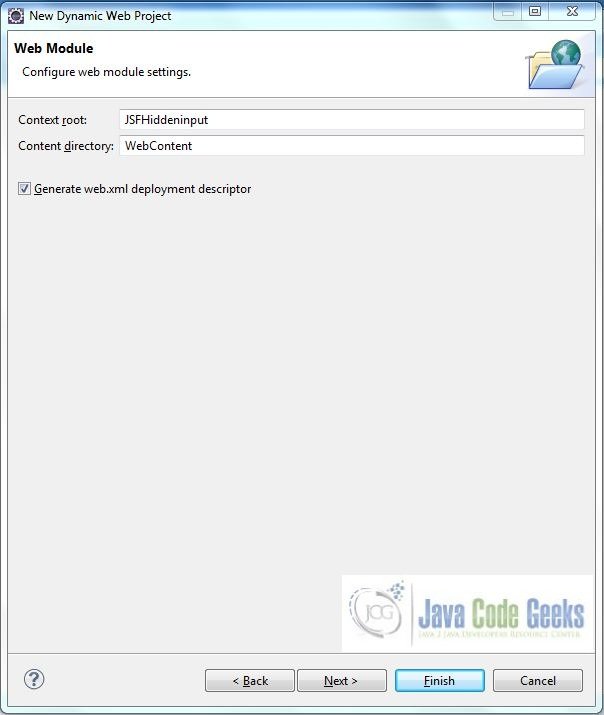
In the Web Module window, leave the context_root and content_directory values as default (however, you can change the context_root but for the first application let’s keep it as a default value). Simply, check Generate web.xml deployment descriptor checkbox and click next
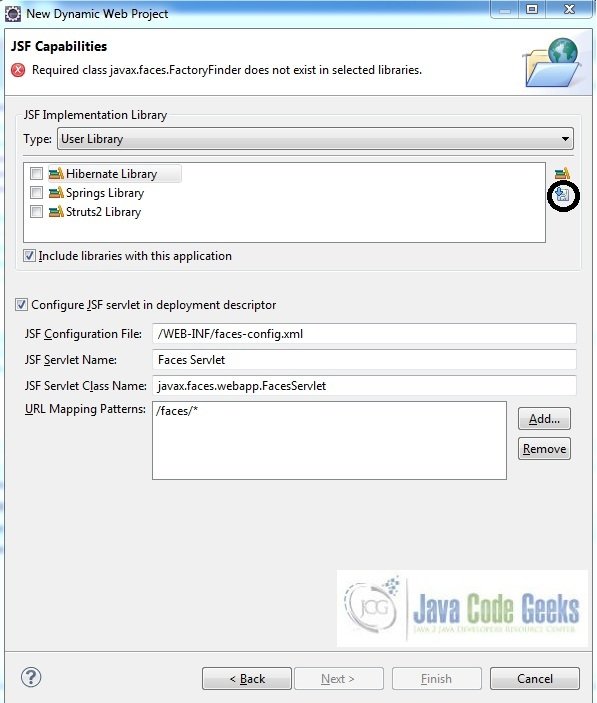
In the JSF Capabilities windows, we will require downloading the dependencies (not available by default) so that our project is configured as a JSF module in Eclipse. Add the JSF capabilities to the web project by clicking on the download icon (encircled in Fig. 6) and download the JSF 2.2 Mojarra implementation
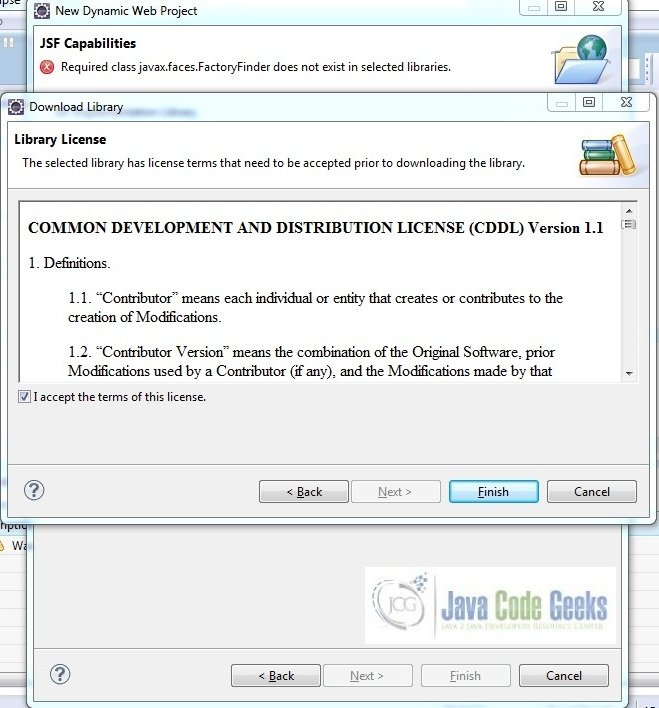
A new pop-up window will open where it will auto lists down the JSF library. Select the JSF 2.2 library and click next (the library name and download destination will be auto populated)

Check the license checkbox and click finish. Eclipse will download the JSF 2.2 library and will display them on the JSF capabilities windows (i.e. Fig. 6)
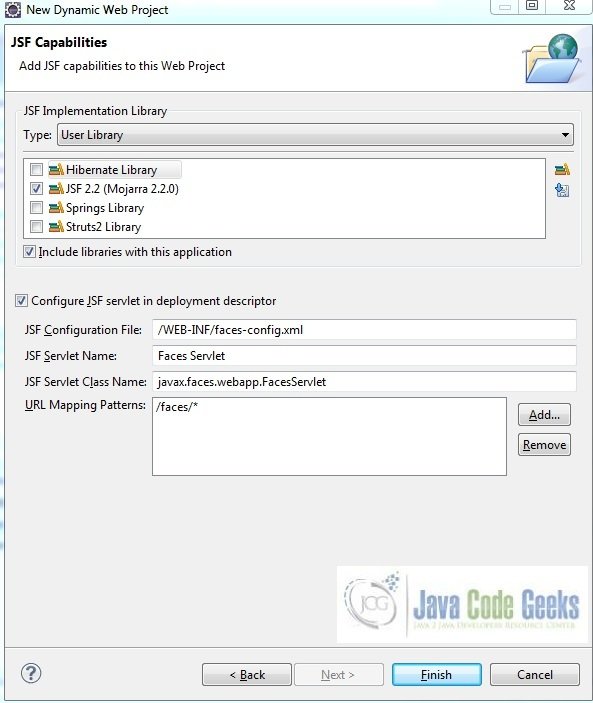
Now the JSF implementation libraries will be listed down on the capabilities page. Select the checkbox (JSF2.2 (Mojarra 2.2.0)) and leave everything else as default. Click Finish
Eclipse will create the project named JSF Hiddeninput in the workspace and web.xml will be configured for accepting the JSF requests. It will have the following code:
web.xml
<?xml version="1.0" encoding="UTF-8"?>
<web-app xmlns:xsi="http://www.w3.org/2001/XMLSchema-instance" xmlns="http://java.sun.com/xml/ns/javaee" xsi:schemaLocation="http://java.sun.com/xml/ns/javaee http://java.sun.com/xml/ns/javaee/web-app_3_0.xsd" id="WebApp_ID" version="3.0">
    <display-name>JSF Hiddeninput</display-name>
    <welcome-file-list>
        <welcome-file>index.html</welcome-file>
        <welcome-file>index.htm</welcome-file>
        <welcome-file>index.jsp</welcome-file>
        <welcome-file>default.html</welcome-file>
        <welcome-file>default.htm</welcome-file>
        <welcome-file>default.jsp</welcome-file>
    </welcome-file-list>
    <servlet>
        <servlet-name>Faces Servlet</servlet-name>
        <servlet-class>javax.faces.webapp.FacesServlet</servlet-class>
        <load-on-startup>1</load-on-startup>
    </servlet>
    <servlet-mapping>
        <servlet-name>Faces Servlet</servlet-name>
        <url-pattern>/faces/*</url-pattern>
    </servlet-mapping>
    <context-param>
        <description>State saving method: 'client' or 'server' (=default). See JSF Specification 2.5.2</description>
        <param-name>javax.faces.STATE_SAVING_METHOD</param-name>
        <param-value>client</param-value>
    </context-param>
    <context-param>
        <param-name>javax.servlet.jsp.jstl.fmt.localizationContext</param-name>
        <param-value>resources.application</param-value>
    </context-param>
    <listener>
        <listener-class>com.sun.faces.config.ConfigureListener</listener-class>
    </listener>
</web-app>
Let’s start building the application!
3. Application Building
Below are the steps involved in developing this application:
3.1 Source File Creation
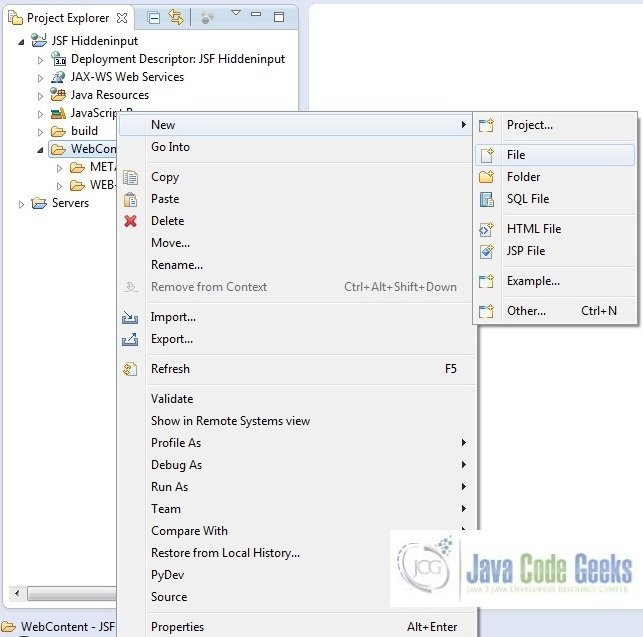
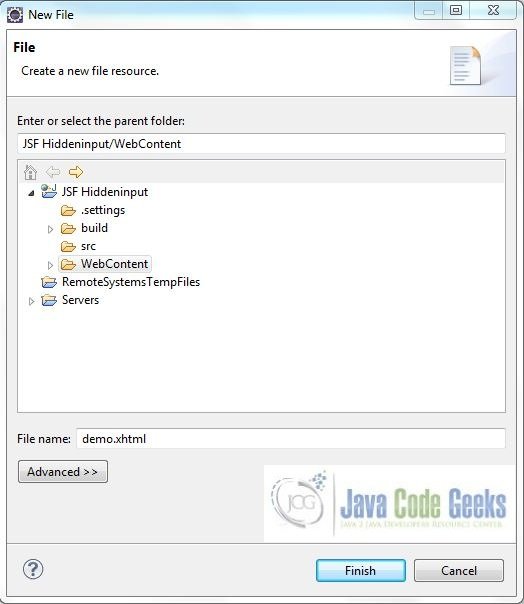
For the demo, we are using a simple form application. Right click on project WebContent -> New -> File
Note: In JSF 2.0, it’s recommended to create a JSF page in xhtml format, a file format with .xhtml extension

A pop-up window will open. Verify the parent folder location as JSF Hiddeninput/WebContent and enter the file name as demo.xhtml. Click Finish
3.1.1 Implementation of Source file
Here in the demo.xhtml, we will put <h:inputHidden /> tag inside XHTML element. If the button is clicked, we will print the hidden value via javascript. Add the following code to it:
demo.xhtml
<!DOCTYPE HTML>
<html lang="en" xmlns="http://www.w3.org/1999/xhtml" xmlns:f="http://java.sun.com/jsf/core" xmlns:h="http://java.sun.com/jsf/html">
<h:head>
    <meta charset="utf-8" name="viewport" content="width=device-width, initial-scale=1" http-equiv="X-UA-Conpatible" />
    <link type="text/css" rel="stylesheet" href="https://maxcdn.bootstrapcdn.com/bootstrap/3.3.7/css/bootstrap.min.css" />
    <title>JSF Input Hidden</title>
    <style type="text/css">
    	#inputHiddenForm {
		    margin: 18px;
		}
		#btn {
		    padding: 12px 0px 0px 0px;
		}
    </style>
</h:head>
<h:body>
    <center><h2>JSF Input Hidden Example</h2></center>
    <h:form id="inputHiddenForm">
        <div id="input">
        	<h:inputHidden id="hiddenId" value="#{hiddenBean.answer}" />
        </div>
        <div id="btn">
        	<h:commandButton value="Click Me" styleClass="btn btn-primary btn-sm" onclick="printHiddenValue()" />
        </div>
    </h:form>
    <script type="text/javascript">
        function printHiddenValue() {
        	alert(document.getElementById('inputHiddenForm:hiddenId').value);
        }
    </script>
</h:body>
</html>
3.2 Java Class Creation
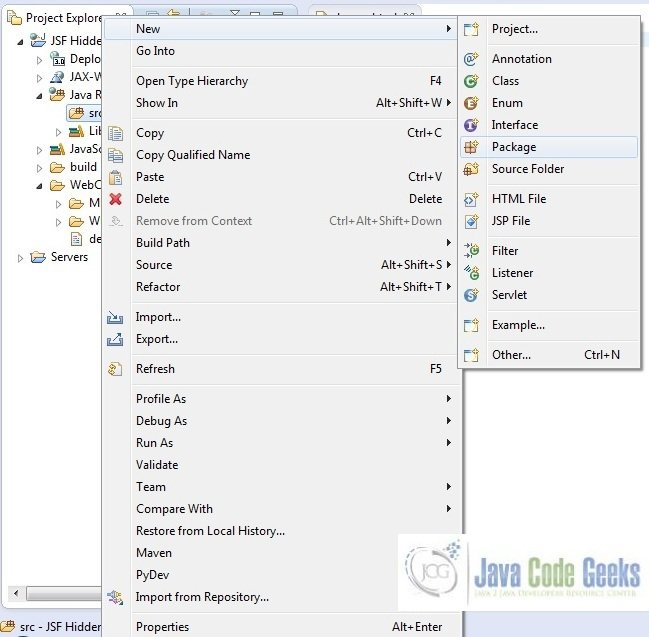
Let’s create the required java files. Right click on src folder New -> Package
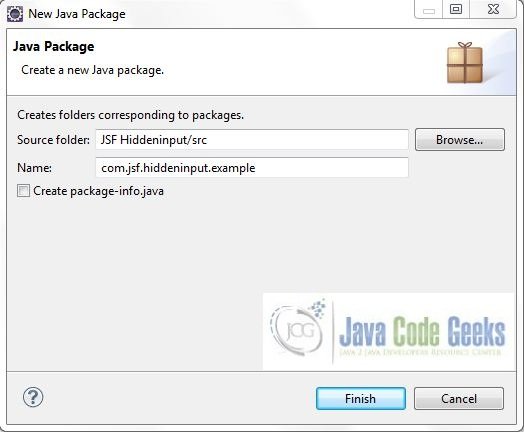
A new pop window will open where we will enter the package name as com.jsf.hiddeninput.example
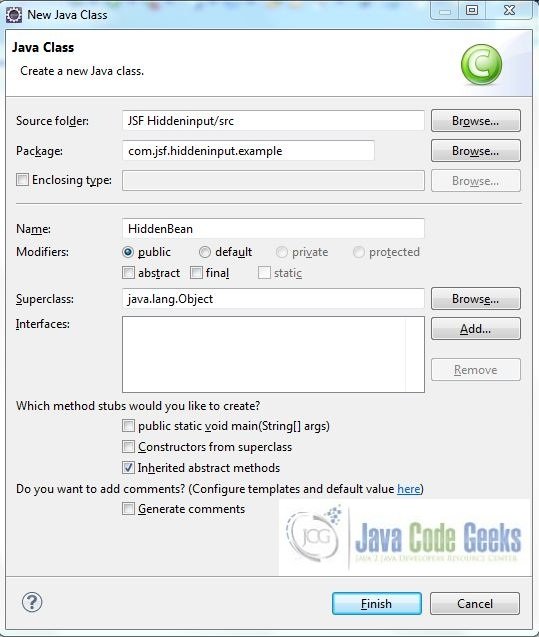
Once the package is created in the application, we will need to create the required managed bean. Right click on the newly create package New -> Class
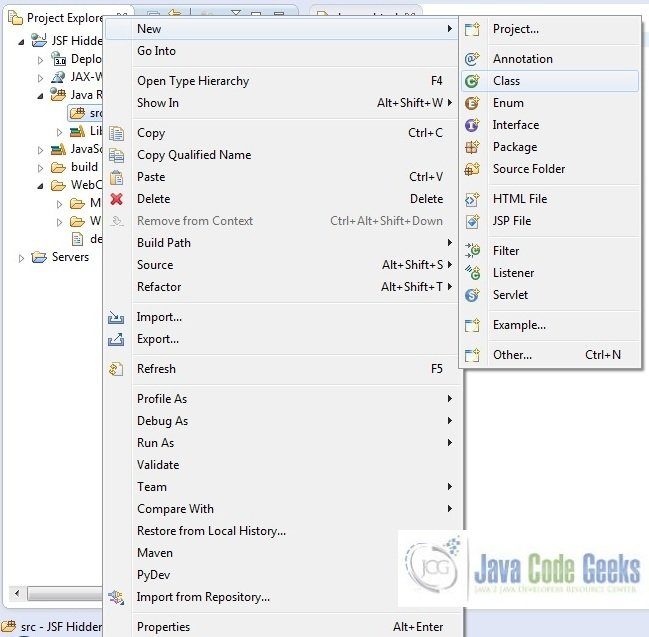
A new pop window will open and enter the file name as HiddenBean. The managed bean class will be created inside the package com.jsf.hiddeninput.example
3.2.1 Implementation of Managed Bean Class
Below is the managed bean which is used by the application. In this, we set the default value of the hidden field. Add the following code to it:
HiddenBean.java
package com.jsf.hiddeninput.example;

import javax.faces.bean.ManagedBean;
import javax.faces.bean.SessionScoped;

@ManagedBean @SessionScoped
public class HiddenBean {

	String answer = "Hey, I'm Hidden value!";

	public String getAnswer() {
		return answer;
	}

	public void setAnswer(String answer) {
		this.answer = answer;
	}
}
4. Project Deploy
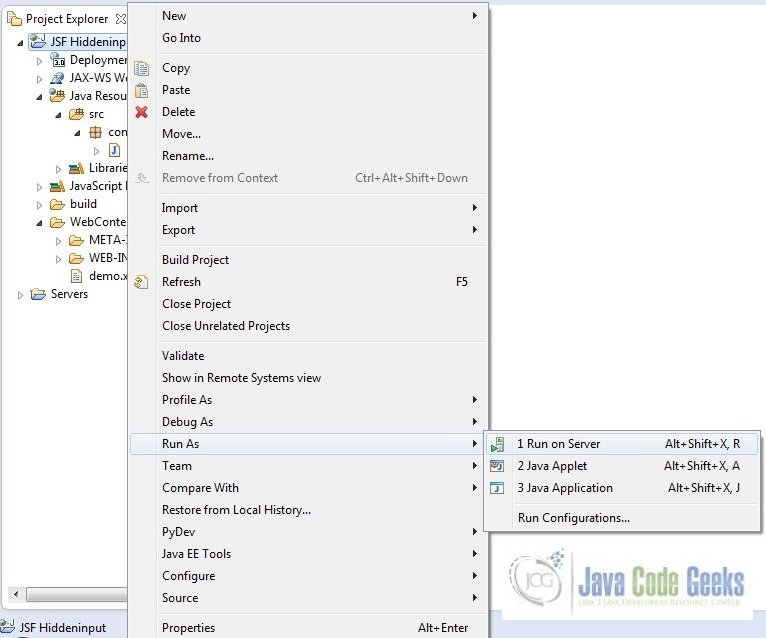
Once we are ready with all the changes done, let us compile and deploy the application on tomcat7 server. In order to deploy the application on tomcat7, right-click on the project and navigate to Run as -> Run on Server
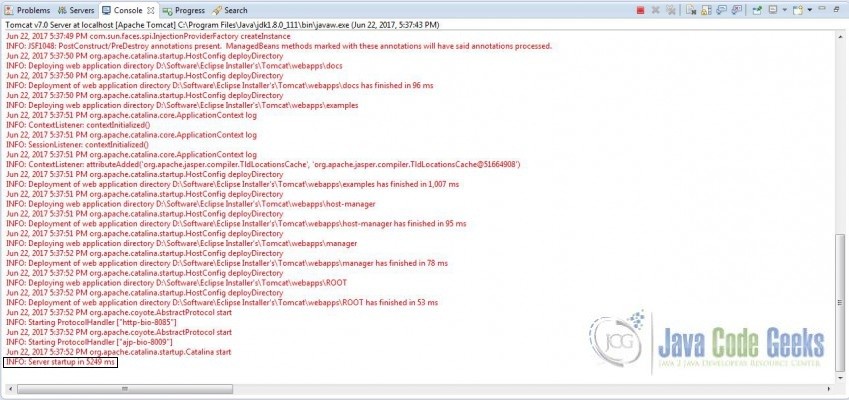
Tomcat will deploy the application in its webapps folder and shall start it’s execution to deploy the project so that we can go ahead and test it on the browser.
Open your favorite browser and hit the following URL. The output page will be displayed.
http://localhost:8085/JSFAjaxrender/faces/ajax.xhtml
Server name (localhost) and port (8085) may vary as per your tomcat configuration
5. Project Demo
Now, we are done with the application creation and it’s time to test out the application. Accessing the page: demo.xhtml, we will see form page.

Press the Click Me button and the hidden value will be displayed in an alert box.

Hope this helped :)
6. Conclusion
Through this example, we learned about the implementation of inputHidden value tag in jsf. All the code for this example was deployed using the Tomcat7 application server.
7. Download the Eclipse Project
This was a JSF Hidden Input example with Eclipse and Tomcat
You can download the full source code of this example here: JSF Inputhidden
