Hello, in this tutorial we will create a custom ELResolver in a jsf application and will demonstrate the following:
- Displaying a list by creating our own implicit variables in jsf
This example will show the implementation of ELResolver.
1. Introduction
JSF allows defining Custom EL resolvers through a pluggable resolver mechanism. These resolvers are then used when looking up properties, in addition to the existing resolvers.
To implement a custom EL resolver, we first need to implement a Java class which will serve as the resolver. The simplest approach is to inherit from javax.el.ELResolver and developers can override the following six abstract methods:
| Method | Description |
|---|---|
| public Object getValue(ELContext elContext, Object base, Object property); | This method is called by the framework whenever it needs to retrieve the value of a property. base is the parent object for which to retrieve the property, and can also be null for the very first part of the EL. Assume we have the following EL: #{bean.property}. Then, base will be null when the framework is resolving bean, but base will point to the previously resolved bean object when the framework is resolving property. elContext provides access to data which is relevant in the current resolving context. setPropertyResolved() method needs to be called each time the resolver could successfully handle a property – the framework will then stop with the resolving process instead of proceeding to the next resolver in its resolver chain. |
| public void setValue(ELContext elContext, Object base, Object property, Object value); | This method tries to set the value for a given property and base. If the variable is read-only developers will need to throw a PropertyNotWritableException. |
| public Class getType(ELContext elContext, Object base, Object property); | This method is used by the framework to return the type of a specific property. |
| public boolean isReadOnly(ELContext elContext, Object base, Object property); | This method is called by the framework to determine whether a property is read-only or not. |
| public Iterator getFeatureDescriptors(ELContext eLContext, Object object); | This method is used by a design time tool. It returns a set of information about the variables or properties that can be resolved. If this method is not needed, it can either simply return null or throw an UnsupportedOperationException. |
| public Class<?> getCommonPropertyType(ELContext eLContext, Object object); | This method returns the most general type that this resolver accepts. If this method is not needed, it can either simply return null or throw an UnsupportedOperationException. |
In the below tutorial, we will have the following components:
- index.xhtml – A jsf page to show the execution of the custom elesolver
- ElResolver.java – Class to add the provide the implementation of custom elresolver
- faces-config.xml – Configuration file to register the custom elresolver with our jsf application
- web.xml – Web application configuration file
This sample application will implement the custom implicit variable in jsf using the ELResolver approach.
1.1 How it can be achieved?
Programmers need to implement the following three steps to add custom implicit variables to an application:
- Create a class that extends from the
javax.el.ELResolver. - Implement the required abstract methods.
- Register your custom El resolver with the
faces-config.xml
1.1.1 ELResolver Faces Configuration
Programmers need to register the custom El resolver with faces-config.xml. Let’s take a look at the sample code and understand how it is done:
Sample faces-config.xml
 <faces-config xmlns="http://xmlns.jcp.org/xml/ns/javaee"
              xmlns:xsi="http://www.w3.org/2001/XMLSchema-instance"
              xsi:schemaLocation="http://xmlns.jcp.org/xml/ns/javaee
                                  http://xmlns.jcp.org/xml/ns/javaee/web-facesconfig_2_2.xsd" version="2.2">
    <application>
        <el-resolver>com.sample.package.ELResolverClassName</el-resolver>
    </application>
</faces-config>
Now, open up the Eclipse IDE and let’s start building the application!
2. JSF ELResolver Example
2.1 Tools Used
We are using Eclipse Kepler SR2, JDK 8 (1.8.0_131), Tomcat7 application server and MySQL database. Having said that, we have tested the code against JDK 1.7 and it works well.
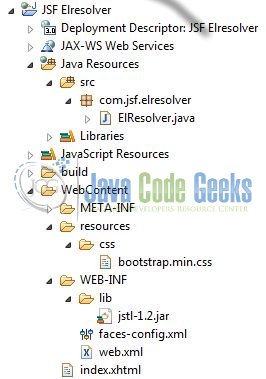
2.2 Project Structure
Firstly, let’s review the final project structure, in case you are confused about where you should create the corresponding files or folder later!
2.3 Project Creation
The below example shows how to implement the event queue using a method binding technique in an application.
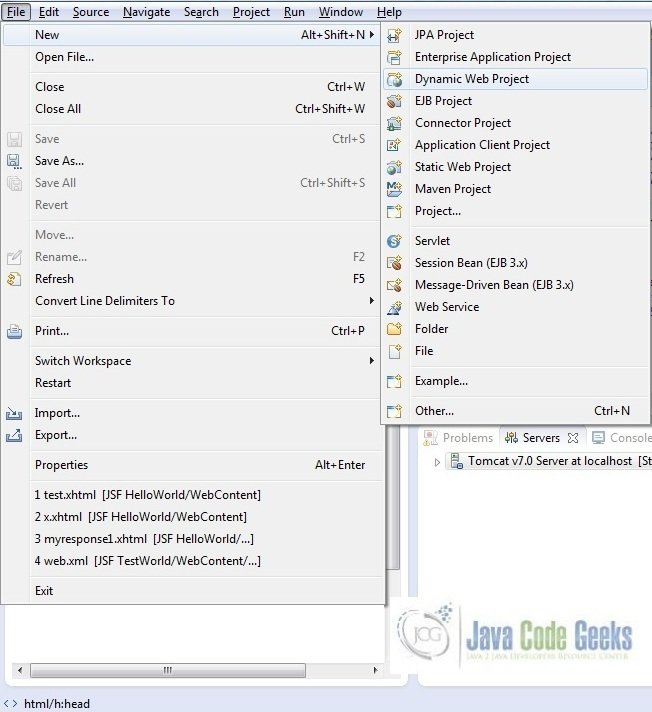
This section will demonstrate on how to create a Dynamic Web Java project with Eclipse. In Eclipse IDE, go to File -> New -> Dynamic web project
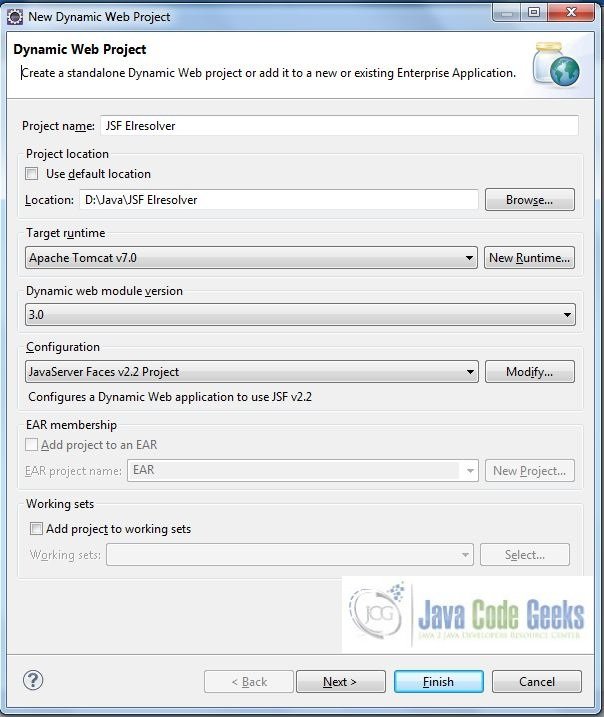
In the New Dynamic Project window fill in the below details and click next
- Enter the project name and project location
- Select Target runtime as Apache Tomcat v7.0 from dropdown
- Select Configuration as JavaServer Faces v.2.2 Project from dropdown (this is required to download the java server faces capabilities in your project)
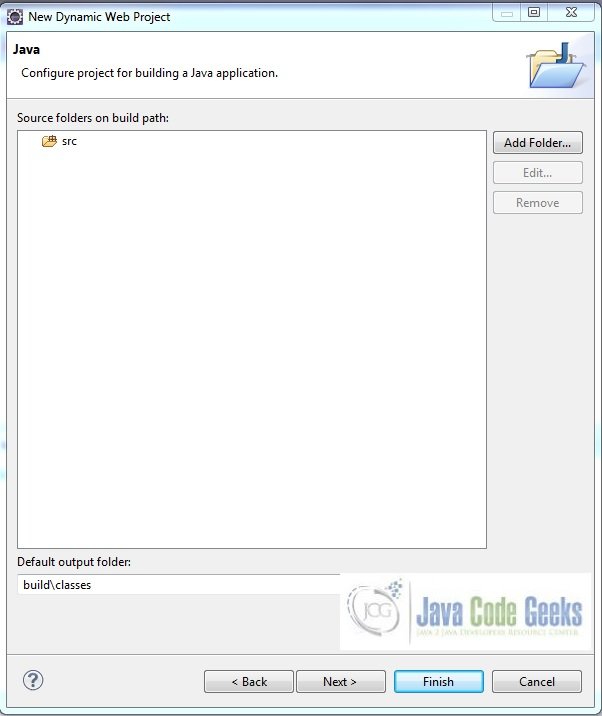
Leave everything as default in this window as we will be making the required java file at a later stage. Simply click next and we will land up on the web-module window
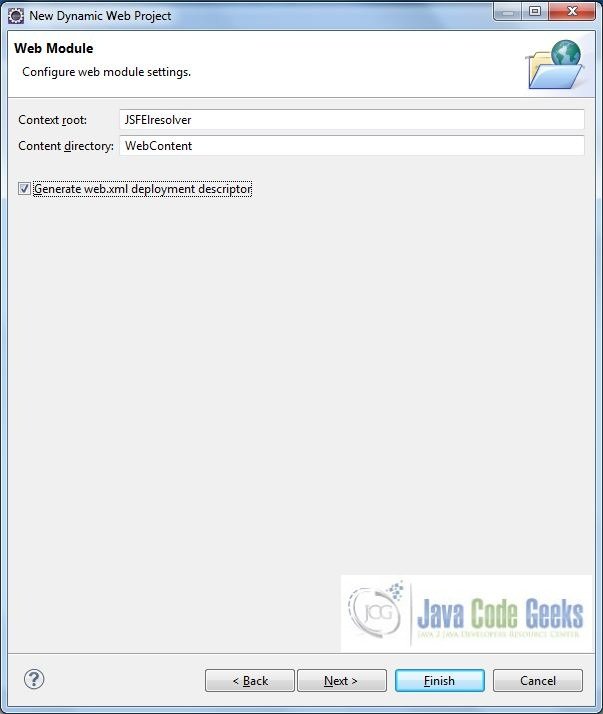
In the Web Module window, leave the context_root and content_directory values as default (however, you can change the context_root but for the first application let’s keep it as a default value). Simply, check Generate web.xml deployment descriptor checkbox and click next
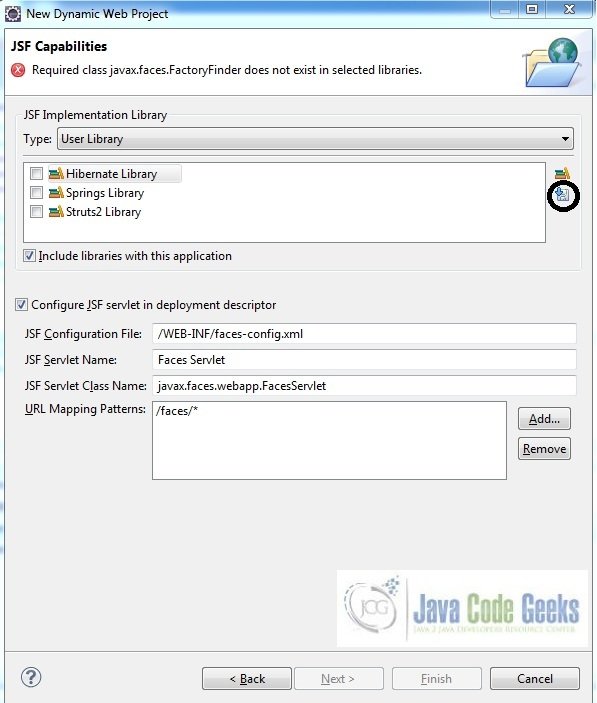
In the JSF Capabilities windows, we will require downloading the dependencies (not available by default) so that our project is configured as a JSF module in Eclipse. Add the JSF capabilities to the web project by clicking on the download icon (encircled in Fig. 6) and download the JSF 2.2 Mojarra implementation
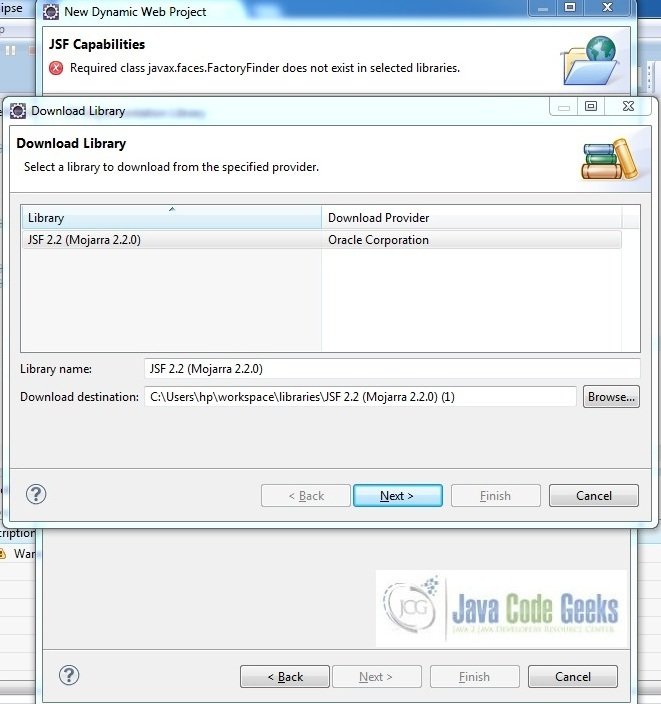
A new pop-up window will open where it will auto lists down the JSF library. Select the JSF 2.2 library and click next (the library name and download destination will be auto populated)
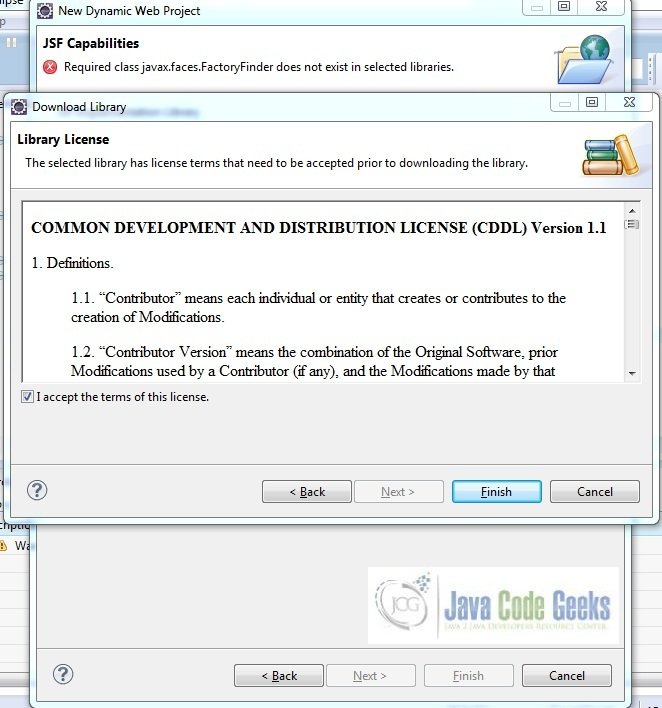
Check the license checkbox and click finish. Eclipse will download the JSF 2.2 library and will display them on the JSF capabilities windows (i.e. Fig. 6)
Now the JSF implementation libraries will be listed down on the capabilities page. Select the checkbox (JSF2.2 (Mojarra 2.2.0)) and leave everything else as default. Click Finish

Eclipse will create the project named JSF Elresolver in the workspace and web.xml will be configured for accepting the JSF requests. It will have the following code:
web.xml
<?xml version="1.0" encoding="UTF-8"?>
<web-app xmlns:xsi="http://www.w3.org/2001/XMLSchema-instance" xmlns="http://java.sun.com/xml/ns/javaee" xsi:schemaLocation="http://java.sun.com/xml/ns/javaee http://java.sun.com/xml/ns/javaee/web-app_3_0.xsd" id="WebApp_ID" version="3.0">
    <display-name>JSF Elresolver</display-name>
    <welcome-file-list>
        <welcome-file>index.html</welcome-file>
        <welcome-file>index.htm</welcome-file>
        <welcome-file>index.jsp</welcome-file>
        <welcome-file>default.html</welcome-file>
        <welcome-file>default.htm</welcome-file>
        <welcome-file>default.jsp</welcome-file>
    </welcome-file-list>
    <servlet>
        <servlet-name>Faces Servlet</servlet-name>
        <servlet-class>javax.faces.webapp.FacesServlet</servlet-class>
        <load-on-startup>1</load-on-startup>
    </servlet>
    <servlet-mapping>
        <servlet-name>Faces Servlet</servlet-name>
        <url-pattern>/faces/*</url-pattern>
    </servlet-mapping>
    <context-param>
        <description>State saving method: 'client' or 'server' (=default). See JSF Specification 2.5.2</description>
        <param-name>javax.faces.STATE_SAVING_METHOD</param-name>
        <param-value>client</param-value>
    </context-param>
    <context-param>
        <param-name>javax.servlet.jsp.jstl.fmt.localizationContext</param-name>
        <param-value>resources.application</param-value>
    </context-param>
    <listener>
        <listener-class>com.sun.faces.config.ConfigureListener</listener-class>
    </listener>
</web-app>
Let’s start building the application!
3. Application Building
Below are the steps involved in developing this application:
3.1 Source File Creation
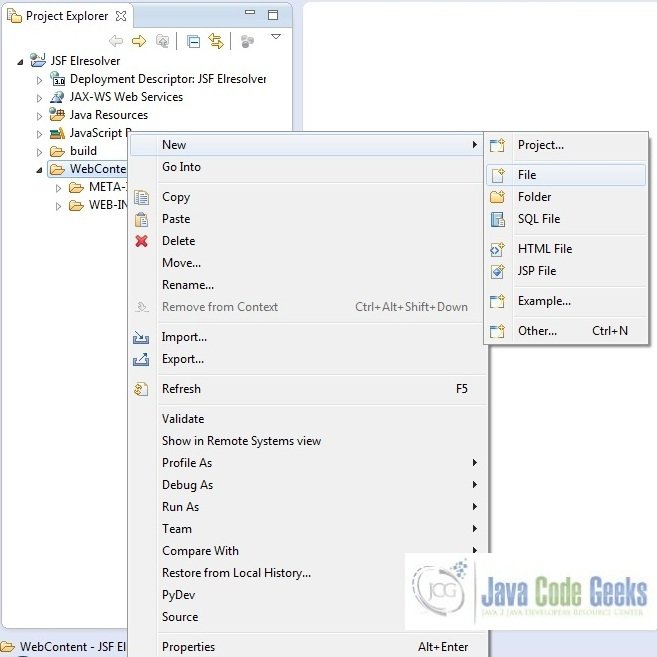
For the demo, we are using a sample login page application. Right click on project WebContent -> New -> File
Note: In JSF 2.0, it’s recommended to create a JSF page in xhtml format, a file format with .xhtml extension
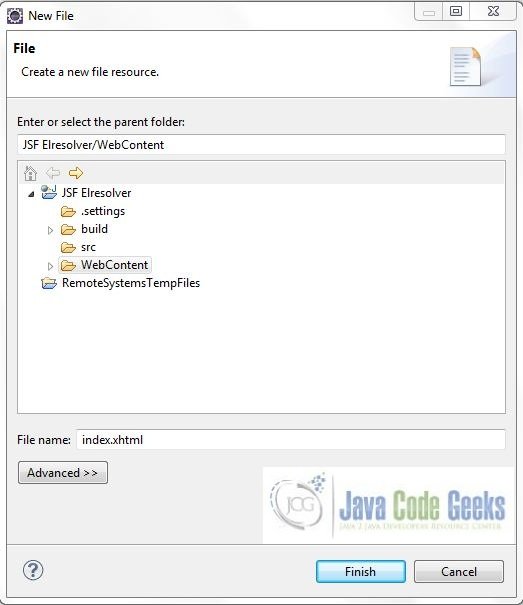
A pop-up window will open. Verify the parent folder location as JSF Elresolver/WebContent and enter the file name as index.xhtml. Click Finish
3.1.1 Implementation of Source file
We will create our El Resolver and add it to the faces-config.xml. This means we have created an implicit variable that we can use in our jsf pages. Here in the index.xhtml, we will call the implicit object by #{potterCast}. Add the following code to it:

index.xhtml
<!DOCTYPE HTML>
<html lang="en" xmlns="http://www.w3.org/1999/xhtml" xmlns:h="http://java.sun.com/jsf/html" xmlns:c="http://java.sun.com/jsp/jstl/core">
<h:head>
    <meta charset="utf-8" name="viewport" content="width=device-width, initial-scale=1" http-equiv="X-UA-Conpatible" />
    <h:outputStylesheet library="css" name="bootstrap.min.css" />
    <title>JSF ELResolver</title>
    <style type="text/css">
        .introClass {
        	margin: 18px;
    		padding-left: 86px;
    		font-size: 20px;
        }
    </style>
</h:head>
<h:body>
    <center><h2>JSF ELResolver Example</h2></center>
    <h:form id="elResolverForm">
    	<div class="introClass">The Harry Potter House</div>
    	<div class="container">
    		<ul id="potterList" class="list-group">
    			<c:forEach var="castName" items="#{potterCast}">
        			<li class="list-group-item"><h:outputText value="#{castName}" /></li>
    			</c:forEach>
    		</ul>
    	</div>
    </h:form>
</h:body>
</html>
3.2 Java Class Creation
Let’s create the required java files. Right click on src folder New -> Package
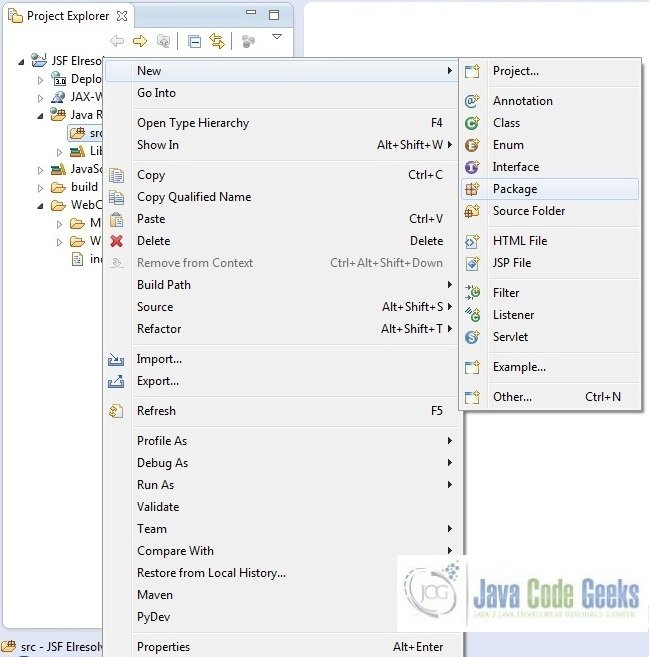
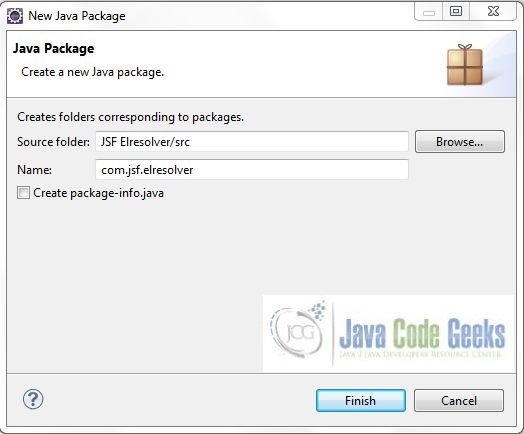
A new pop window will open where we will enter the package name as com.jsf.elresolver
Once the package is created in the application, we will need to create the required managed bean. Right click on the newly create package New -> Class
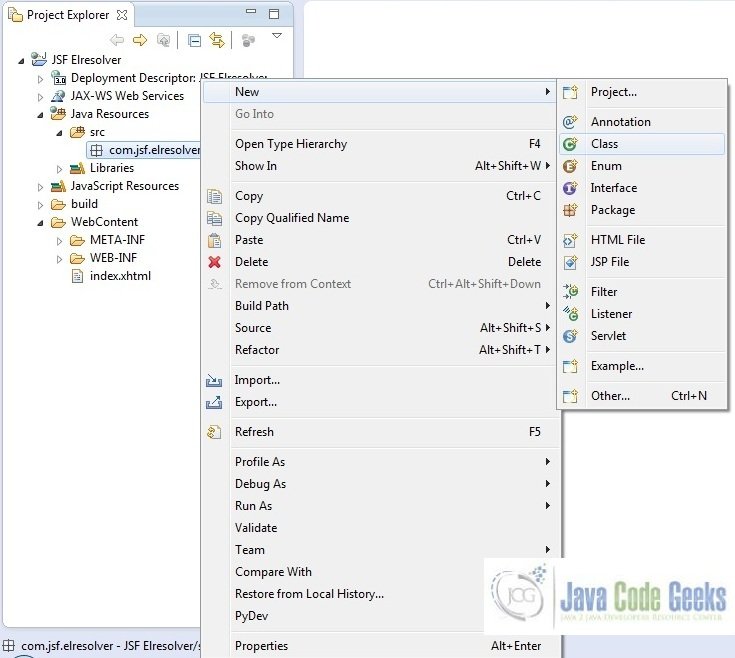
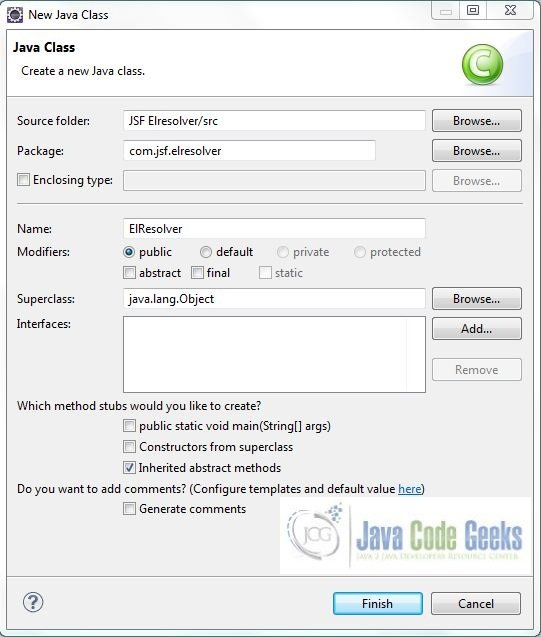
A new pop window will open and enter the file name as ElResolver. The managed bean class will be created inside the package com.jsf.elresolver
3.2.1 Implementation of ELResolver Class
This class will extend the javax.el.ELResolver interface which will be used to create our own implicit variables in jsf and add custom implicit variables. Add the following code to it:
ELResolver.java
package com.jsf.elresolver;

import java.beans.FeatureDescriptor;
import java.util.Iterator;

import javax.el.ELContext;
import javax.el.ELException;
import javax.el.ELResolver;
import javax.el.PropertyNotFoundException;
import javax.el.PropertyNotWritableException;

import com.sun.faces.util.MessageUtils;

public class ElResolver extends ELResolver {

	private static final String HARRY_POTTER_CAST = "potterCast";
	private static final String[] NAMES = new String[] {"Lord Voldemort", "Albus Dumbledore", "Prof. Severus Snape", "Harry Potter", "Hermione Granger", "Ron Weasley" , "Luna Lovegood", "Rubeus Hagrid"};
	private final Class<?> CONTENT = String[].class;

	@Override
	public Object getValue(ELContext ctxObj, Object baseObj, Object propertyObj) throws NullPointerException, PropertyNotFoundException, ELException {
		if ((baseObj == null) && propertyObj.equals(HARRY_POTTER_CAST)) {
			ctxObj.setPropertyResolved(true);
			return NAMES;
		}
		return null;
	}

	@Override
	public Class<?> getType(ELContext ctxObj, Object baseObj, Object propertyObj) throws NullPointerException, PropertyNotFoundException, ELException {
		if (baseObj != null){
			return null;
		}

		if (propertyObj == null){
			String message = MessageUtils.getExceptionMessageString(MessageUtils.NULL_PARAMETERS_ERROR_MESSAGE_ID, "propertyObj");
			throw new PropertyNotFoundException(message);
		}

		if (propertyObj != null && propertyObj.equals(HARRY_POTTER_CAST)){
			ctxObj.setPropertyResolved(true);
			return CONTENT;
		}
		return null;
	}

	@Override
	public void setValue(ELContext ctxObj, Object baseObj, Object propertyObj, Object value) throws NullPointerException, PropertyNotFoundException, PropertyNotWritableException, ELException {
		if (baseObj != null){
			return;
		}

		ctxObj.setPropertyResolved(false);
		if (propertyObj == null){
			String message = MessageUtils.getExceptionMessageString(MessageUtils.NULL_PARAMETERS_ERROR_MESSAGE_ID, "propertyObj");
			throw new PropertyNotFoundException(message);
		}

		if (HARRY_POTTER_CAST.equals(propertyObj)){
			throw new PropertyNotWritableException((String) propertyObj);
		}
	}

	@Override
	public boolean isReadOnly(ELContext ctxObj, Object baseObj, Object propertyObj) throws NullPointerException, PropertyNotFoundException, ELException {
		return true;
	}

	@Override
	public Iterator getFeatureDescriptors(ELContext ctxObj, Object baseObj) {
		return null;
	}

	@Override
	public Class<?> getCommonPropertyType(ELContext ctxObj, Object baseObj) {
		return null;
	}
}
3.3 Registering Custom ELResolver
To register our custom ELResolver with our JSF application, we need to add the following entry to our faces-config.xml file:
faces-config.xml
 <?xml version="1.0" encoding="UTF-8"?>
<faces-config xmlns="http://xmlns.jcp.org/xml/ns/javaee"
	xmlns:xsi="http://www.w3.org/2001/XMLSchema-instance"
	xsi:schemaLocation="http://xmlns.jcp.org/xml/ns/javaee http://xmlns.jcp.org/xml/ns/javaee/web-facesconfig_2_2.xsd"
	version="2.2">

	<application>
		<el-resolver>com.jsf.elresolver.ElResolver</el-resolver>
	</application>
</faces-config>
4. Project Deploy
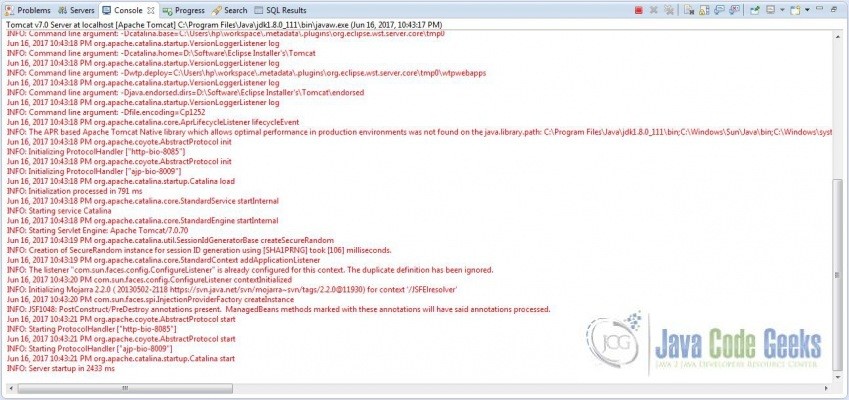
Once we are ready with all the changes done, let us compile and deploy the application on tomcat7 server. In order to deploy the application on tomcat7, right-click on the project and navigate to Run as -> Run on Server

Tomcat will deploy the application in its webapps folder and shall start it’s execution to deploy the project so that we can go ahead and test it on the browser.
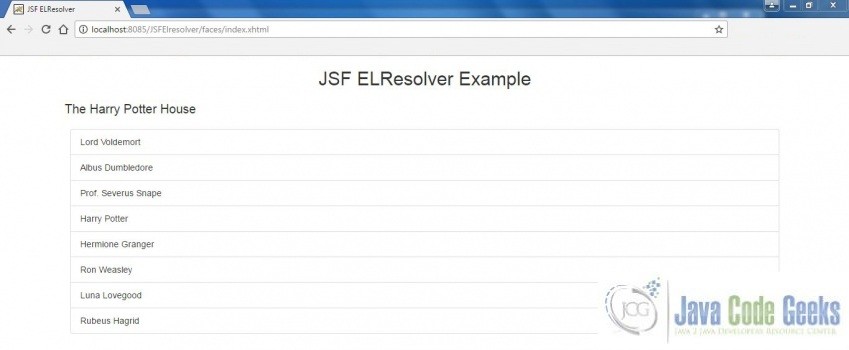
Open your favorite browser and hit the following URL. The output page will be displayed.
http://localhost:8085/JSFElresolver/faces/index.xhtml
Server name (localhost) and port (8085) may vary as per your tomcat configuration
5. Project Demo
Now, we are done with the application creation and it’s time to test out the application. Accessing the page: index.xhtml, we will see the ELResolver output.
Hope this helped :)
6. Conclusion
Through this example, we learned about the ELResolver implementation in jsf. We have also deployed it using the Tomcat7 application server.
7. Download the Eclipse Project
This was a JSF ELResolver example with Eclipse and Tomcat
You can download the full source code of this example here: JSF ELResolver
