Hello, in this tutorial we will implement the datamodel component in jsf and will use bootstrap – a responsive CSS framework to demonstrate the following:
- Products List
- Retrieving data from a managed bean and using the same in a result page
- Ascending or Descending sorting of the products list on the result page
This example will show you how to implement the data-modelling in a jsf application.
1. Introduction
A datamodel is an abstraction around arbitrary data binding technologies that can be used to adapt a variety of data sources for use by jsf components that support per-row processing for their child components. For e.g. UIData.
In this article, we will have the following components:
- index.xhtml – A jsf page having a commandLink in the column header to sort the dataTable list
- Order – Pojo class for the products list
- OrderBean – Managed bean class to provide a dummy products list for testing and show the use of custom DataModel to sort the dataTable list
- SortableDataModel – A decorator class to add a sorting behavior
- web.xml – Web application configuration file
But before we create the application let’s take a look at the datamodel utility in jsf.
1.1 Datamodel
The data collection underlying a DataModel instance is modeled as a collection of row objects that can be accessed by a zero-relative cursor (row index). The API’s provide mechanisms to position to a specified zero-relative row index and to retrieve an object that represents the data that corresponds to the current row index.
A concrete DataModel instance is attached to a particular collection of underlying data by calling the setWrappedData() method. It can be detached from that underlying data collection by passing a null parameter to this method.
In jsf data-modelling, event listeners may even be registered to receive notifications of when a new row index is selected. Case developer’s want to briefly understand the modeling in jsf they might consider this option.
Now, open up the Eclipse IDE and let’s start building the application!
2. JSF Datamodel Example
2.1 Tools Used
We are using Eclipse Kepler SR2, JDK 8 (1.8.0_131), Tomcat7 application server. Having said that, we have tested the code against JDK 1.7 and it works well.
2.2 Project Structure
First, let’s review the final project structure, in case you are confused about where you should create the corresponding files or folder later!

2.3 Project Creation
The below example shows how to implement datamodel and bootstrap classes in the application where the magic happens and the boring looking data table turns into a beautiful layout with all the CSS classes already applied.
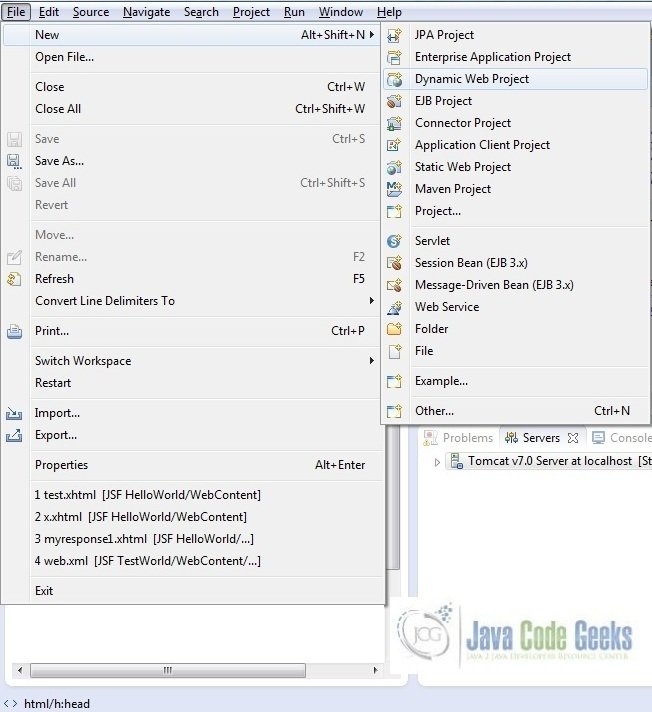
This section will demonstrate on how to create a Dynamic Web Java project with Eclipse. In Eclipse IDE, go to File -> New -> Dynamic web project
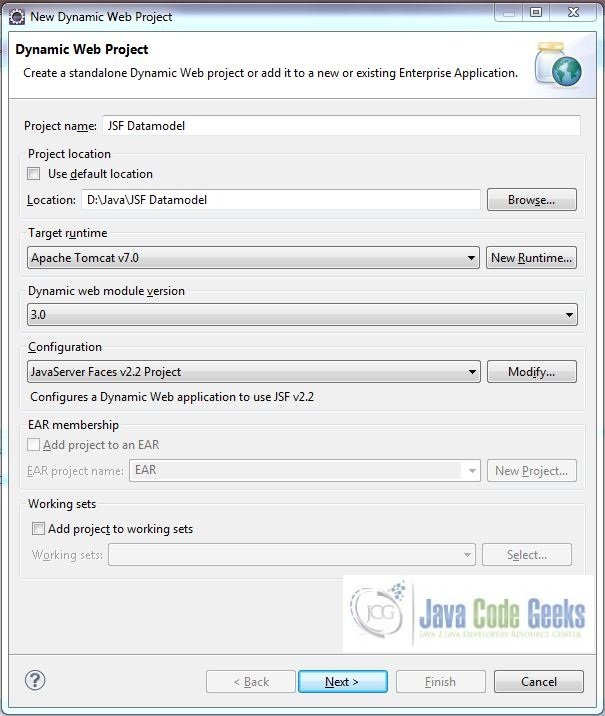
In the New Dynamic Project window fill in the below details and click next
- Enter the project name and project location
- Select Target runtime as Apache Tomcat v7.0 from dropdown
- Select Configuration as JavaServer Faces v.2.2 Project from dropdown (this is required to download the java server faces capabilities in your project)
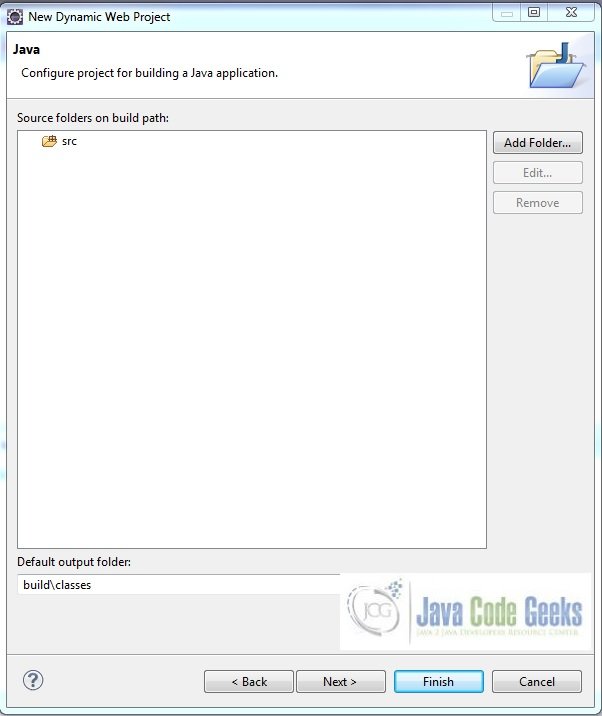
Leave everything as default in this window as we will be making the required java file at a later stage. Simply click next and we will land up on the web-module window
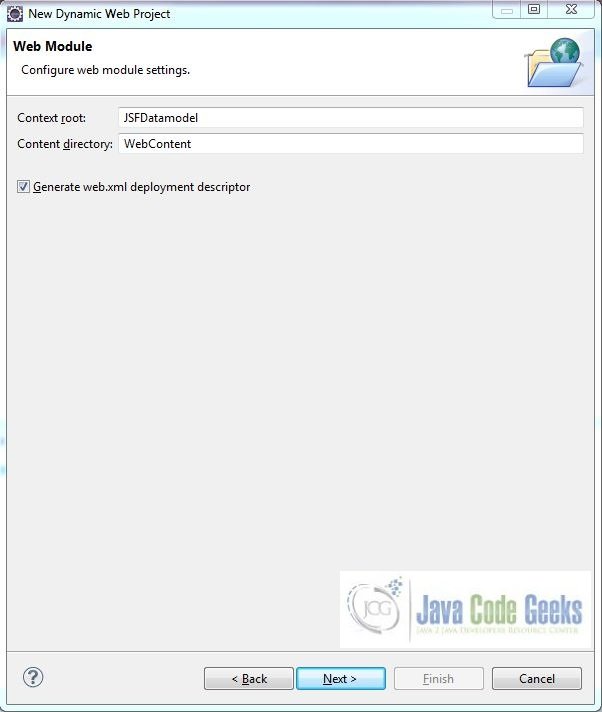
In the Web Module window, leave the context_root and content_directory values as default (however, you can change the context_root but for the first application let’s keep it as a default value). Simply, check Generate web.xml deployment descriptor checkbox and click next
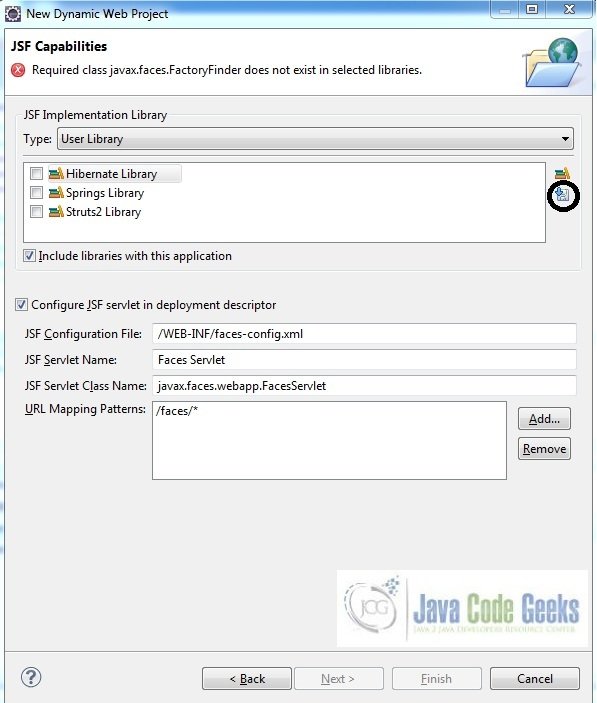
In the JSF Capabilities windows, we will require downloading the dependencies (not available by default) so that our project is configured as a JSF module in Eclipse. Add the JSF capabilities to the web project by clicking on the download icon (encircled in Fig. 6) and download the JSF 2.2 Mojarra implementation
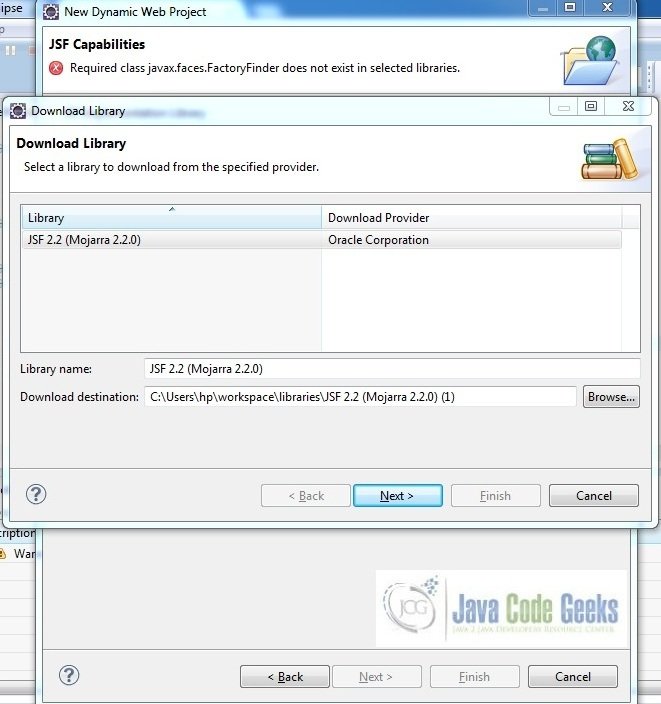
A new pop-up window will open where it will auto lists down the JSF library. Select the JSF 2.2 library and click next (the library name and download destination will be auto populated)
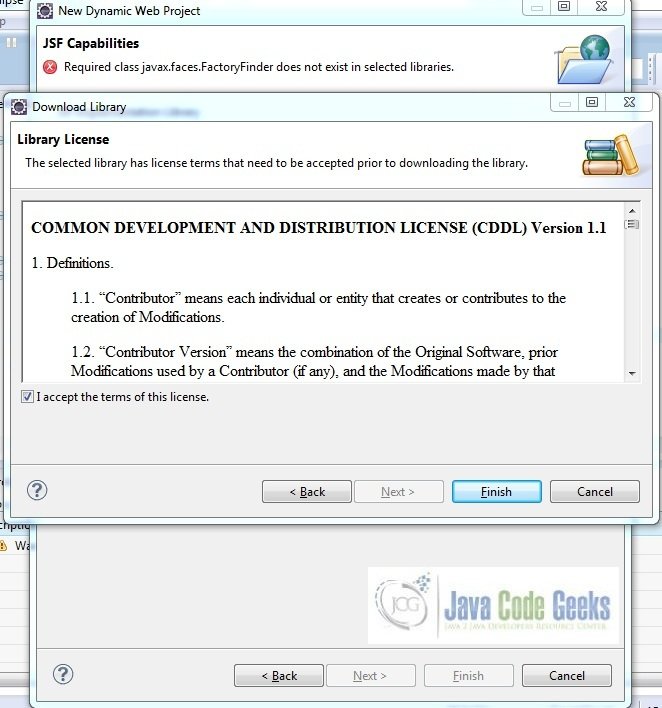
Check the license checkbox and click finish. Eclipse will download the JSF 2.2 library and will display them on the JSF capabilities windows (i.e. Fig. 6)
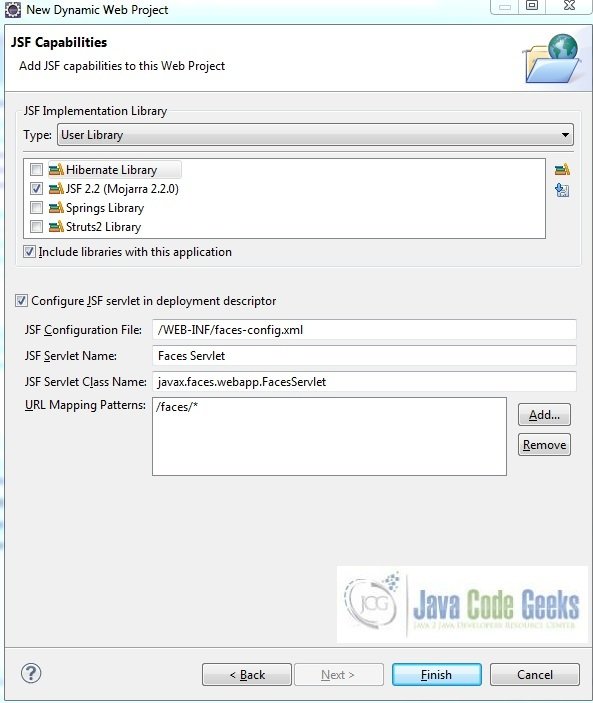
Now the JSF implementation libraries will be listed down on the capabilities page. Select the checkbox (JSF2.2 (Mojarra 2.2.0)) and leave everything else as default. Click Finish
Eclipse will create the project named JSF Datamodel in the workspace and web.xml will be configured for accepting the JSF requests. It will have the following code:
web.xml
<?xml version="1.0" encoding="UTF-8"?>
<web-app xmlns:xsi="http://www.w3.org/2001/XMLSchema-instance" xmlns="http://java.sun.com/xml/ns/javaee" xsi:schemaLocation="http://java.sun.com/xml/ns/javaee http://java.sun.com/xml/ns/javaee/web-app_3_0.xsd" id="WebApp_ID" version="3.0">
  <display-name>JSF Datamodel</display-name>
  <welcome-file-list>
    <welcome-file>index.html</welcome-file>
    <welcome-file>index.htm</welcome-file>
    <welcome-file>index.jsp</welcome-file>
    <welcome-file>default.html</welcome-file>
    <welcome-file>default.htm</welcome-file>
    <welcome-file>default.jsp</welcome-file>
  </welcome-file-list>
  <servlet>
    <servlet-name>Faces Servlet</servlet-name>
    <servlet-class>javax.faces.webapp.FacesServlet</servlet-class>
    <load-on-startup>1</load-on-startup>
  </servlet>
  <servlet-mapping>
    <servlet-name>Faces Servlet</servlet-name>
    <url-pattern>/faces/*</url-pattern>
  </servlet-mapping>
  <context-param>
    <description>State saving method: 'client' or 'server' (=default). See JSF Specification 2.5.2</description>
    <param-name>javax.faces.STATE_SAVING_METHOD</param-name>
    <param-value>client</param-value>
  </context-param>
  <context-param>
    <param-name>javax.servlet.jsp.jstl.fmt.localizationContext</param-name>
    <param-value>resources.application</param-value>
  </context-param>
  <listener>
    <listener-class>com.sun.faces.config.ConfigureListener</listener-class>
  </listener>
</web-app>
Now let’s start building the application!
3. Application Building
Following are the steps involved in developing this application:
3.1 Source File Creation
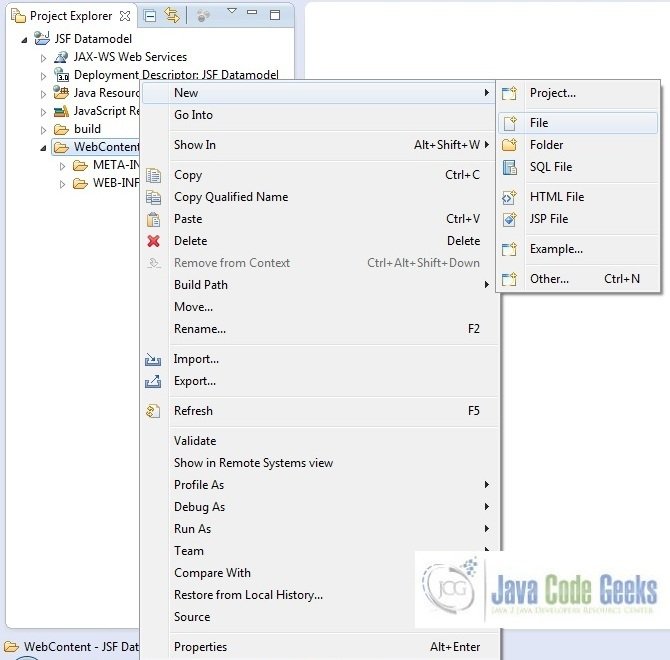
For the demo, we will have an output file displaying the products list. Right click on project WebContent -> New -> File
Note – In JSF 2.0, it’s recommended to create a JSF page in xhtml format, a file format with .xhtml extension
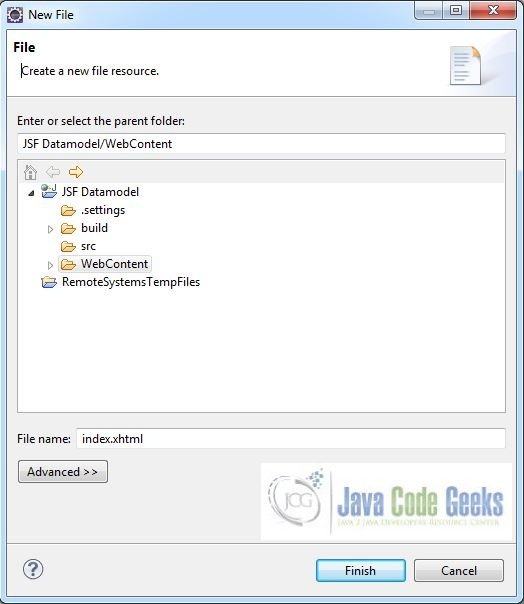
A pop-up window will open, verify the parent folder location as JSF Datamodel/WebContent and enter the file name as index.xhtml and click Finish
3.1.1 Implementation of Output file
Here in the index.xhtml, we will have the jsf dataTable component and will add the commandLink code to invoke the sorting in the product’s list. In this page, JSF will display the result of #{order.orderList}. Add the following code to it:
index.xhtml
<!DOCTYPE HTML>
<html lang="en" xmlns="http://www.w3.org/1999/xhtml" xmlns:h="http://java.sun.com/jsf/html" xmlns:f="http://xmlns.jcp.org/jsf/core">
   <h:head>
      <meta charset="utf-8" name="viewport" content="width=device-width, initial-scale=1" http-equiv="X-UA-Conpatible" />
      <h:outputStylesheet library="css" name="bootstrap.min.css" />
      <title>JSF DataModel Example</title>
      <style type="text/css">
        .tableUpdated {
        	width: 90% !important;
        	margin: 17px 58px 0 !important;
        }
    </style>
   </h:head>
   <h:body>
      <center><h2>JSF DataModel Sorting</h2></center>
      <h:form>
         <h:dataTable id="orderTable" binding="#{table}" value="#{order.orderList}" var="info" class="table table-striped table-hover table-bordered tableUpdated">
            <h:column>
               <f:facet name="header">
                  <h:commandLink action="#{order.sortByOrderNo}">Order Id</h:commandLink>
               </f:facet>
               <h:outputText value="#{info.orderNo}" />
            </h:column>
            <h:column>
               <f:facet name="header">Order Name</f:facet>
               <h:outputText value="#{info.productName}" />
            </h:column>
            <h:column>
               <f:facet name="header">Price</f:facet>
               <span id="dollarSymbol">$ </span><h:outputText value="#{info.price}" />
            </h:column>
            <h:column>
               <f:facet name="header">Quantity</f:facet>
               <h:outputText value="#{info.qty}" />
            </h:column>
         </h:dataTable>
      </h:form>
   </h:body>
</html>
3.2 Java Class Creation
Let’s create the required java files. Right click on src folder New -> Package
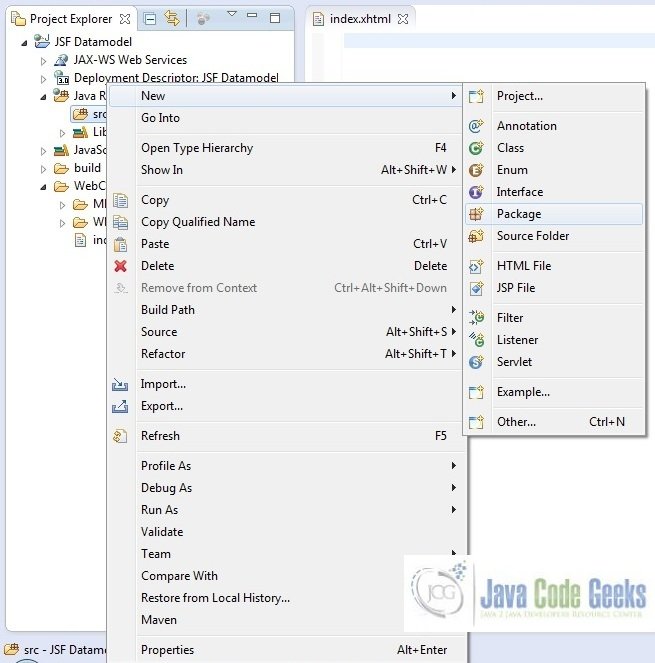
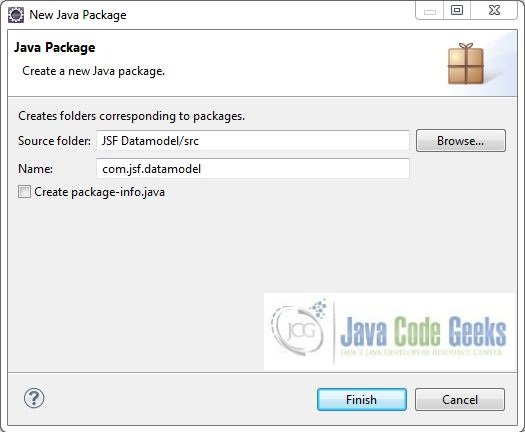
A new pop window will open where we will enter the package name as com.jsf.datamodel
Once the package is created in the application, we will need to create the required POJO, managed bean and the decorator classes. Right click on the newly created package New -> Class
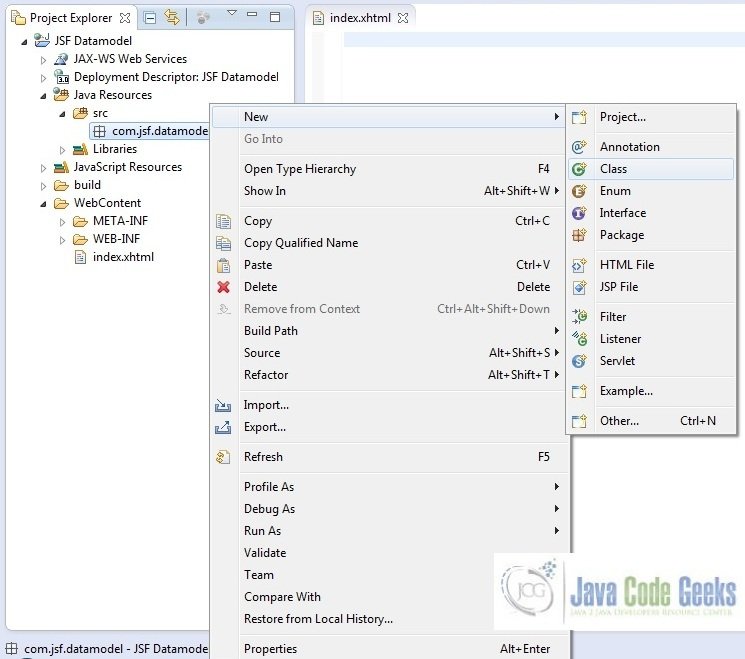

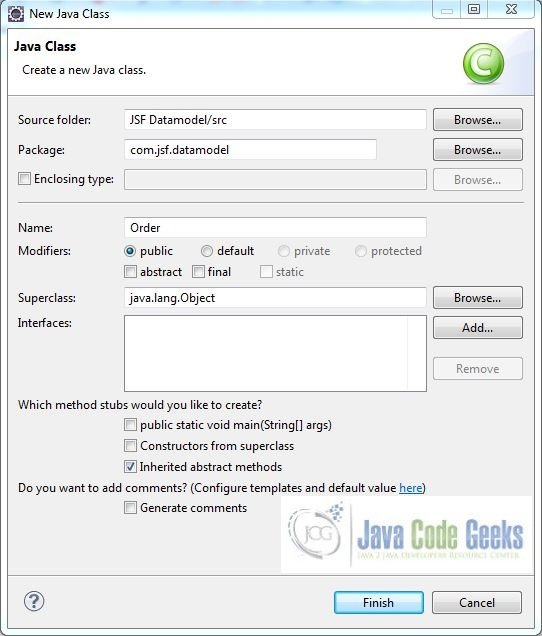
A new pop window will open and enter the file name as Order. The POJO class will be created inside the package – com.jsf.datamodel
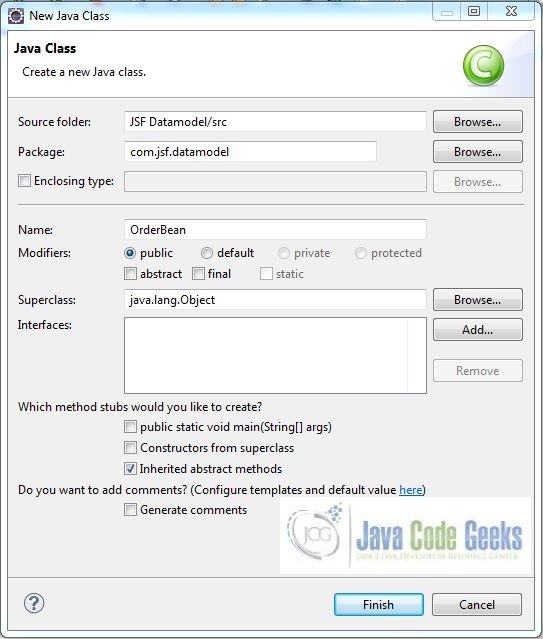
Repeat the step listed in Fig. 14, and enter the file name as OrderBean. The bean class will be created inside the package – com.jsf.datamodel
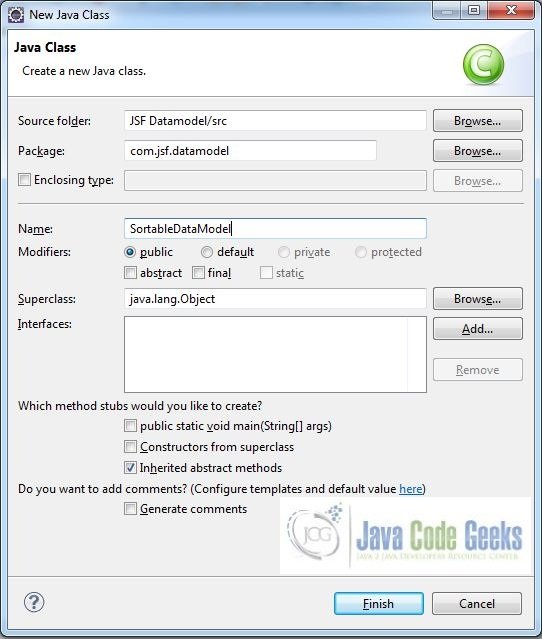
Again, repeat the step listed in Fig. 14 and enter the file name as SortableDataModel. The decorator class will be created inside the package – com.jsf.datamodel
3.2.1 Implementation of POJO Class
This class has the getters & setter’s method which are required to display the products list on the output page. Add the following code to it:
Order.java
package com.jsf.datamodel;

public class Order {

	private int qty;
	private int price;
	private String orderNo;
	private String productName;

	public Order(String orderNo, String productName, int price, int qty) {
		this.qty = qty;
		this.price = price;
		this.orderNo = orderNo;
		this.productName = productName;
	}

	public String getOrderNo() {
		return orderNo;
	}

	public void setOrderNo(String orderNo) {
		this.orderNo = orderNo;
	}

	public String getProductName() {
		return productName;
	}

	public void setProductName(String productName) {
		this.productName = productName;
	}

	public int getPrice() {
		return price;
	}

	public void setPrice(int price) {
		this.price = price;
	}

	public int getQty() {
		return qty;
	}

	public void setQty(int qty) {
		this.qty = qty;
	}
}
3.2.1 Implementation of Managed Bean
This class provides a dummy products list for testing and shows the use of custom DataModel to sort the dataTable list. Add the following code to it:
OrderBean.java
package com.jsf.datamodel;

import java.io.Serializable;
import java.util.Comparator;

import javax.faces.bean.ManagedBean;
import javax.faces.bean.SessionScoped;
import javax.faces.model.ArrayDataModel;
import javax.faces.model.DataModel;

@ManagedBean(name="order") @SessionScoped
public class OrderBean implements Serializable {

	private boolean sortAscending = true;
	private static final long serialVersionUID = 1L;
	private SortableDataModel sotableDataModel;

	private static final Order[] orderList = {
		new Order("P002", "Apple iPad Air", new Integer("500"), 3),
		new Order("P004", "Samsung Plasma", new Integer("520"), 10),
		new Order("P006", "Apple Macbook Air", new Integer("530"), 5),
		new Order("P003", "Apple iPhone 7s Plus", new Integer("239"), 9),
		new Order("P005", "Bose Wireless Headphones", new Integer("149"), 11),
		new Order("P001", "Hewlett-Packard Spectre Laptop", new Integer("420"), 6),
		new Order("P007", "Sony PlayStation 4 Supreme Edition", new Integer("3315"), 2)
	};

	public OrderBean() {
		sotableDataModel = new SortableDataModel(new ArrayDataModel(orderList));
	}

	public DataModel getOrderList() {
		return sotableDataModel;
	}

	public String sortByOrderNo() {
		if(sortAscending) {
			sotableDataModel.sortBy(new Comparator() {
				@Override
				public int compare(Order o1, Order o2) {
					return o1.getOrderNo().compareTo(o2.getOrderNo());
				}
			});
			sortAscending = false;
		} else {
			sotableDataModel.sortBy(new Comparator() {
				@Override
				public int compare(Order o1, Order o2) {
					return o2.getOrderNo().compareTo(o1.getOrderNo());
				}
			});
			sortAscending = true;
		}
		return null;
	}
}
3.2.2 Implementation of Decorator Class
This class extends the javax.faces.model.DataModel class and adds an extra sorting behavior. Well, a bit complicated to explain, please refer to the Core JavaServer Faces (3rd Edition) book for details. Add the following code to it:
SortableDataModel.java
package com.jsf.datamodel;

import java.util.Arrays;
import java.util.Comparator;

import javax.faces.model.DataModel;

public class SortableDataModel extends DataModel {

	DataModel dataModelObj;
	private Integer[] rowsObj;

	SortableDataModel(DataModel model) {
		this.dataModelObj = model;
		initRows();
	}

	public void initRows() {
		int rowCount = dataModelObj.getRowCount();
		if(rowCount != -1) {
			this.rowsObj = new Integer[rowCount];
			for(int i = 0; i < rowCount; ++i) {
				rowsObj[i] = i;
			}
		}
	}

	public void sortBy(final Comparator comparator) {
		Comparator rowComp = new Comparator() {
			public int compare(Integer i1, Integer i2) {
				E o1 = getData(i1);
				E o2 = getData(i2);
				return comparator.compare(o1, o2);
			}
		};
		Arrays.sort(rowsObj, rowComp);
	}

	private E getData(int row) {
		int originalRowIndex = dataModelObj.getRowIndex();
		dataModelObj.setRowIndex(row);
		E newRowData = dataModelObj.getRowData();
		dataModelObj.setRowIndex(originalRowIndex);
		return newRowData;
	}

	@Override
	public void setRowIndex(int rowIndex) {
		if(0 <= rowIndex && rowIndex < rowsObj.length) {
			dataModelObj.setRowIndex(rowsObj[rowIndex]);
		} else {
			dataModelObj.setRowIndex(rowIndex);
		}
	}

	@Override
	public boolean isRowAvailable() {
		return dataModelObj.isRowAvailable();
	}

	@Override
	public int getRowCount() {
		return dataModelObj.getRowCount();
	}

	@Override
	public E getRowData() {
		return dataModelObj.getRowData();
	}

	@Override
	public int getRowIndex() {
		return dataModelObj.getRowIndex();
	}

	@Override
	public Object getWrappedData() {
		return dataModelObj.getWrappedData();
	}

	@Override
	public void setWrappedData(Object data) {
		dataModelObj.setWrappedData(data);
		initRows();
	}
}
4. Project Deploy
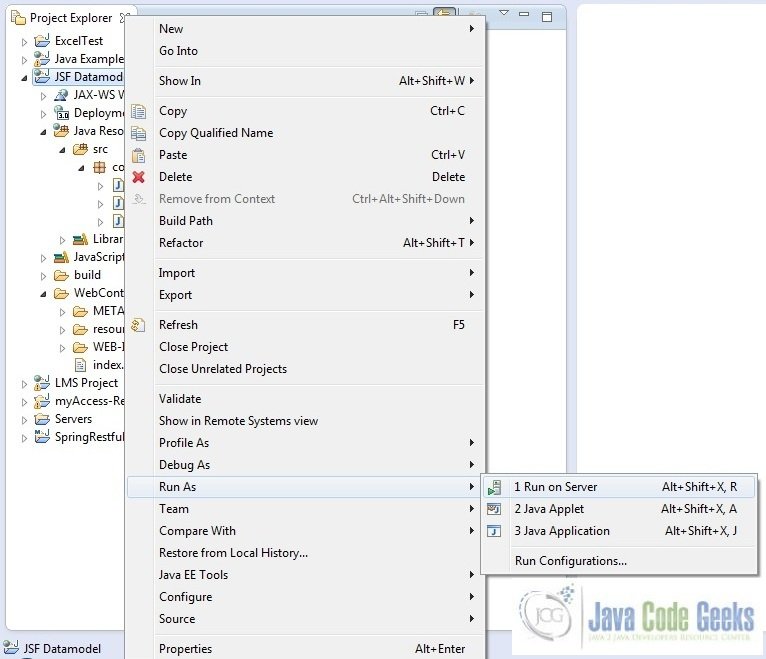
Once we are ready with all the changes done, let us compile and deploy the application on tomcat7 server. In order to deploy the application on tomcat7, right-click on the project and navigate to Run as -> Run on Server
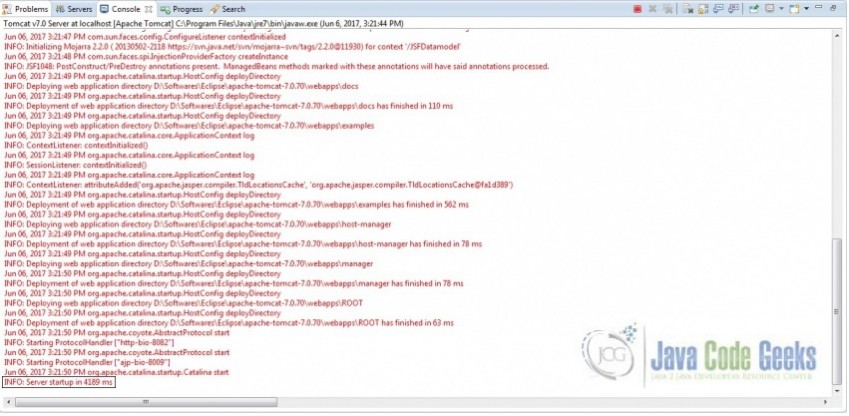
Tomcat will deploy the application in its webapps folder and shall start its execution to deploy the project so that we can go ahead and test it on the browser
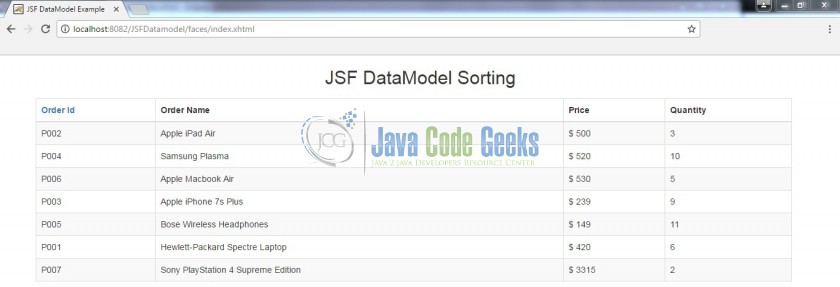
Open your favorite browser and hit the following URL. The output page will be displayed.
http://localhost:8082/JSFDatamodel/faces/index.xhtml
Server name (localhost) and port (8082) may vary as per your tomcat configuration
5. Project Demo
When we will hit the application url, you will see the page displaying the products list in an unsorted order
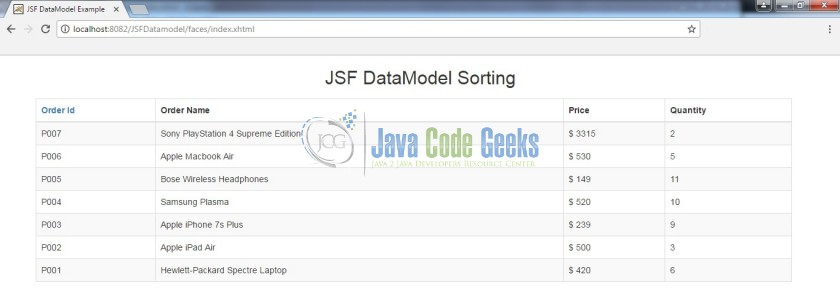
Clicking on the “Order Id” column header will sort the products list in the ascending order

Again clicking on the “Order Id” column header will sort the products list in the descending order
Hope this helped :)
6. Conclusion
Through this example, we have learned about the data-modelling implementation in jsf and deploy it using the tomcat7 application server
7. Download the Eclipse Project
This was a JSF Datamodel example with Eclipse and Tomcat.
You can download the full source code of this example here: JSF Datamodel
