Hello, in this tutorial we will study about the autocomplete component in a jsf enabled application and will demonstrate the following:
- Autocomplete Page
- Retrieving the dummy countries list from the managed bean
This example will show the implementation of this module.
1. Introduction
JSF primefaces provides an incredible amount of new components that adhered the different aspect of Ajax. One of the components, Autocomplete is most widely used with the web applications and it provides the user prompt suggestions while the input is being typed into the input box.
Here, in this example we will have the following files:
- autocomplete.xhtml – A jsf page to which
<p:autoComplete>is attached - AutoComplete – Managed bean class to prepare the dummy countries list
- web.xml – Web application configuration file
But before we create the application, let’s take a look and understand the primefaces autocomplete.
1.1 Primefaces Autocomplete
Primefaces provides <p:autoComplete>component which is used to create a textbox with suggestions. Suggestions are loaded by calling a server side method that takes a single string parameter. It includes a various attribute that is tabled below:
| Attribute | Default value | Return type | Description |
|---|---|---|---|
| id | null | String | It is a unique identifier of the component |
| rendered | true | Boolean | It returns a boolean value to specify the rendering of the component |
| binding | null | Object | It is used for an el expression that maps to a server side UIComponent instance in a backing bean |
| value | null | Object | It is a value of the component that can be either an EL expression of a literal text |
| converter | null | Object | An el expression or a literal text that defines a converter for the component |
| immediate | false | Boolean | It returns boolean when setting true, process validations logic is executed at apply request values phase for this component |
| required | false | Boolean | It is used to marks component as required |
| RequiredMessage | null | String | It is used to set message to be displayed when required field validation fails |
| dropdown | false | Boolean | It enables drop-down mode when set true |
| accesskey | null | String | It is used to set access key that when pressed transfers focus to the input element |
| autocomplete | null | String | It executes autocomplete behavior |
| Lang | null | String | It is used to set language used in the generated markup for this component |
| onclick | null | String | Client side callback to execute when the input element is clicked |
| active | true | Boolean | Defines if autocomplete functionality is enabled |
If a developer wishes to read the tag documentation, they might consider this option.
1.2 How can it be achieved?
To configure primefaces in our JSF application, we need to download only one JAR file i.e. primefaces-{version}.jar. We can manually download it from the repository and add it in project’s WEB-INF/lib folder.
Or in case developers want to use it in the maven project, they can add the following dependency in the pom.xml file.
pom.xml
<dependency>
    <groupId>org.primefaces</groupId>
    <artifactId>primefaces</artifactId>
    <version>6.1</version>
</dependency>
Now, open up the Eclipse IDE and let’s start building the application!
2. JSF Autocomplete Example
2.1 Tools Used
We are using Eclipse Kepler SR2, JDK 8 (1.8.0_131), Tomcat7 application server. Having said that, we have tested the code against JDK 1.7 and it works well.
2.2 Project Structure
Firstly, let’s review the final project structure, in case you are confused about where you should create the corresponding files or folder later!

2.3 Project Creation
This tutorial should clarify the AutoComplete component once it is implemented using completeMethod() method strategy. In this method, suggestions loaded by calling the server side completeMethod() that takes a single string parameter which is the text entered.
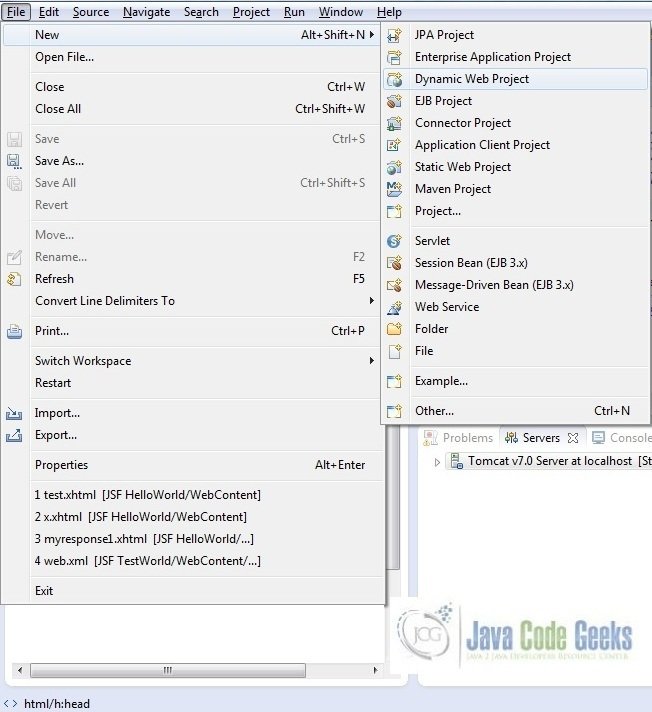
This section will demonstrate on how to create a Dynamic Web Java project with Eclipse. In Eclipse IDE, go to File -> New -> Dynamic web project
In the New Dynamic Project window fill in the below details and click next
- Enter the project name and project location
- Select Target runtime as Apache Tomcat v7.0 from dropdown
- Select Configuration as JavaServer Faces v.2.2 Project from dropdown (this is required to download the java server faces capabilities in your project)

Leave everything as default in this window as we will be making the required java file at a later stage. Simply click next and we will land up on the web-module window

In the Web Module window, leave the context_root and content_directory values as default (however, you can change the context_root but for the first application let’s keep it as a default value). Simply, check Generate web.xml deployment descriptor checkbox and click next

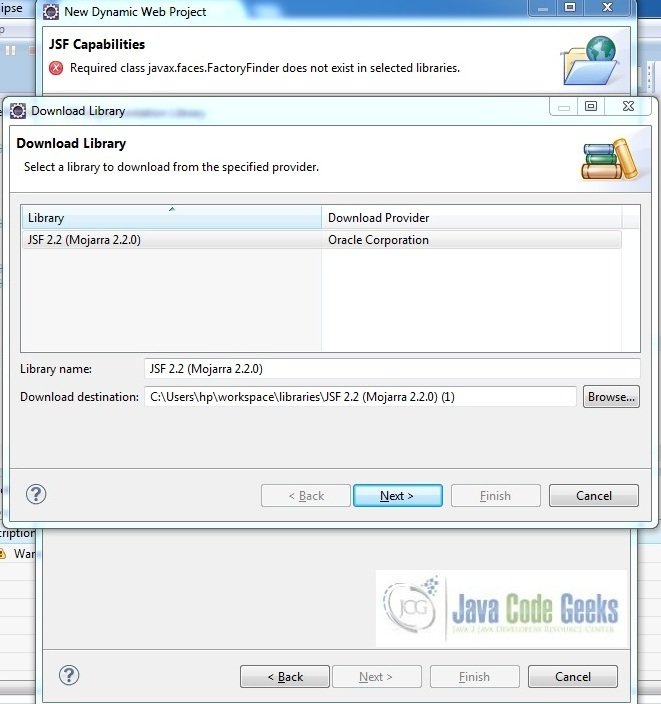
In the JSF Capabilities windows, we will require downloading the dependencies (not available by default) so that our project is configured as a JSF module in Eclipse. Add the JSF capabilities to the web project by clicking on the download icon (encircled in Fig. 6) and download the JSF 2.2 Mojarra implementation
A new pop-up window will open where it will auto lists down the JSF library. Select the JSF 2.2 library and click next (the library name and download destination will be auto populated)

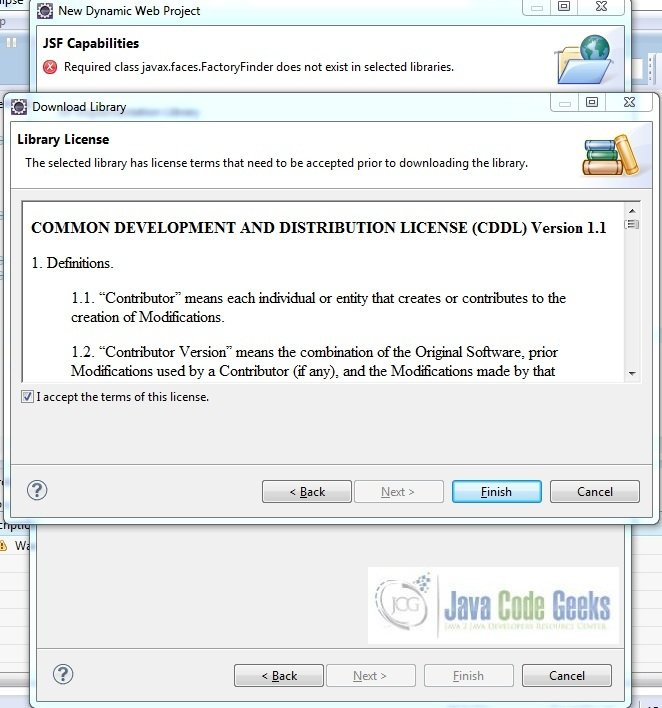
Check the license checkbox and click finish. Eclipse will download the JSF 2.2 library and will display them on the JSF capabilities windows (i.e. Fig. 6)
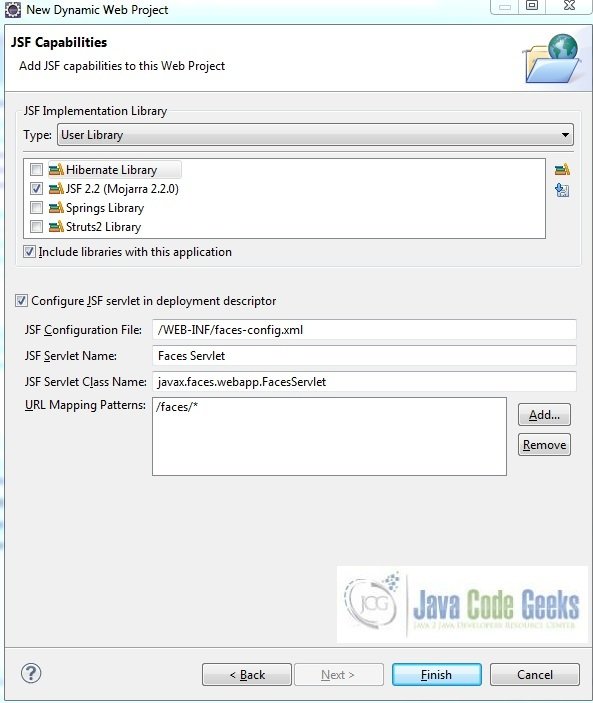
Now the JSF implementation libraries will be listed down on the capabilities page. Select the checkbox (JSF2.2 (Mojarra 2.2.0)) and leave everything else as default. Click Finish
Eclipse will create the project named JSF Autocomplete in the workspace and web.xml will be configured for accepting the JSF requests. It will have the following code:
web.xml
<?xml version="1.0" encoding="UTF-8"?>
<web-app xmlns:xsi="http://www.w3.org/2001/XMLSchema-instance" xmlns="http://java.sun.com/xml/ns/javaee" xsi:schemaLocation="http://java.sun.com/xml/ns/javaee http://java.sun.com/xml/ns/javaee/web-app_3_0.xsd" id="WebApp_ID" version="3.0">
    <display-name>JSF Autocomplete</display-name>
    <welcome-file-list>
        <welcome-file>index.html</welcome-file>
        <welcome-file>index.htm</welcome-file>
        <welcome-file>index.jsp</welcome-file>
        <welcome-file>default.html</welcome-file>
        <welcome-file>default.htm</welcome-file>
        <welcome-file>default.jsp</welcome-file>
    </welcome-file-list>
    <servlet>
        <servlet-name>Faces Servlet</servlet-name>
        <servlet-class>javax.faces.webapp.FacesServlet</servlet-class>
        <load-on-startup>1</load-on-startup>
    </servlet>
    <servlet-mapping>
        <servlet-name>Faces Servlet</servlet-name>
        <url-pattern>/faces/*</url-pattern>
    </servlet-mapping>
    <context-param>
        <description>State saving method: 'client' or 'server' (=default). See JSF Specification 2.5.2</description>
        <param-name>javax.faces.STATE_SAVING_METHOD</param-name>
        <param-value>client</param-value>
    </context-param>
    <context-param>
        <param-name>javax.servlet.jsp.jstl.fmt.localizationContext</param-name>
        <param-value>resources.application</param-value>
    </context-param>
    <listener>
        <listener-class>com.sun.faces.config.ConfigureListener</listener-class>
    </listener>
</web-app>
Let’s start building the application!
3. Application Building
Below are the steps involved in developing this application:
3.1 Source File Creation
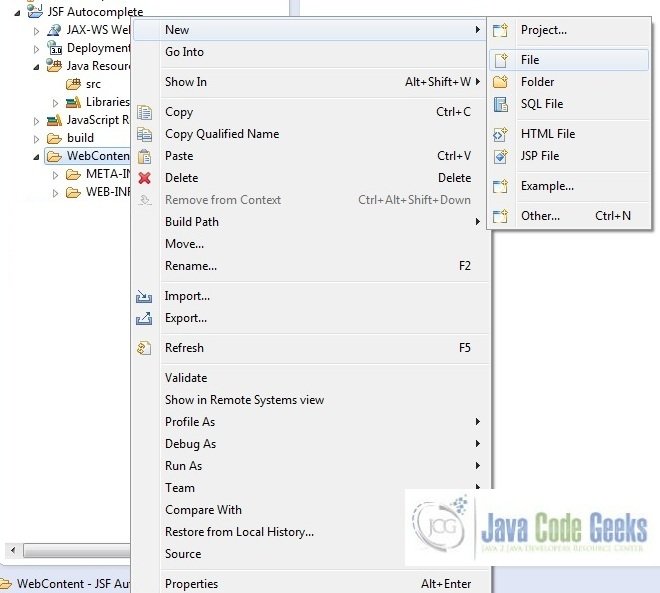
For the demo, we will have an output file displaying the products list. Right click on project WebContent -> New -> File
Note: In JSF 2.0, it’s recommended to create a JSF page in xhtml format, a file format with .xhtml extension

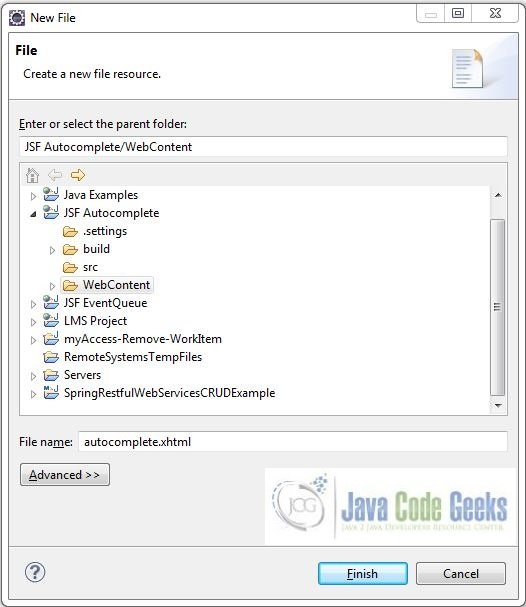
A pop-up window will open. Verify the parent folder location as JSF Autocomplete/WebContent and enter the file name as autocomplete.xhtml. Click Finish
3.1.1 Implementation of Input file
Here in the autocomplete.xhtml, we will use p:autoComplete tag to attach completeMethod to this page. Add the following code to it:
autocomplete.xhtml
<!DOCTYPE HTML>
<html lang="en" xmlns="http://www.w3.org/1999/xhtml" xmlns:h="http://java.sun.com/jsf/html"
			xmlns:p="http://primefaces.org/ui" xmlns:f="http://xmlns.jcp.org/jsf/core">
   <h:head>
      <meta charset="utf-8" name="viewport" content="width=device-width, initial-scale=1" http-equiv="X-UA-Conpatible" />
      <title>JSF Autocomplete</title>
   </h:head>
   <h:body>
      <center><h2>JSF Autocomplete Example</h2></center>
      <h:form id="autocompleteForm">
         <p:growl id="msgs" showDetail="true" />
         <h:panelGrid id="countryTable" columns="2" cellpadding="5">
               <p:outputLabel id="countryLabel" value="Enter Country: " />
               <p:autoComplete id="countryList" value="#{autoComplete.countryName}" completeMethod="#{autoComplete.countryList()}" />
         </h:panelGrid>
      </h:form>
   </h:body>
</html>
3.2 Java Class Creation
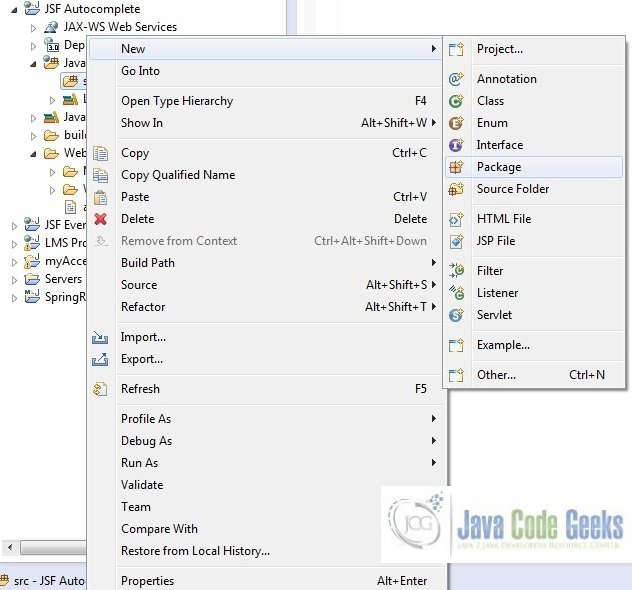
Let’s create the required java files. Right click on src folder New -> Package
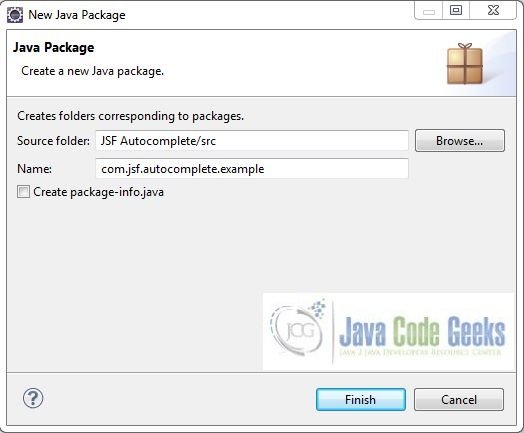
A new pop window will open where we will enter the package name as com.jsf.autocomplete.example
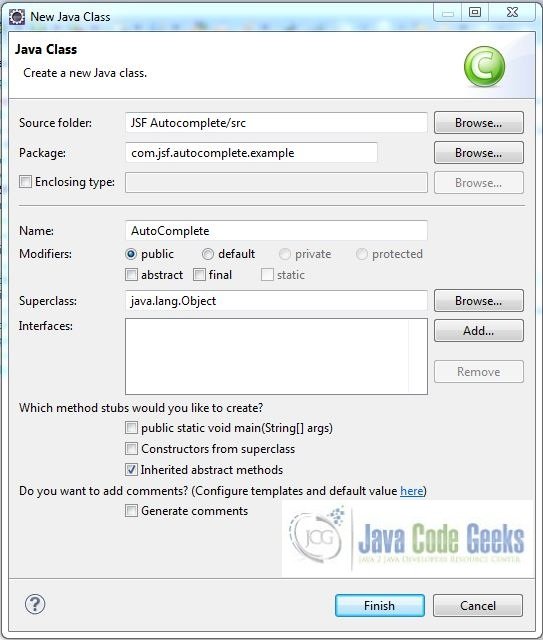
Once the package is created in the application, we will need to create the required managed bean. Right click on the newly create package New -> Class
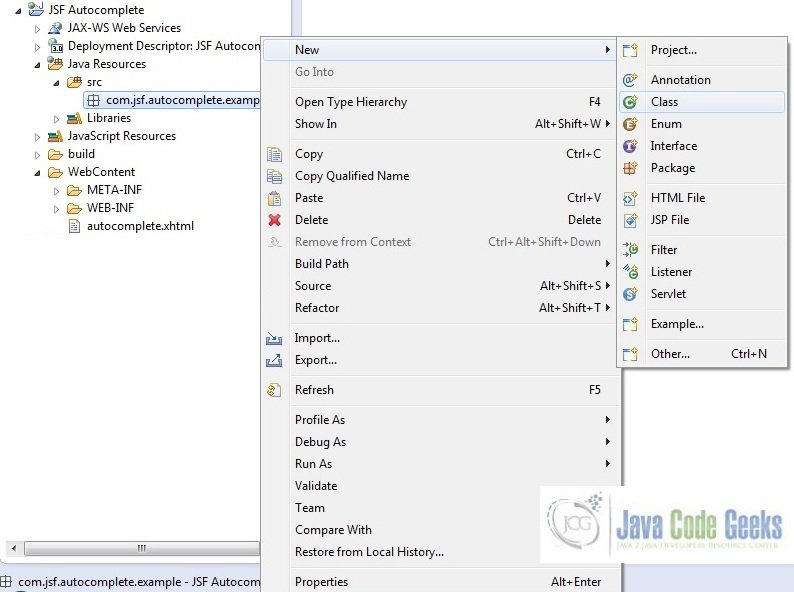
A new pop window will open and enter the file name as AutoComplete. The managed bean class will be created inside the package com.jsf.autocomplete.example
3.2.1 Implementation of Managed Bean
The bean class has a countryList() method which prepares the dummy countries list and displays it on the output page as per the user suggestions. Add the following code to it:
AutoComplete.java
package com.jsf.autocomplete.example;

import java.util.ArrayList;
import java.util.Collections;
import java.util.List;

import javax.faces.bean.ManagedBean;

@ManagedBean
public class AutoComplete {

	private String countryName;

	public String getCountryName() {
		return countryName;
	}

	public void setCountryName(String countryName) {
		this.countryName = countryName;
	}

	// Method To Display The Country List On The JSF Page
	public List countryList() {
		ArrayListcountryList = new ArrayList();
		countryList.add("India");
		countryList.add("Australia");
		countryList.add("Germany");
		countryList.add("Italy");
		countryList.add("United States Of America");
		countryList.add("Russia");
		countryList.add("Sweden");
		Collections.sort(countryList);
		return countryList;
	}
}
4. Project Deploy
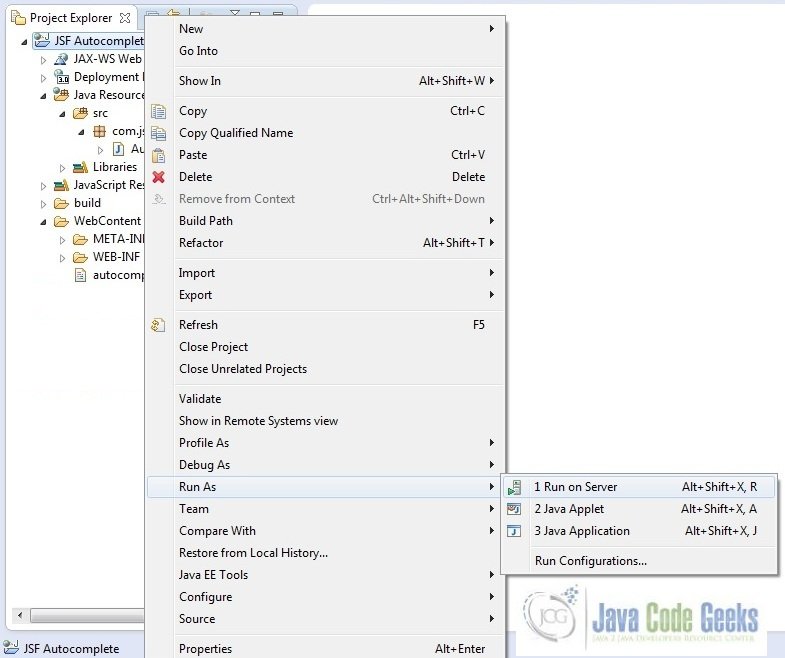
Once we are ready with all the changes done, let us compile and deploy the application on tomcat7 server. In order to deploy the application on tomcat7, right-click on the project and navigate to Run as -> Run on Server
Tomcat will deploy the application in its webapps folder and shall start it’s execution to deploy the project so that we can go ahead and test it on the browser
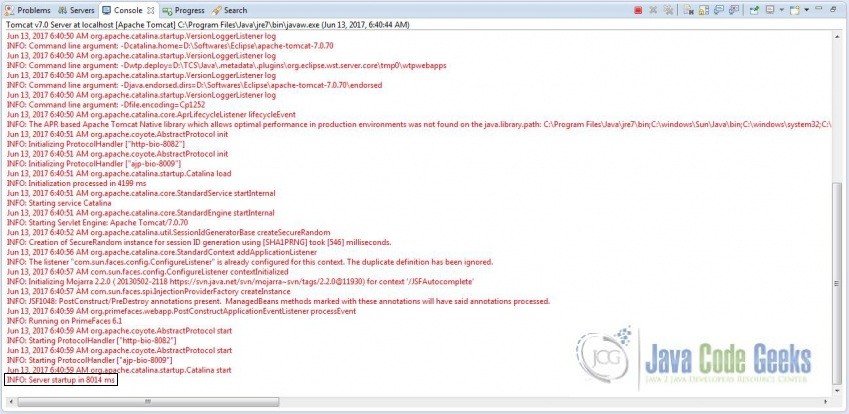
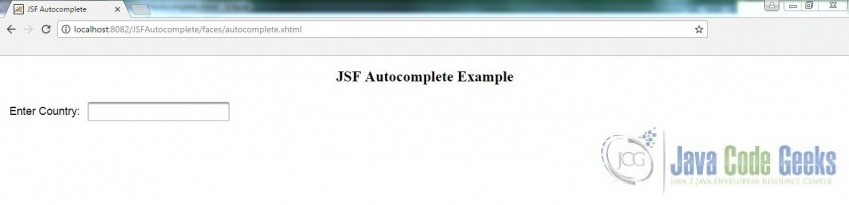
Open your favorite browser and hit the following url. The output page will be displayed.
http://localhost:8082/JSFAutocomplete/faces/autocomplete.xhtml
Server name (localhost) and port (8082) may vary as per your tomcat configuration
5. Project Demo
Now, we are done with the application and it’s time to test out the application. When we will hit the application url, you will see the below page
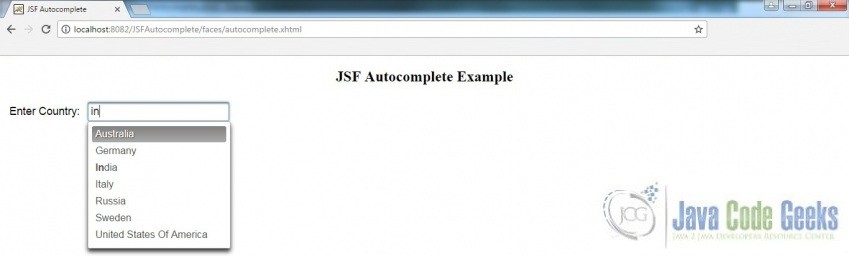
As the user tries to type the country name, the autocomplete primefaces component will start rendering the suggestions
Hope this helped :)
6. Conclusion
Through this example, we have learned about the JSF Autocomplete implementation and we deployed it using the Tomcat7 application server.
7. Download the Eclipse Project
This was a JSF Autocomplete example with Eclipse and Tomcat
You can download the full source code of this example here: JSF Autocomplete
