Twitter has recently released a new software development kit. It’s name is Fabric and it provides a set of crash reporting and mobile analytics tools for mobile applications. Moreover, gives a more direct and easy way for mobile programmers to integrate the Twitter authorization and login procedure and use Twitter post API.
Twitter has also created a plugin both for Android Studio as well as for Eclipse, in order to fasten this procedure with very specific details and step by step instructions.
In this example, we will see how we can use Fabric via Android Studio in order to make an application that gets a Twitter auth, logs in to Twitter and can post a comment in Twitter.
For our example will use the following tools in a Windows 64-bit or an OS X platform:
- JDK 1.7
- Android Studio 1.3.2
- Android SDK 5.1
Let’s take a closer look:
1. Import Fabric plugin into Android Studio
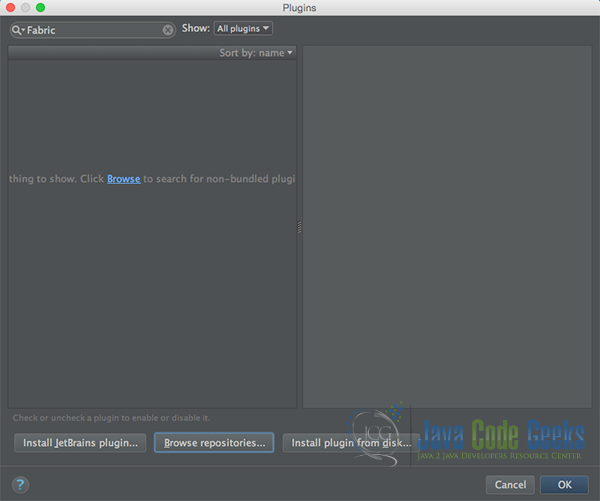
For this example, we have to install the Fabric Plugin for Android Studio. Let’s open Android Studio select Configure > Plugins.


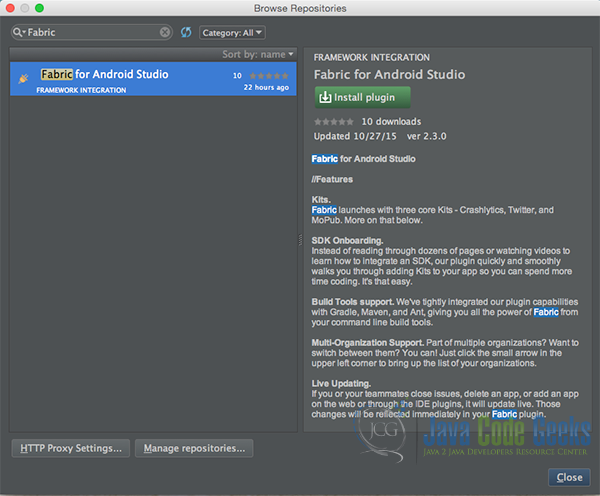
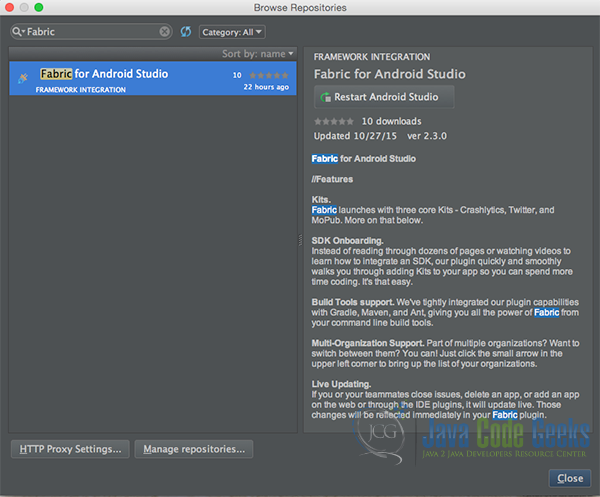
Then we should find the “Fabric” Plugin, download and install it into Android Studio.
2. Create a New Android Application Project
You may skip project creation and jump directly to the beginning of the example below.
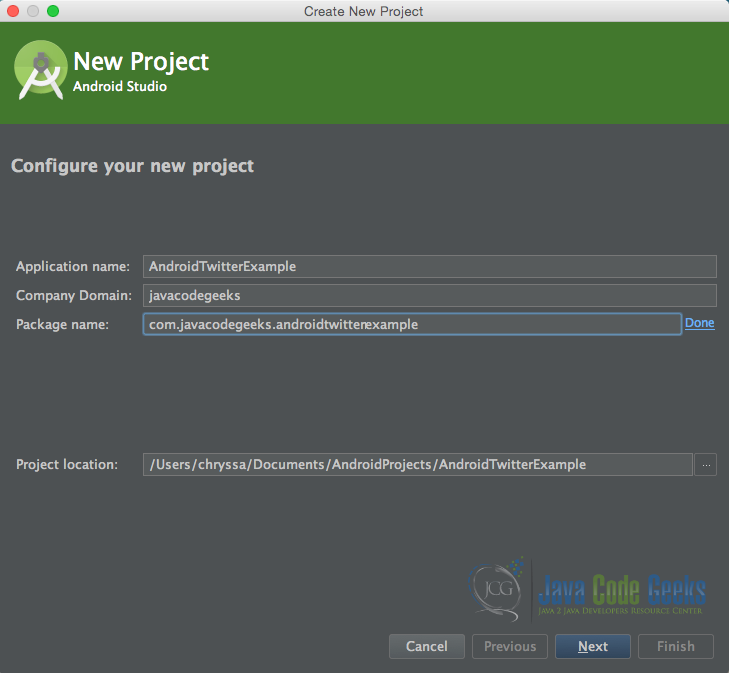
Open Android Studio and choose “Start a new Android Studio Project” in the welcome screen.
Specify the name of the application, the project and the package.
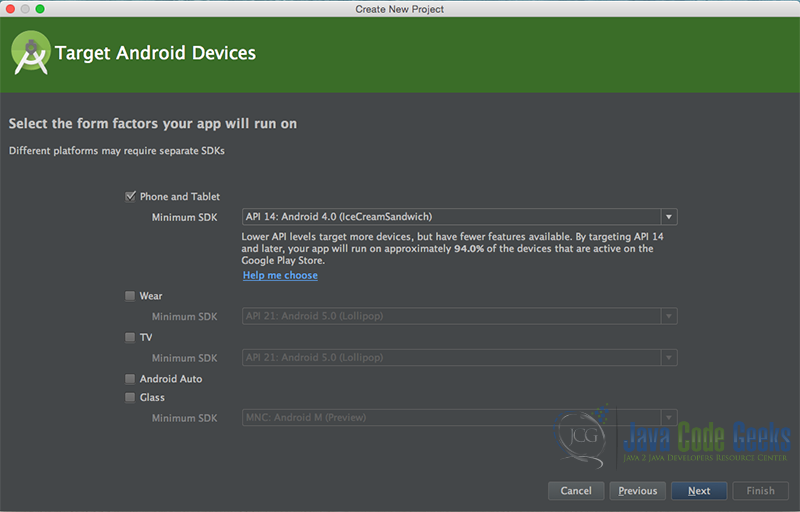
In the next window, select the form factors your app will run on.
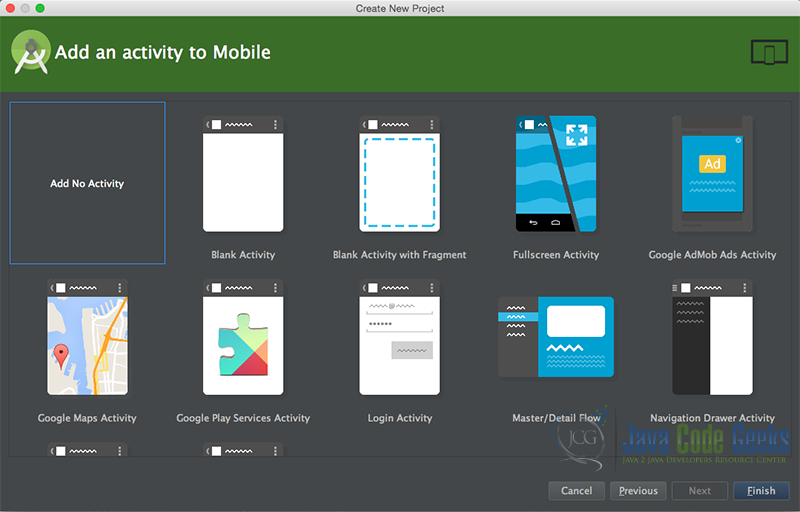
In the next window you should choose to “Add an activity to Mobile”. In our example, we will choose to create a project with no activity, because we will migrate our Activities for the eclipse formed project. So, choose: “Add no activity”.
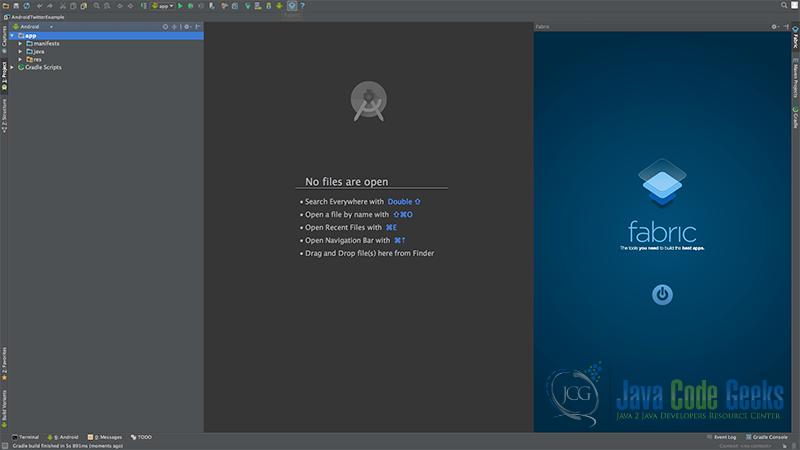
Now, our project has just been created. This is how it looks like in the “Android” project view:
Log into your Fabric account from this Android Studio plugin. Follow the instructions and you will see a full integration guide. Please follow this guide as long you read this example. Throughout this guide you will find out how to make a new account, to add a new android application and the TWITTER_KEY and TWITTER_SECRET for your specific application.
3. Creating the layout of the main Android Login and Twitter Post Example
Open res/layout/main_layout.xml, go to the respective xml tab and paste the following:
main_layout.xml
<?xml version="1.0" encoding="utf-8"?>
<RelativeLayout xmlns:android="http://schemas.android.com/apk/res/android"
    android:layout_width="match_parent"
    android:layout_height="match_parent"
    android:layout_gravity="center"
    android:gravity="center"
    android:orientation="vertical">

    <com.twitter.sdk.android.core.identity.TwitterLoginButton
        android:id="@+id/twitter_button"
        android:layout_width="wrap_content"
        android:layout_height="wrap_content"
        android:layout_gravity="center"
        android:clickable="true" />

</RelativeLayout>
4. Creating the source code of the main Android Login and Twitter Post Example
In this example, we are going to make an application with 2 activities. The first one is to initialize the Twitter authorization and the second one is to perform the login and Twitter post.
Open src/main/java/com.javacodegeeks.androidtwitterexample/AndroidTwitterExampleInit.java file and paste the code below.
AndroidTwitterExampleInit.java
package com.javacodegeeks.androidtwitterexample;

import android.app.Activity;
import android.content.Intent;
import android.os.Bundle;

import com.twitter.sdk.android.Twitter;
import com.twitter.sdk.android.core.TwitterAuthConfig;

import io.fabric.sdk.android.Fabric;


public class AndroidTwitterExampleInit extends Activity {
    private static final String TWITTER_KEY = "WDuhNUL7cEztJEKuPnqfBDV2K";
    private static final String TWITTER_SECRET = "5vVNEtG2UvJBOgVbIZ6xBzb6sgwZefRMG7332JLPyeJVwGxqz4";

    @Override
    protected void onCreate(Bundle savedInstanceState) {
        super.onCreate(savedInstanceState);
        TwitterAuthConfig authConfig = new TwitterAuthConfig(TWITTER_KEY, TWITTER_SECRET);
        Fabric.with(this, new Twitter(authConfig));
        startLoginActivity();
    }

    private void startLoginActivity() {
        startActivity(new Intent(this, AndroidTwitterExample.class));
    }
}
Let’s see in detail the code above. Here we give the authorization of our application to use TwitterApi with our specific TWITTER_KEY and TWITTER_SECRET.
TwitterAuthConfig authConfig = new TwitterAuthConfig(TWITTER_KEY, TWITTER_SECRET);
Fabric.with(this, new Twitter(authConfig));
Now, open src/main/java/com.javacodegeeks.androidtwitterexample/AndroidTwitterExample.java file and paste the code below.
AndroidTwitterExample.java
package com.javacodegeeks.androidtwitterexample;

import android.app.Activity;
import android.content.Intent;
import android.os.Bundle;
import android.widget.Toast;

import com.twitter.sdk.android.core.*;
import com.twitter.sdk.android.core.identity.*;
import com.twitter.sdk.android.tweetcomposer.TweetComposer;


public class AndroidTwitterExample extends Activity {
    private TwitterLoginButton twitterButton;

    @Override
    protected void onCreate(Bundle savedInstanceState) {
        super.onCreate(savedInstanceState);
        setContentView(R.layout.main_layout);
        setUpViews();
    }


    @Override
    protected void onResume() {
        super.onResume();
    }

    @Override
    protected void onDestroy() {
        super.onDestroy();
    }

    @Override
    protected void onActivityResult(int requestCode, int resultCode, Intent data) {
        super.onActivityResult(requestCode, resultCode, data);
        twitterButton.onActivityResult(requestCode, resultCode, data);
    }

    private void setUpViews() {
        setUpTwitterButton();
    }

    private void setUpTwitterButton() {
        twitterButton = (TwitterLoginButton) findViewById(R.id.twitter_button);
        twitterButton.setCallback(new Callback() {
            @Override
            public void success(Result result) {
                Toast.makeText(getApplicationContext(),
                        getResources().getString(R.string.app_name),
                        Toast.LENGTH_SHORT).show();

                setUpViewsForTweetComposer();
            }

            @Override
            public void failure(TwitterException exception) {
                Toast.makeText(getApplicationContext(),
                        getResources().getString(R.string.app_name),
                        Toast.LENGTH_SHORT).show();
            }
        });
    }

    private void setUpViewsForTweetComposer() {
        TweetComposer.Builder builder = new TweetComposer.Builder(this)
                .text("Just setting up my Fabric!");
        builder.show();
    }
}
Let’s also see the code above in detail.

The Twitter login process takes place in a separate “Twitter” activity, and what should return to our activity is the requestCode, the resultCode, and the data Intent.
    @Override
    protected void onActivityResult(int requestCode, int resultCode, Intent data) {
        super.onActivityResult(requestCode, resultCode, data);
        twitterButton.onActivityResult(requestCode, resultCode, data);
    }
Here, we declare a private TwitterLoginButton for the Twitter sdk.
private TwitterLoginButton twitterButton;
This button should have a callback method, that will “catch” the data of the login event, as soon as we login to Twitter with our personal account.
        twitterButton = (TwitterLoginButton) findViewById(R.id.twitter_button);
        twitterButton.setCallback(new Callback() {
            @Override
            public void success(Result result) {
                Toast.makeText(getApplicationContext(),
                        getResources().getString(R.string.app_name),
                        Toast.LENGTH_SHORT).show();

                setUpViewsForTweetComposer();
            }

            @Override
            public void failure(TwitterException exception) {
                Toast.makeText(getApplicationContext(),
                        getResources().getString(R.string.app_name),
                        Toast.LENGTH_SHORT).show();
            }
        });
5. Composing Android Manifest
The AndroidManifest.xml of our project is simple and contains the permissions:
AndroidManifest.xml
<manifest xmlns:android="http://schemas.android.com/apk/res/android"
    package="com.javacodegeeks.androidtwitterexample">

    <application
        android:allowBackup="true"
        android:icon="@mipmap/ic_launcher"
        android:label="@string/app_name"
        android:theme="@style/AppTheme">
        <activity
            android:name=".AndroidTwitterExample"
            android:label="@string/app_name"></activity>
        <activity
            android:name=".AndroidTwitterExampleInit"
            android:label="@string/app_name">
            <intent-filter>
                <action android:name="android.intent.action.MAIN" />
                <category android:name="android.intent.category.LAUNCHER" />
            </intent-filter>
        </activity>

        <meta-data
            android:name="io.fabric.ApiKey"
            android:value="2f160620708ff1ba8a44940d7808bec5d334c9b6" />
    </application>
    <uses-permission android:name="android.permission.INTERNET" />
</manifest>
6. Composing build.gradle file
build.gradle
buildscript {
    repositories {
        maven { url 'https://maven.fabric.io/public' }
    }
    dependencies {
        classpath 'io.fabric.tools:gradle:1.+'
    }
}
apply plugin: 'com.android.application'
apply plugin: 'io.fabric'
android {
    compileSdkVersion 22
    buildToolsVersion "23.0.1"

    defaultConfig {
        applicationId "com.javacodegeeks.androidtwitterexample"
        minSdkVersion 14
        targetSdkVersion 22
        versionCode 1
        versionName "1.0"
    }
    buildTypes {
        release {
            minifyEnabled false
            proguardFiles getDefaultProguardFile('proguard-android.txt'), 'proguard-rules.pro'
        }
    }
}
repositories {
    mavenCentral()
    maven { url 'https://maven.fabric.io/public' }
}
dependencies {
    compile fileTree(dir: 'libs', include: ['*.jar'])
    compile 'com.android.support:appcompat-v7:22.2.1'
    compile('com.twitter.sdk.android:twitter:1.9.0@aar') {
        transitive = true;
    }
}
7. Build and run the application
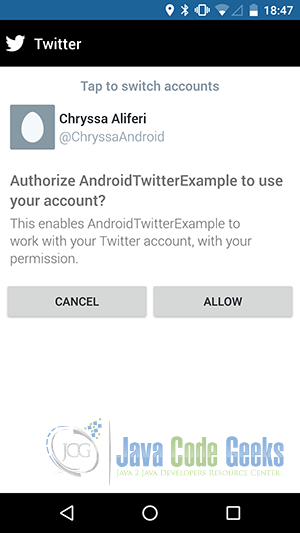
When we build, compile and run our project, the main AndroidTwitterExample should look like this:


8. Download the Android Studio Project
This was an example of Android Twitter Login and Twitter Post.
You can download the full source code of this example here: AndroidTwitterExample
