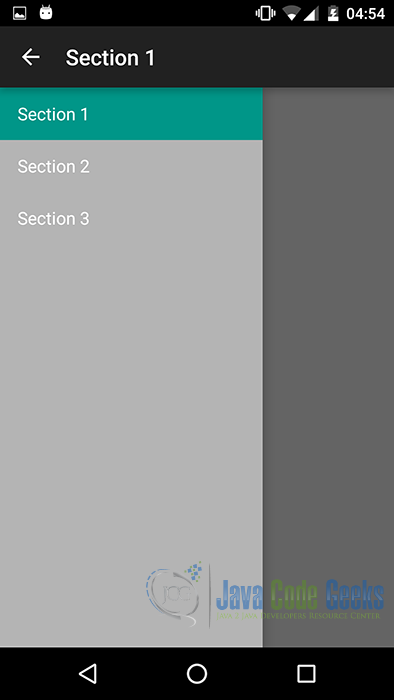
The navigation drawer is a panel that displays the app’s main navigation options on the left edge of the screen.
It is hidden most of the time, but is revealed when the user swipes a finger from the left edge of the screen or, while at the top level of the app, the user touches the app icon in the action bar.
In this example, we are going to see, how to how to implement a navigation drawer using the DrawerLayout.
For our example will use the following tools in a Windows 64-bit or an OS X platform:
- JDK 1.7
- Android Studio 1.3.2
- Android SDK 6.0
Let’s take a closer look:
1. Create a New Android Application Project
You may skip project creation and jump directly to the beginning of the example below.
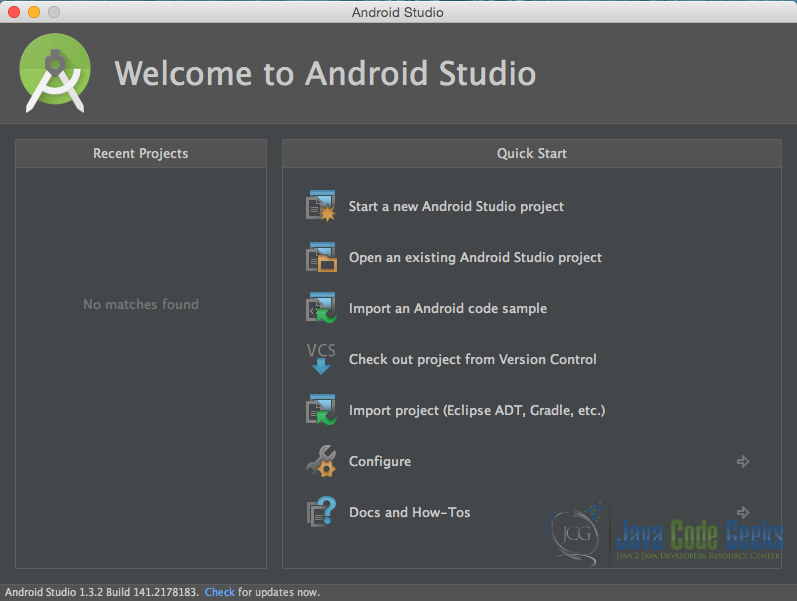
Open Android Studio and choose “Start a new Android Studio Project” in the welcome screen.
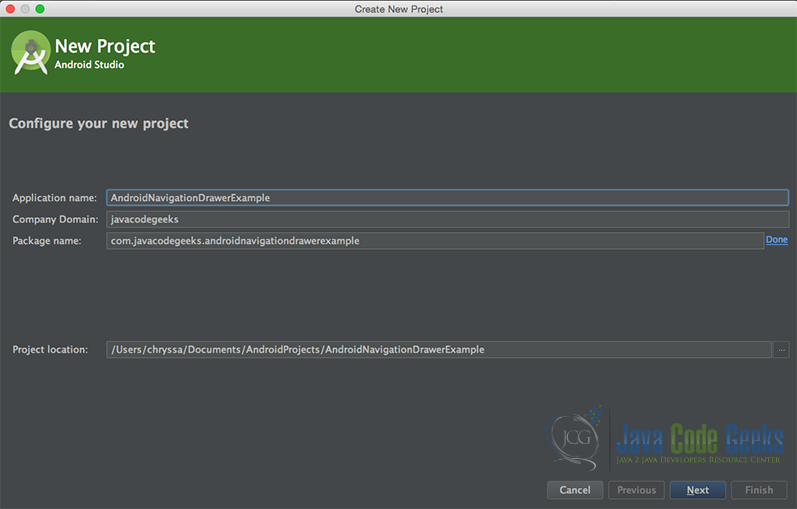
Specify the name of the application, the project and the package.
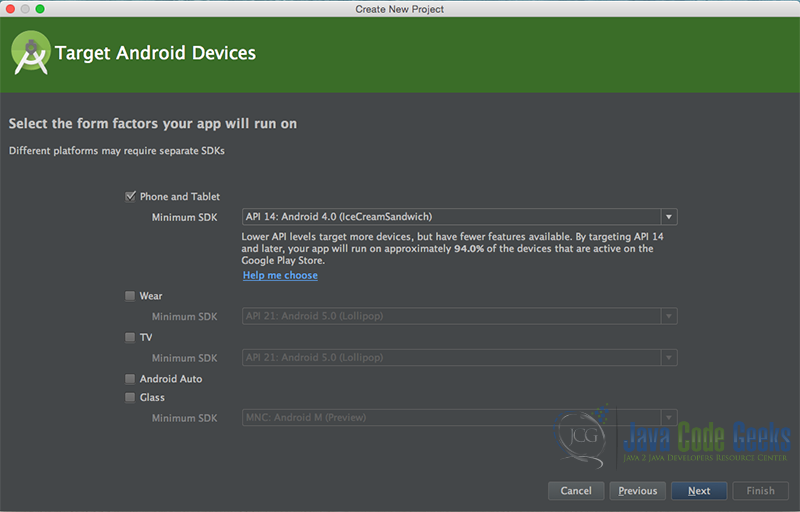
In the next window, select the form factors your app will run on.
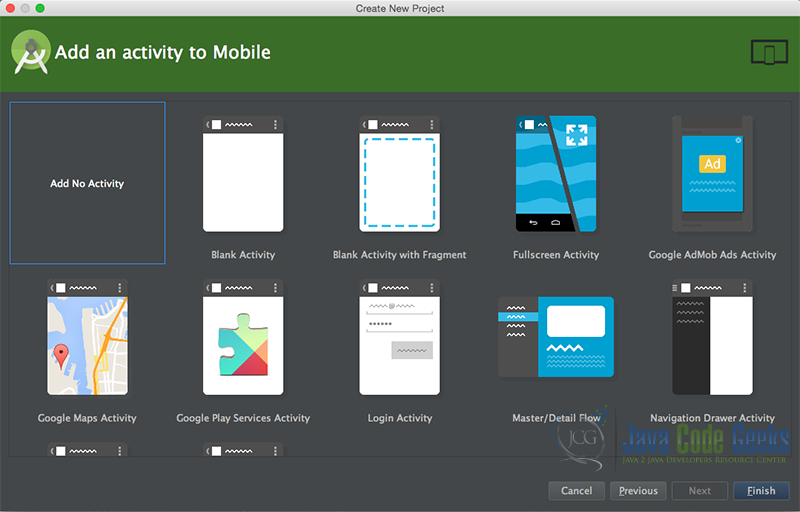
In the next window you should choose “Blank Activity”. In our example, we choose to create a project with some basic configuration.
As we can see now, our project has some basic files, such as our value files that contain the strings, the styles and the default dimens. Now, our project has just been created. This is how it looks like in the “Android” project view:

2. Create the layouts of the project
To add a navigation drawer, we declare our user interface with a DrawerLayout object as the root view of the layout. Inside the DrawerLayout, we add one view that contains the main content for the screen and another view that contains the contents of the navigation drawer.
In this example, we are going to have a layout that uses a DrawerLayout with two child views: a FrameLayout to contain the main content (populated by a Fragment at runtime), and a ListView for the navigation drawer.
We are going to make a simple layout xml for the AndroidNavDrawerActivity.java, that consists of two views, the FrameLayout that is going to be our container layout and the fragment that is going to be our navigation drawer.
Open res/layout/activity_main.xml, go to the respective xml tab and paste the following:
activity_main.xml
<android.support.v4.widget.DrawerLayout xmlns:android="http://schemas.android.com/apk/res/android"
    xmlns:tools="http://schemas.android.com/tools"
    android:id="@+id/drawer_layout"
    android:layout_width="match_parent"
    android:layout_height="match_parent"
    tools:context=".AndroidNavDrawerActivity">

    <FrameLayout
        android:id="@+id/container"
        android:layout_width="match_parent"
        android:layout_height="match_parent" />


    <fragment
        android:id="@+id/navigation_drawer"
        android:name="com.javacodegeeks.androidnavigationdrawerexample.NavigationDrawerFragment"
        android:layout_width="@dimen/navigation_drawer_width"
        android:layout_height="match_parent"
        android:layout_gravity="start"
        tools:layout="@layout/fragment_navigation_drawer" />

</android.support.v4.widget.DrawerLayout>
Then, we are going to make the xml for the fragment that is going to be replace the FrameLayout container view that we made above.
Open res/layout/fragment_main.xml, go to the respective xml tab and paste the following:
fragment_main.xml
<RelativeLayout xmlns:android="http://schemas.android.com/apk/res/android"
    xmlns:tools="http://schemas.android.com/tools"
    android:layout_width="match_parent"
    android:layout_height="match_parent"
    android:paddingBottom="@dimen/activity_vertical_margin"
    android:paddingLeft="@dimen/activity_horizontal_margin"
    android:paddingRight="@dimen/activity_horizontal_margin"
    android:paddingTop="@dimen/activity_vertical_margin"
    tools:context=".AndroidNavDrawerActivity$PlaceholderFragment">

    <TextView
        android:id="@+id/section_label"
        android:layout_width="wrap_content"
        android:layout_height="wrap_content" />

</RelativeLayout>
Last, but not least we will create a list for the items that will be inside the navigation drawer. We are going to make a listview xml.
Open res/layout/fragment_navigation_drawer.xml, go to the respective xml tab and paste the following:
fragment_navigation_drawer.xml
<ListView xmlns:android="http://schemas.android.com/apk/res/android"
    xmlns:tools="http://schemas.android.com/tools"
    android:layout_width="match_parent"
    android:layout_height="match_parent"
    android:background="#cccc"
    android:choiceMode="singleChoice"
    android:divider="@android:color/transparent"
    android:dividerHeight="0dp"
    tools:context=".NavigationDrawerFragment" />
3. Creating the source code of the main AndroidNavDrawerActivity and NavigationDrawerFragment
Open src/com.javacodegeeks.androidnavigationdrawerexample/AndroidNavDrawerActivity.java file and paste the code below.
AndroidNavDrawerActivity.java
package com.javacodegeeks.androidnavigationdrawerexample;

import android.app.Activity;
import android.support.v7.app.AppCompatActivity;
import android.support.v7.app.ActionBar;
import android.support.v4.app.Fragment;
import android.support.v4.app.FragmentManager;
import android.os.Bundle;
import android.view.LayoutInflater;
import android.view.Menu;
import android.view.MenuItem;
import android.view.View;
import android.view.ViewGroup;
import android.support.v4.widget.DrawerLayout;

public class AndroidNavDrawerActivity extends AppCompatActivity
        implements NavigationDrawerFragment.NavigationDrawerCallbacks {

    private NavigationDrawerFragment mNavigationDrawerFragment;
    private CharSequence mTitle;

    @Override
    protected void onCreate(Bundle savedInstanceState) {
        super.onCreate(savedInstanceState);
        setContentView(R.layout.activity_main);

        mNavigationDrawerFragment = (NavigationDrawerFragment)
                getSupportFragmentManager().findFragmentById(R.id.navigation_drawer);
        mTitle = getTitle();

        // Set up the drawer.
        mNavigationDrawerFragment.setUp(
                R.id.navigation_drawer,
                (DrawerLayout) findViewById(R.id.drawer_layout));
    }

    @Override
    public void onNavigationDrawerItemSelected(int position) {
        // update the main content by replacing fragments
        FragmentManager fragmentManager = getSupportFragmentManager();
        fragmentManager.beginTransaction()
                .replace(R.id.container, PlaceholderFragment.newInstance(position + 1))
                .commit();
    }

    public void onSectionAttached(int number) {
        switch (number) {
            case 1:
                mTitle = getString(R.string.title_section1);
                break;
            case 2:
                mTitle = getString(R.string.title_section2);
                break;
            case 3:
                mTitle = getString(R.string.title_section3);
                break;
        }
    }

    public void restoreActionBar() {
        ActionBar actionBar = getSupportActionBar();
        actionBar.setNavigationMode(ActionBar.NAVIGATION_MODE_STANDARD);
        actionBar.setDisplayShowTitleEnabled(true);
        actionBar.setTitle(mTitle);
    }


    @Override
    public boolean onCreateOptionsMenu(Menu menu) {
        // Only show items in the action bar relevant to this screen
        // if the drawer is not showing. Otherwise, let the drawer
        // decide what to show in the action bar.
        if (!mNavigationDrawerFragment.isDrawerOpen()) {
            restoreActionBar();
            return true;
        }
        return super.onCreateOptionsMenu(menu);
    }

    @Override
    public boolean onOptionsItemSelected(MenuItem item) {

        // Handle action bar item clicks here. The action bar will
        // automatically handle clicks on the Home/Up button, so long
        // as you specify a parent activity in AndroidManifest.xml.

        int id = item.getItemId();
        return super.onOptionsItemSelected(item);
    }

    public static class PlaceholderFragment extends Fragment {

        private static final String ARG_SECTION_NUMBER = "section_number";

        public static PlaceholderFragment newInstance(int sectionNumber) {
            PlaceholderFragment fragment = new PlaceholderFragment();
            Bundle args = new Bundle();
            args.putInt(ARG_SECTION_NUMBER, sectionNumber);
            fragment.setArguments(args);
            return fragment;
        }

        public PlaceholderFragment() {
        }

        @Override
        public View onCreateView(LayoutInflater inflater, ViewGroup container,
                                 Bundle savedInstanceState) {
            View rootView = inflater.inflate(R.layout.fragment_main, container, false);
            return rootView;
        }

        @Override
        public void onAttach(Activity activity) {
            super.onAttach(activity);
            ((AndroidNavDrawerActivity) activity).onSectionAttached(
                    getArguments().getInt(ARG_SECTION_NUMBER));
        }
    }
}
Now, open src/com.javacodegeeks.androidnavigationdrawerexample/NavigationDrawerFragment.java file and paste the code below.
NavigationDrawerFragment.java
package com.javacodegeeks.androidnavigationdrawerexample;

import android.support.v7.app.AppCompatActivity;
import android.app.Activity;
import android.support.v7.app.ActionBar;
import android.support.v4.app.Fragment;
import android.support.v4.app.ActionBarDrawerToggle;
import android.support.v4.view.GravityCompat;
import android.support.v4.widget.DrawerLayout;
import android.content.res.Configuration;
import android.os.Bundle;
import android.view.LayoutInflater;
import android.view.MenuItem;
import android.view.View;
import android.view.ViewGroup;
import android.widget.AdapterView;
import android.widget.ArrayAdapter;
import android.widget.ListView;

public class NavigationDrawerFragment extends Fragment {


    private static final String STATE_SELECTED_POSITION = "selected_navigation_drawer_position";
    private NavigationDrawerCallbacks mCallbacks;
    private ActionBarDrawerToggle mDrawerToggle;

    private DrawerLayout mDrawerLayout;
    private ListView mDrawerListView;
    private View mFragmentContainerView;
    private int mCurrentSelectedPosition = 0;

    @Override
    public void onCreate(Bundle savedInstanceState) {
        super.onCreate(savedInstanceState);

        if (savedInstanceState != null) {
            mCurrentSelectedPosition = savedInstanceState.getInt(STATE_SELECTED_POSITION);
        }


        // Select the default item.
        selectItem(mCurrentSelectedPosition);
    }

    @Override
    public void onActivityCreated(Bundle savedInstanceState) {
        super.onActivityCreated(savedInstanceState);

        // the fragment has menu items to contribute
        setHasOptionsMenu(true);
    }

    @Override
    public View onCreateView(LayoutInflater inflater, ViewGroup container,
                             Bundle savedInstanceState) {
        mDrawerListView = (ListView) inflater.inflate(
                R.layout.fragment_navigation_drawer, container, false);
        mDrawerListView.setOnItemClickListener(new AdapterView.OnItemClickListener() {
            @Override
            public void onItemClick(AdapterView parent, View view, int position, long id) {
                selectItem(position);
            }
        });
        mDrawerListView.setAdapter(new ArrayAdapter(
                getActionBar().getThemedContext(),
                android.R.layout.simple_list_item_activated_1,
                android.R.id.text1,
                new String[]{
                        getString(R.string.title_section1),
                        getString(R.string.title_section2),
                        getString(R.string.title_section3),
                }));
        mDrawerListView.setItemChecked(mCurrentSelectedPosition, true);
        return mDrawerListView;
    }

    private ActionBar getActionBar() {
        return ((AppCompatActivity) getActivity()).getSupportActionBar();
    }

    public boolean isDrawerOpen() {
        return mDrawerLayout != null && mDrawerLayout.isDrawerOpen(mFragmentContainerView);
    }


    public void setUp(int fragmentId, DrawerLayout drawerLayout) {
        mFragmentContainerView = getActivity().findViewById(fragmentId);
        mDrawerLayout = drawerLayout;

        // set a custom shadow that overlays the main content when the drawer opens
        mDrawerLayout.setDrawerShadow(R.drawable.drawer_shadow, GravityCompat.START);

        // set up the drawer's list view with items and click listener
        ActionBar actionBar = getActionBar();
        actionBar.setDisplayHomeAsUpEnabled(true);
        actionBar.setHomeButtonEnabled(true);

        // ActionBarDrawerToggle ties together the the proper interactions
        // between the navigation drawer and the action bar app icon.
        mDrawerToggle = new ActionBarDrawerToggle(
                getActivity(),
                mDrawerLayout,
                R.drawable.ic_drawer,
                R.string.navigation_drawer_open,
                R.string.navigation_drawer_close
        ) {
            @Override
            public void onDrawerClosed(View drawerView) {
                super.onDrawerClosed(drawerView);
                if (!isAdded()) {
                    return;
                }
                getActivity().supportInvalidateOptionsMenu();
            }

            @Override
            public void onDrawerOpened(View drawerView) {
                super.onDrawerOpened(drawerView);
                if (!isAdded()) {
                    return;
                }
                getActivity().supportInvalidateOptionsMenu();
            }
        };


        mDrawerLayout.post(new Runnable() {
            @Override
            public void run() {
                mDrawerToggle.syncState();
            }
        });
        mDrawerLayout.setDrawerListener(mDrawerToggle);
        mDrawerToggle.setDrawerIndicatorEnabled(true);
    }

    private void selectItem(int position) {
        mCurrentSelectedPosition = position;
        if (mDrawerListView != null) {
            mDrawerListView.setItemChecked(position, true);
        }
        if (mDrawerLayout != null) {
            mDrawerLayout.closeDrawer(mFragmentContainerView);
        }
        if (mCallbacks != null) {
            mCallbacks.onNavigationDrawerItemSelected(position);
        }
    }

    @Override
    public void onAttach(Activity activity) {
        super.onAttach(activity);
        try {
            mCallbacks = (NavigationDrawerCallbacks) activity;
        } catch (ClassCastException e) {
            throw new ClassCastException("Activity must implement NavigationDrawerCallbacks.");
        }
    }

    @Override
    public void onDetach() {
        super.onDetach();
        mCallbacks = null;
    }

    @Override
    public void onSaveInstanceState(Bundle outState) {
        super.onSaveInstanceState(outState);
        outState.putInt(STATE_SELECTED_POSITION, mCurrentSelectedPosition);
    }

    @Override
    public void onConfigurationChanged(Configuration newConfig) {
        super.onConfigurationChanged(newConfig);
        mDrawerToggle.onConfigurationChanged(newConfig);
    }

    @Override
    public boolean onOptionsItemSelected(MenuItem item) {
        if (mDrawerToggle.onOptionsItemSelected(item)) {
            return true;
        }
        return super.onOptionsItemSelected(item);
    }

    public static interface NavigationDrawerCallbacks {
        void onNavigationDrawerItemSelected(int position);
    }
}
4. Composing Android Manifest
The AndroidManifest.xml of our project is simple and contains the permissions:

AndroidManifest.xml
<?xml version="1.0" encoding="utf-8"?>
<manifest xmlns:android="http://schemas.android.com/apk/res/android"
    package="com.javacodegeeks.androidnavigationdrawerexample" >
    <application
        android:allowBackup="true"
        android:icon="@mipmap/ic_launcher"
        android:label="@string/app_name"
        android:theme="@style/AppTheme" >
        <activity
            android:name=".AndroidNavDrawerActivity"
            android:label="@string/app_name" >
            <intent-filter>
                <action android:name="android.intent.action.MAIN" />
                <category android:name="android.intent.category.LAUNCHER" />
            </intent-filter>
        </activity>
    </application>
</manifest>
5. Composing build.gradle file
build.gradle
apply plugin: 'com.android.application'

android {
    compileSdkVersion 23
    buildToolsVersion "23.0.1"

    defaultConfig {
        applicationId "com.javacodegeeks.androidnavigationdrawerexample"
        minSdkVersion 14
        targetSdkVersion 23
        versionCode 1
        versionName "1.0"
    }
    buildTypes {
        release {
            minifyEnabled false
            proguardFiles getDefaultProguardFile('proguard-android.txt'), 'proguard-rules.pro'
        }
    }
}

dependencies {
    compile fileTree(dir: 'libs', include: ['*.jar'])
    compile 'com.android.support:appcompat-v7:23.1.0'
}
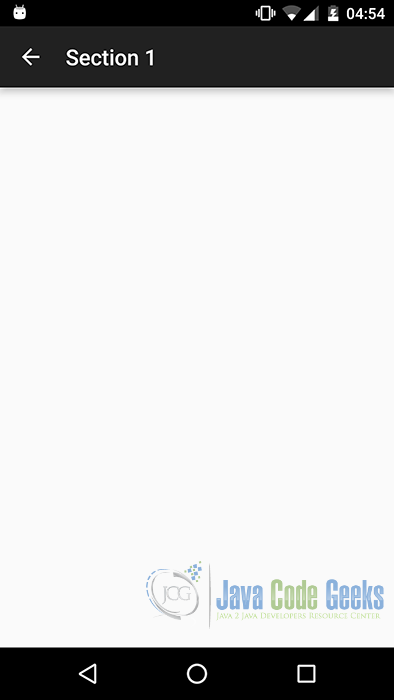
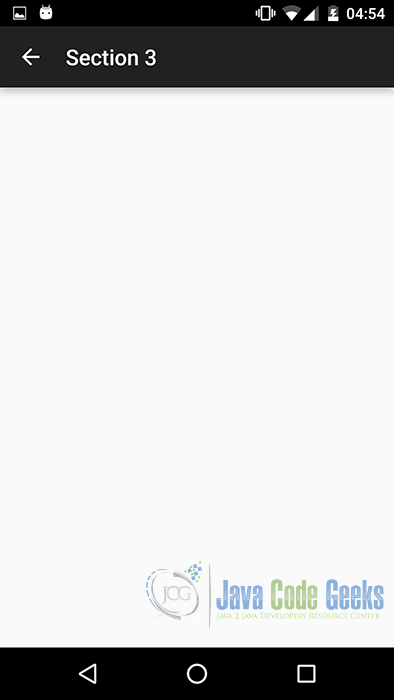
6. Build and run the application
When we build, compile and run our project, the main Android Navigation Drawer application should look like this:
7. Download the Android Studio Project
This was the Android Navigation Drawer Example.
You can download the full source code of this example here: AndroidNavigationDrawerExample

Nice informative tutorials.
I have combined navigation drawer and bottom navigation hope you like this too
http://www.androidcoding.in/2020/05/21/android-bottom-navigation-and-navigation-drawer-part-1/