A multi-touch gesture is when multiple pointers (fingers) touch the screen at the same time. The basic class for support touch and multitouch in Android is the MotionEvent class. Motion events describe actions in a set of axis values. The actions are the states that occur when a finger is going down or up. The axis values describe the position of this event and other movement properties.
There are single touch events and multi touch events. It depends on the screen of the device if it can handle and report multiple touch events. Multi-touch screens emit one movement trace for each finger, meaning for each pointer.
Every pointer (every finger touch) has a unique id, that is assigned when it first touches the screen. A pointer id remains valid until the pointer eventually goes up.
In order for our views to react to touch events in an Activity, an OnTouchListener should be registered for each of the views.
So, In this example we are going to extend a FrameLayout and use the multi touch events in order to give this Layout some special behaviour. We are going to make a custom onTouchListener for this FrameLayout and override the dispatchTouchEvent().
For our example will use the following tools in a Windows 64-bit or an OS X platform:
- JDK 1.7
- Android Studio 1.3.2
- Android SDK 5.1
Let’s take a closer look:
1. Create a New Android Studio Project
You may skip project creation and jump directly to the beginning of the example below.
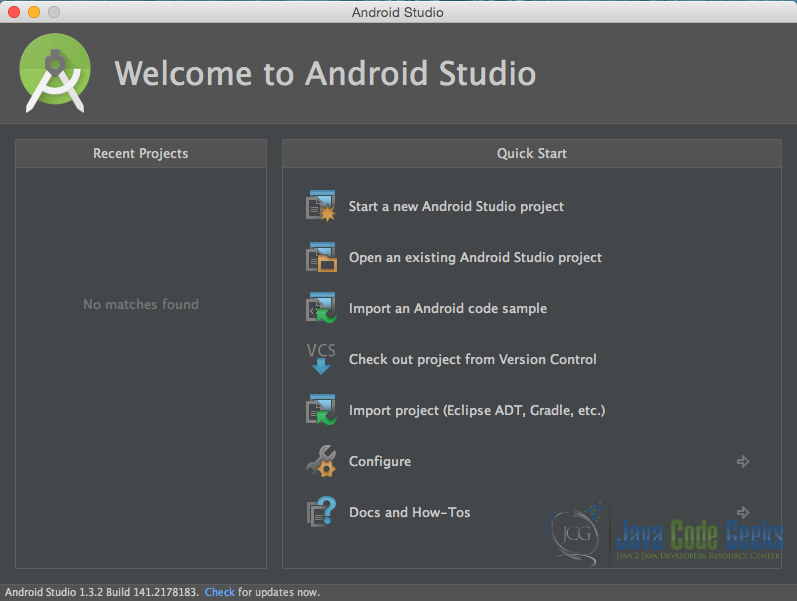
Open Android Studio and choose “Start a new Android Studio Project” in the welcome screen.
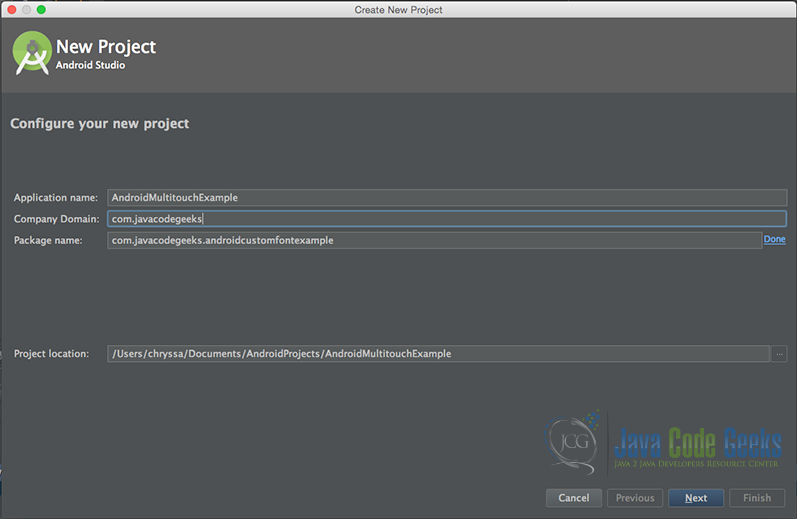
Specify the name of the application, the project and the package.
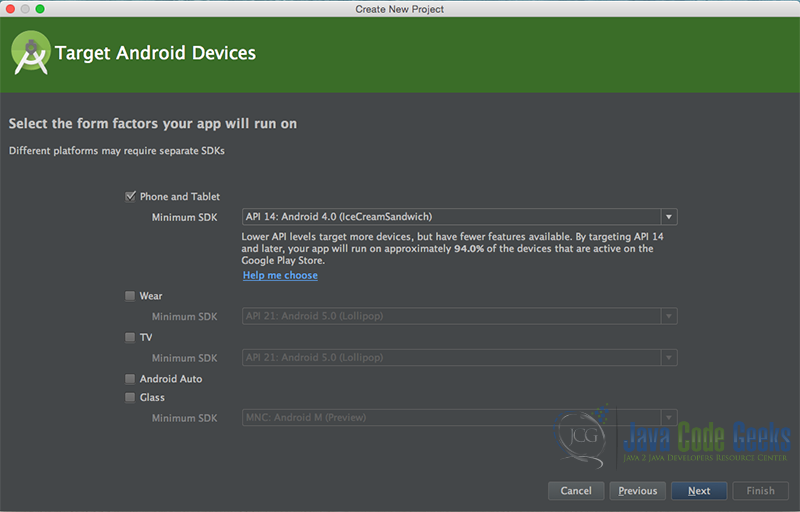
In the next window, select the form factors your app will run on.
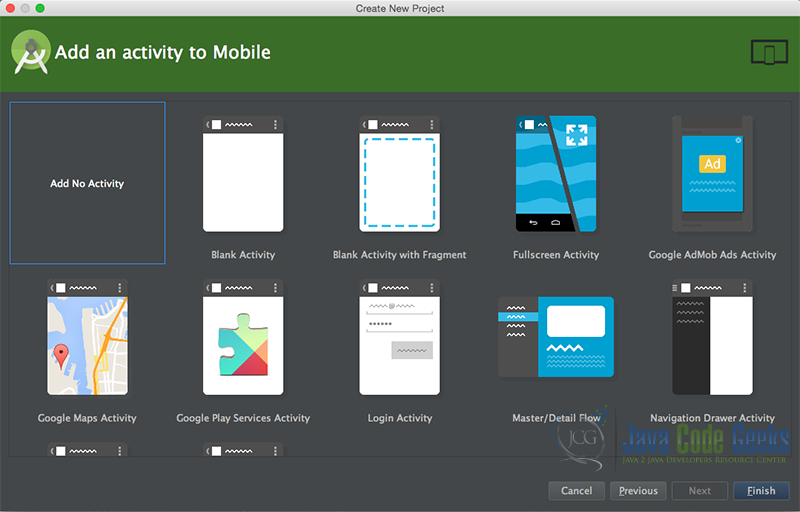
In the next window you should choose to “Add an activity to Mobile”. In our example, we will choose to create a project with no activity, so choose: “Add no activity”.
Now press finish, and our project has just been created.
2. Create the layout of the project
Add a new xml file inside /res/layout folder, with name main_activity.xml. We should have theres/layout/main_activity.xml file and paste the code below.
main_activity.xml
<?xml version="1.0" encoding="utf-8"?>
<LinearLayout xmlns:android="http://schemas.android.com/apk/res/android"
    android:layout_width="match_parent"
    android:layout_height="match_parent"
    android:background="#ffffff"
    android:orientation="vertical">

    <android.support.v7.widget.Toolbar
        android:id="@+id/toolbar"
        android:layout_width="match_parent"
        android:layout_height="58dp"
        android:background="?attr/colorPrimary"
        android:minHeight="?attr/actionBarSize"
        android:title="@string/app_name"></android.support.v7.widget.Toolbar>

    <com.javacodegeeks.androidmultitouchexample.TouchableFrameLayout
        android:id="@+id/touchable_frame"
        android:layout_width="match_parent"
        android:layout_height="match_parent">

        <TextView
            android:id="@+id/status"
            android:layout_width="match_parent"
            android:layout_height="match_parent"
            android:gravity="center"
            android:text="@string/noActionKey"
            android:textColor="#262626"
            android:textSize="30dp" />

    </com.javacodegeeks.androidmultitouchexample.TouchableFrameLayout>
</LinearLayout>
3. Creating the source code of the TouchableFrameLayout FrameLayout
Add a new Java class inside src/com.javacodegeeks.androidmultitouchexample/ so that we are going to have the src/com.javacodegeeks.androidmultitouchexample/TouchableFrameLayout.java file and paste the code below.
TouchableFrameLayout.java
package com.javacodegeeks.androidmultitouchexample;

import android.content.Context;
import android.graphics.PointF;
import android.util.AttributeSet;
import android.util.SparseArray;
import android.view.MotionEvent;
import android.widget.FrameLayout;

public class TouchableFrameLayout extends FrameLayout {

    private SparseArray mActivePointers = new SparseArray();

    private OnTouchListener onTouchListener;

    float lastXPosition;
    float lastYPosition;
    double lastdist = 0;

    Context ctx;
    private boolean onScaleMove = false;

    public TouchableFrameLayout(Context context) {
        super(context);
        ctx = context;
    }


    public TouchableFrameLayout(Context context, AttributeSet attrs) {
        super(context, attrs);
        ctx = context;
    }

    public TouchableFrameLayout(Context context, AttributeSet attrs, int defStyle) {
        super(context, attrs, defStyle);
        ctx = context;
    }

    public void setTouchListener(OnTouchListener onTouchListener) {
        this.onTouchListener = onTouchListener;
    }

    @Override
    public boolean dispatchTouchEvent(final MotionEvent event) {
        if (onTouchListener == null)
            return false;

        int pointerIndex = event.getActionIndex();
        int pointerId = event.getPointerId(pointerIndex);

        switch (event.getAction() & MotionEvent.ACTION_MASK) {
            case MotionEvent.ACTION_DOWN:

                lastYPosition = event.getY();
                lastXPosition = event.getX();
                onTouchListener.onTouch();
                return true;

            case MotionEvent.ACTION_UP:
                onScaleMove = false;
                lastdist = 0;
                onTouchListener.onRelease();
                break;

            case MotionEvent.ACTION_MOVE:
                int diffY = (int) (event.getY() - lastYPosition);
                int diffX = (int) (event.getX() - lastXPosition);

                lastYPosition = event.getY();
                lastXPosition = event.getX();

                //Check if the action was jitter
                if (Math.abs(diffX) > 4 || Math.abs(diffY) > 4) {

                    if (onScaleMove) {
                        double dist = 0;

                        if (event.getPointerCount() >= 2) {
                            dist = Math.sqrt(Math.pow(event.getX(0) - event.getX(1), 2) + Math.pow(event.getY(0) - event.getY(1), 2));
                        }

                        if ((Math.abs(dist - lastdist) > 10) && (lastdist > 0) && (dist > 0)) {
                            if (dist < lastdist) {
                                onTouchListener.onPinchIn();
                            } else if (dist == lastdist) {
                                //    onTouchListener.onPinchStable();
                            } else {
                                onTouchListener.onPinchOut();
                            }
                        } else {
                            onTouchListener.onTwoFingersDrag();
                        }

                        lastdist = dist;
                        return false;
                    } else {
                        onTouchListener.onMove();
                    }

                }
                break;
            case MotionEvent.ACTION_CANCEL: {
                onScaleMove = false;
                mActivePointers.remove(pointerId);
                onTouchListener.onRelease();
                break;
            }
            case MotionEvent.ACTION_POINTER_DOWN:
                onScaleMove = true;
                onTouchListener.onSecondFingerOnLayout();
                PointF f = new PointF();
                f.x = event.getX(pointerIndex);
                f.y = event.getY(pointerIndex);
                mActivePointers.put(pointerId, f);

                return false;
        }
        return super.dispatchTouchEvent(event);
    }


    public interface OnTouchListener {
        void onTouch();

        void onRelease();

        void onPinchIn();

        void onPinchOut();

        void onMove();

        void onTwoFingersDrag();

        void onSecondFingerOnLayout();
    }
}
Let’s see in detail the code above.
We have made a custom OnTouchListener interface that our custom layout is going to implement.
    public interface OnTouchListener {
        void onTouch();

        void onRelease();

        void onPinchIn();

        void onPinchOut();

        void onMove();

        void onTwoFingersDrag();

        void onSecondFingerOnLayout();
    }
    public void setTouchListener(OnTouchListener onTouchListener) {
        this.onTouchListener = onTouchListener;
    }
So, our custom layout should control when to dispatch the events above. For this reason we have to override the
dispatchTouchEvent(final MotionEvent event).
case MotionEvent.ACTION_DOWN:
                lastYPosition = event.getY();
                lastXPosition = event.getX();
                onTouchListener.onTouch();
                return true;
In this snippet, the first pointer that touches the screen. With event.getY(); and event.getX(); we can get the co-ordinates of the X and Y axis of this event.

 case MotionEvent.ACTION_POINTER_DOWN:
                onScaleMove = true;
                onTouchListener.onSecondFingerOnLayout();
                PointF f = new PointF();
                f.x = event.getX(pointerIndex);
                f.y = event.getY(pointerIndex);
                mActivePointers.put(pointerId, f);

                return false;
With the code above, we can get the second pointer the first pointer co-ordinates of the X and Y axis.
if (event.getPointerCount() >= 2) {
                            dist = Math.sqrt(Math.pow(event.getX(0) - event.getX(1), 2) + Math.pow(event.getY(0) - event.getY(1), 2));
                        }

                        if ((Math.abs(dist - lastdist) > 10) && (lastdist > 0) && (dist > 0)) {
                            if (dist < lastdist) {
                                onTouchListener.onPinchIn();
                            } else if (dist == lastdist) {
                                //    onTouchListener.onPinchStable();
                            } else {
                                onTouchListener.onPinchOut();
                            }
                        } else {
                            onTouchListener.onTwoFingersDrag();
                        }
And with this piece of code, we can get distance between the two finger pointers and figure out if its is a “pinch” meaning a scale between the two fingers, or a simple drag.
4. Creating the source code of the main AndroidMultitouchActivity Activity
Add a new Java class inside src/com.javacodegeeks.androidmultitouchexample/ so that we are going to have the src/com.javacodegeeks.androidmultitouchexample/AndroidMultitouchActivity.java file and paste the code below.
AndroidMultitouchActivity.java
package com.javacodegeeks.androidmultitouchexample;

import android.app.Activity;
import android.os.Bundle;
import android.support.v7.widget.Toolbar;
import android.widget.TextView;

public class AndroidMultitouchActivity extends Activity {

    private Toolbar toolbar;

    @Override
    public void onCreate(Bundle savedInstanceState) {
        super.onCreate(savedInstanceState);
        setContentView(R.layout.main_activity);

        toolbar = (Toolbar) findViewById(R.id.toolbar);
        toolbar.setTitle(R.string.app_name);

        final TextView status = (TextView) findViewById(R.id.status);

        TouchableFrameLayout frame = (TouchableFrameLayout) findViewById(R.id.touchable_frame);
        frame.setTouchListener(new TouchableFrameLayout.OnTouchListener() {
            @Override
            public void onTouch() {
                status.setText(R.string.onTouchKey);
            }

            @Override
            public void onRelease() {
                status.setText(R.string.onReleaseKey);
            }

            @Override
            public void onPinchIn() {
                status.setText(R.string.onPinchInKey);
            }

            @Override
            public void onPinchOut() {
                status.setText(R.string.onPinchOutKey);
            }

            @Override
            public void onMove() {
                status.setText(R.string.onMoveKey);
            }

            @Override
            public void onTwoFingersDrag() {
                status.setText(R.string.onTwoFingersDragKey);
            }

            @Override
            public void onSecondFingerOnLayout() {
                status.setText(R.string.onSecondFingerOnLayout);
            }

        });
    }
}
5. Create the strings.xml
Add a new xml file inside /res/values folder, with name strings.xml. We should have theres/values/strings.xml file and paste the code below.
strings.xml
<resources>
    <string name="app_name">AndroidMultitouchExample</string>
    <string name="noActionKey">Touch me!</string>
    <string name="onTouchKey">On Touch</string>
    <string name="onMoveKey">On Move</string>
    <string name="onReleaseKey">On Release</string>
    <string name="onPinchInKey">On Pinch In</string>
    <string name="onPinchOutKey">On Pinch Out</string>
    <string name="onSecondFingerOnLayout">On Second Finger Touch</string>
    <string name="onTwoFingersDragKey">On Two Fingers Drag</string>
</resources
>
6. Android Manifest
The AndroidManifest.xml of our project is simple and contains no special permissions:
AndroidManifest.xml
<manifest xmlns:android="http://schemas.android.com/apk/res/android"
    package="com.javacodegeeks.androidmultitouchexample">

    <application
        android:allowBackup="true"
        android:icon="@mipmap/ic_launcher"
        android:label="@string/app_name"
        android:supportsRtl="true"
        android:theme="@style/AppTheme">
        <activity
            android:name="com.javacodegeeks.androidmultitouchexample.AndroidMultitouchActivity"
            android:label="@string/app_name">

            <intent-filter>
                <action android:name="android.intent.action.MAIN" />
                <category android:name="android.intent.category.LAUNCHER" />
            </intent-filter>

        </activity>
    </application>

</manifest
>
7. build.gradle
The build.gradle of our project is simple and contains no special permissions:
build.gradle
apply plugin: 'com.android.application'

android {
    compileSdkVersion 23
    buildToolsVersion "23.0.2"

    defaultConfig {
        applicationId "com.javacodegeeks.androidmultitouchexample"
        minSdkVersion 14
        targetSdkVersion 23
        versionCode 1
        versionName "1.0"
    }
    buildTypes {
        release {
            minifyEnabled false
            proguardFiles getDefaultProguardFile('proguard-android.txt'), 'proguard-rules.pro'
        }
    }
}

dependencies {
    compile fileTree(dir: 'libs', include: ['*.jar'])
    compile 'com.android.support:appcompat-v7:23.2.1'
}
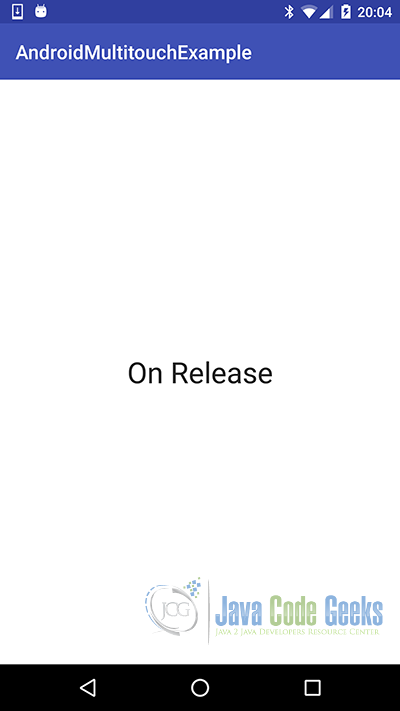
8. Build, compile and run
When we build, compile and run our project, the main AndroidMultitouchExample should look like this:
9. Download the Android Studio Project
This was an example of Android Multitouch Example.
You can download the full source code of this example here: AndroidMultitouchExample
If you want to check more about Touchable Layouts please follow, the Android-TouchableLayouts github library.
