The great power of mobile applications software, is that it gives us the opportunity to develop many ideas that use hardware features, in order to complete simple everyday tasks. One of the unique features of mobile applications is the location awareness. Mobile users take their devices with them everywhere, and adding location awareness to your app may offer a new road of endless possibilities.
In Android, Google provides via Google Play Services an API for automated location tracking of the position of the user and the mobile device. This is the Fused Location Provider API.
In this example, we are going to show a basic Fused Location API implementation, by developing a simple Android app that will automatically start the location provider and track the current position on the device. In this tutorial we are going to make a simple implementation, however for a more detailed documentation you can visit the Google APIs for Android.
Let’s see how we are going to implement it.
For our example will use the following tools in a Windows 64-bit or an OS X platform:
- JDK 1.7
- Android Studio 1.3.2
- Android SDK 6.0
Let’s take a closer look:
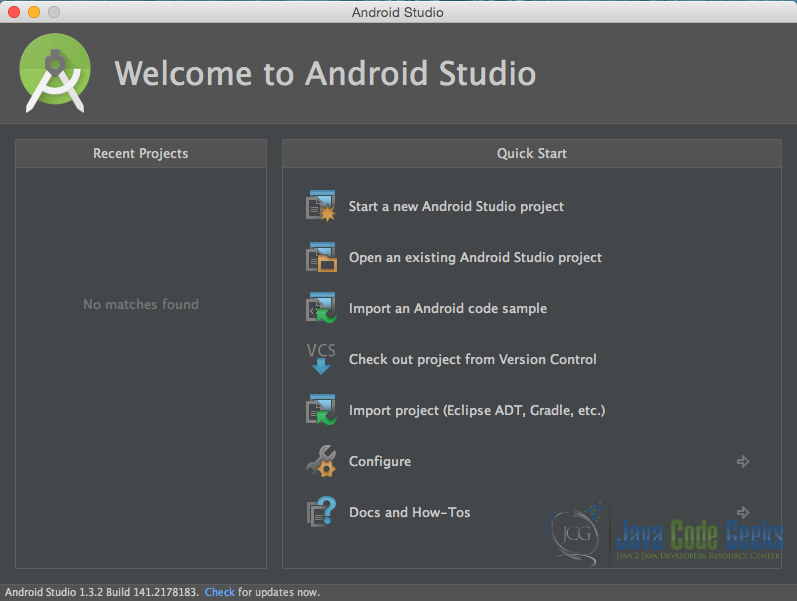
1. Create a New Android Studio Project
You may skip project creation and jump directly to the beginning of the example below.
Open Android Studio and choose “Start a new Android Studio Project” in the welcome screen.
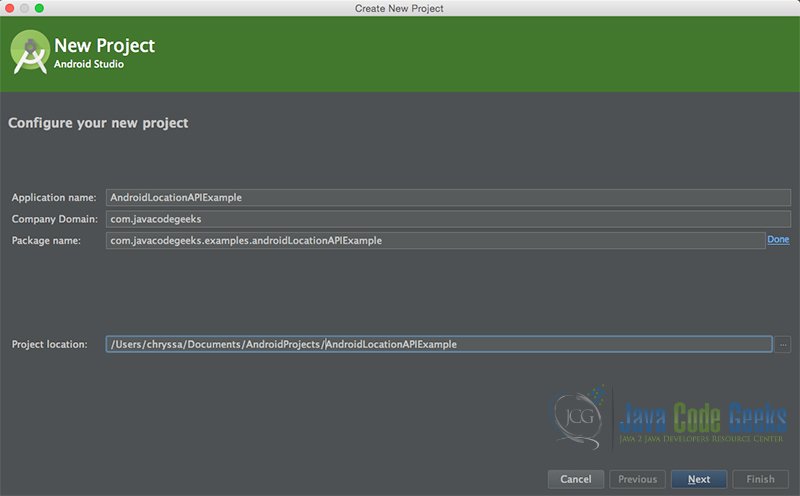
Specify the name of the application, the project and the package.
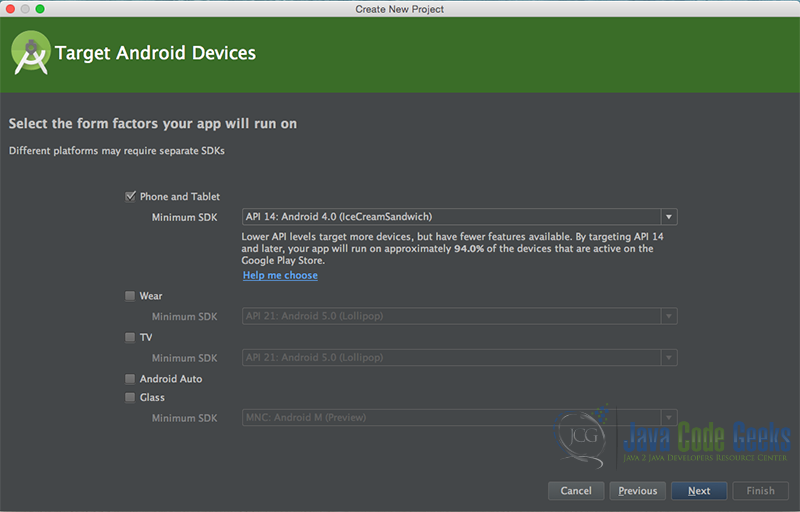
In the next window, select the form factors your app will run on.
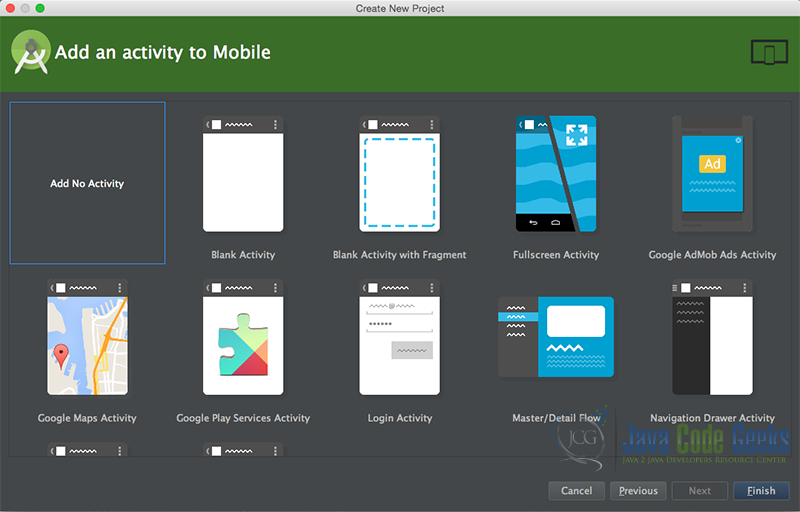
In the next window you should choose “Add no activity”. In this example, we are going to create our Activity. So, select the “Blank Activity” option and press Next.
Now, our project has just been created!
2. Create the layout of the main AndroidLocationActivity
We are going to make the layout of the AndroidLocationActivity, which will be a simple linear layout xml with vertical orientation in order to help us display the latitude and longitude of the current position of the mobile device.
Add a new xml file inside /res/layout folder, with name activity_main.xml. If the layout folder does not exist, you should create a new resource directory with this name. We should have the /res/layout/activity_main.xml file and paste the code below.
activity_main.xml
<?xml version="1.0" encoding="utf-8"?>
<LinearLayout xmlns:android="http://schemas.android.com/apk/res/android"
    android:layout_width="match_parent"
    android:layout_height="match_parent"
    android:background="@color/blue"
    android:gravity="center"
    android:orientation="vertical">

    <TextView
        android:layout_width="wrap_content"
        android:layout_height="wrap_content"
        android:gravity="center"
        android:text="Get Location Latitude and Longitude"
        android:textColor="@color/white"
        android:textSize="25dp" />

    <ImageView
        android:layout_width="wrap_content"
        android:layout_height="wrap_content"
        android:layout_gravity="center"
        android:layout_marginTop="30dp"
        android:src="@drawable/location" />

    <TextView
        android:id="@+id/textview_latitude"
        android:layout_width="wrap_content"
        android:layout_height="wrap_content"
        android:layout_gravity="center"
        android:layout_marginTop="30dp"
        android:textColor="@color/white"
        android:textSize="22dp" />

    <TextView
        android:id="@+id/textview_longitude"
        android:layout_width="wrap_content"
        android:layout_height="wrap_content"
        android:layout_gravity="center"
        android:layout_marginTop="30dp"
        android:textColor="@color/white"
        android:textSize="22dp" />

</LinearLayout>
3. Create a New Android Studio Project
Add a new Java class inside src/com.javacodegeeks.examples.androidLocationAPIExample/ so that we are going to have the src/com.javacodegeeks.examples.androidLocationAPIExample/AndroidLocationActivity.java file and paste the code below.
AndroidLocationActivity.java
package com.javacodegeeks.examples.androidLocationAPIExample;

import android.app.Activity;
import android.location.Location;
import android.os.Bundle;
import android.os.Handler;
import android.widget.TextView;
import android.widget.Toast;

import com.google.android.gms.common.ConnectionResult;
import com.google.android.gms.common.GooglePlayServicesUtil;
import com.google.android.gms.common.api.GoogleApiClient;
import com.google.android.gms.location.LocationListener;
import com.google.android.gms.location.LocationRequest;
import com.google.android.gms.location.LocationServices;

public class AndroidLocationActivity extends Activity implements LocationListener {

    // Google client to interact with Google API
    private GoogleApiClient mGoogleApiClient;

    private LocationRequest mLocationRequest;
    private TextView latitude, longitude;

    private double fusedLatitude = 0.0;
    private  double fusedLongitude = 0.0;

    @Override
    public void onCreate(Bundle savedInstanceState) {
        super.onCreate(savedInstanceState);
        setContentView(R.layout.activity_main);
        initializeViews();

        if (checkPlayServices()) {
            startFusedLocation();
            registerRequestUpdate(this);
        }

    }

    private void initializeViews() {
        latitude = (TextView) findViewById(R.id.textview_latitude);
        longitude = (TextView) findViewById(R.id.textview_longitude);
    }

    @Override
    protected void onStop() {
        stopFusedLocation();
        super.onStop();
    }


    // check if google play services is installed on the device
    private boolean checkPlayServices() {
        int resultCode = GooglePlayServicesUtil
                .isGooglePlayServicesAvailable(this);
        if (resultCode != ConnectionResult.SUCCESS) {
            if (GooglePlayServicesUtil.isUserRecoverableError(resultCode)) {
                Toast.makeText(getApplicationContext(),
                        "This device is supported. Please download google play services", Toast.LENGTH_LONG)
                        .show();
            } else {
                Toast.makeText(getApplicationContext(),
                        "This device is not supported.", Toast.LENGTH_LONG)
                        .show();
                finish();
            }
            return false;
        }
        return true;
    }


    public void startFusedLocation() {
        if (mGoogleApiClient == null) {
            mGoogleApiClient = new GoogleApiClient.Builder(this).addApi(LocationServices.API)
                    .addConnectionCallbacks(new GoogleApiClient.ConnectionCallbacks() {
                        @Override
                        public void onConnectionSuspended(int cause) {
                        }

                        @Override
                        public void onConnected(Bundle connectionHint) {

                        }
                    }).addOnConnectionFailedListener(new GoogleApiClient.OnConnectionFailedListener() {

                        @Override
                        public void onConnectionFailed(ConnectionResult result) {

                        }
                    }).build();
            mGoogleApiClient.connect();
        } else {
            mGoogleApiClient.connect();
        }
    }

    public void stopFusedLocation() {
        if (mGoogleApiClient != null) {
            mGoogleApiClient.disconnect();
        }
    }

    public void registerRequestUpdate(final LocationListener listener) {
        mLocationRequest = LocationRequest.create();
        mLocationRequest.setPriority(LocationRequest.PRIORITY_HIGH_ACCURACY);
        mLocationRequest.setInterval(1000); // every second

        new Handler().postDelayed(new Runnable() {
            @Override
            public void run() {
                try {
                    LocationServices.FusedLocationApi.requestLocationUpdates(mGoogleApiClient, mLocationRequest, listener);
                } catch (SecurityException e) {
                    e.printStackTrace();
                } catch (Exception e) {
                    e.printStackTrace();
                    if (!isGoogleApiClientConnected()) {
                        mGoogleApiClient.connect();
                    }
                    registerRequestUpdate(listener);
                }
            }
        }, 1000);
    }

    public boolean isGoogleApiClientConnected() {
        return mGoogleApiClient != null && mGoogleApiClient.isConnected();
    }

    @Override
    public void onLocationChanged(Location location) {
        setFusedLatitude(location.getLatitude());
        setFusedLongitude(location.getLongitude());

        Toast.makeText(getApplicationContext(), "NEW LOCATION RECEIVED", Toast.LENGTH_LONG).show();

        latitude.setText(getString(R.string.latitude_string) +" "+ getFusedLatitude());
        longitude.setText(getString(R.string.longitude_string) +" "+ getFusedLongitude());
    }

    public void setFusedLatitude(double lat) {
        fusedLatitude = lat;
    }

    public void setFusedLongitude(double lon) {
        fusedLongitude = lon;
    }

    public double getFusedLatitude() {
        return fusedLatitude;
    }

    public double getFusedLongitude() {
        return fusedLongitude;
    }
}
Let’s see in detail the code above.

With the checkPlayServices() method, we can check if our device has installed the Google Play Services application in each device, so that we can make use of the Google APIs’ that Google Play Services provide.
With the startFusedLocation() method, we build the GoogleApiClient by calling the mGoogleApiClient.connect() method and implementing what our client should do onConnectionFailed(), onConnected() and onConnectionSuspended().
After our GoogleApiClient is connected we call the registerRequestUpdate(final LocationListener listener). With this method we register our Activity to Location changes every one second, with PRIORITY_HIGH_ACCURACY.
By implementing the LocationListener we must implement the onLocationChanged(Location location) method. With this method we “catch” every location change, through the Location object.
Finally, when we stop the Activity we should unregister the GoogleApiClient by calling the stopFusedLocation() method.
4. Android Manifest
The AndroidManifest.xml of our project is simple and contains the main Activity of our example:
AndroidManifest.xml
<manifest xmlns:android="http://schemas.android.com/apk/res/android"
    package="com.javacodegeeks.examples.androidLocationAPIExample">

    <uses-permission android:name="android.permission.ACCESS_FINE_LOCATION" />

    <application
        android:allowBackup="true"
        android:icon="@mipmap/ic_launcher"
        android:label="@string/app_name"
        android:theme="@style/AppTheme">
        <activity
            android:name=".AndroidLocationActivity"
            android:label="@string/app_name"
            android:screenOrientation="portrait"
            android:theme="@android:style/Theme.NoTitleBar.Fullscreen">
            <intent-filter>
                <action android:name="android.intent.action.MAIN" />
                <category android:name="android.intent.category.LAUNCHER" />
            </intent-filter>
        </activity>
    </application>

</manifest>
In this AndroidManifest.xml we have to add the android.permission.ACCESS_FINE_LOCATION permission in order for our app to grant the permission of using the fine location feature. This happens at line 4.
5. Composing build.gradle file
We should add the Google Play Services library in order for our app to implement the Google Fused Location API. We can add them as dependencies to our application via build.gradle file.
build.gradle
apply plugin: 'com.android.application'

android {
    compileSdkVersion 23
    buildToolsVersion '23.0.0'

    defaultConfig {
        applicationId "com.javacodegeeks.examples.androidLocationAPIExample"
        minSdkVersion 14
        targetSdkVersion 19
        versionCode 1
        versionName "1.0"
    }
    buildTypes {
        release {
            minifyEnabled false
            proguardFiles getDefaultProguardFile('proguard-android.txt'), 'proguard-rules.pro'
        }
    }
}

dependencies {
    compile fileTree(dir: 'libs', include: ['*.jar'])
    compile 'com.android.support:appcompat-v7:23.1.1'
    compile "com.google.android.gms:play-services:8.3.0"
}
With the line compile 'com.google.android.gms:play-services:8.3.0' we add in our Gradle configuration the public repository in which Google supports Google Play Services library with Gradle. In this way we have added Google Play Services library in our project, so that we can use the Google Fused Location API.
6. Build, compile and run
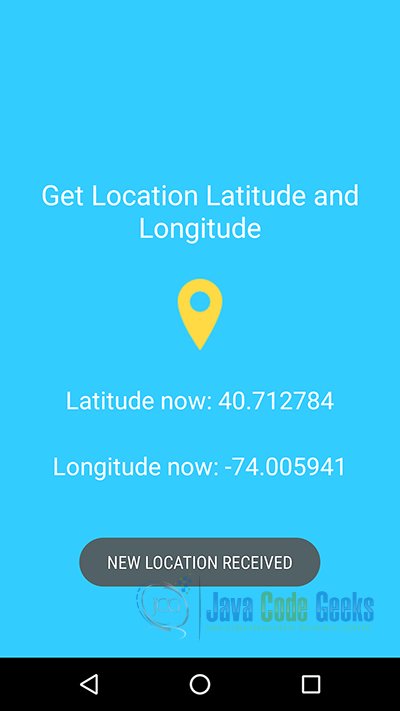
When we build, compile and run our project, the main AndroidLocationActivity should look like this:
7. Download the Android Studio Project
This was an example of Android AndroidLocationActivity.
You can download the full source code of this example here: AndroidLocationAPIExample.
