In this example, we are going to see how can we use one of the most famous, public, social APIs, The Google Plus API.
The Google Plus API allows you to connect with more users by integrating social into your Android app. With Google Plus API you can add Google+ sign-In to your Android application and improve registration and sign-in conversion with a fast and secure authentication option for users.
You can also show profile information, and relevant content and connections from circles of your the application’s users.
You can see the full Google Plus API documentation here: https://developers.google.com/+/mobile/android/.
In our example we are going to discuss how to make a “connect” process with the Google+ API and how to get the user’s profile results.
But, lets’ see this procedure step by step.
1. Enabling Google Plus API
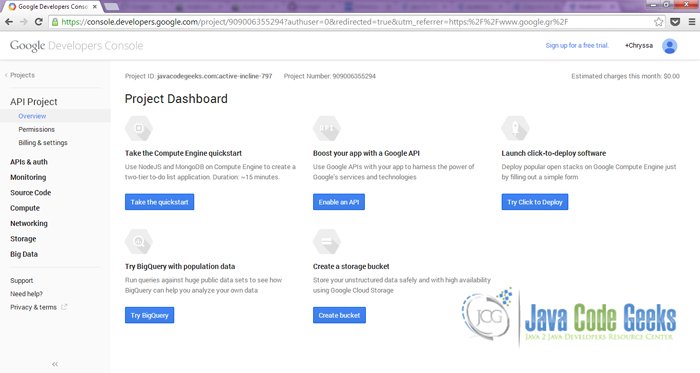
To begin with, in order to use this API, we will have to enter the Google API console portal.
After we enter the console, we are going to see the full list, of all the APIs that Google serves. Now we can see the enabled APIs that this console user has.
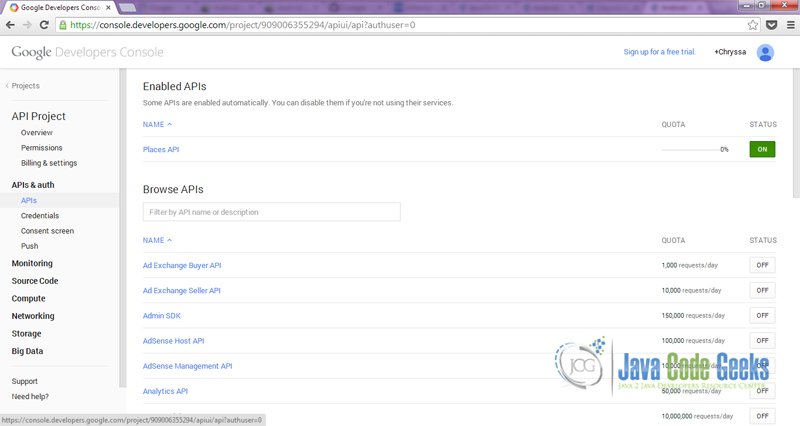
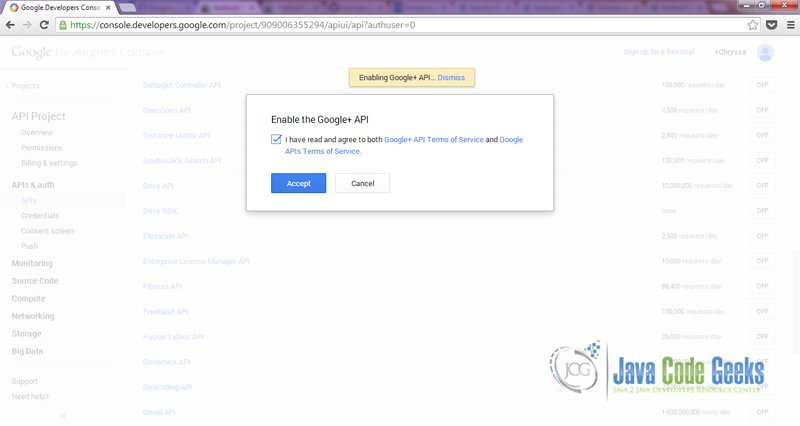
The API that we are going to use, is the Google Plus API. We click on the right service, and we turn it on. We have to accept the terms, by ticking the checkbox and by clicking the “Accept” button.
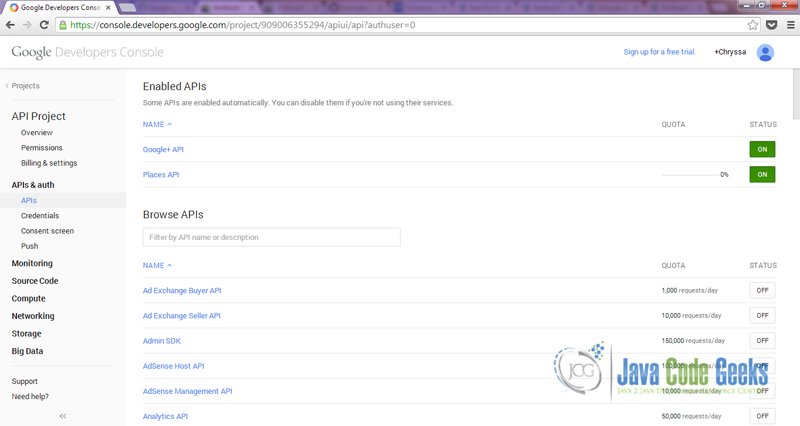
We should see the Google Plus API enabled.
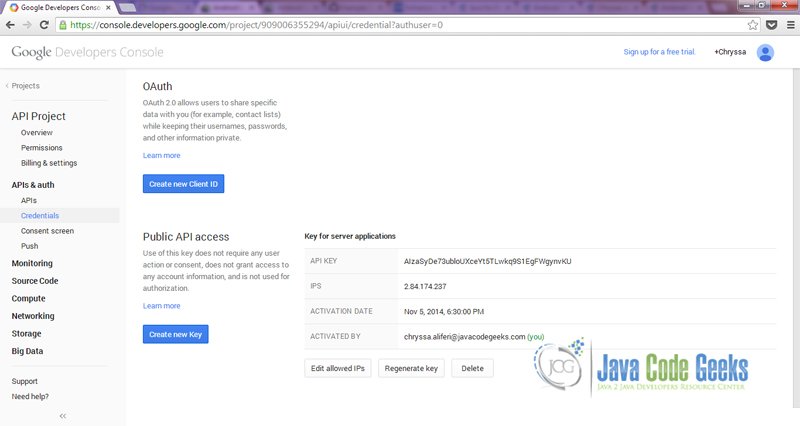
Now, we are going to create a OAuth2.0 Client ID, in order to the rights to use information about Google Account users, such as basic user info and contact lists, while keeping the user’s credentials secret. We only have to go to APIs&auth > Credentials tab.
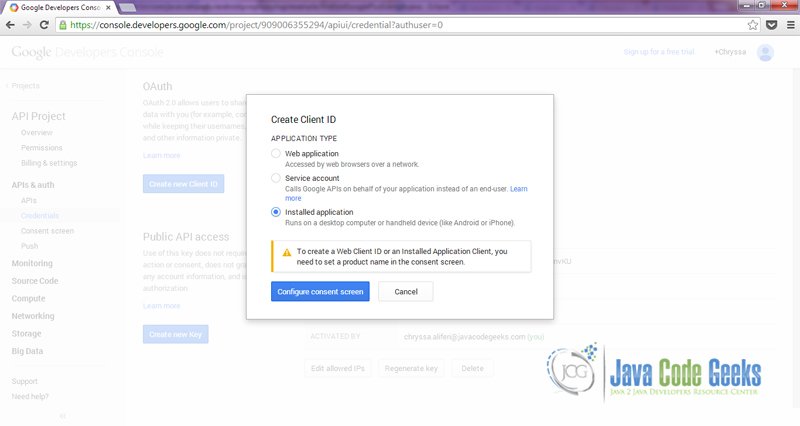
We click the “Create new Client ID” button, and select the “Installed Application” in order to make a client id that will work for our Android Application.
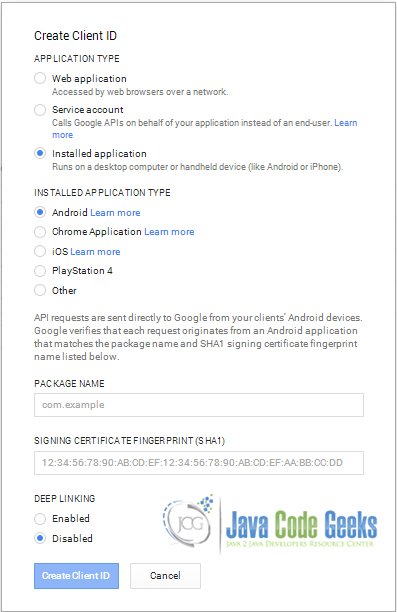
We are going to do this, exclusively for our application scope. So we have to provide our application’s name and package. We have also to fill the SHA-1 cerificate fingerprint.
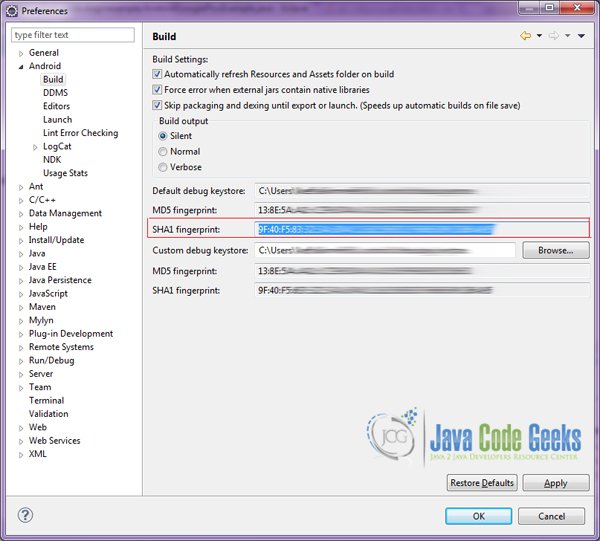
If you are not familiar on how to get your SHA-1 cerificate fingerprint, the easiest way to reach this certificate, is inside your Eclipse IDE, from Window > Preferences > Android > Build.
2. Create a the Android Application Project
We are now ready to code! Google will now grant us the rights to Google+ users’ information, from our application.
So, for our example will use the following tools in a Windows 64-bit or an OS X platform:
- JDK 1.7
- Eclipse 4.2 Juno
- Android SDK 5.0.1
Let’s take a closer look:
You may skip project creation and jump directly to the beginning of the example below.
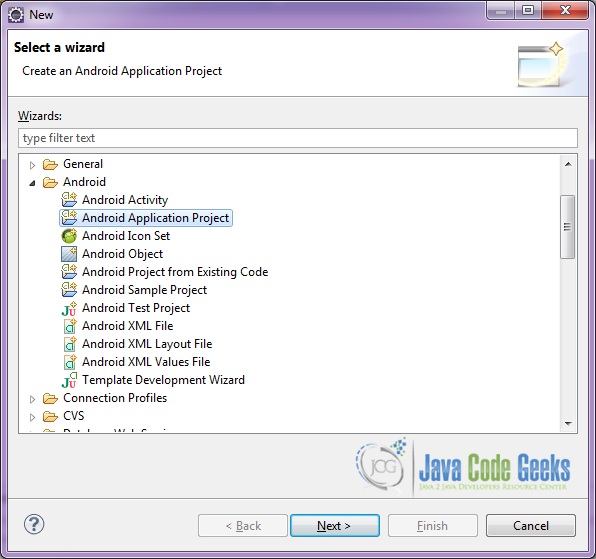
Open Eclipse IDE and go to File → New → Project → Android Application Project.
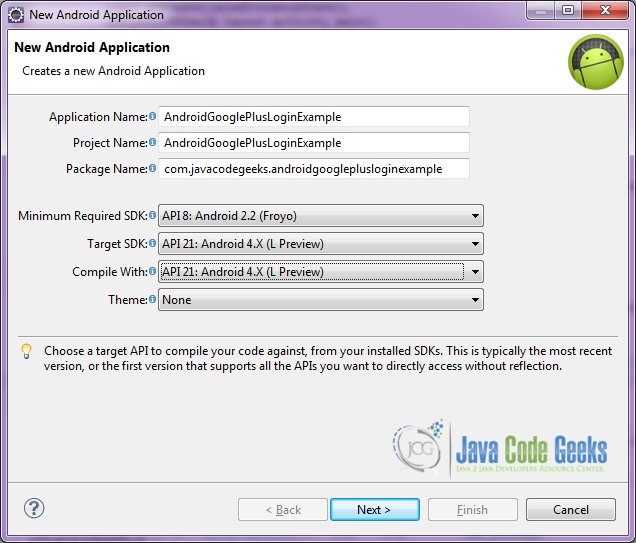
Specify the name of the application, the project and the package and then click Next.
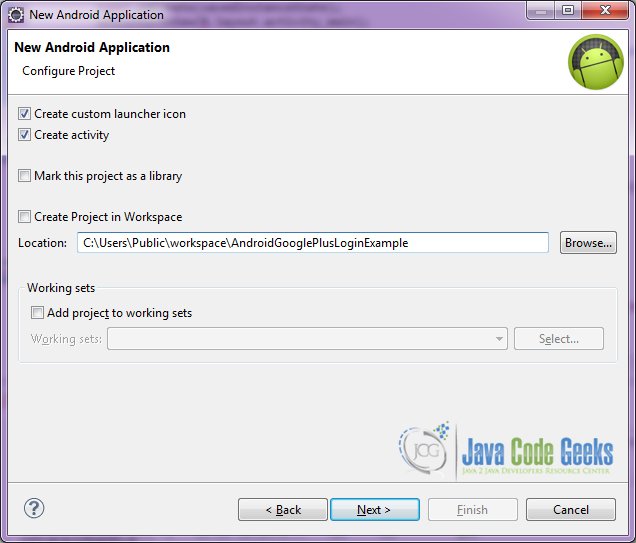
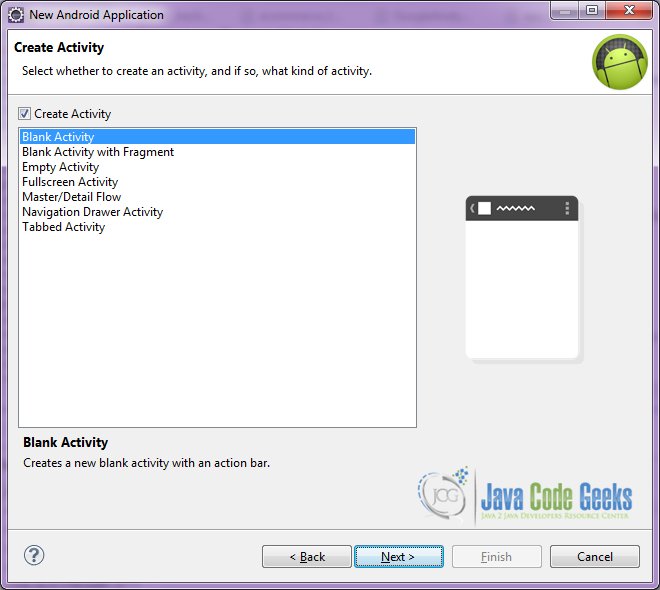
In the next window, the “Create Activity” option should be checked. The new created activity will be the main activity of your project. Then press Next button.
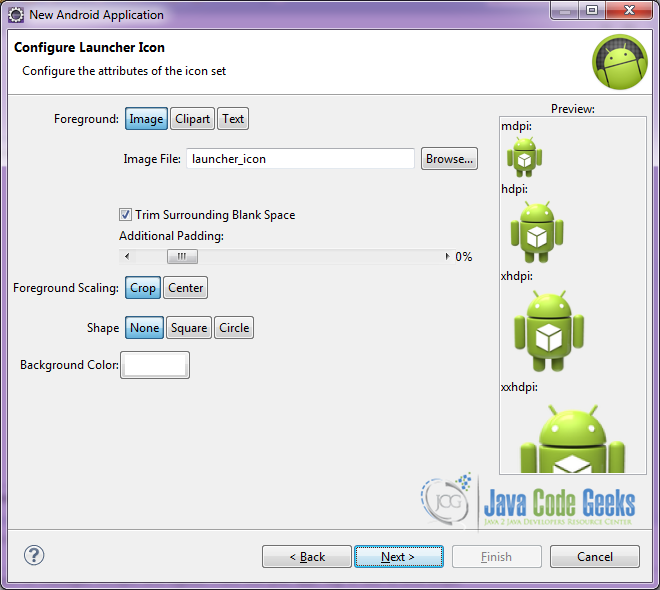
In “Configure Launcher Icon” window you should choose the icon you want to have in your app. We will use the default icon of android, so click Next.
Select the “Blank Activity” option and press Next.
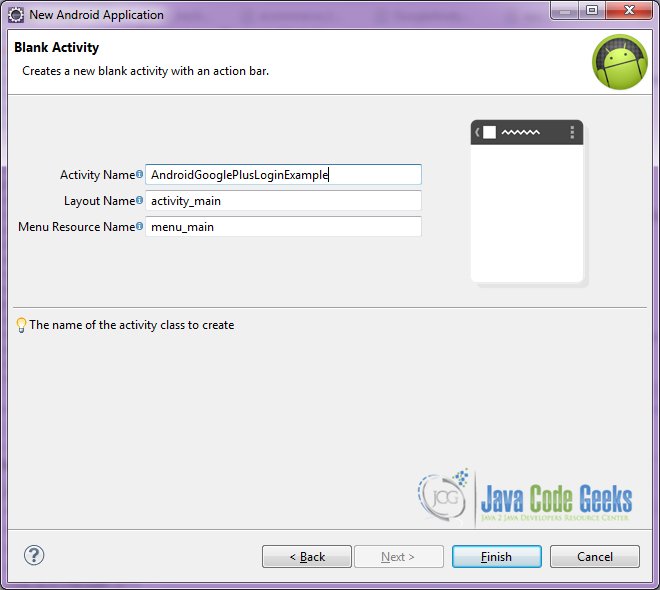
You have to specify a name for the new Activity and a name for the layout description of your app. The .xml file for the layout will automatically be created in the res/layout folder. It will also be created a fragment layout xml, that we are not going to use in this project and you can remove it if you want. Then press Finish.
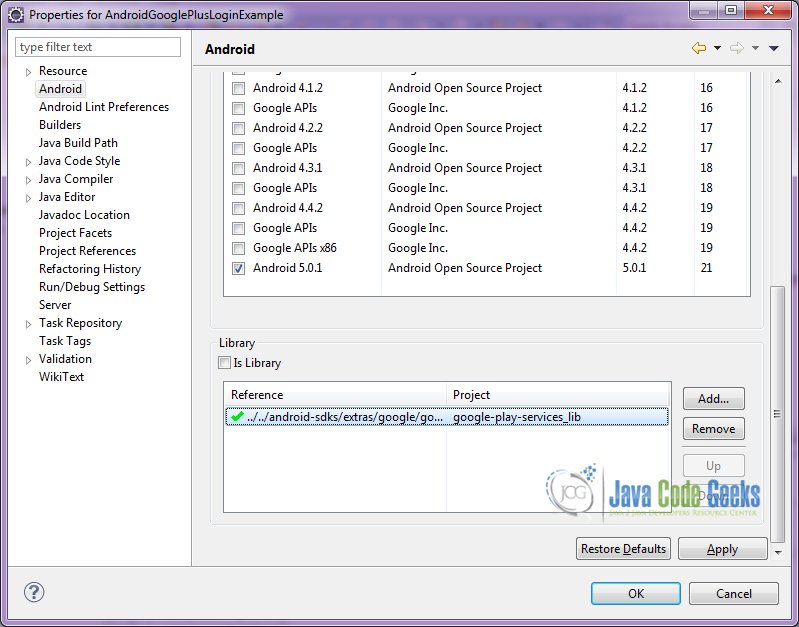
3. Importing Google Play Services in your project
In order to be able to work with Google Plus Login, we have to import the Google Play Services library in the project.
Google+ Login will work only on devices that do have Google Play Services. If your mobile device does not have Google Play Services you have to download and use the Google Play Services application from Google Play.
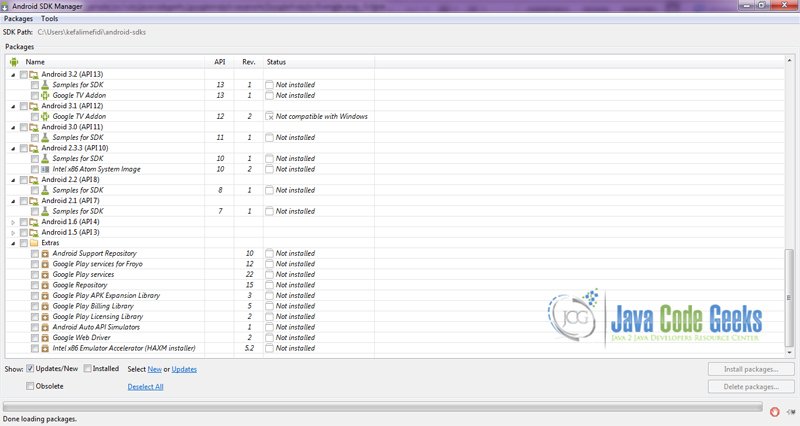
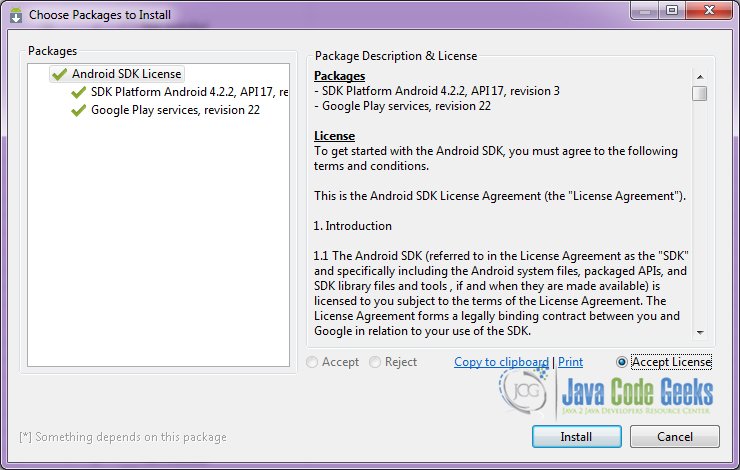
Download Google Play Services SDK. We have to launch Android SDK Manager and install the Google Play services package.

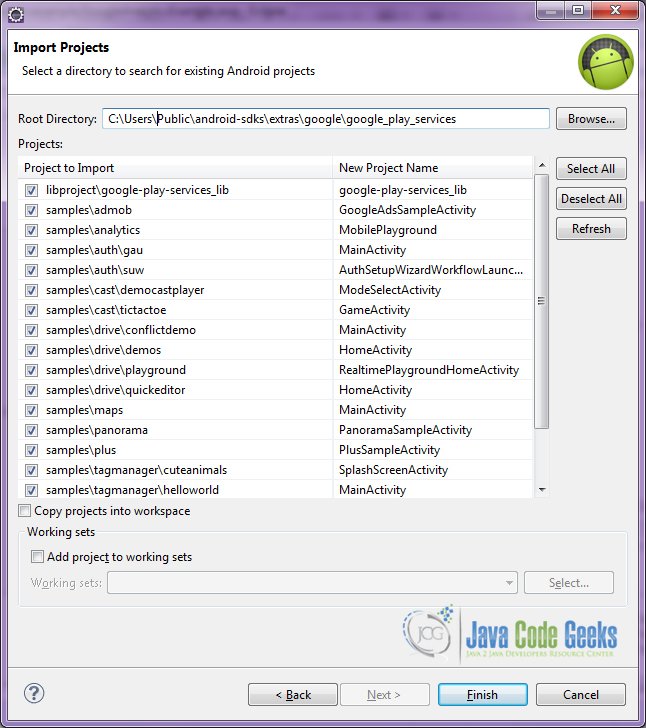
After downloading the Google Play Service package, just import this project into the main AndroidGooglePlusExample project.
4. Creating the layout of the main Google Plus Login Example
We are going to make a very simple layout xml for the AndroidGooglePlusExample.class, that only consists of a LinearLayout that contains the two other LinearLayouts one for the login button and the other one that will contains the user’s information. These two layouts will get visible and gone, sequentially.
Open res/layout/activity_main.xml, go to the respective xml tab and paste the following:
activity_main.xml
<?xml version="1.0" encoding="utf-8"?>
<LinearLayout xmlns:android="http://schemas.android.com/apk/res/android"
    xmlns:tools="http://schemas.android.com/tools"
    android:layout_width="match_parent"
    android:layout_height="match_parent"
    android:gravity="center"
    android:orientation="vertical"
    android:padding="15dp"
    tools:context=".AndroidGooglePlusExample" >

    <LinearLayout
        android:id="@+id/profileFrame"
        android:layout_width="fill_parent"
        android:layout_height="wrap_content"
        android:layout_marginBottom="20dp"
        android:gravity="center"
        android:orientation="vertical"
        android:visibility="gone" >

        <ImageView
            android:id="@+id/image"
            android:layout_width="80dp"
            android:layout_height="wrap_content" />

        <TextView
            android:id="@+id/username"
            android:layout_width="wrap_content"
            android:layout_height="wrap_content"
            android:padding="5dp"
            android:textSize="20dp" />

        <TextView
            android:id="@+id/email"
            android:layout_width="wrap_content"
            android:layout_height="wrap_content"
            android:padding="5dp"
            android:textSize="16dp" />

        <Button
            android:id="@+id/logout"
            android:layout_width="fill_parent"
            android:layout_height="wrap_content"
            android:onClick="logout"
            android:padding="10dp"
            android:text="@string/logout"
            android:textSize="18dp" />
    </LinearLayout>

    <LinearLayout
        android:id="@+id/signinFrame"
        android:layout_width="fill_parent"
        android:layout_height="wrap_content"
        android:layout_marginBottom="20dp"
        android:gravity="center"
        android:orientation="vertical"
        android:visibility="visible" >

        <TextView
            android:id="@+id/textView1"
            android:layout_width="wrap_content"
            android:layout_height="wrap_content"
            android:gravity="center"
            android:padding="10dp"
            android:text="@string/loginText"
            android:textAppearance="?android:attr/textAppearanceMedium"
            android:textColor="#ffffff" />

        <com.google.android.gms.common.SignInButton
            android:id="@+id/signin"
            android:layout_width="fill_parent"
            android:layout_height="wrap_content"
            android:layout_marginBottom="20dp"
            android:textSize="18dp" />
    </LinearLayout>

</LinearLayout>
5. Creating the strings.xml of the application
We are going to add some text in our activity_main.xml. So we are not going to do this hardcoded! We can use a strings.xml file, that can help us localize our application in every language we may want, in a very simple way.

For now, just open res/values/strings.xml, go to the respective xml tab and paste the following:
strings.xml
<resources>
    <string name="app_name" translatable="false">AndroidGooglePlusLoginExample</string>
    <string name="logout">Logout</string>
    <string name="loginText">Please login with your Google Account</string>
</resources>
6. Creating the source code of the main AndroidGooglePlusExample Activity
Open src/com.javacodegeeks.androidgoogleplusloginexample/AndroidGooglePlusExample.java file and paste the code below.
AndroidGooglePlusExample.java
package com.javacodegeeks.androidgoogleplusloginexample;

import java.io.InputStream;

import android.app.Activity;
import android.content.Intent;
import android.content.IntentSender.SendIntentException;
import android.graphics.Bitmap;
import android.graphics.BitmapFactory;
import android.os.AsyncTask;
import android.os.Bundle;
import android.util.Log;
import android.view.View;
import android.view.View.OnClickListener;
import android.widget.ImageView;
import android.widget.LinearLayout;
import android.widget.TextView;
import android.widget.Toast;

import com.google.android.gms.common.ConnectionResult;
import com.google.android.gms.common.GooglePlayServicesUtil;
import com.google.android.gms.common.SignInButton;
import com.google.android.gms.common.api.GoogleApiClient;
import com.google.android.gms.common.api.GoogleApiClient.ConnectionCallbacks;
import com.google.android.gms.common.api.GoogleApiClient.OnConnectionFailedListener;
import com.google.android.gms.plus.Plus;
import com.google.android.gms.plus.model.people.Person;

public class AndroidGooglePlusExample extends Activity implements OnClickListener, ConnectionCallbacks, OnConnectionFailedListener {

	private static final int RC_SIGN_IN = 0;

	// Google client to communicate with Google
	private GoogleApiClient mGoogleApiClient;

	private boolean mIntentInProgress;
	private boolean signedInUser;
	private ConnectionResult mConnectionResult;
	private SignInButton signinButton;
	private ImageView image;
	private TextView username, emailLabel;
	private LinearLayout profileFrame, signinFrame;

	@Override
	protected void onCreate(Bundle savedInstanceState) {
		super.onCreate(savedInstanceState);
		setContentView(R.layout.activity_main);

		signinButton = (SignInButton) findViewById(R.id.signin);
		signinButton.setOnClickListener(this);

		image = (ImageView) findViewById(R.id.image);
		username = (TextView) findViewById(R.id.username);
		emailLabel = (TextView) findViewById(R.id.email);

		profileFrame = (LinearLayout) findViewById(R.id.profileFrame);
		signinFrame = (LinearLayout) findViewById(R.id.signinFrame);

		mGoogleApiClient = new GoogleApiClient.Builder(this).addConnectionCallbacks(this).addOnConnectionFailedListener(this).addApi(Plus.API, Plus.PlusOptions.builder().build()).addScope(Plus.SCOPE_PLUS_LOGIN).build();
	}

	protected void onStart() {
		super.onStart();
		mGoogleApiClient.connect();
	}

	protected void onStop() {
		super.onStop();
		if (mGoogleApiClient.isConnected()) {
			mGoogleApiClient.disconnect();
		}
	}

	private void resolveSignInError() {
		if (mConnectionResult.hasResolution()) {
			try {
				mIntentInProgress = true;
				mConnectionResult.startResolutionForResult(this, RC_SIGN_IN);
			} catch (SendIntentException e) {
				mIntentInProgress = false;
				mGoogleApiClient.connect();
			}
		}
	}

	@Override
	public void onConnectionFailed(ConnectionResult result) {
		if (!result.hasResolution()) {
			GooglePlayServicesUtil.getErrorDialog(result.getErrorCode(), this, 0).show();
			return;
		}

		if (!mIntentInProgress) {
			// store mConnectionResult
			mConnectionResult = result;

			if (signedInUser) {
				resolveSignInError();
			}
		}
	}

	@Override
	protected void onActivityResult(int requestCode, int responseCode, Intent intent) {
		switch (requestCode) {
		case RC_SIGN_IN:
			if (responseCode == RESULT_OK) {
				signedInUser = false;

			}
			mIntentInProgress = false;
			if (!mGoogleApiClient.isConnecting()) {
				mGoogleApiClient.connect();
			}
			break;
		}
	}

	@Override
	public void onConnected(Bundle arg0) {
		signedInUser = false;
		Toast.makeText(this, "Connected", Toast.LENGTH_LONG).show();
		getProfileInformation();
	}

	private void updateProfile(boolean isSignedIn) {
		if (isSignedIn) {
			signinFrame.setVisibility(View.GONE);
			profileFrame.setVisibility(View.VISIBLE);

		} else {
			signinFrame.setVisibility(View.VISIBLE);
			profileFrame.setVisibility(View.GONE);
		}
	}

	private void getProfileInformation() {
		try {
			if (Plus.PeopleApi.getCurrentPerson(mGoogleApiClient) != null) {
				Person currentPerson = Plus.PeopleApi.getCurrentPerson(mGoogleApiClient);
				String personName = currentPerson.getDisplayName();
				String personPhotoUrl = currentPerson.getImage().getUrl();
				String email = Plus.AccountApi.getAccountName(mGoogleApiClient);

				username.setText(personName);
				emailLabel.setText(email);

				new LoadProfileImage(image).execute(personPhotoUrl);

				// update profile frame with new info about Google Account
				// profile
				updateProfile(true);
			}
		} catch (Exception e) {
			e.printStackTrace();
		}
	}

	@Override
	public void onConnectionSuspended(int cause) {
		mGoogleApiClient.connect();
		updateProfile(false);
	}

	@Override
	public void onClick(View v) {
		switch (v.getId()) {
		case R.id.signin:
			googlePlusLogin();
			break;
		}
	}

	public void signIn(View v) {
		googlePlusLogin();
	}

	public void logout(View v) {
		googlePlusLogout();
	}

	private void googlePlusLogin() {
		if (!mGoogleApiClient.isConnecting()) {
			signedInUser = true;
			resolveSignInError();
		}
	}

	private void googlePlusLogout() {
		if (mGoogleApiClient.isConnected()) {
			Plus.AccountApi.clearDefaultAccount(mGoogleApiClient);
			mGoogleApiClient.disconnect();
			mGoogleApiClient.connect();
			updateProfile(false);
		}
	}

	// download Google Account profile image, to complete profile
	private class LoadProfileImage extends AsyncTask {
		ImageView downloadedImage;

		public LoadProfileImage(ImageView image) {
			this.downloadedImage = image;
		}

		protected Bitmap doInBackground(String... urls) {
			String url = urls[0];
			Bitmap icon = null;
			try {
				InputStream in = new java.net.URL(url).openStream();
				icon = BitmapFactory.decodeStream(in);
			} catch (Exception e) {
				Log.e("Error", e.getMessage());
				e.printStackTrace();
			}
			return icon;
		}

		protected void onPostExecute(Bitmap result) {
			downloadedImage.setImageBitmap(result);
		}
	}
}
7. Android Manifest
The AndroidManifest.xml of our project is simple and contains the permissions:
AndroidManifest.xml
<manifest xmlns:android="http://schemas.android.com/apk/res/android"
    package="com.javacodegeeks.androidgoogleplusloginexample"
    android:versionCode="1"
    android:versionName="1.0" >

    <uses-sdk
        android:minSdkVersion="8"
        android:targetSdkVersion="21" />

    <uses-permission android:name="android.permission.INTERNET" />
    <uses-permission android:name="android.permission.GET_ACCOUNTS" />
    <uses-permission android:name="android.permission.USE_CREDENTIALS" />

    <application
        android:allowBackup="true"
        android:icon="@drawable/ic_launcher"
        android:label="@string/app_name" >
        <meta-data
            android:name="com.google.android.gms.version"
            android:value="@integer/google_play_services_version" />
        <activity
            android:name="com.javacodegeeks.androidgoogleplusloginexample.AndroidGooglePlusExample"
            android:label="@string/app_name"
            android:screenOrientation="portrait" >
            <intent-filter>
                <action android:name="android.intent.action.MAIN" />
                <category android:name="android.intent.category.LAUNCHER" />
            </intent-filter>
        </activity>
    </application>
</manifest>
From the above code, you can see that we have used the INTERNET, GET_ACCOUNTS and USE_CREDENTIALS perimissions. Mind also that we have added the meta-data tag for Google Play Services usage.
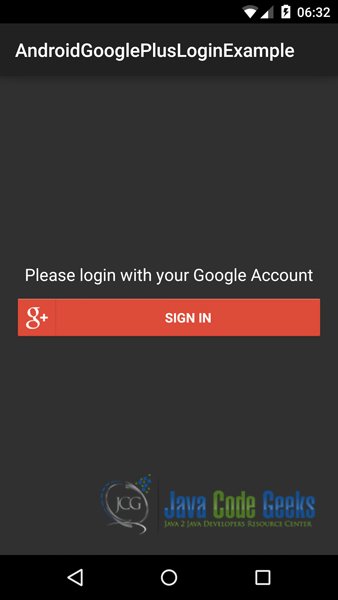
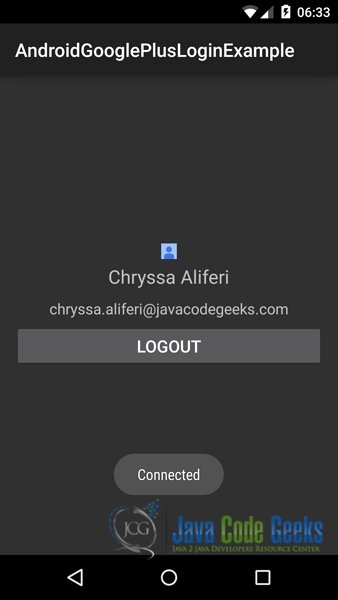
8. Build, compile and run
When we build, compile and run our project, the main AndroidGooglePlusExample should look like this:
Download the Eclipse Project
This was a Google Plus Login Android example.
You can download the full source code of this example here: AndroidGooglePlusExample.zip
