In the example, we are going to see how can we use one of the most famous, public, social APIs, The Foursquare API.
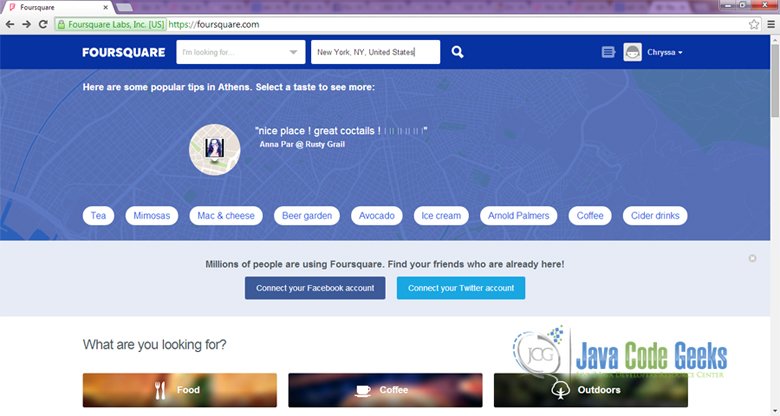
Foursquare is a local search and discovery service mobile and web app which provides a personalized local search experience for its users. Foursquare lets the user search for restaurants, nightlife spots, shops and other places of interest in their surrounding area.
It is also possible to search other areas by entering the name of a remote location. The Foursquare API gives you access to our world-class places database and the ability to interact with Foursquare users and merchants.
In our example we are going to discuss how to make a userless venue search or explore request with the Foursquare API and how to parse these results.
1. Get Foursquare Authorization
To begin with, in order to use this API, we have sign up to Foursquare and make and account.
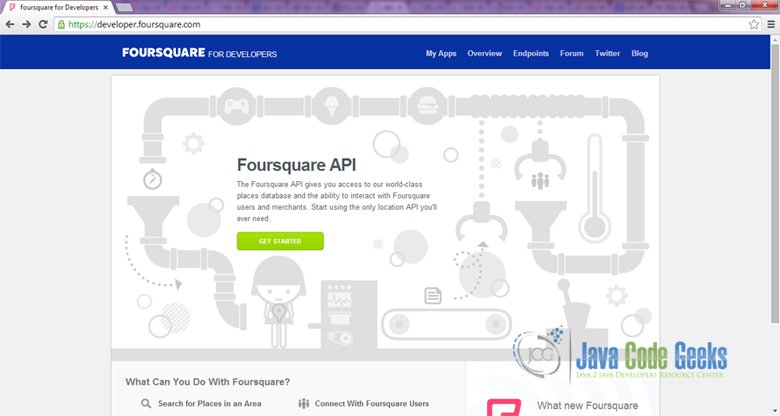
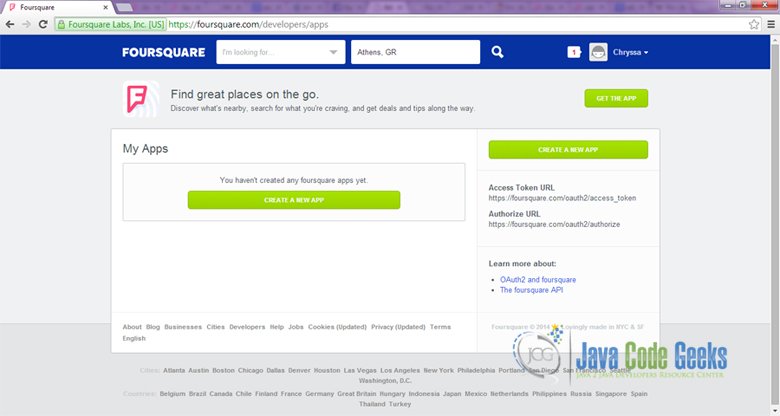
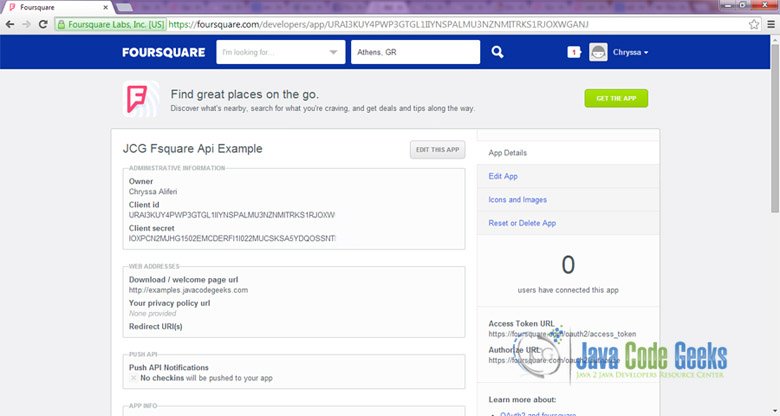
Later on, we have to make a developer’s app connection with Foursquare, so that we can have authorization to access the API. We will need a Client id and a Client secret. In order to get the needed authorization, we have to visit developer.foursquare.com and go to “My Apps” tab.
Now, we have to create a foursquare app, by clicking the “Create a New App” button.
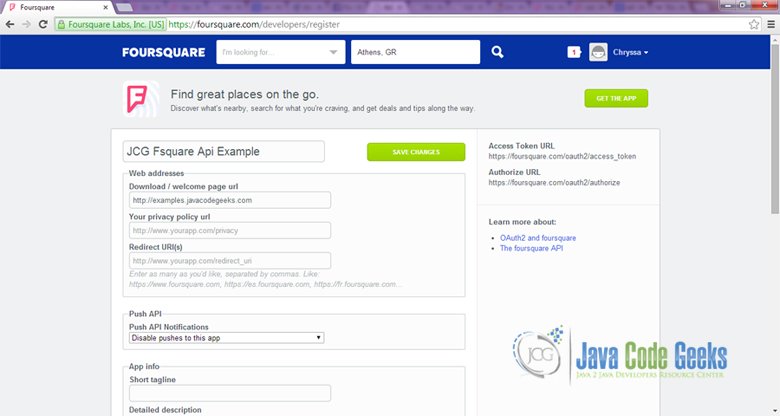
We complete the form.
After that, we can see our administrative information, our Client id and a Client secret id are produced, and we are ready to start our example application.
2. Create a the Android Application Project
Let’s start! For our example will use the following tools in a Windows 64-bit or an OS X platform:
- JDK 1.7
- Eclipse 4.2 Juno
- Android SDK 4.4.2
Let’s take a closer look:
You may skip project creation and jump directly to the beginning of the example below.
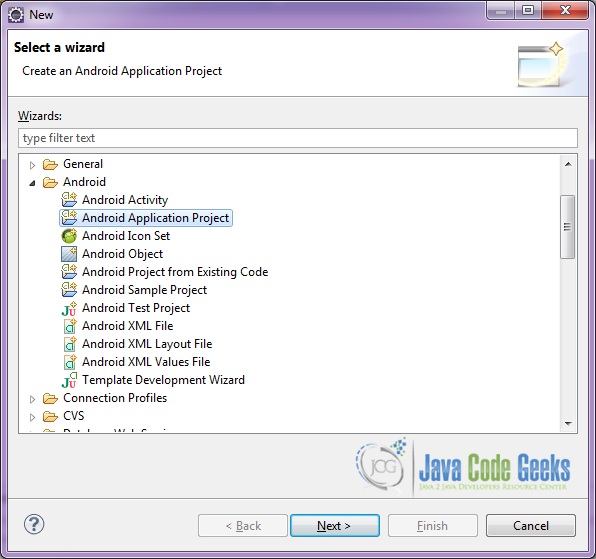
Open Eclipse IDE and go to File → New → Project → Android Application Project.
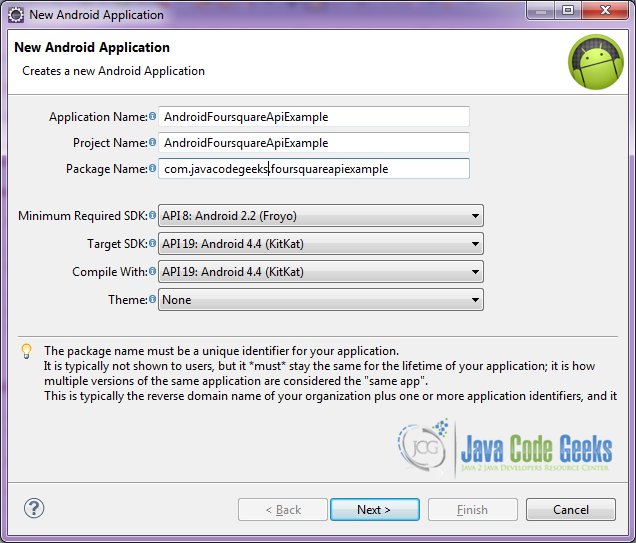
Specify the name of the application, the project and the package and then click Next.
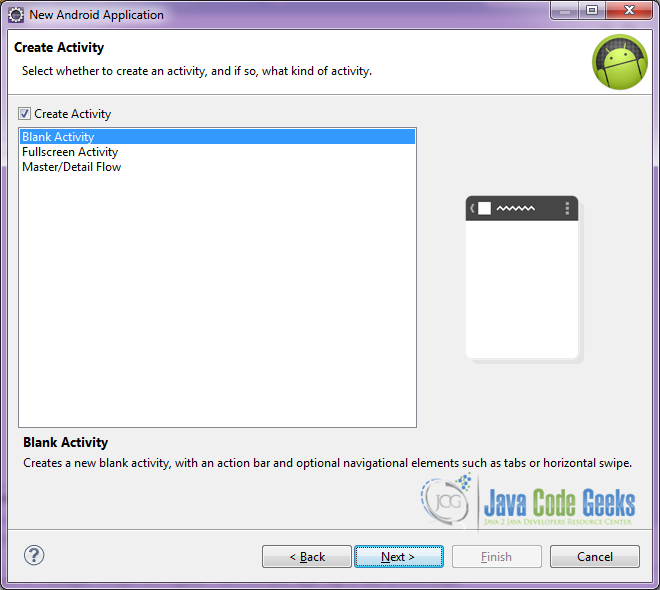
In the next window, the “Create Activity” option should be checked. The new created activity will be the main activity of your project. Then press Next button.
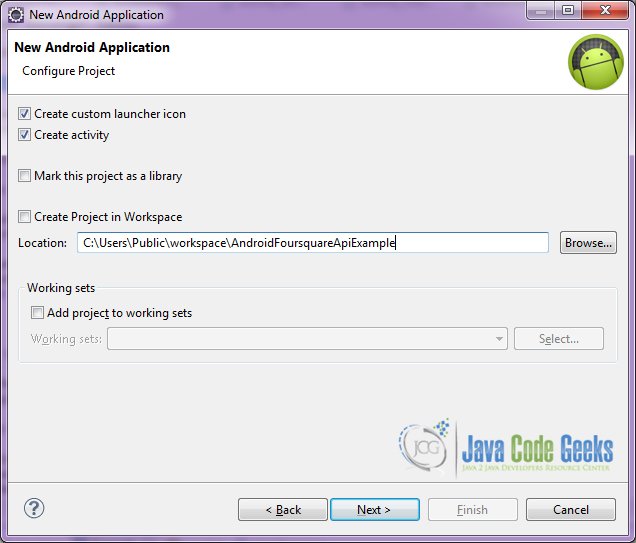
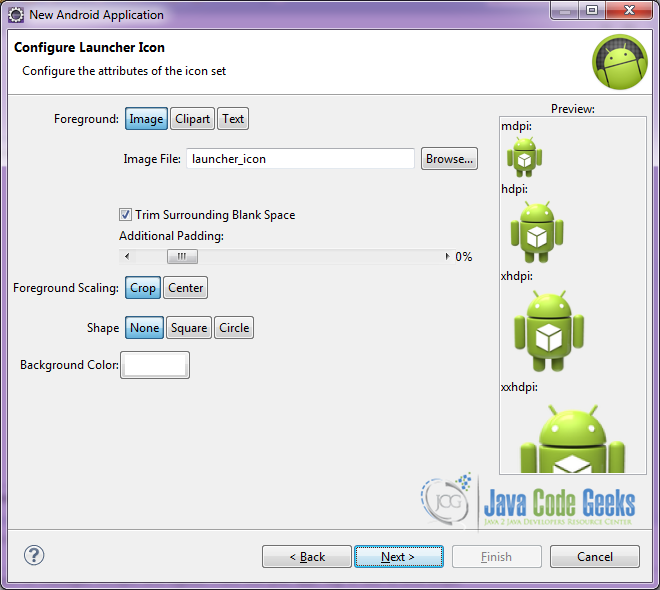
In “Configure Launcher Icon” window you should choose the icon you want to have in your app. We will use the default icon of android, so click Next.
Select the “Blank Activity” option and press Next.
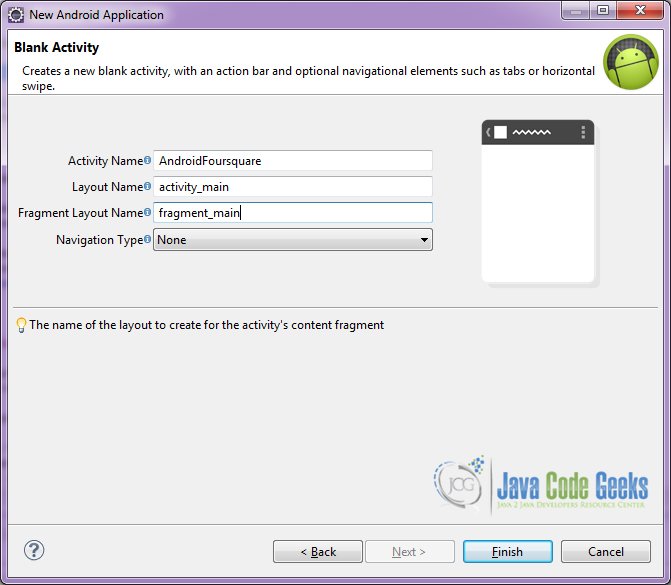
You have to specify a name for the new Activity and a name for the layout description of your app. The .xml file for the layout will automatically be created in the res/layout folder. It will also be created a fragment layout xml, that we are not going to use in this project and you can remove it if you want. Then press Finish.
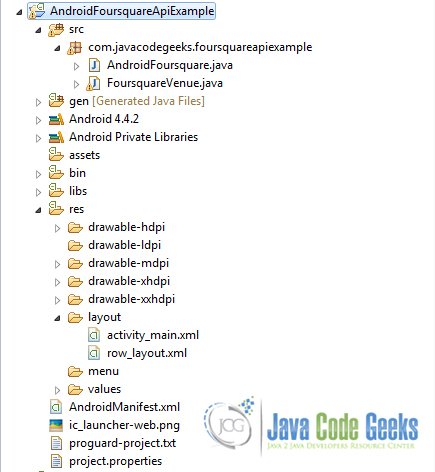
Here you can see, how will the structure of the project become when finished:
3. Creating the layout of the main Android Foursquare Example
We are going to make a very simple layout xml for the AndroidFoursquare.class, that only consists of a LinearLayout that contains the one ListView.
Open res/layout/activity_main.xml, go to the respective xml tab and paste the following:
activity_main.xml
<LinearLayout xmlns:android="http://schemas.android.com/apk/res/android"
    xmlns:tools="http://schemas.android.com/tools"
    android:layout_width="match_parent"
    android:layout_height="match_parent"
    android:background="#ffffff"
    android:orientation="vertical" >

    <ListView
        android:id="@android:id/list"
        android:layout_width="match_parent"
        android:layout_height="wrap_content" >
    </ListView>

</LinearLayout>
4. Creating the source code of the main AndroidFoursquare
Before we make the call to the Foursquare Venues Search API and we parse the results, we should have a look to the json response that we are going to take.
We have the call: https://api.foursquare.com/v2/venues/search?client_id=CLIENT_ID&client_secret=CLIENT_SECRET&v=20130815%20&ll=40.7463956,-73.9852992
For this call, we used the parameters:
- CLIENT_ID: The specific client_id we generated above
- CLIENT_SECRET: The specific client_secret id we generated above
- 40.7463956: The latitude of the point that we are going to search from
- -73.9852992: The longitude of the point that we are going to search from
We will use the center of New York, USA, for our venues search. This is the response we get:
Foursquare Venues Search response
{
   meta:{
      code:200
   },
   response:{
      venues:[
         {
            id:"4ca4e519a6e08cfa884d6c94",
            name:"Midtown Manhattan",
            contact:{

            },
            location:{
               lat:40.747,
               lng:-73.986,
               distance:89,
               postalCode:"10019",
               cc:"US",
               city:"New York",
               state:"NY",
               country:"United States",
               formattedAddress:[
                  "New York, NY 10019",
                  "United States"
               ]
            },
            categories:[
               {
                  id:"4f2a25ac4b909258e854f55f",
                  name:"Neighborhood",
                  pluralName:"Neighborhoods",
                  shortName:"Neighborhood",
                  icon:{
                     prefix:"https://ss3.4sqi.net/img/categories_v2/parks_outdoors/neighborhood_",
                     suffix:".png"
                  },
                  primary:true
               }
            ],
            verified:false,
            stats:{
               checkinsCount:27533,
               usersCount:9557,
               tipCount:37
            },
            specials:{
               count:0,
               items:[

               ]
            },
            hereNow:{
               count:1,
               summary:"One person is checked in here",
               groups:[
                  {
                     type:"others",
                     name:"Other people here",
                     count:1,
                     items:[

                     ]
                  }
               ]
            },
            referralId:"v-1414637807"
         }
      }
   ],
   confident:false
}
5. Creating the source code of the main AndroidFoursquare
We are going to create the main Activity of our example application. Open src/com.javacodegeeks.foursquareapiexample/AndroidFoursquare.java file and paste the code below.
AndroidFoursquare.java
package com.javacodegeeks.foursquareapiexample;

import java.io.BufferedInputStream;
import java.io.InputStream;
import java.util.ArrayList;
import java.util.List;

import org.apache.http.HttpResponse;
import org.apache.http.client.HttpClient;
import org.apache.http.client.methods.HttpGet;
import org.apache.http.impl.client.DefaultHttpClient;
import org.apache.http.util.ByteArrayBuffer;
import org.json.JSONArray;
import org.json.JSONObject;

import android.app.ListActivity;
import android.os.AsyncTask;
import android.os.Bundle;
import android.view.View;
import android.widget.ArrayAdapter;

public class AndroidFoursquare extends ListActivity {
	ArrayList venuesList;

	// the foursquare client_id and the client_secret
	final String CLIENT_ID = "CWIB5QARTPRLLQIVCYKM5MVXYSQCRGYM1VZ31AJ4DCIMKEJ";
	final String CLIENT_SECRET = "4SDDGS3PYQ5JQOX4WU0XJTXAKH1HSHEFQ1I21V4KHDR15PG";

	// we will need to take the latitude and the logntitude from a certain point
	// this is the center of New York
	final String latitude = "40.7463956";
	final String longtitude = "-73.9852992";

	ArrayAdapter myAdapter;

	@Override
	protected void onCreate(Bundle savedInstanceState) {
		super.onCreate(savedInstanceState);
		setContentView(R.layout.activity_main);

		// start the AsyncTask that makes the call for the venus search.
		new fourquare().execute();
	}

	private class fourquare extends AsyncTask {

		String temp;

		@Override
		protected String doInBackground(View... urls) {
			// make Call to the url
			temp = makeCall("https://api.foursquare.com/v2/venues/search?client_id=" + CLIENT_ID + "&client_secret=" + CLIENT_SECRET + "&v=20130815&ll=40.7463956,-73.9852992");
			return "";
		}

		@Override
		protected void onPreExecute() {
			// we can start a progress bar here
		}

		@Override
		protected void onPostExecute(String result) {
			if (temp == null) {
				// we have an error to the call
				// we can also stop the progress bar
			} else {
				// all things went right

				// parseFoursquare venues search result
				venuesList = (ArrayList) parseFoursquare(temp);

				List listTitle = new ArrayList();

				for (int i = 0; i < venuesList.size(); i++) {
					// make a list of the venus that are loaded in the list.
					// show the name, the category and the city
					listTitle.add(i, venuesList.get(i).getName() + ", " + venuesList.get(i).getCategory() + "" + venuesList.get(i).getCity());
				}

				// set the results to the list
				// and show them in the xml
				myAdapter = new ArrayAdapter(AndroidFoursquare.this, R.layout.row_layout, R.id.listText, listTitle);
				setListAdapter(myAdapter);
			}
		}
	}

	public static String makeCall(String url) {

		// string buffers the url
		StringBuffer buffer_string = new StringBuffer(url);
		String replyString = "";

		// instanciate an HttpClient
		HttpClient httpclient = new DefaultHttpClient();
		// instanciate an HttpGet
		HttpGet httpget = new HttpGet(buffer_string.toString());

		try {
			// get the responce of the httpclient execution of the url
			HttpResponse response = httpclient.execute(httpget);
			InputStream is = response.getEntity().getContent();

			// buffer input stream the result
			BufferedInputStream bis = new BufferedInputStream(is);
			ByteArrayBuffer baf = new ByteArrayBuffer(20);
			int current = 0;
			while ((current = bis.read()) != -1) {
				baf.append((byte) current);
			}
			// the result as a string is ready for parsing
			replyString = new String(baf.toByteArray());
		} catch (Exception e) {
			e.printStackTrace();
		}
		// trim the whitespaces
		return replyString.trim();
	}

	private static ArrayList parseFoursquare(final String response) {

		ArrayList temp = new ArrayList();
		try {

			// make an jsonObject in order to parse the response
			JSONObject jsonObject = new JSONObject(response);

			// make an jsonObject in order to parse the response
			if (jsonObject.has("response")) {
				if (jsonObject.getJSONObject("response").has("venues")) {
					JSONArray jsonArray = jsonObject.getJSONObject("response").getJSONArray("venues");

					for (int i = 0; i  0) {
											if (jsonArray.getJSONObject(i).getJSONArray("categories").getJSONObject(0).has("icon")) {
												poi.setCategory(jsonArray.getJSONObject(i).getJSONArray("categories").getJSONObject(0).getString("name"));
											}
										}
									}
									temp.add(poi);
								}
							}
						}
					}
				}
			}

		} catch (Exception e) {
			e.printStackTrace();
			return new ArrayList();
		}
		return temp;

	}
}
We also have a helper class for the Foursquare response parsing.Open src/com.javacodegeeks.foursquareapiexample/FoursquareVenue.java file and paste the code below.

FoursquareVenue .java
package com.javacodegeeks.foursquareapiexample;

public class FoursquareVenue {
	private String name;
	private String city;

	private String category;

	public FoursquareVenue() {
		this.name = "";
		this.city = "";
		this.setCategory("");
	}

	public String getCity() {
		if (city.length() > 0) {
			return city;
		}
		return city;
	}

	public void setCity(String city) {
		if (city != null) {
			this.city = city.replaceAll("\\(", "").replaceAll("\\)", "");
			;
		}
	}

	public void setName(String name) {
		this.name = name;
	}

	public String getName() {
		return name;
	}

	public String getCategory() {
		return category;
	}

	public void setCategory(String category) {
		this.category = category;
	}
}
6. Android Manifest
In order to call execute this call, we should have access to the Internet. This must be specified in the manifest, so that, our application will be granted the permission to use the Internet connection. The AndroidManifest.xml of our project is simple and contains the permissions:
AndroidManifest.xml
<?xml version="1.0" encoding="utf-8"?>
<manifest xmlns:android="http://schemas.android.com/apk/res/android"
    package="com.javacodegeeks.foursquareapiexample"
    android:versionCode="1"
    android:versionName="1.0" >
    <uses-permission android:name="android.permission.INTERNET" />

    <uses-sdk
        android:minSdkVersion="8"
        android:targetSdkVersion="19" />

    <application
        android:allowBackup="true"
        android:icon="@drawable/ic_launcher"
        android:label="@string/app_name" >
        <activity
            android:name="com.javacodegeeks.foursquareapiexample.AndroidFoursquare"
            android:label="@string/app_name" >
            <intent-filter>
                <action android:name="android.intent.action.MAIN" />
                <category android:name="android.intent.category.LAUNCHER" />
            </intent-filter>
        </activity>
    </application>
</manifest>
7. Build, compile and run
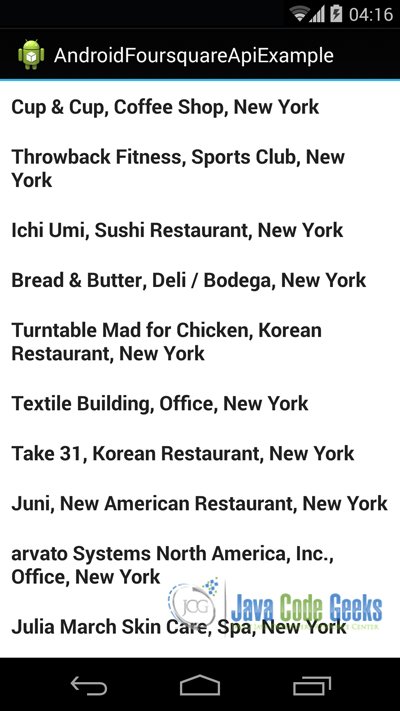
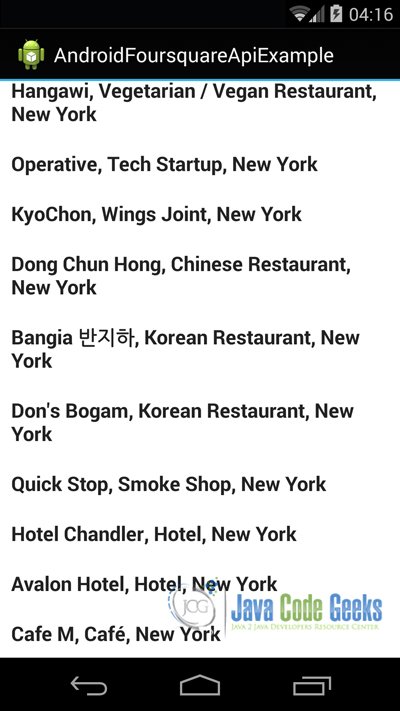
When we build, compile and run our project, the main AndroidFoursquare should look like this:
Download the Eclipse Project
This was an example of Android Foursquare API Venues Search API.
You can download the full source code of this example here: AndroidFoursquareApiExample
