In this article, we’ll see some information about Java Spring Boot versions and how to build a project using Maven and Gradle.
1. Introduction
Spring Boot is one of the most used Java frameworks nowadays. This powerful tool helps developers to quickly implement and deliver an application with the best practices, using a consistent integration between all his libraries and APIs.
In the following sections, we are going to talk about the differences in versions of Spring Boot and see how to build an example using Maven and Gradle.
2. Pre-requisites
To use the examples we’ll need the bottom installed on our environment:
For this article’s examples, I’ll use IntelliJ 2020.2, but you can use any IDE of your choice since that has support for the tools above introduced.
A good IDE to work with Spring Boot is Spring Tools that you can find here.
3. About Versions
Spring Boot has several release versions. Currently, we have the 2.3.5 version as a stable version, but the 2.4 release is already released. But, now we’ll see the differences between the current release versions.
3.1 Semantic Versioning
Basically, Spring uses the semantic versioning scheme to control his versions.
Given a version number MAJOR.MINOR.PATCH, increment the:
- MAJOR version when you make incompatible API changes,
- MINOR version when you add functionality in a backwards compatible manner, and
- PATCH version when you make backwards compatible bug fixes.
In addition to semantic versioning, Spring Boot uses these labels:
- BUILD-SNAPSHOT – it’s the artifact builded and delivered by the Spring team every day.
- Milestone Release (M1, M2, M3, …) – it’s the artifact delivered when a development iteration is completed. Marks a significant stage in the release process.
- Release Candidate (RC1, RC2, RC3, …) – it’s the last step before build the final release. Only bug fixes are input on this version.
- RELEASE – you will find this as the final version of the release, commonly is the production-ready artifact. We can also refer to this release as GA, for General Availability.
4. Spring Boot Example
Now, we we’ll see aSpring Boot example using two famous build tools: Maven and Gradle. Therefore, we’ll use Spring Initialzr to start our project examples here.
4.1 Maven Example
Firstly, access the Spring Initializr url on https://start.spring.io/.
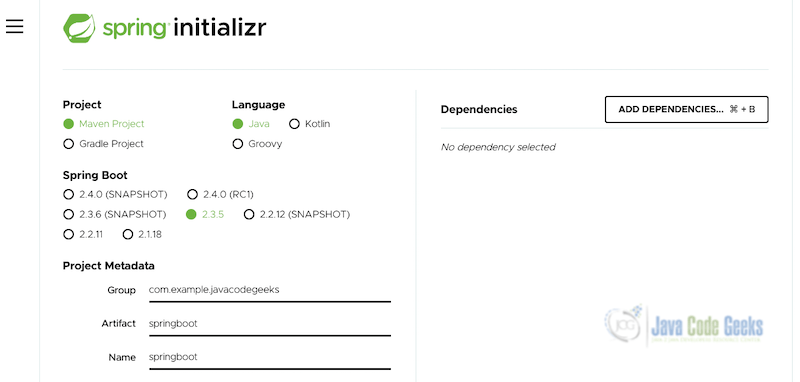
Here, we can see some information to start our new project. Let see the most important next:
- Project – choose Maven Project.
- Language – let’s go with Java (of course).
- Spring Boot Version – choose 2.3.5. As we could see in the previous session, RELEASE is the stable version.
- Project Metadata
- Group – the package pattern (e.g.: com.example.javacodegeeks).
- Artifact – the artifact name.
- Name – the application module/component name.
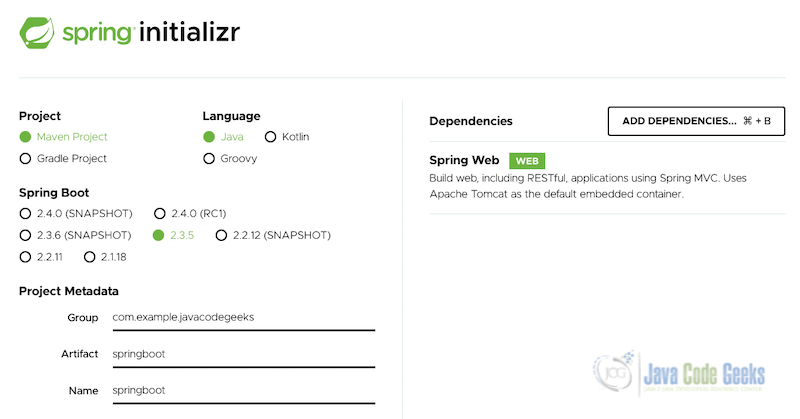
In Dependencies in the right above, we’ll add all dependencies that we’ll use in the project. For this example, just add “Spring Web” clicking on ADD DEPENDENCIES button. We’ll see the following screen:
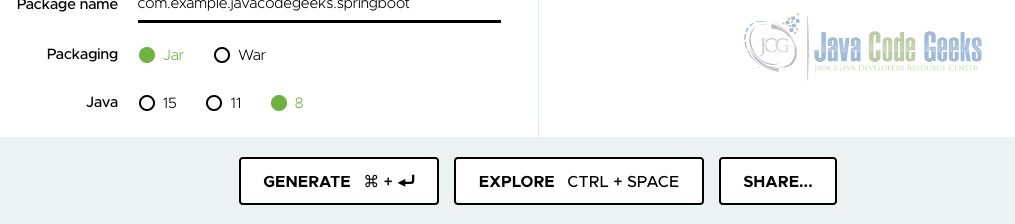
In the bottom of page we can choose the Java version and packaging. For this example, I choose Java 8 and Jar packaging, as a result we can have a simple project to be executed. Click on GENERATE and save your project in your chosen location.
4.1.1 Project structure
Now, with our project ready, extract and open in your favorite IDE. We’ll notice that Spring Initializr creates almost everything we need to run our project.
Maven Project structure
.
|____.mvn     -> a wraped Maven version
|____mvnw.cmd -> a script to use local Maven wraped (Windows)
|____mvnw     -> a script to use local Maven wraped (Linux/MacOS)
|____pom.xml  -> Maven depdendencies
|____src      -> the source code of our project
| |____test   -> test classes
| |____main   -> main code
4.1.2 Adding some code
Add the following code in the main class.
SpringbootApplication .java
package com.example.javacodegeeks.springboot;

import org.springframework.boot.SpringApplication;
import org.springframework.boot.autoconfigure.SpringBootApplication;
import org.springframework.web.bind.annotation.GetMapping;
import org.springframework.web.bind.annotation.RequestParam;
import org.springframework.web.bind.annotation.RestController;

@SpringBootApplication
@RestController
public class SpringbootApplication {

	public static void main(String[] args) {
		SpringApplication.run(SpringbootApplication.class, args);
	}

	@GetMapping("/hello")
	public String hello(@RequestParam(value = "name", defaultValue = "World") String name) {
		return String.format("Hello %s!", name);
	}

}
4.1.3 Try it
Execute the next command in your command line in the root path of your project:

Linux/MacOS command
./mvnw spring-boot:run
Windows Command
mvnw spring-boot:run
Open a browser an type the project url: http://localhost:8080/hello. We’ll get a simple “Hello World” page as a result.
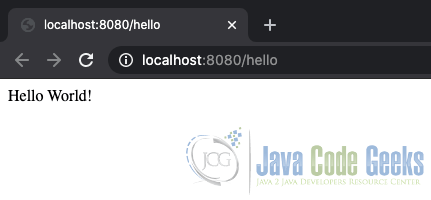
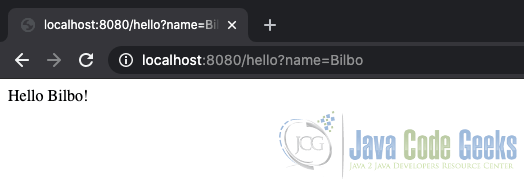
Let’s try our @GetMapping method in the application adding parameter ?name in the url like this: http://localhost:8080/hello?name=Bilbo.
4.2 Gradle Example
Following our previous Maven Example, we’ll start a Gradle example using Spring Initializr as below:
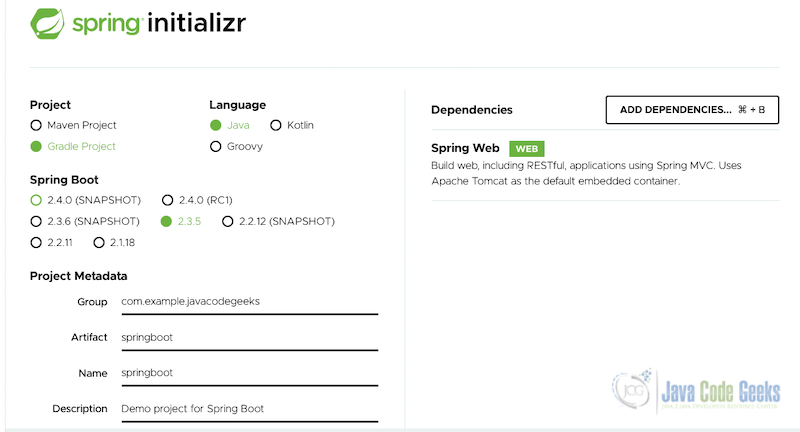
As we see, the only modifying is select “Gradle Project”. The Dependencies remain the same and packaging and Java version as well. Click on GENERATE and download the project.
4.2.1 Project structure
With our project properly extracted and opened in IDE, we’ll notice a little bit difference in comparison with Maven Project.
Gradle project structure
.
|____gradle          -> a wraped Gradle version
|____gradlew         -> a script to use local Gradle version (Linux/MacOS)
|____build.gradle    -> Gradle dependecies (as pom.xml on Maven)
|____gradlew.bat     -> a script to use local Gradle version (Windows)
|____settings.gradle -> a Gradle settings file
|____src             -> the source code of our project
| |____test          -> test classes
| |____main          -> main code
4.2.2 Adding some code
We can use the same code in previous Maven Project example. Get it and replace in SpringbootApplication class.
4.2.3 Try it
As we did in Maven example, execute the following commands using Gradle wrapper script:
Linux/MacOS command
./gradlew bootRun
Windows Command
gradlew.bat bootRun
Open a browser and type the project url: http://localhost:8080/hello. We’ll get a simple “Hello World” page as a result. Also, try with ?name parameter as we did in previous example to see a different result.
5. Summary
In conclusion, we could see the differences in Java Spring Boot versions. Therefore, we know how Spring team uses to control the versions from development until release in production. Moreover, we code some example project using Maven and Gradle, as a result we could notice how simple Spring Boot makes for help in software development.
6. Download the source code
You can download the full source code of this example here: Spring Boot Version
