Welcome readers, in this tutorial, we will explore the Elasticsearch functionality in a spring boot application.
1. Introduction
- Spring Boot is a module that provides rapid application development feature to the spring framework including auto-configuration, standalone-code, and production-ready code
- It creates applications that are packaged as jar and are directly started using embedded servlet container (such as Tomcat, Jetty or Undertow). Thus, no need to deploy the war files
- It simplifies the maven configuration by providing the starter template and helps to resolve the dependency conflicts. It automatically identifies the required dependencies and imports them in the application
- It helps in removing the boilerplate code, extra annotations, and xml configurations
- It provides a powerful batch processing and manages the rest endpoints
- It provides an efficient jpa-starter library to effectively connect the application with the relational databases
1.1 Elasticsearch
- Elasticsearch is an open source, distributed full-text search engine with an HTTP web interface and schema-free json documents
- It provides faster search responses as it searches an index but not directly the text
- It consists of following components:
- Index: Consists of one or more documents
- Document: Consists of one or more fields
- Shards: Horizontally splits up the indices into pieces
- Replica: Offers one or more copy of an index
- Developers can refer this link for installing the Elasticsearch on windows
Now, open the eclipse ide and let’s see how to implement this tutorial in spring boot.
2. Spring Boot ElasticSearch Tutorial
Here is a systematic guide for implementing this tutorial.
2.1 Tools Used
We are using Eclipse Kepler SR2, JDK 8, Elasticsearch, and Maven.
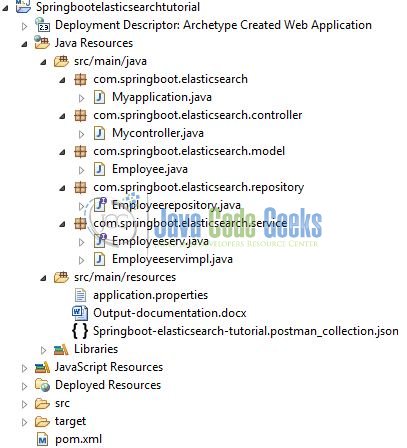
2.2 Project Structure
In case you are confused about where you should create the corresponding files or folder, let us review the project structure of the spring boot application.
2.3 Project Creation
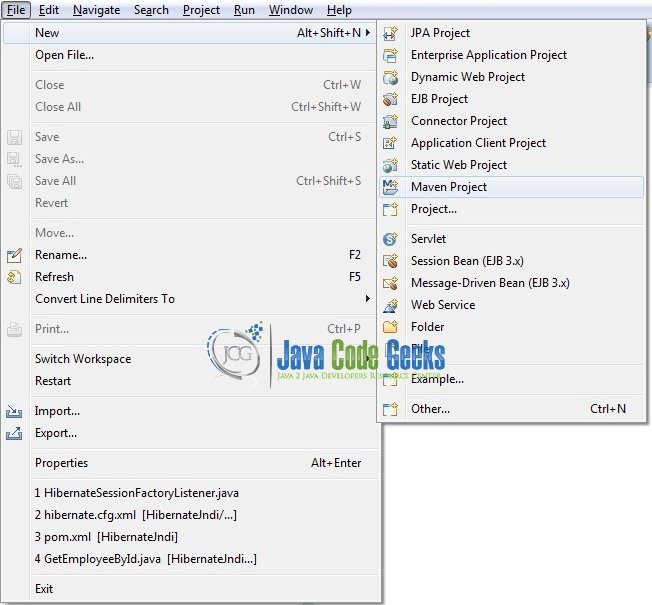
This section will demonstrate how to create a Java-based Maven project with Eclipse. In Eclipse IDE, go to File -> New -> Maven Project.
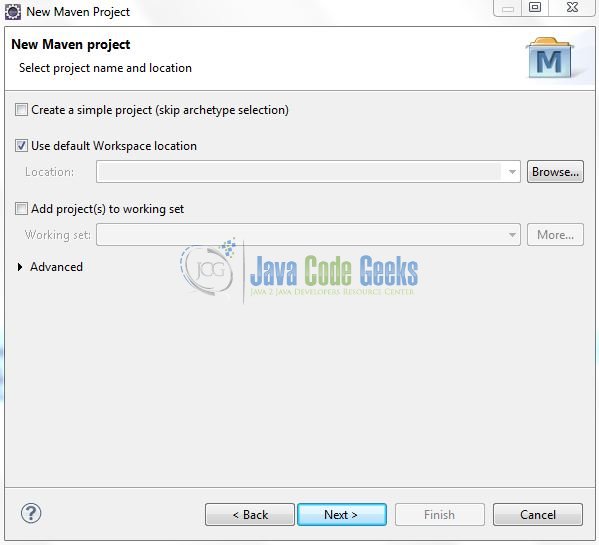
In the New Maven Project window, it will ask you to select a project location. By default, ‘Use default workspace location’ will be selected. Just click on the next button to proceed.
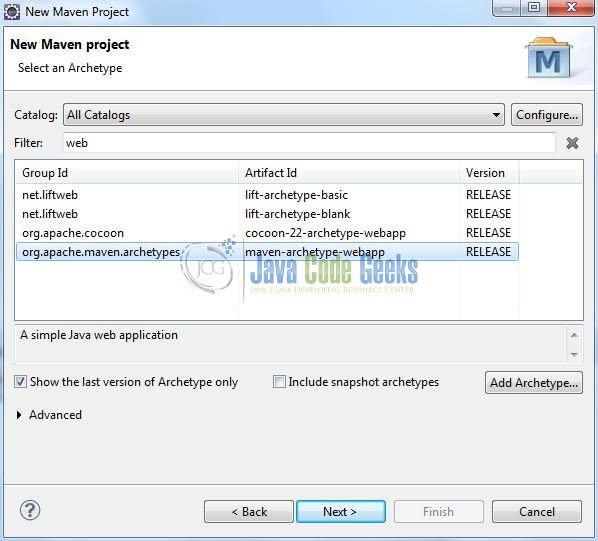
Select the Maven Web App archetype from the list of options and click next.
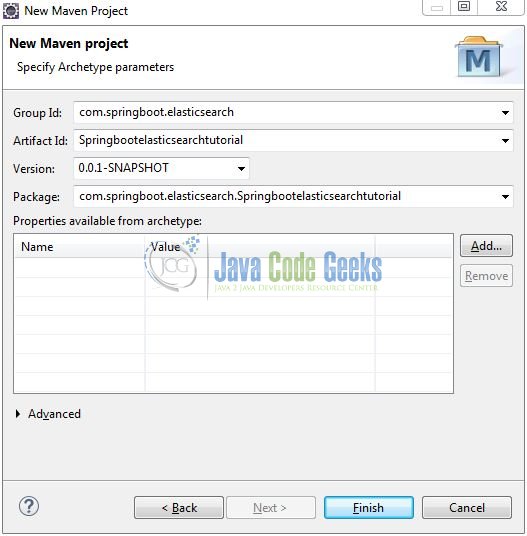
It will ask you to ‘Enter the group and the artifact id for the project’. We will input the details as shown in the below image. The version number will be by default: 0.0.1-SNAPSHOT.
Click on Finish and the creation of a maven project is completed. If you observe, it has downloaded the maven dependencies and a pom.xml file will be created. It will have the following code:
pom.xml
<project xmlns="http://maven.apache.org/POM/4.0.0" xmlns:xsi="http://www.w3.org/2001/XMLSchema-instance" xsi:schemaLocation="http://maven.apache.org/POM/4.0.0 http://maven.apache.org/xsd/maven-4.0.0.xsd">
	<modelVersion>4.0.0</modelVersion>
	<groupId>com.springboot.elasticsearch</groupId>
	<artifactId>Springbootelasticsearchtutorial</artifactId>
	<version>0.0.1-SNAPSHOT</version>
	<packaging>war</packaging>
</project>
Let’s start building the application!
3. Creating a Spring Boot application
Below are the steps involved in developing the application. But before starting we are assuming that developers have installed the Elasticsearch on their machine. If not, they can refer to Section 1.1 of this tutorial.
3.1 Maven Dependencies
Here, we specify the dependencies for the Spring Boot and Elasticsearch. Maven will automatically resolve the other dependencies. The updated file will have the following code.
pom.xml
<project xmlns="http://maven.apache.org/POM/4.0.0"
	xmlns:xsi="http://www.w3.org/2001/XMLSchema-instance"
	xsi:schemaLocation="http://maven.apache.org/POM/4.0.0 http://maven.apache.org/maven-v4_0_0.xsd">
	<modelVersion>4.0.0</modelVersion>
	<groupId>com.springboot.elasticsearch</groupId>
	<artifactId>Springbootelasticsearchtutorial</artifactId>
	<packaging>war</packaging>
	<version>0.0.1-SNAPSHOT</version>

	<name>Springbootelasticsearchtutorial Maven Webapp</name>
	<url>http://maven.apache.org</url>

	<parent>
		<groupId>org.springframework.boot</groupId>
		<artifactId>spring-boot-starter-parent</artifactId>
		<version>2.1.1.RELEASE</version>
	</parent>

	<dependencies>
		<dependency>
			<groupId>org.springframework.boot</groupId>
			<artifactId>spring-boot-starter-web</artifactId>
		</dependency>
		<dependency>
			<groupId>org.springframework.boot</groupId>
			<artifactId>spring-boot-starter-data-elasticsearch</artifactId>
		</dependency>
	</dependencies>

	<build>
		<finalName>Springbootelasticsearchtutorial</finalName>
	</build>
</project>
3.2 Application Properties
Create a new properties file at the location: Springbootelasticsearchtutorial/src/main/resources/ and add the following code to it.
application.properties
spring.data.elasticsearch.cluster-name=ducat-assignment
spring.data.elasticsearch.cluster-nodes=localhost:9300
3.3 Java Classes
Let’s write all the java classes involved in this application.
3.3.1 Implementation/Main class
Add the following code the main class to bootstrap the application from the main method. Always remember, the entry point of the spring boot application is the class containing @SpringBootApplication annotation and the static main method.
Myapplication.java
package com.springboot.elasticsearch;

import org.springframework.boot.SpringApplication;
import org.springframework.boot.autoconfigure.SpringBootApplication;

/**
 * Main implementation class which serves two purpose in a spring boot application: Configuration and bootstrapping.
 * @author yatin-batra
 */
@SpringBootApplication
public class Myapplication {

	public static void main(String[] args) {
		SpringApplication.run(Myapplication.class, args);
	}
}
3.3.2 Model class
Add the following code to the employee model class.
Employee.java
package com.springboot.elasticsearch.model;

import org.springframework.data.annotation.Id;
import org.springframework.data.elasticsearch.annotations.Document;
import org.springframework.stereotype.Component;

@Component

// Elastic search annotation.
@Document(indexName= "ducat", type= "employee")
public class Employee {

	@Id
	private String id;
	private String name;
	private String designation;

	public Employee() { }

	public Employee(String id, String name, String designation) {
		this.id = id;
		this.name = name;
		this.designation = designation;
	}

	public String getId() {
		return id;
	}
	public void setId(String id) {
		this.id = id;
	}
	public String getName() {
		return name;
	}
	public void setName(String name) {
		this.name = name;
	}
	public String getDesignation() {
		return designation;
	}
	public void setDesignation(String designation) {
		this.designation = designation;
	}

	@Override
	public String toString() {
		return "Employee [id=" + id + ", name=" + name + ", designation=" + designation + "]";
	}
}
3.3.3 Data-Access-Object interface
Add the following code to the Dao interface that extends the Elasticsearch Repository to automatically handle the crud queries.
Employeerepository.java
package com.springboot.elasticsearch.repository;

import java.util.List;

import org.springframework.data.elasticsearch.repository.ElasticsearchRepository;
import org.springframework.stereotype.Repository;

import com.springboot.elasticsearch.model.Employee;

@Repository
public interface Employeerepository extends ElasticsearchRepository<Employee, String> {

	/**
	 * Method to fetch the employee details on the basis of designation by using Elastic-Search-Repository.
	 * @param designation
	 * @return
	 */
	public List<Employee> findByDesignation(String designation);

}
3.3.4 Service class
Add the following code to the service class where we will call the methods of the Dao interface to handle the sql operations.

Employeeservimpl.java
package com.springboot.elasticsearch.service;

import java.util.List;

import org.springframework.beans.factory.annotation.Autowired;
import org.springframework.stereotype.Service;

import com.springboot.elasticsearch.model.Employee;
import com.springboot.elasticsearch.repository.Employeerepository;

@Service
public class Employeeservimpl implements Employeeserv {

	// The dao repository will use the Elastic-Search-Repository to perform the database operations.
	@Autowired
	private Employeerepository edao;

	/* (non-Javadoc)
	 * @see com.springboot.elasticsearch.service.Employeeserv#saveEmployee(java.util.List)
	 */
	@Override
	public void saveEmployee(List<Employee> employees) {
		edao.saveAll(employees);
	}

	/* (non-Javadoc)
	 * @see com.springboot.elasticsearch.service.Employeeserv#findAllEmployees()
	 */
	@Override
	public Iterable<Employee> findAllEmployees() {
		return edao.findAll();
	}

	/* (non-Javadoc)
	 * @see com.springboot.elasticsearch.service.Employeeserv#findByDesignation(java.lang.String)
	 */
	@Override
	public List<Employee> findByDesignation(String designation) {
		return edao.findByDesignation(designation);
	}
}
3.3.5 Controller class
Add the following code to the controller class designed to handle the incoming requests. The class is annotated with the @RestController annotation where every method returns a domain object as a json response instead of a view.
Mycontroller.java
package com.springboot.elasticsearch.controller;

import java.util.List;

import org.springframework.beans.factory.annotation.Autowired;
import org.springframework.web.bind.annotation.GetMapping;
import org.springframework.web.bind.annotation.PathVariable;
import org.springframework.web.bind.annotation.PostMapping;
import org.springframework.web.bind.annotation.RequestBody;
import org.springframework.web.bind.annotation.RequestMapping;
import org.springframework.web.bind.annotation.RestController;

import com.springboot.elasticsearch.model.Employee;
import com.springboot.elasticsearch.service.Employeeserv;

@RestController
@RequestMapping(value= "/employee")
public class Mycontroller {

	@Autowired
	Employeeserv eserv;

	/**
	 * Method to save the employees in the database.
	 * @param myemployees
	 * @return
	 */
	@PostMapping(value= "/saveemployees")
	public String saveEmployee(@RequestBody List<Employee> myemployees) {
		eserv.saveEmployee(myemployees);
		return "Records saved in the db.";
	}

	/**
	 * Method to fetch all employees from the database.
	 * @return
	 */
	@GetMapping(value= "/getall")
	public Iterable<Employee> getAllEmployees() {
		return eserv.findAllEmployees();
	}

	/**
	 * Method to fetch the employee details on the basis of designation.
	 * @param designation
	 * @return
	 */
	@GetMapping(value= "/findbydesignation/{employee-designation}")
	public Iterable<Employee> getByDesignation(@PathVariable(name= "employee-designation") String designation) {
		return eserv.findByDesignation(designation);
	}
}
4. Run the Application
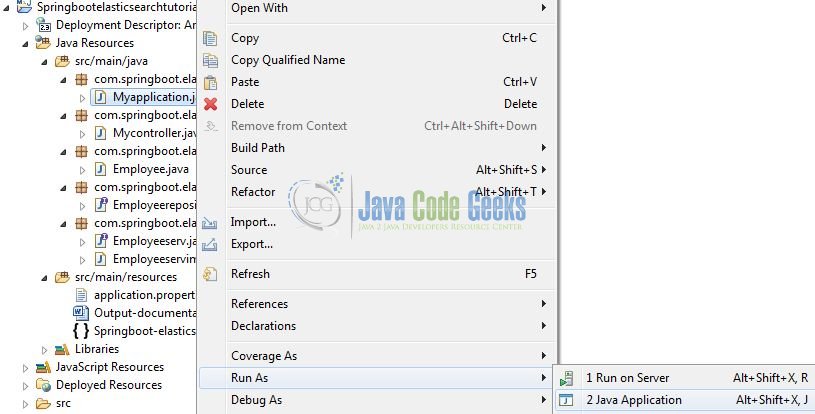
As we are ready with all the changes, let us compile the spring boot project and run the application as a java project. Right click on the Myapplication.java class, Run As -> Java Application.
Developers can debug the example and see what happens after every step. Enjoy!
5. Project Demo
Open the postman tool and hit the following urls to display the data in the json format.
1 2 3 4 5 6 7 8 | // Get all employees// Find employee by designation// Create new employee |
That is all for this tutorial and I hope the article served you whatever you were looking for. Happy Learning and do not forget to share!
6. Spring Boot ElasticSearch – Conclusion
In this section, developers learned how to create a Spring Boot application with Elasticsearch and perform the basic crud operations using the Spring JPA. Developers can download the sample application as an Eclipse project in the Downloads section.
7. Download the Eclipse Project
This was an example of implementing Elastic Search with Spring Boot & Spring JPA.
You can download the full source code of this example here: Spring Boot ElasticSearch Tutorial

also provide the code for the elastic search command to create an index and all..
very well explained for beginners
When I try this it’s not able to connect elasticsearch and says nonodeavailaeexception..
In spring data is it able to connect elasticsearch server without using TransportClient or Client or RestheighlevelClient classes
I am also facing the same problem. Did you find root cause for this?
Have you guys installed the elastic search server on your local machines?
I have installed elasticsearch on GCP
no node available exception , can you please provide the configuration class as well
solution here : https://stackoverflow.com/questions/25912572/java-elasticsearch-none-of-the-configured-nodes-are-available
great article for beginner