In this article, we will discuss what the DJL in Spring Boot is (Deep Java Library) and its uses. We will also see an example of making use of an existing model to detect an object using a spring boot application.
1.What is DJL in Spring Boot
Deep Java Library is one of Java’s libraries that provides a platform for Deep Learning. We can use DJL to train, build, and run deep learning models. It uses the existing deep learning framework to predict and develop models. It provides a simple API to use deep learning by abstracting out all the complexity.
DJL also provides automatic processing choices(CPU/GPU) based on the hardware configuration from a hardware perspective.
It uses MXNet, PyTorch, TensorFlow, and several other popular deep-learning/machine learning frameworks under the hood and provides a very simple java API with a small learning curve.
2. Sample Application
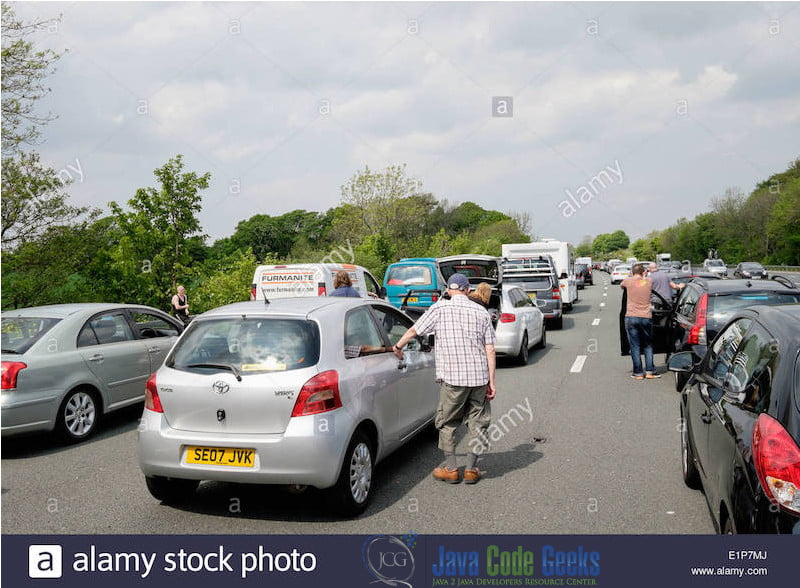
Here we will create a simple application which will use the existing model-zoo models to detect objects in a given image. In this application we will upload any image with different objects like car, traffic, people,etc.
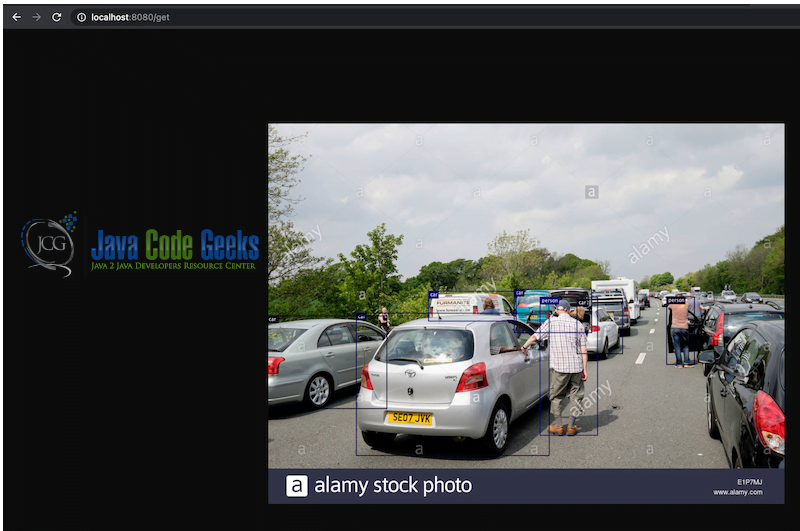
Once we feed the image to the model, the model will run and draw a box surrounding the objects it has detected with the name given.
We will be using springboot to build the application with maven. Lets get started
2.1 The pom file
We will add all the dependency required to run the application
pom.xml
<project xmlns="http://maven.apache.org/POM/4.0.0"
         xmlns:xsi="http://www.w3.org/2001/XMLSchema-instance"
         xsi:schemaLocation="http://maven.apache.org/POM/4.0.0 http://maven.apache.org/xsd/maven-4.0.0.xsd">
    <modelVersion>4.0.0</modelVersion>

    <groupId>ai.djl</groupId>
    <artifactId>image-object-detection</artifactId>
    <version>1.0.0-SNAPSHOT</version>

    <properties>
        <maven.compiler.source>1.8</maven.compiler.source>
        <maven.compiler.target>1.8</maven.compiler.target>

    </properties>

    <repositories>
        <repository>
            <id>djl.ai</id>
            <url>https://oss.sonatype.org/content/repositories/snapshots/</url>
        </repository>
    </repositories>

    <dependencyManagement>
        <dependencies>
            <dependency>
                <groupId>ai.djl</groupId>
                <artifactId>bom</artifactId>
                <version>0.9.0-SNAPSHOT</version>
                <type>pom</type>
                <scope>import</scope>
            </dependency>
        </dependencies>
    </dependencyManagement>
    <dependencies>
        <dependency>
            <groupId>org.springframework.boot</groupId>
            <artifactId>spring-boot-starter-web</artifactId>
            <version>2.3.4.RELEASE</version>
        </dependency>

        <dependency>
            <groupId>ai.djl</groupId>
            <artifactId>model-zoo</artifactId>
            <version>0.9.0-SNAPSHOT</version>
        </dependency>
        <dependency>
            <groupId>ai.djl.mxnet</groupId>
            <artifactId>mxnet-model-zoo</artifactId>
            <version>0.9.0-SNAPSHOT</version>
        </dependency>
        <dependency>
            <groupId>ai.djl.mxnet</groupId>
            <artifactId>mxnet-engine</artifactId>
            <version>0.9.0-SNAPSHOT</version>
        </dependency>
        <dependency>
            <groupId>ai.djl.mxnet</groupId>
            <artifactId>mxnet-native-auto</artifactId>
            <scope>runtime</scope>
        </dependency>
    </dependencies>
</project>
In the above file, we have the web springboot starter dependency and others are the dependencies for the Deep Java Library. Which consists of the existing training models and also the engine for processing and analyzing the model into the input passed.
2.2 Code for the object detection
This is the controller which will accept the uploaded image and process it using the DJL engines and provide the output in the browser
ImageDetectController.java
package com.jcg.djl;

import ai.djl.Application;
import ai.djl.ModelException;
import ai.djl.inference.Predictor;
import ai.djl.modality.cv.Image;
import ai.djl.modality.cv.ImageFactory;
import ai.djl.modality.cv.output.DetectedObjects;
import ai.djl.repository.zoo.Criteria;
import ai.djl.repository.zoo.ModelZoo;
import ai.djl.repository.zoo.ZooModel;
import ai.djl.training.util.ProgressBar;
import ai.djl.translate.TranslateException;
import org.apache.commons.compress.utils.IOUtils;
import org.springframework.core.io.ClassPathResource;
import org.springframework.http.MediaType;
import org.springframework.http.ResponseEntity;
import org.springframework.web.bind.annotation.*;
import org.springframework.web.multipart.MultipartFile;
import org.springframework.web.servlet.support.ServletUriComponentsBuilder;

import java.io.IOException;
import java.io.InputStream;
import java.nio.file.Files;
import java.nio.file.Path;
import java.nio.file.Paths;

@RestController
public class ImageDetectController {

    @PostMapping(value = "/upload", produces = MediaType.IMAGE_PNG_VALUE)
    public ResponseEntity diagnose(@RequestParam("file") MultipartFile file) throws ModelException, TranslateException, IOException {
        byte[] bytes = file.getBytes();
        Path imageFile = Paths.get(file.getOriginalFilename());
        Files.write(imageFile, bytes);
        return predict(imageFile);
    }


    public ResponseEntity predict(Path imageFile) throws IOException, ModelException, TranslateException {
        Image img = ImageFactory.getInstance().fromFile(imageFile);

        Criteria criteria =
                Criteria.builder()
                        .optApplication(Application.CV.OBJECT_DETECTION)
                        .setTypes(Image.class, DetectedObjects.class)
                        .optFilter("backbone", "resnet50")
                        .optProgress(new ProgressBar())
                        .build();

        try (ZooModel model = ModelZoo.loadModel(criteria)) {
            try (Predictor predictor = model.newPredictor()) {
                DetectedObjects detection = predictor.predict(img);
                return saveBoundingBoxImage(img, detection);
            }
        }
    }


    private ResponseEntity saveBoundingBoxImage(Image img, DetectedObjects detection)
            throws IOException {
        Path outputDir = Paths.get("src/main/resources");
        Files.createDirectories(outputDir);

        Image newImage = img.duplicate(Image.Type.TYPE_INT_ARGB);
        newImage.drawBoundingBoxes(detection);

        Path imagePath = outputDir.resolve("detected.png");
        newImage.save(Files.newOutputStream(imagePath), "png");

        String fileDownloadUri = ServletUriComponentsBuilder.fromCurrentContextPath()
                .path("get")
                .toUriString();
        return ResponseEntity.ok(fileDownloadUri);
    }


    @GetMapping(
            value = "/get",
            produces = MediaType.IMAGE_PNG_VALUE
    )
    public @ResponseBody
    byte[] getImageWithMediaType() throws IOException {
        InputStream in = new ClassPathResource(
                "detected.png").getInputStream();
        return IOUtils.toByteArray(in);
    }

}
This file contains the actual code which uses the model-zoo model to detect the objects in the image passed
2.3 Application Main File
This is the main class which will run the springboot application
ImageObjectDetectionApplication.java
package com.jcg.djl;


import org.springframework.boot.SpringApplication;
import org.springframework.boot.autoconfigure.SpringBootApplication;

@SpringBootApplication
public class ImageObjectDetectionApplication {

    public static void main(String[] args) {
        SpringApplication.run(ImageObjectDetectionApplication.class, args);
    }


}
3. Running the application
You can run the application using the command below from the root folder
./mvnw spring-boot:run
Once the springboot application has started, you can go to the http://localhost:8080/index.html
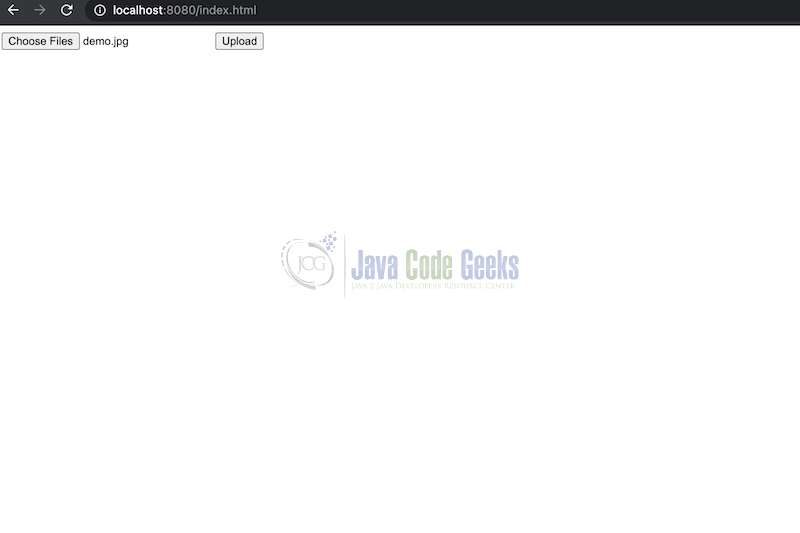
Now we will upload the sample file as shown below
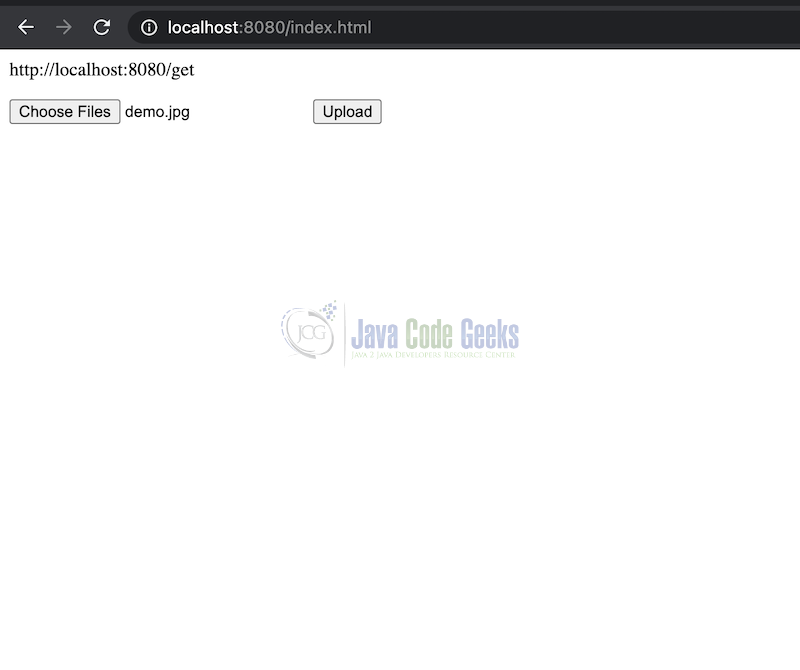
Once after uploading the image, you can click the upload button. It processes the image and provides you with the link as shown below
Enter the link into the browser and you will get the processed image with the object detected as a person, car, etc. into the browser as shown below.
4. Summary
In this article, we discussed the DJL Spring Boot and its uses. We also created a spring boot application to use the existing training model and applied that into an image and verified the object detected.
You can read more Spring Boot articles here.
5. Download the source code
That was a DJL spring boot example.
You can download the full source code of this example here: DJL Spring Boot Example
