1. Introduction
In Android, one can use the Android Toast or the Android Snackbar to display feedback or action messages to users of an application. The Android Toast is mainly for Platform oriented messages although the Android Snackbar could be also be used for these requirements. The added advantage of using an Android Toast instead of an Android Snackbar is the fact that with the Toast the message lives even after the activity as shutdown. Further, that can be very helpful, in the sense when an error occurs, the user will still have a chance to see exactly why the Application or Activity shutdown and this will, in turn, improve the overall user experience of the application.
In this article, we will go through implementing an Android Toast and an Android Snackbar side by side. Furthermore, we will discover their differences from a use case perspective as well as from a technical implementation perspective.
2. Technologies used
- Android Studio 3
- Android 7.1.1 (Nougat): API 25
- Android Virtual Device: Nexus 5X.
3. Creating the Project
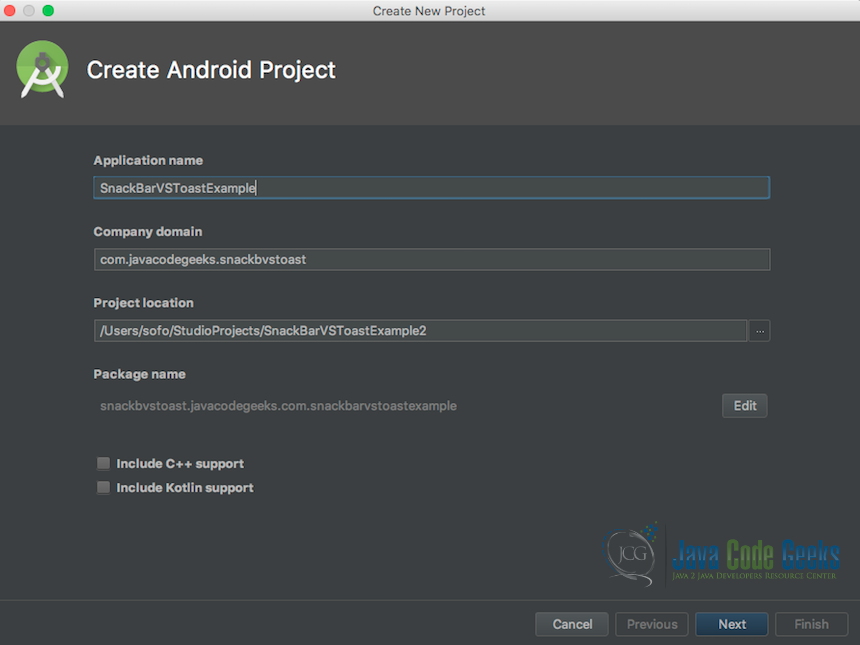
Below is the first screen when creating a new Android project in Android Studio.
Follow the below instructions as our first step in creating our application:
- Go to the main menu of the Android Studio IDE and select “New Project”
- Then give your project a name: in this example we calling it “SnackBarVSToastExample”
- Then give it a package name: ours will be “com.javacodegeeks.snackbvstoast”
- Then click next
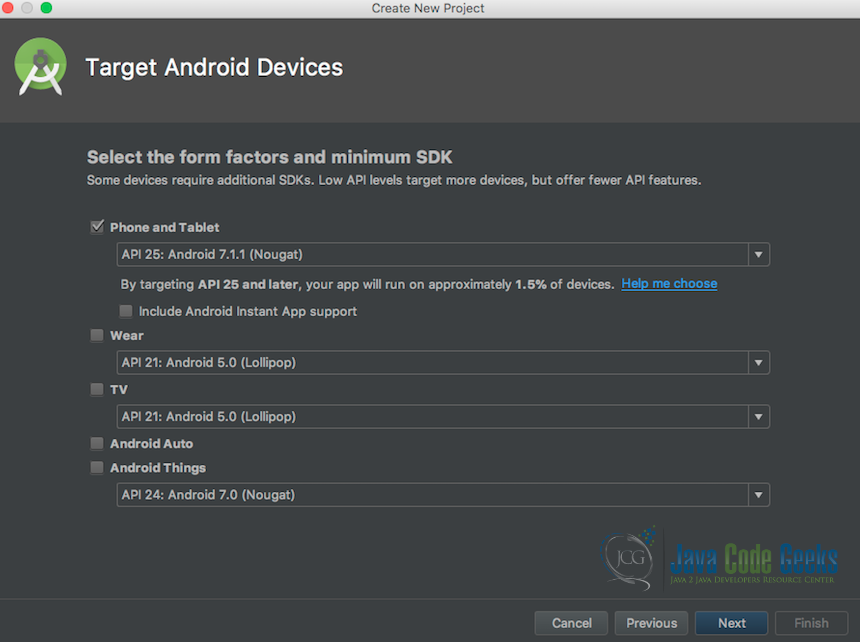
Below is the second screen when creating a new Android project in Android Studio.
Follow the below instructions as our next step in creating our application:
- Select the “Phone and Tablet” you are targeting with your application: in our case, we will be using “Android Nougat”
- Then since we are only building for the cell phone devices we are going to ignore all the other devices.
- Lastly, click Next.
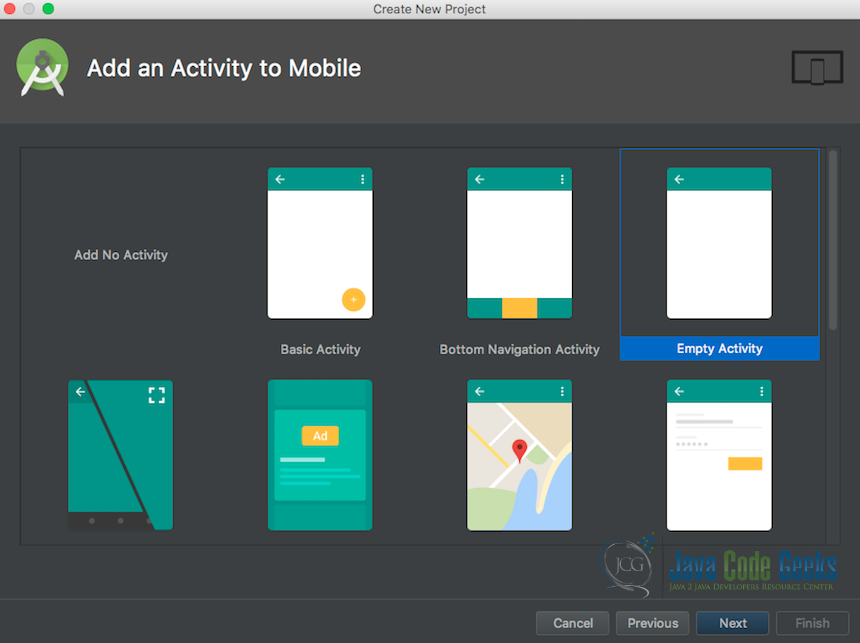
Below is the third screen when creating a new Android project in Android Studio.
Follow the below instructions as our last step in creating our application:
- Select the Activity template you would like to use for the first Activity of the project: in our case, we are going to choose the “Empty Activity” template.
- Then click Next
Below is the last screen when creating a new Android project in Android Studio.
Follow the below instructions as our last step in creating our application:
- Choose a name for the Activity.
- Select the “Generate Layout File” option. This is so that the corresponding layout file for our activity gets automatically generated.
- Select the “Backwards Compatibility (AppCompact)” option. This is so that our activity becomes backward compatible each time there is an upgrade to the Android platform.
- Then click Finish.

4. Implementing the SnackBar Activity
Below is the code snippet which will help us illustrate the basic usages of an Android SnackBar in its most basic form. Later in the article, we will use this explanation to discuss the difference between an Android SnackBar and an Android Toast.
SnackBarActivity.java
package snackbvstoast.javacodegeeks.com.snackbarvstoastexample;
import android.support.design.widget.Snackbar;
import android.support.v7.app.AppCompatActivity;
import android.os.Bundle;
import android.view.View;
import android.widget.Button;
public class SnackBarActivity extends AppCompatActivity {
    private Button btnSnackBar;
    @Override
    protected void onCreate(Bundle savedInstanceState) {
        super.onCreate(savedInstanceState);
        setContentView(R.layout.activity_snackbar);

        btnSnackBar = findViewById(R.id.btnsnackbar);

        btnSnackBar.setOnClickListener(new View.OnClickListener() {
            @Override
            public void onClick(View view) {
                Snackbar.make(view, "The SnackBar Button was clicked.", Snackbar.LENGTH_SHORT).show();
            }
        });
    }
}
In the above code snippet, we ‘ve implemented our basic SnackBarActivity. In this activity, all we are really doing is: we first declare and instantiate the button which we will use to text the SnackBar actions. Next, we register a listener on this button which will trigger the execution of the SnackBar whenever the button is clicked.
5. Implementing the Toast Activity
Below is the code snippet which will help us illustrate the basic usages of an Android Toast in its most basic form. Later in the article, we will use this explanation to discuss the difference between an Android SnackBar and an Android Toast.
ToastActivity.java
package snackbvstoast.javacodegeeks.com.snackbarvstoastexample;
import android.support.v7.app.AppCompatActivity;
import android.os.Bundle;
import android.view.View;
import android.widget.Button;
import android.widget.Toast;
public class ToastActivity extends AppCompatActivity {
    private Button btnToast;
    @Override
    protected void onCreate(Bundle savedInstanceState) {
        super.onCreate(savedInstanceState);
        setContentView(R.layout.activity_toast);

        btnToast = findViewById(R.id.btntoast);

        btnToast.setOnClickListener(new View.OnClickListener() {
            @Override
            public void onClick(View view) {
                Toast.makeText(getApplicationContext(), "The Toast Button was clicked.", Toast.LENGTH_SHORT).show();
            }
        });
    }
}
In the above code snippet, we ‘ve implemented our basic ToastActivity. In this activity, all we are really doing is: we first declare and instantiate the button which we will use to text the Toast actions. Next, we register a listener on this button which will trigger the execution of the Toast whenever the button is clicked.
6. Android Toast vs Android SnackBar
In the two previous section of the article, we saw how to implement an Android Snackbar Activity as well as an Android Toast Activity respectively. From a use case point of view, the Android Snackbar is best suited for user messages that are only meant to be displayed when the application has not shutdown or crashed due to some platform or internal service failure. An example of such scenario is within a Point of Sale system when a cashier successfully registers a sale. In this scenario, it makes more sense for the application to display an Android Snackbar because the application if correctly implemented will not crash because of a correct behavior that took place within the system.

In Scenarios where a cashier at a Point of Sale unsuccessfully registers a sale due to some internal service error (e.g the API Server is unavailable due to network issues). It will be more correct, to use an Android Toast because although an Android Snackbar would display the error message to the user. It will only do so while the application is actively open whereas with an Android Toast the user will have more insight in terms of the side effects of the problem.
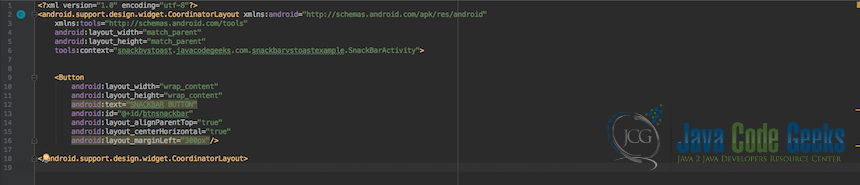
7. The SnackBarActivity Layout Configuration
Below is the SnackBarActivity ‘s layout file in which we define the button that we have used in our activity, to trigger our SnackBar.
The Button Tag components are used in order to successfully create and configure our button. The button will be used to display the SnackBar.
8. The ToastActivity Layout Configuration
Below is the ToastActivity ‘s layout file in which we define the button that we have used in our activity, to trigger our Toast.
The Button Tag components are used in order to successfully create and configure our button. The button will be used to display the Toast.

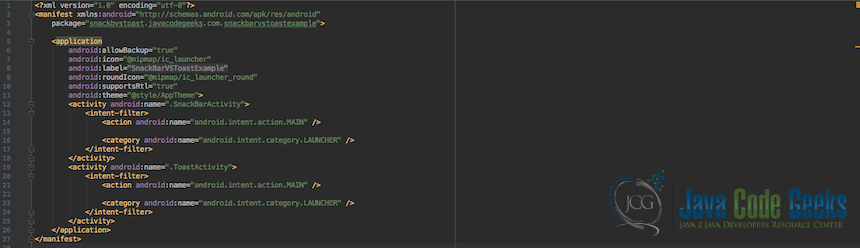
9. Manifest file
Below is the Manifest file of our application. It contains our application configuration mainly that of Activities within the application. In our example, we have the SnackBarActivity and the ToastActivity. below we define both activities as Main this is because we want to be able to run each activity in isolation of the other.
10. Final Running Application
Below is a screenshot of the SnackBar Activity demonstration.
In order to see the SnackBar, we must click on the “SNACKBAR BUTTON” button.

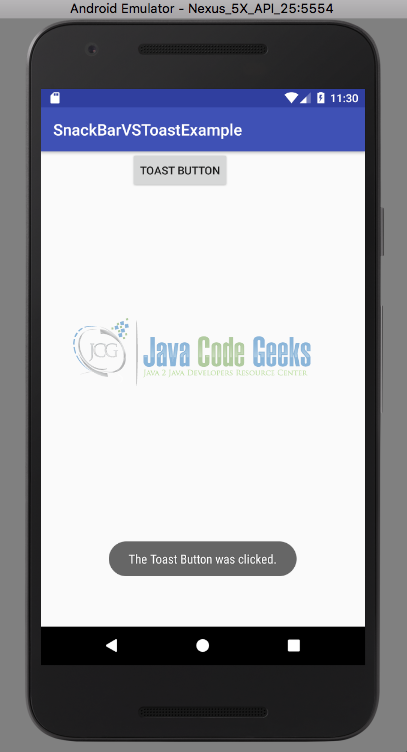
Below is a screenshot of the Toast Activity demonstration.
In order to see the Toast, we must click on the “TOAST BUTTON” button.
11. Conclusion
In this example, we went through the process of creating a very basic Android SnackBar Activity side by side with a basic Toast Activity. Furthermore, after the implementation of the previously mentioned Activities, we went on to discuss their differences from a use case perspective. We discovered that these two constructs namely the Android Toast and the Android SnackBar of the Android development platform have a lot in common. We also discovered that their main usage is for displaying user feedback messages. The Android SnackBar should be used to display non-error oriented user feedback messages, and the Android Toast should be used to display error oriented user feedback messages.
12. Download the Source Code
That was Android Toast vs Snackbar Example.
You can download the full source code of this example here: SnackBarVSToastExample
