In this example, we are going to see, how a java.util method, can help us deal with timer recurring tasks that are scheduled with either a fixed period or a fixed rate on Android. We will use the abstract class TimerTask.
With the default fixed-period execution, each successive run of a task is scheduled relative to the start time of the previous run, so two runs are never fired closer together in time than the specified period. With fixed-rate execution, the start time of each successive run of a task is scheduled without regard for when the previous run took place. This may result in a series of bunched-up runs (one launched immediately after another) if delays prevent the timer from starting tasks on time.
In Android, Timer and Handler can be used for pretty much the same reasons, and in the same way. Literally, Handler is a native android class that handles memory leaks problems in a better way than Java-Timer does. This is why Handler is very common amongst Android programmers and projects. You can also learn more about Android Handler in the JavaCodeGeeks Android Handler Example.
However, in this tutorial we are going to see how to use a TimerTask, and we will make an application that will handle with recurring events. We will use the following tools in a Windows 64-bit platform:
- JDK 1.7
- Eclipse 4.2 Juno
- Android SDK 4.4.2
Let’s take a closer look:
1. Create a New Android Application Project
You may skip project creation and jump directly to the beginning of the example below.
Open Eclipse IDE and go to File → New → Project → Android Application Project.
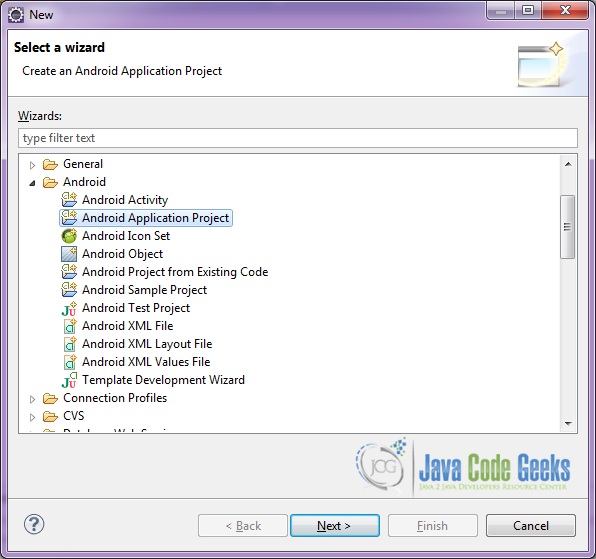
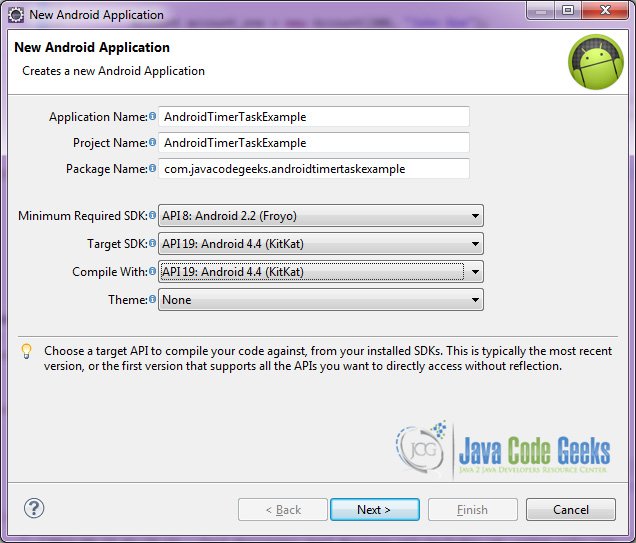
Specify the name of the application, the project and the package and then click Next.
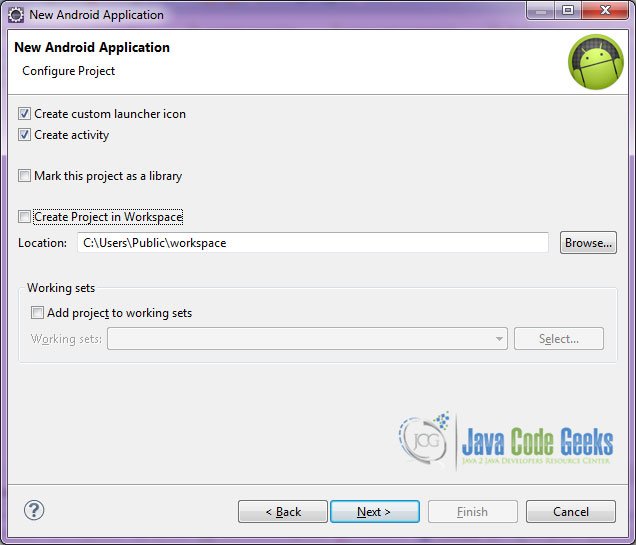
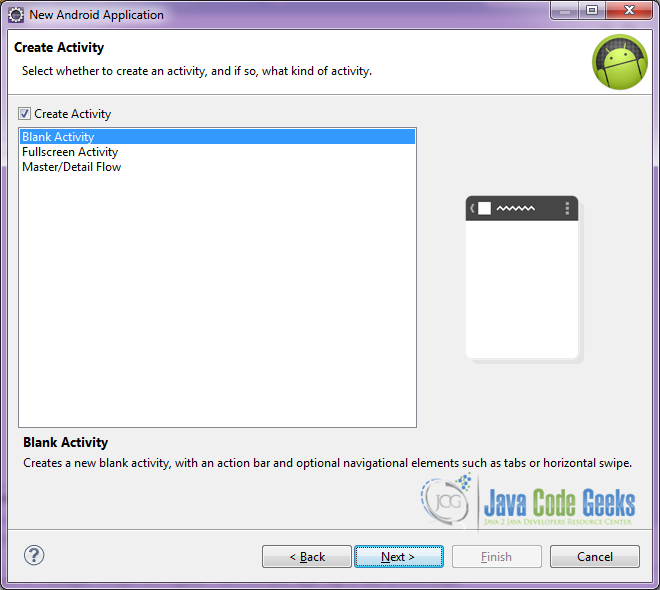
In the next window, the “Create Activity” option should be checked. The new created activity will be the main activity of your project. Then press Next button.
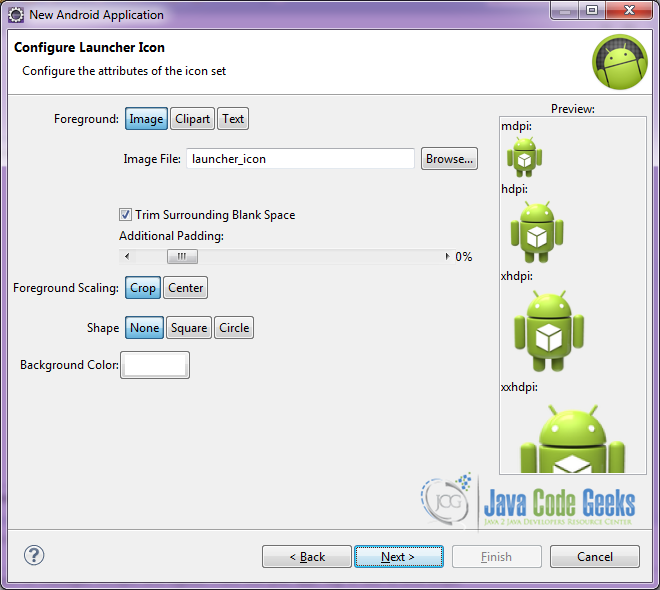
In “Configure Launcher Icon” window you should choose the icon you want to have in your app. We will use the default icon of android, so click Next.
Select the “Blank Activity” option and press Next.
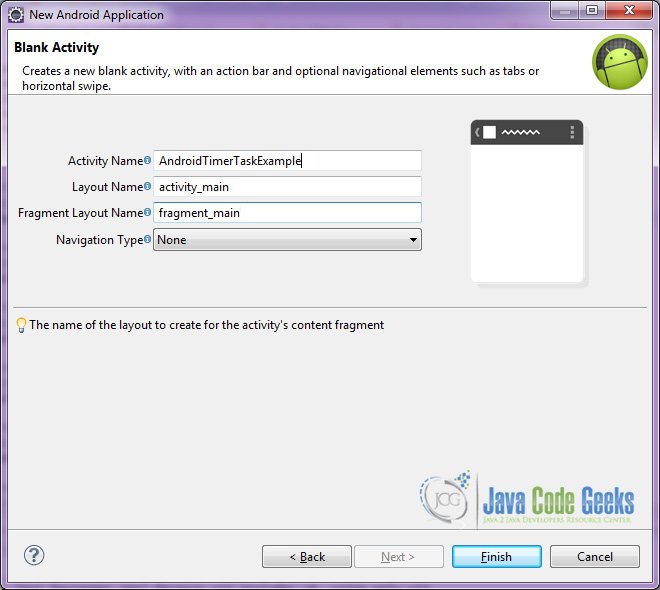
You have to specify a name for the new Activity and a name for the layout description of your app. The .xml file for the layout will automatically be created in the res/layout folder. It will also be created a fragment layout xml, that we are not going to use in this project and you can remove it if you want. Then press Finish.
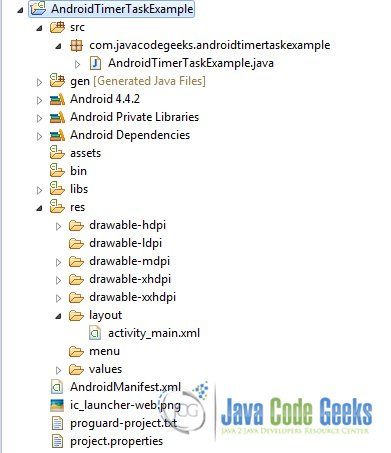
You can see the structure of the project:
2. Creating the layout of the main Activity
We are going to make a very simple layout xml for our activity, that only consists of a LinearLayout that contains the necessary textviews and buttons.
Open res/layout/activity_main.xml, go to the respective xml tab and paste the following:
activity_main.xml
<LinearLayout xmlns:android="http://schemas.android.com/apk/res/android"
    xmlns:tools="http://schemas.android.com/tools"
    android:layout_width="match_parent"
    android:layout_height="match_parent"
    android:orientation="vertical"
    android:paddingBottom="@dimen/activity_vertical_margin"
    android:paddingLeft="@dimen/activity_horizontal_margin"
    android:paddingRight="@dimen/activity_horizontal_margin"
    android:paddingTop="@dimen/activity_vertical_margin"
>
   <TextView
        android:gravity="center"
        android:layout_width="match_parent"
        android:layout_height="wrap_content"
        android:text="Android TimerTask Example"
        android:textSize="25dp"
        android:padding="20dp"/>

   <TextView
        android:gravity="center"
        android:layout_width="match_parent"
        android:layout_height="wrap_content"
        android:text="Every 10 seconds, shows a toast with the current datetime. If you want to cancel the timer, just tap cancel."
        android:textSize="20dp"
        android:padding="20dp"/>

   <Button
        android:id="@+id/cancel"
        android:layout_gravity="center"
        android:layout_width="match_parent"
        android:layout_height="wrap_content"
        android:onClick="stoptimertask"
        android:text="Cancel" />
</LinearLayout>
In the layout above, we have used the attribute android:paddingBottom that uses a variable indicates the value of the padding that we want to have: android:paddingBottom="@dimen/activity_vertical_margin". In order to set our sizes, in Android, we have the dimens.xml. This xml should be placed in the res/values/dimens.xml folder. Here we set the dimens for the paddings of our activity_main.xml layout.
dimens.xml
<resources>

    <!-- Default screen margins, per the Android Design guidelines. -->
    <dimen name="activity_horizontal_margin">16dp</dimen>
    <dimen name="activity_vertical_margin">16dp</dimen>

</resources>
3. Creating the source code of the main Activity
Open src/com.javacodegeeks.androidtimertaskexample/AndroidTimerTaskExample.java file and paste the code below.
AndroidTimerTaskExample.java
package com.javacodegeeks.androidtimertaskexample;

import java.text.SimpleDateFormat;
import java.util.Calendar;
import java.util.Timer;
import java.util.TimerTask;
import android.app.Activity;
import android.os.Bundle;
import android.os.Handler;
import android.view.View;
import android.widget.Toast;

public class AndroidTimerTaskExample extends Activity {

	Timer timer;
	TimerTask timerTask;

	//we are going to use a handler to be able to run in our TimerTask
	final Handler handler = new Handler();

	@Override
	protected void onCreate(Bundle savedInstanceState) {
		super.onCreate(savedInstanceState);
		setContentView(R.layout.activity_main);
	}

	@Override
	protected void onResume() {
		super.onResume();

		//onResume we start our timer so it can start when the app comes from the background
		startTimer();
	}

	public void startTimer() {
		//set a new Timer
		timer = new Timer();

		//initialize the TimerTask's job
		initializeTimerTask();

		//schedule the timer, after the first 5000ms the TimerTask will run every 10000ms
		timer.schedule(timerTask, 5000, 10000); //
	}

	public void stoptimertask(View v) {
		//stop the timer, if it's not already null
		if (timer != null) {
			timer.cancel();
			timer = null;
		}
	}

	public void initializeTimerTask() {

		timerTask = new TimerTask() {
			public void run() {

				//use a handler to run a toast that shows the current timestamp
				handler.post(new Runnable() {
					public void run() {
						//get the current timeStamp
						Calendar calendar = Calendar.getInstance();
						SimpleDateFormat simpleDateFormat = new SimpleDateFormat("dd:MMMM:yyyy HH:mm:ss a");
						final String strDate = simpleDateFormat.format(calendar.getTime());

						//show the toast
						int duration = Toast.LENGTH_SHORT;
						Toast toast = Toast.makeText(getApplicationContext(), strDate, duration);
						toast.show();
					}
				});
			}
		};
	}
}
Let’s see in detail the code above.

We set the activity_main.xml layout and we initialize our calendarview by:
setContentView(R.layout.activity_main);
We start our timer by using the code:
	public void startTimer() {
		//set a new Timer
		timer = new Timer();

		//initialize the TimerTask's job
		initializeTimerTask();

		//schedule the timer, after the first 5000ms the TimerTask will run every 10000ms
		timer.schedule(timerTask, 5000, 10000); //
	}
Using the timer.schedule(timerTask, 5000, 10000); we schedule a task for repeated fixed-delay, that is the 10000ms and execution after a specific delay, for instance 5000ms.
We stop the timerTask by executing the code:
	public void stoptimertask(View v) {
		//stop the timer, if it's not already null
		if (timer != null) {
			timer.cancel();
			timer = null;
		}
	}
This ensures that the timer is not already stopped, and then cancels the timerTask.
We have to initialize the main function of the TimerTask. This is done in the lines:
	public void initializeTimerTask() {

		timerTask = new TimerTask() {
			public void run() {

				//use a handler to run a toast that shows the current timestamp
				handler.post(new Runnable() {
					public void run() {
						//get the current timeStamp
						Calendar calendar = Calendar.getInstance();
						SimpleDateFormat simpleDateFormat = new SimpleDateFormat("dd:MMMM:yyyy HH:mm:ss a");
						final String strDate = simpleDateFormat.format(calendar.getTime());

						//show the toast
						int duration = Toast.LENGTH_SHORT;
						Toast toast = Toast.makeText(getApplicationContext(), strDate, duration);
						toast.show();
					}
				});
			}
		};
	}
Here, we have to use a handler, in order to show the toast with the current datetime message, independently from what happens to the other methods of the Activity.
4. Android Manifest
The AndroidManifest.xml of our project is simple and basic:
AndroidManifest.xml
<?xml version="1.0" encoding="utf-8"?>
<manifest xmlns:android="http://schemas.android.com/apk/res/android"
    package="com.javacodegeeks.androidtimertaskexample"
    android:versionCode="1"
    android:versionName="1.0" >

    <uses-sdk
        android:minSdkVersion="8"
        android:targetSdkVersion="19" />

    <application
        android:allowBackup="true"
        android:icon="@drawable/ic_launcher"
        android:label="@string/app_name" >
        <activity
            android:name="com.javacodegeeks.androidtimertaskexample.AndroidTimerTaskExample"
            android:label="@string/app_name" >
            <intent-filter>
                <action android:name="android.intent.action.MAIN" />
                <category android:name="android.intent.category.LAUNCHER" />
            </intent-filter>
        </activity>
    </application>
</manifest>
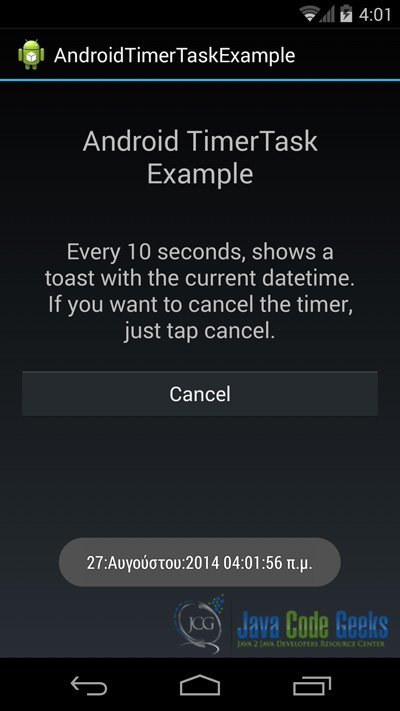
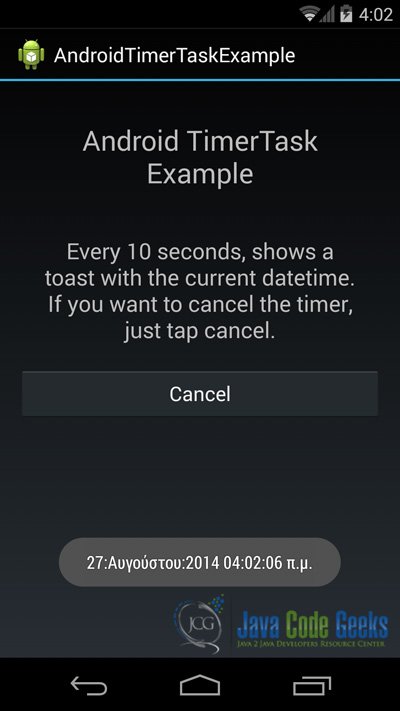
5. Build, compile and run
When we build, compile and run our project, the main Activity should look like this:
Download the Eclipse Project
This was an example of Android AndroidTimerTaskExample.
You can download the full source code of this example here: AndroidTimerTaskExample

Good!