Jetty Standalone Server Example
In this example, we will show how to use Jetty in Standalone mode. Jetty server can be used to deploy web servlets. We will show how a standalone jetty is configured and how a different configurations can be used to write a simple web servlet and deploy it on jetty server. Previously we saw how to use jetty in embedded mode here.
1. Environment
- Windows 7 SP 1
- Eclipse Kepler 4.3
- Java version 7
- Jetty version 9.2.15 v20160210
- Java Servlet Library – servlet-api-3.1
2. Example Outline
In this example, we will create a Maven Project and write a simple servlet to deploy on Jetty Standalone server. Before that, we will describe different configuration options about Jetty standalone server. Jetty can be downloaded from here. Make sure you download the correct version of jetty described in this example which is 9.2.15 v20160210. This particular version of Jetty can only run on Java version 7.
3. Jetty Standalone Example
3.1 Download and Configure Jetty
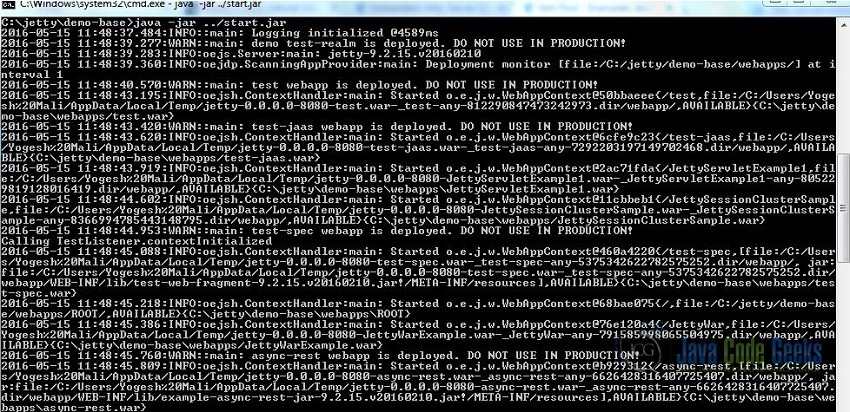
Once you download jetty, create a directory on your environment for jetty C:/jetty , this will be our jetty.home directory. To start a standalone jetty, you can go to directory C:/jetty/demo-base and execute command java -jar ../start.jar . This will start our jetty standalone server to run on port 8080 as shown below in screenshot
Now if you run http://localhost in browser, it will show It Works .
3.2 More about Jetty Configuration directories
For running Jetty standalone server instance, jetty.base is the most important directory as it points to demo-base . You can run multiple instances of jetty by having multiple jetty.base directories.
- Jetty’s default configuration is based on two properties:
jetty.home– the property that defines the location of the jetty distribution, its libs, default modules and default XML filesjetty.base– the property that defines the location of a specific instance of a jetty server, its configuration, logs and web applications
This properties can be explicitly set on command line also.
To activate a module, you can start jetty with option --add-to-startd .
3.3 Create a Sample Servlet
3.3.1 Create a Maven Project
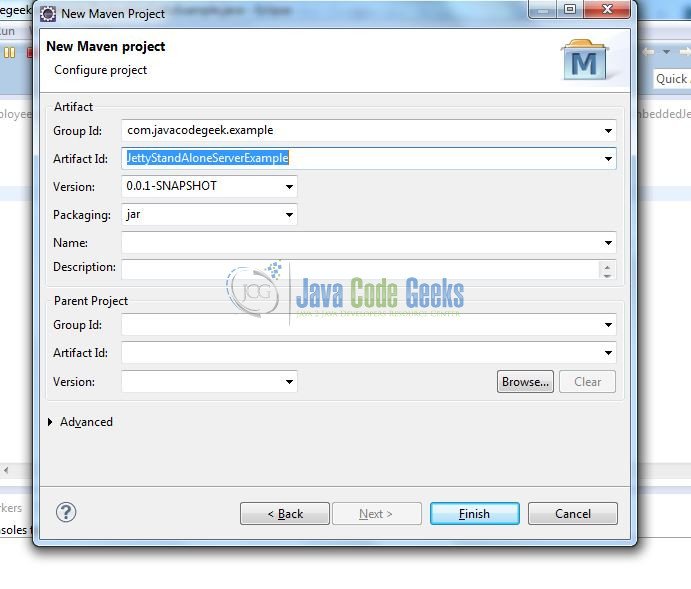
Create a maven project in eclipse and add following details for GroupId as com.javacodegeeks.example and ArtifactId as JettyStandAloneServerExample .

3.3.2 Modify POM.xml
We will add some dependency jetty-servlet in pom.xml. This will look like below
pom.xml
<project xmlns="http://maven.apache.org/POM/4.0.0" xmlns:xsi="http://www.w3.org/2001/XMLSchema-instance" xsi:schemaLocation="http://maven.apache.org/POM/4.0.0 http://maven.apache.org/xsd/maven-4.0.0.xsd">
  <modelVersion>4.0.0</modelVersion>
  <groupId>com.javacodegeeks.example</groupId>
  <artifactId>JettyStandAloneServerExample</artifactId>
  <version>0.0.1-SNAPSHOT</version>
  <packaging>war</packaging>
    <dependencies>
			<dependency>
  				<groupId>org.eclipse.jetty</groupId>
  				<artifactId>jetty-servlet</artifactId>
  				<version>9.2.15.v20160210</version>
			</dependency>
			<dependency>
  			        <groupId>org.eclipse.jetty</groupId>
  				<artifactId>jetty-webapp</artifactId>
  				<version>9.2.15.v20160210</version>
  			</dependency>
	</dependencies>
</project>
3.3.3 Create a servlet and deploy on Jetty Server
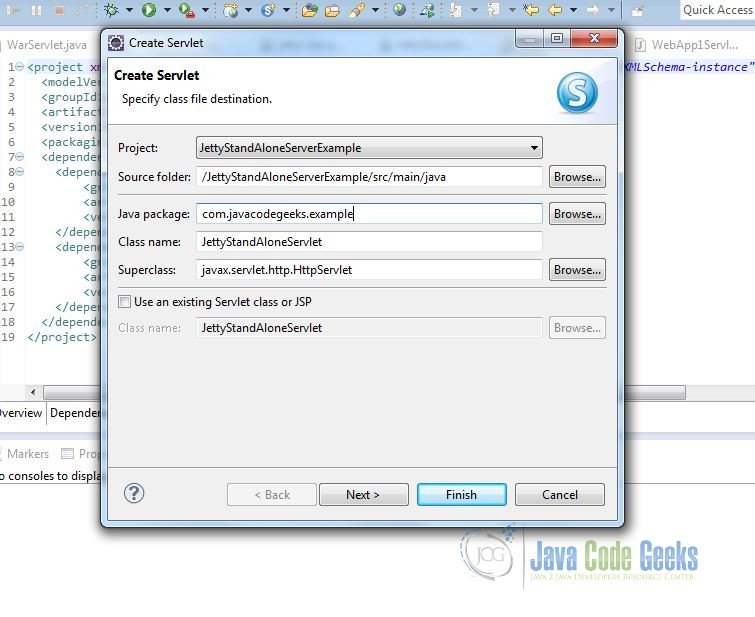
Create first servlet for JettyStandAloneServerExample . Create a java file JettyStandAloneServlet under src -> main -> java.
JettyStandAloneServlet.java
package com.javacodegeeks.example;

import java.io.IOException;
import java.io.PrintWriter;

import javax.servlet.ServletException;
import javax.servlet.annotation.WebServlet;
import javax.servlet.http.HttpServlet;
import javax.servlet.http.HttpServletRequest;
import javax.servlet.http.HttpServletResponse;

/**
 * Servlet implementation class JettyStandAloneServlet
 */
@WebServlet("/JettyStandAloneServlet")
public class JettyStandAloneServlet extends HttpServlet {
	private static final long serialVersionUID = 1L;

    /**
     * @see HttpServlet#HttpServlet()
     */
    public JettyStandAloneServlet() {
        super();
        // TODO Auto-generated constructor stub
    }

	/**
	 * @see HttpServlet#doGet(HttpServletRequest request, HttpServletResponse response)
	 */
	protected void doGet(HttpServletRequest request, HttpServletResponse response) throws ServletException, IOException {
		// TODO Auto-generated method stub
		PrintWriter out = response.getWriter();
		out.println(" Running a simple servlet on Jetty Standalone Server ");
	}

	/**
	 * @see HttpServlet#doPost(HttpServletRequest request, HttpServletResponse response)
	 */
	protected void doPost(HttpServletRequest request, HttpServletResponse response) throws ServletException, IOException {
		// TODO Auto-generated method stub
	}

}
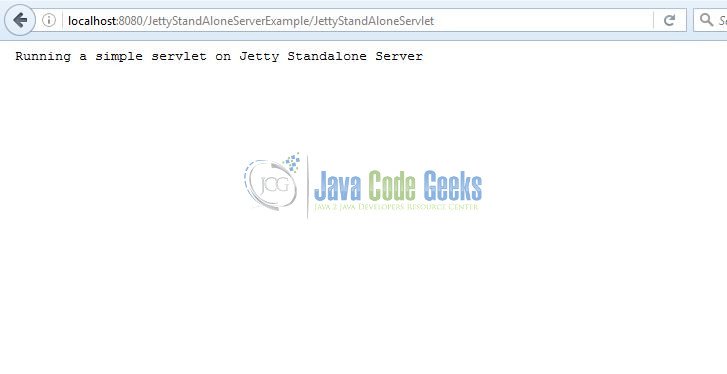
Now export this project as a WAR file from eclipse and deploy it in jetty.base/webapps directory. Jetty standalone server will pick the WAR file without restarting. Now if you run http://localhost:8080/JettyStandAloneServerExample/JettyStandAloneServlet , we will see the output as below
4. Conclusion
In this example, we showed how to use jetty standalone server to run web-applications. Based on jetty.base , we can run multiple instances of jetty server.
5. Download
This was an example of jetty standalone server.
You can download the full source code of this example here: JettyStandAloneServerExample


