In this article, we will give brief information about Jetty and provide examples of Java application deployment on Jetty. Our examples will consist of both standalone and Embedded modes of Jetty.
Jetty is a Servlet container and Web Server which is known to be portable, lightweight, robust, flexible, extensible and easy to integrate.
Jetty can be deployed as a standalone server and also can be embedded in an existing application. In addition to these, a Maven Jetty plugin is available in order to run applications in your development environment.
SPDY, WebSocket, OSGi, JMX, JNDI, JAAS are some of the technologies that Jetty integrates nicely.
Today, Jetty is widely used in many platforms both for development and production. Small to large enterprise applications. SaaS (such as Zimbra), Cloud Applications( such as Google AppEngine), Applications Servers(such as Apache Geronimo) and tools (such as SoapUI) are powered by Jetty.
Jetty is open source, hosted by Eclipse Foundation. Current version (as of June 2015) is 9.2.x. You can more detailed information on Jetty Home Page.
1.Jetty as a Standalone server
In the first part, we will configure Jetty as a Standalone Server.
1.1 Downloading and Installing Jetty
You can visit the downloads page and download the latest version (v9.2.11 currently) as an archive file in zip or tar.gz format. Size is about 13 MBs.
There is no installation procedure for Jetty. Just drop it to a folder as you wish and uncompress the downloaded archive file.
1.2 Prerequisites
The only prerequisite for Jetty 9 is having installed Java 7 in your environment. You can downgrade to Jetty 8 if you have Java 6. A complete Jetty-Java compatibility information can be viewed here.
1.3 Running Jetty
Running Jetty on the default configuration is as simple as following two steps:
- Navigate to the directory where you unpacked the downloaded archive. I will call it JETTY_HOME from now on.
- Run the following command:
java -jar start.jar
When Jetty starts running successfully; it produces the a line in the log similar to the following:
2015-06-04 14:27:27.555:INFO:oejs.Server:main: Started @11245ms
By default, Jetty runs on port 8080, but we will see how to configure it in the next sections of this tutorial.
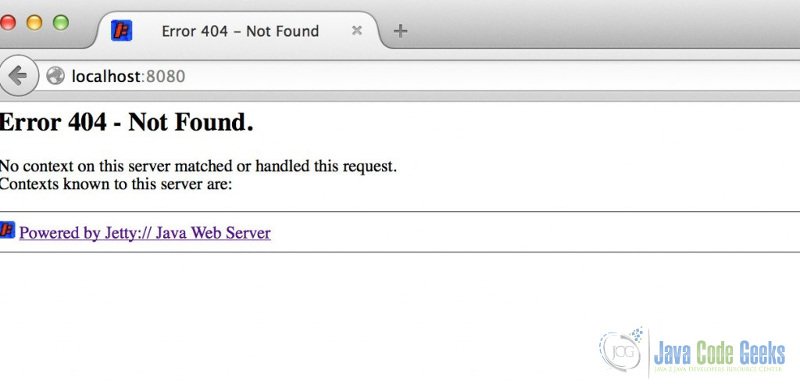
You can also check via the browser typing http://localhost:8080 as the URL. You will see a 404 error, since no application is deployed in the root context.
The response is as below:
1.4 Changing the server port
As mentioned above, default port jetty is 8080. If you need to change it, you can apply following steps:
- Navigate to the JETTY_HOME.
- Open the start.ini file with a text editor.
- Navigate to the line where the parameter jetty.port is configured.
- Change the parameter to the desired port number.
- Start Jetty again.
In the following segment, we set the Jetty port to 7070 instead of 8080
## HTTP port to listen on
jetty.port=7070
After we restart our server will run on port 7070.
1.5 Deploying Web Applications on Jetty
The procedure to deploy web applications on Jetty is as follows:
- Navigate to your JETTY_HOME folder.
- There is a directory named as webapps under JETTY_HOME. Navigate there.
- Drop your WAR file in that folder.
The application is initialized immediately, you do not need to restart Jetty since the webapps directory is continuously monitored by the server.
There are a sample web applications under JETTY_HOME/demo-base/webapps/. You can pick one of them(for example async-rest.war) and copy to the webapps directory. As you copy the WAR file, the application will be initialized.
When you type http://localhost:7070/async-rest , you can see the application initialized.

1.6 Changing Webapps Directory
JETTY_HOME/webapps is the default directory to deploy your applications. But there are cases that you need to change the deployment directory. In order to do that, you should proceed as follows:
- Open the start.ini file under JETTY_HOME.
- Remove the comment before the parameter jetty.deploy.monitoredDirName.
- Change this parameter as you wish. Remember that the path should be relative to JETTY_HOME directory.
jetty.deploy.monitoredDirName=../jcgwebapps
Now we can put our WARS in the jcgwebapps directory, which is at the same level as our JETTY_HOME.
2. Embedding Jetty in Your Application
Until now, we have skimmed through Jetty as a standalone server. However Jetty provides another great feature. Motto of Jetty is : “Don’t deploy your application in Jetty, deploy Jetty in your application”. It means that, you can embed jetty in your existing (most probably non-web) applications easily. On this purpose a very convenient API is provided to the developers. In the following sections, we will see how we can accomplish this.
2.1 Environment
In this example, following programming environment is used:
- Java 8 (Java 7 will also do fine.)
- Apache Maven 3.x.y
- Eclipse 4.4 (Luna)
2.2 Creating the Maven Project
- Go to File -> New ->Other -> Maven Project
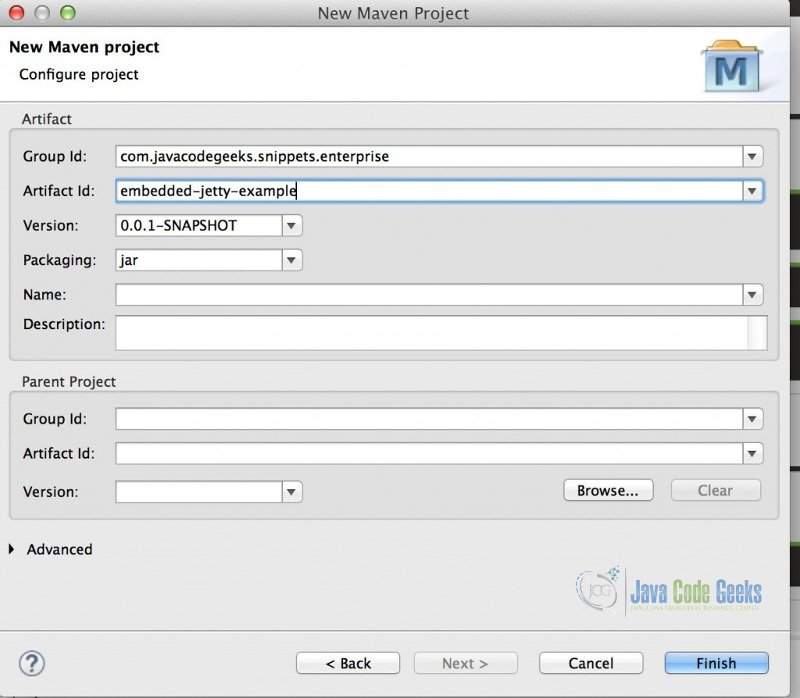
- Tick Create a simple project and press “Next”.
- Enter groupId as : com.javacodegeeks.snippets.enterprise
- Enter artifactId as : embedded-jetty-example
- Press “Finish”.
Now our maven project is created.
2.3 Adding dependencies for Embedded Jetty
Following Maven dependencies have to be added in the project:

- jetty-server : Core Jetty Utilities
- jetty-servlet: Jetty Servlet Utilities
You have to add these dependencies to your pom.xml. After the dependencies are added, your pom.xml seems as follows:
<project xmlns="http://maven.apache.org/POM/4.0.0" xmlns:xsi="http://www.w3.org/2001/XMLSchema-instance"
	xsi:schemaLocation="http://maven.apache.org/POM/4.0.0 http://maven.apache.org/xsd/maven-4.0.0.xsd">
	<modelVersion>4.0.0</modelVersion>
	<groupId>com.javacodegeeks.snippets.enterprise</groupId>
	<artifactId>embedded-jetty-example</artifactId>
	<version>0.0.1-SNAPSHOT</version>

	<dependencies>

		<!--Jetty  dependencies start here-->
		<dependency>
			<groupId>org.eclipse.jetty</groupId>
			<artifactId>jetty-server</artifactId>
			<version>9.2.11.v20150529</version>
		</dependency>

		<dependency>
			<groupId>org.eclipse.jetty</groupId>
			<artifactId>jetty-servlet</artifactId>
			<version>9.2.11.v20150529</version>
		</dependency>
		<!--Jetty  dependencies end here-->

	</dependencies>
</project>
Now our project configuration is complete and we are ready to go.
2.4 Creating Embedded Jetty Server Programmatically
Now we are going to create an Embedded Jetty Server programmatically. In order to keep things simple, we will create the Server in the main() method of our application.
In order to this, you can proceed as follows:
- Create package com.javacodegeeks.snippets.enterprise.embeddedjetty.
- Create a class named EmbeddedJettyMain.
- Add a main method to this class.
The code that creates and starts and Embedded Jetty is as follows:
EmbeddedJettyMain.java
package com.javacodegeeks.snippets.enterprise.embeddedjetty;

import org.eclipse.jetty.server.Server;
import org.eclipse.jetty.servlet.ServletContextHandler;

import com.javacodegeeks.snippets.enterprise.embeddedjetty.servlet.ExampleServlet;

public class EmbeddedJettyMain {

	public static void main(String[] args) throws Exception {

		Server server = new Server(7070);
		ServletContextHandler handler = new ServletContextHandler(server, "/example");
		handler.addServlet(ExampleServlet.class, "/");
		server.start();

	}

}
- In the first line(Line 12), we create a Server on port 7070.
- In the next line(Line 13), we create a ServletContextHandler with the context path /example
- In Line 14, we bind the servlet class ExampleServlet (which is described below) to this servlet context handler created in the previous line.
- On the last line, we start the server.
ServletContextHandler is a powerful facility enabling creation and configuration of Servlets and Servlet Filters programatically.
ExampleServlet is a simple HttpServlet, does nothing but returning a constant output “EmbeddedJetty” as the response.
ExampleServlet.java
package com.javacodegeeks.snippets.enterprise.embeddedjetty.servlet;

import java.io.IOException;

import javax.servlet.ServletException;
import javax.servlet.http.HttpServlet;
import javax.servlet.http.HttpServletRequest;
import javax.servlet.http.HttpServletResponse;

import org.eclipse.jetty.http.HttpStatus;

public class ExampleServlet extends HttpServlet {

	@Override
	protected void doGet(HttpServletRequest req, HttpServletResponse resp)
			throws ServletException, IOException {

		resp.setStatus(HttpStatus.OK_200);
		resp.getWriter().println("EmbeddedJetty");
	}
}
2.5 Running Embedded Jetty
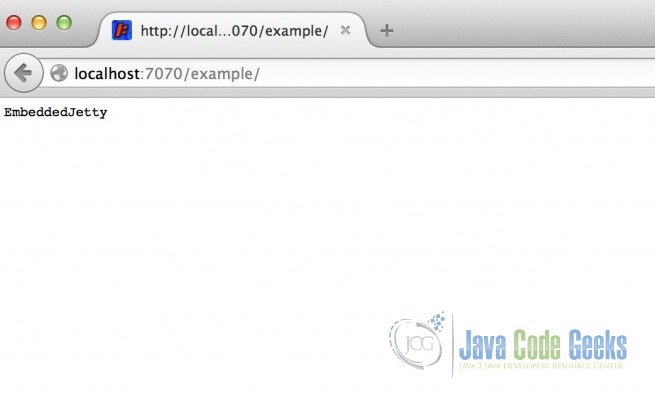
Run the EmbeddedJettyMain class through the Eclipse Run, Embedded Jetty starts to run on the defined port(7070).
You can access the application through your browser on the following URL:
http://localhost:7070/example
Here you can see the response below:
3. Conclusion
In this article, we have provided brief information on Jetty and discussed the steps to create standalone and Embedded Jetty servers.
