In this example, we will show you how to make use of Jetty – Java HTTP Web Server and servlet container and run a sample servlet on this server. Jetty is an open source web server developed by Eclipse Foundation. As a part of this example we will create an eclipse project which will have our servlet code and to deploy on jetty, we will configure that project in a war file.
1. Environment
In this example, following environment will be used:
- Eclipse Kepler 4.3 (as IDE)
- Jetty – version 9.2.15 v20160210
- Java – version 7
- Java Servlet Library – servlet-api-3.0
2. Jetty Servlet Example
2.1 Structure of the example
In this example, we are going to write a simple servlet and run that servlet on Jetty web server. We will package our servlet project in a WAR file. We can then deploy this war file on running jetty server and it will dynamically detect our servlet.
2.2 Running Jetty
Make sure you download the correct version of Jetty from Download Jetty. Certain versions of jetty only run with certain versions of Java. You might run into an error java: unsupported major:minor version 52.0 . Once you extract downloaded jetty zip file on your machine, you can open a command prompt and navigate to directory /demo-base and run java -jar ../start.jar , this will start our jetty web server. To verify everything is alright with our jetty installation, launch a web browser and go to url http://localhost:8080, it should show a Jetty welcome page.
2.3 Creating Example Servlet
We will create a Dynamic Web Project in eclipse. Follow the steps below:
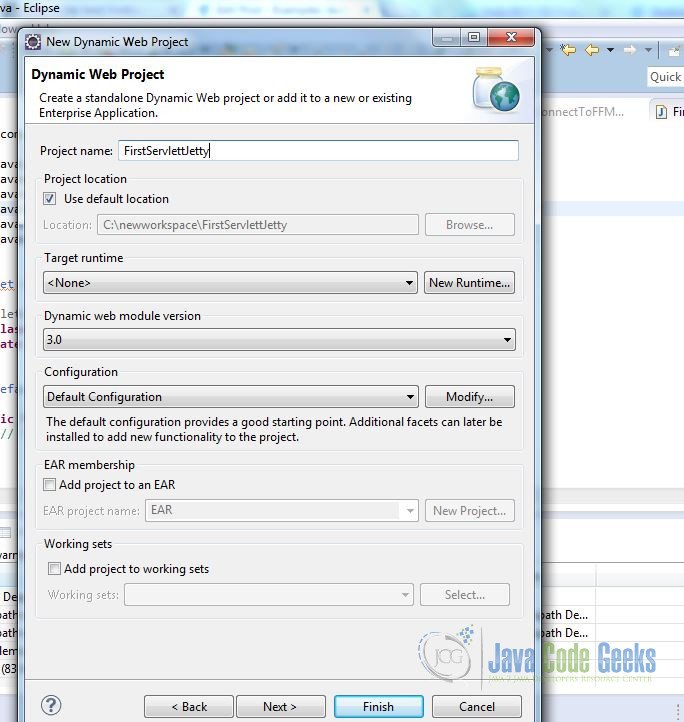
- Go to File -> New Project -> Web -> Dynamic Web Project
- Provide a name for your project “FirstServletJetty” and choose Target runtime as None
- Click Next. On Web Module screen, select the checkbox for “Generate web.xml deployment descriptor”
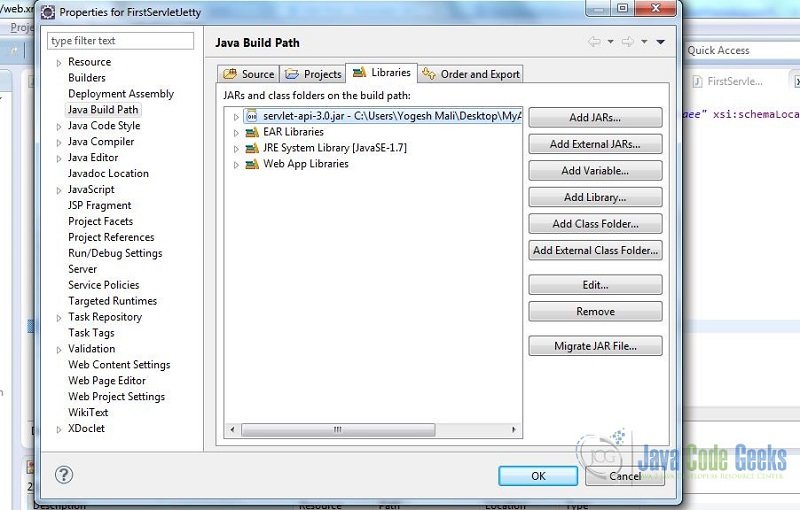
After creating our project, we will need to sort out dependencies to write our first servlet. Download servlet-api-3.0.jar file and import that in our project’s build path.
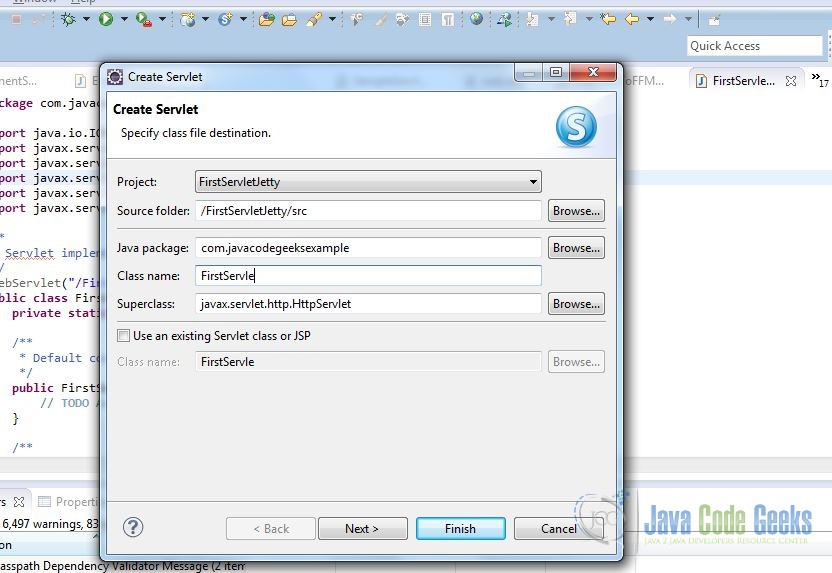
- Go to Src folder in project directory and right click to select New Servlet
- Enter package name: com.javacodegeeksexample
- Enter servlet name: FirstServlet
- Keep default options and click Finish
2.4 Modifying Example Servlet
Now we can write our code in the servlet we just created. We can write our code in doGet or doPost . We will write very simple print statement to see how our servlet behave once deployed on webserver.
This is how the final code of FirstServlet looks:
FirstServlet.java
package com.javacodegeeksexample;

import java.io.IOException;
import javax.servlet.ServletException;
import javax.servlet.annotation.WebServlet;
import javax.servlet.http.HttpServlet;
import javax.servlet.http.HttpServletRequest;
import javax.servlet.http.HttpServletResponse;

/**
 * Servlet implementation class FirstServlet
 */
@WebServlet("/FirstServlet")
public class FirstServlet extends HttpServlet {
	private static final long serialVersionUID = 1L;

    /**
     * Default constructor.
     */
    public FirstServlet() {
        // TODO Auto-generated constructor stub
    }

	/**
	 * @see HttpServlet#doGet(HttpServletRequest request, HttpServletResponse response)
	 */
	protected void doGet(HttpServletRequest request, HttpServletResponse response) throws ServletException, IOException {

		response.setContentType("text/html");
		response.getWriter().println("First Servlet on Jetty - Java Code Geeks");
	}

	/**
	 * @see HttpServlet#doPost(HttpServletRequest request, HttpServletResponse response)
	 */
	protected void doPost(HttpServletRequest request, HttpServletResponse response) throws ServletException, IOException {

	}

}
Save your source code file and build the project in eclipse.
2.5 Deploying your servlet on Jetty
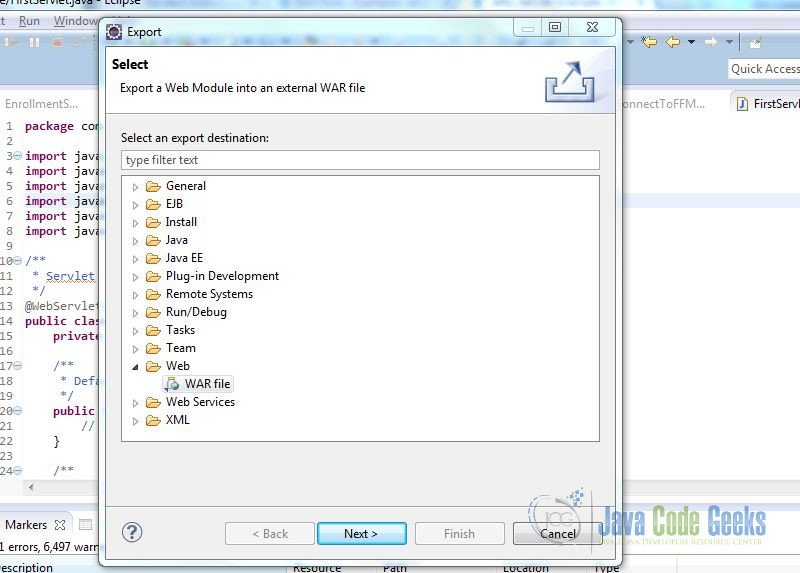
- Save project -> Export -> Web -> WAR file
- Save this WAR file in /demo-base/webapps directory
- If jetty is already running, it should detect your new servlet deployed OR you can restart the jetty server
2.6 Running the Servlet
To verify everything is correct, you can access this servlet in webbrowser at http://localhost:8080/FirstServletJetty/FirstServlet
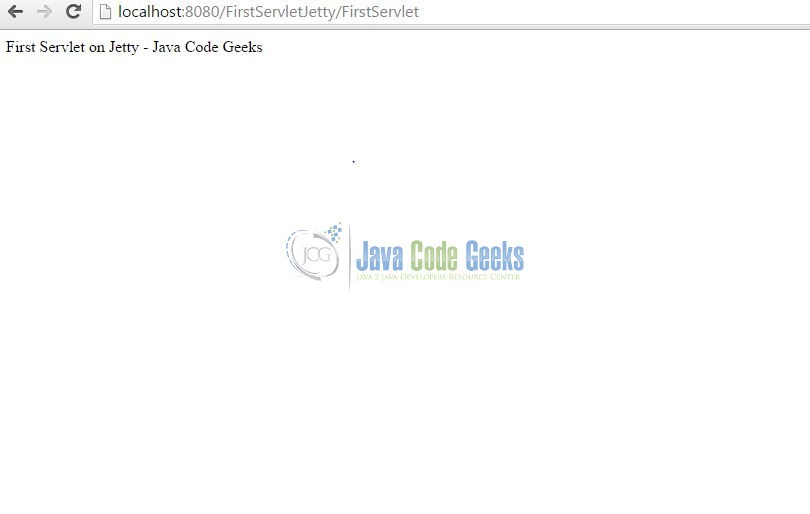

Text on this webpage is coming from whatever we printed in doGet method.
2.7 More with Servlet
This was a very simple servlet to run on jetty. We can do more complicated jsp or html pages to call servlets to handle requests.
Let’s add a simple form on an html page and do get action and post action subsequently.
<!DOCTYPE html>
<html>
<head>
<meta charset="ISO-8859-1">
<title> First HTML PAGE </title>
</head>
<body>
<p>Let's Test doPost.</p>
<form method="POST" action="FirstServlet"/>
<input name="field" type="text" />
<input type="submit" value="Submit" />
</form>
</body>
</html>
Now if you see this html page has a form with method POST which will get called through action FirstServlet . Once the form is submitted, FirstServlet will call doPost to handle the request posted through form submission.
We can modify doPost method to read parameters posted through form.
/**
* @see HttpServlet#doPost(HttpServletRequest request, HttpServletResponse response)
*/
protected void doPost(HttpServletRequest request, HttpServletResponse response) throws ServletException, IOException {
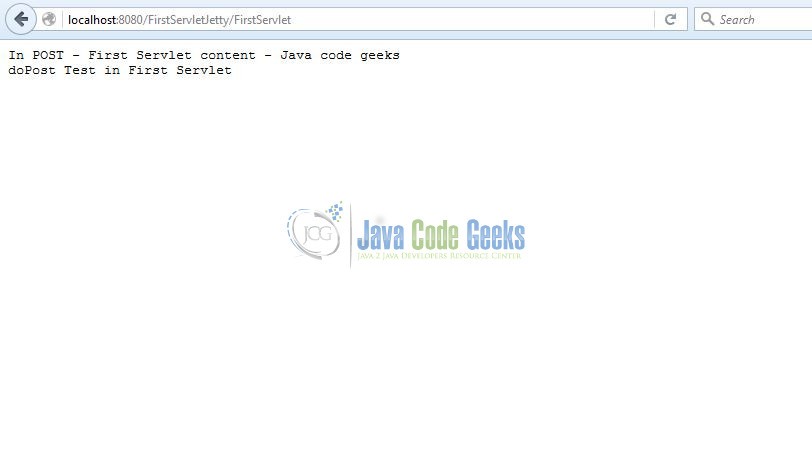
response.getWriter().println("In POST - First Servlet content - Java code geeks");
response.getWriter().println(request.getParameter("field"));
}
Most companies build their login pages through form like this and then in doPost handles the submission of those forms for authentication. Once we build our project and export it as a war file to deploy on server, we can access our html page like this http://localhost:8080/FirstServletJetty/FirstPage.html. Output will look like below
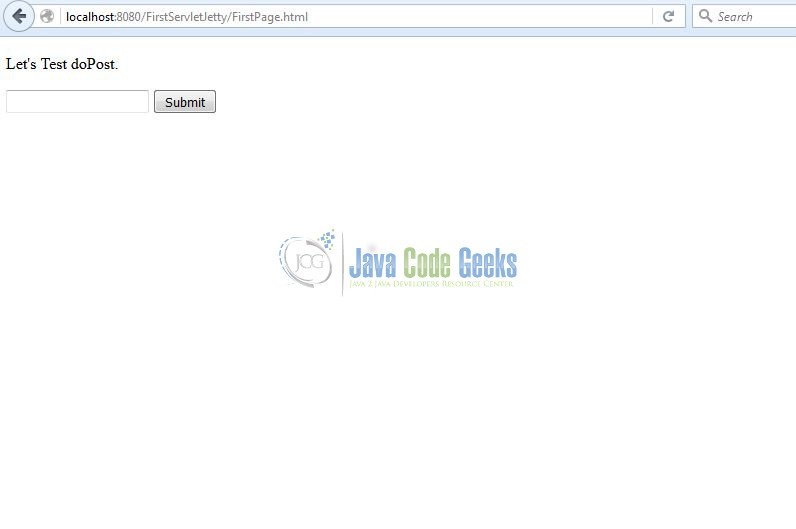
You can type something in the textbox and press Submit . Result will be as shown below
3. Conclusion
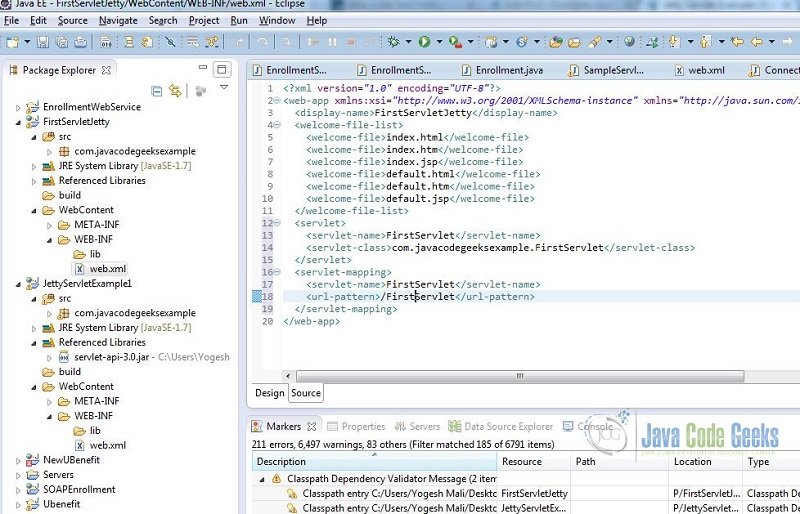
In this example, we saw how to deploy a simple servlet on a jetty web server. Another way of mapping your servlet is by adding a servlet-mapping in web.xml of your Dyanmic Web Project, but in that case you will need to remove the annotations @WebServlet in your java source code.
4. Download the eclipse project
This was an example of Servlet on Jetty.
You can download the full source code of this example here: JettyServletExample

Doesn’t work.