Jetty Runner Example
In this example, we will show how to use jetty runner. Jetty runner is a concept where you run your web applications with a single jar without installing jetty. You don’t need to administer jetty distribution in this case. Jetty runner is a standalone jar which can be used to deploy multiple web applications or run web applications with different configurations or even to configure JDBC JNDI Resource. Jetty runner is a more command line tool.
1. Environment
- Windows 7 SP 1
- Eclipse Kepler 4.3
- Jetty runner version 9.2.10.v20150310
- Java version 7
- Java Servlet library – servlet-api-3.1
- Maven 3.0.4
2. Example Outline
In this example, we will download jetty-runner jar. We will create a simple web-app with a single context and deploy that through jetty-runner . We will create two different web-apps and deploy them through jetty-runner . You can download jetty-runner here.
3. Jetty Runner Example
Here we will create two simple web applications web-app1 and web-app2 and then show how to run a single webapp through jetty-runner and how to run multiple webapps.
3.1 Create a Maven project for Web-app1
3.1.1 Maven Project
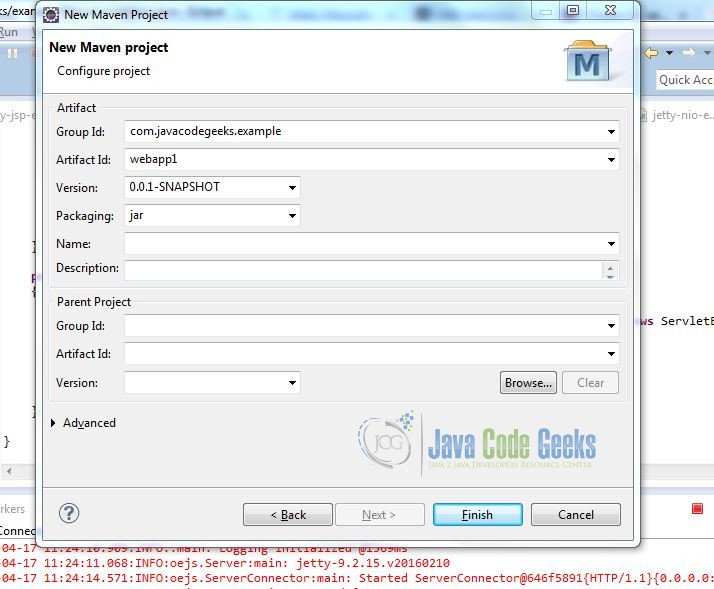
As shown in below screenshot, create a new maven project in eclipse. Fill in the detail with GroupId as com.javacodegeeks.example and ArtifactId as webapp1 .
Add following dependencies in pom.xml
pom.xml
<project xmlns="http://maven.apache.org/POM/4.0.0" xmlns:xsi="http://www.w3.org/2001/XMLSchema-instance" xsi:schemaLocation="http://maven.apache.org/POM/4.0.0 http://maven.apache.org/xsd/maven-4.0.0.xsd">
  <modelVersion>4.0.0</modelVersion>
  <groupId>com.javacodegeeks.example</groupId>
  <artifactId>webapp1</artifactId>
  <version>0.0.1-SNAPSHOT</version>
  <packaging>war</packaging>
  <dependencies>
  	<dependency>
  		<groupId>org.eclipse.jetty</groupId>
  		<artifactId>jetty-servlet</artifactId>
  		<version>9.2.15.v20160210</version>
  	</dependency>
  	<dependency>
  		<groupId>org.eclipse.jetty</groupId>
  		<artifactId>jetty-webapp</artifactId>
  		<version>9.2.15.v20160210</version>
  	</dependency>
  </dependencies>
</project>
3.1.2 Source Code for WebApp1
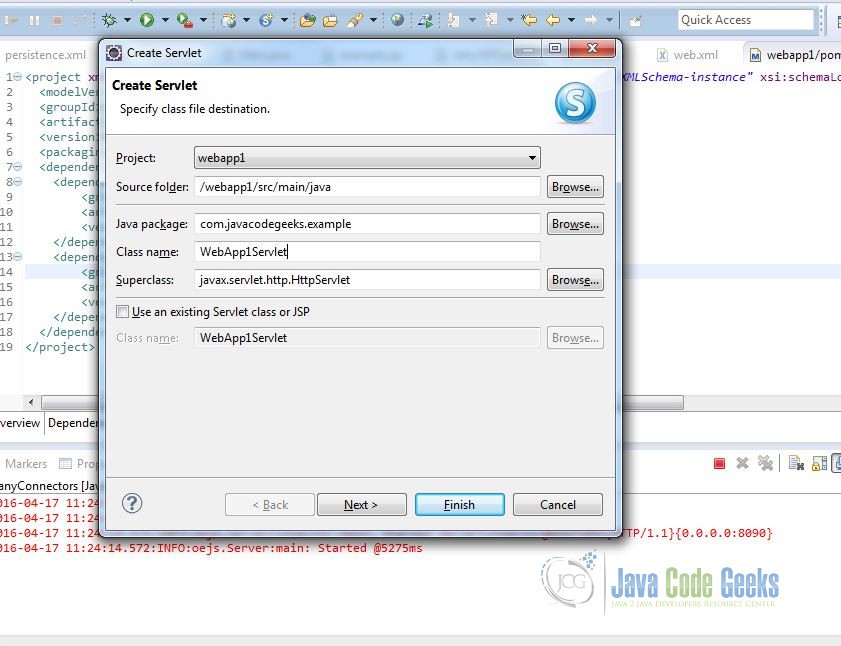
We will create a simple servlet for our webapp1 . Create a java file WebApp1Servlet under src->main->java as shown below:
WebApp1Servlet.java
package com.javacodegeeks.example;

import java.io.IOException;
import java.io.PrintWriter;

import javax.servlet.ServletException;
import javax.servlet.annotation.WebServlet;
import javax.servlet.http.HttpServlet;
import javax.servlet.http.HttpServletRequest;
import javax.servlet.http.HttpServletResponse;

/**
 * Servlet implementation class WebApp1Servlet
 */
@WebServlet("/WebApp1Servlet")
public class WebApp1Servlet extends HttpServlet {
	private static final long serialVersionUID = 1L;

    /**
     * @see HttpServlet#HttpServlet()
     */
    public WebApp1Servlet() {
        super();
        // TODO Auto-generated constructor stub
    }

	/**
	 * @see HttpServlet#doGet(HttpServletRequest request, HttpServletResponse response)
	 */
	protected void doGet(HttpServletRequest request, HttpServletResponse response) throws ServletException, IOException {

		PrintWriter out = response.getWriter();
		out.println("<html>");
		out.println("<body>");
		out.println("<h1>Hello Jetty Runner Servlet Web App 1</h1>");
                out.println("</html>");
                out.println("</body>");
           }
         /**
           * @see HttpServlet#doPost(HttpServletRequest request, HttpServletResponse response)
           */
          protected void doPost(HttpServletRequest request, HttpServletResponse response) throws ServletException, IOException {
              // TODO Auto-generated method stub
            }
 }
If you create a maven project, sometimes by default, it won’t let you create a servlet class. To fix this, go to project -> properties -> project facets -> check Dynamic Web Module checkbox . Remember we are using java version 1.7, so you will have check the checkbox for Java version 1.7 in Project facets.
3.2 Create a Maven project for Web-app2
3.2.1 Maven Project
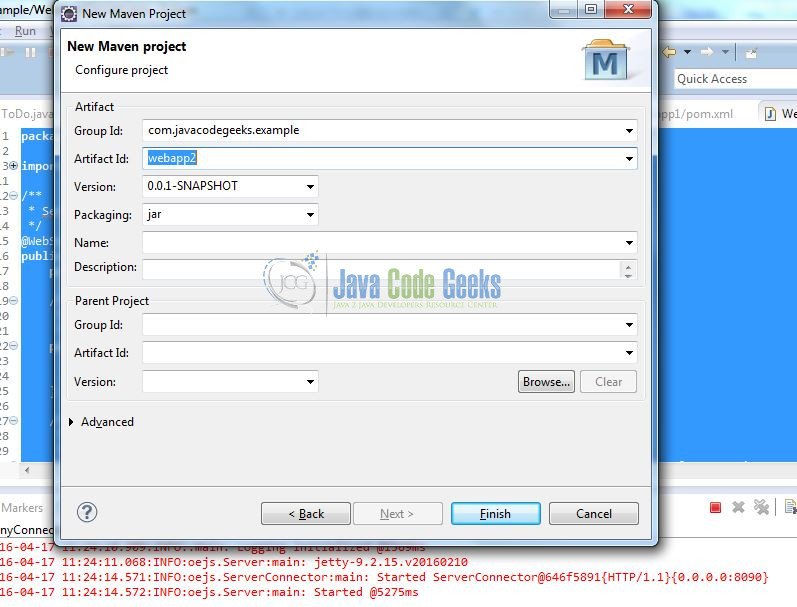
Let’s create another maven project for webapp2 as shown below. Fill in the details for GroupId as com.javacodegeeks.example and ArtifactId as webapp2 .
Add following dependencies in pom.xml
pom.xml
<project xmlns="http://maven.apache.org/POM/4.0.0" xmlns:xsi="http://www.w3.org/2001/XMLSchema-instance" xsi:schemaLocation="http://maven.apache.org/POM/4.0.0 http://maven.apache.org/xsd/maven-4.0.0.xsd">
  <modelVersion>4.0.0</modelVersion>
  <groupId>com.javacodegeeks.example</groupId>
  <artifactId>webapp1</artifactId>
  <version>0.0.1-SNAPSHOT</version>
  <packaging>war</packaging>
  <dependencies>
  	<dependency>
  		<groupId>org.eclipse.jetty</groupId>
  		<artifactId>jetty-servlet</artifactId>
  		<version>9.2.15.v20160210</version>
  	</dependency>
  	<dependency>
  		<groupId>org.eclipse.jetty</groupId>
  		<artifactId>jetty-webapp</artifactId>
  		<version>9.2.15.v20160210</version>
  	</dependency>
  </dependencies>
</project>
3.2.2 Source code for WebApp2
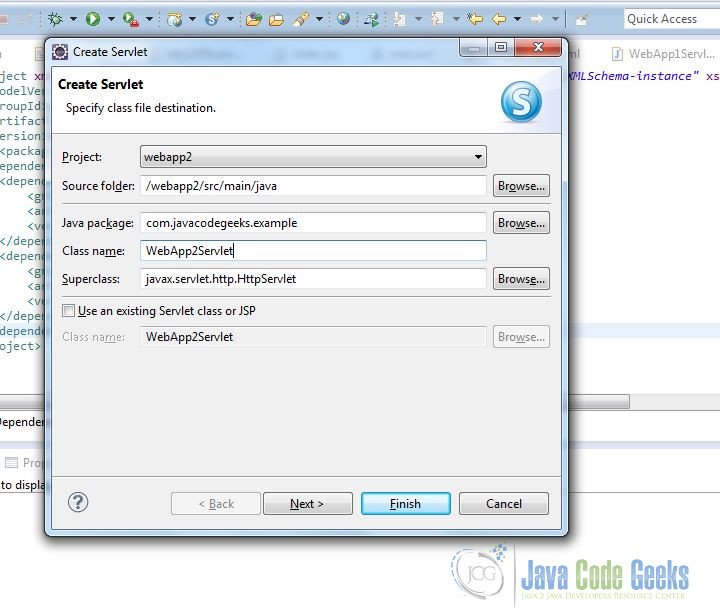
We will create a simple servlet for our webapp1 . Create a java file WebApp2Servlet under src->main->java as shown below:
WebApp2Servlet.java
package com.javacodegeeks.example;

import java.io.IOException;
import java.io.PrintWriter;

import javax.servlet.ServletException;
import javax.servlet.annotation.WebServlet;
import javax.servlet.http.HttpServlet;
import javax.servlet.http.HttpServletRequest;
import javax.servlet.http.HttpServletResponse;

/**
 * Servlet implementation class WebApp2Servlet
 */
@WebServlet("/WebApp2Servlet")
public class WebApp2Servlet extends HttpServlet {
	private static final long serialVersionUID = 1L;

    /**
     * @see HttpServlet#HttpServlet()
     */
    public WebApp2Servlet() {
        super();
        // TODO Auto-generated constructor stub
    }

	/**
	 * @see HttpServlet#doGet(HttpServletRequest request, HttpServletResponse response)
	 */
	protected void doGet(HttpServletRequest request, HttpServletResponse response) throws ServletException, IOException {

		PrintWriter out = response.getWriter();
		out.println("<html>");
		out.println("<body>");
		out.println("<h1>New Jetty Runner Servlet Web App 2 </h1>");
                out.println("</body>");
                out.println("</html>");
          }
        /**
          * @see HttpServlet#doPost(HttpServletRequest request, HttpServletResponse response)
          */
         protected void doPost(HttpServletRequest request, HttpServletResponse response) throws ServletException, IOException {
                // TODO Auto-generated method stub
            }
  }
3.3 Save and Export War files
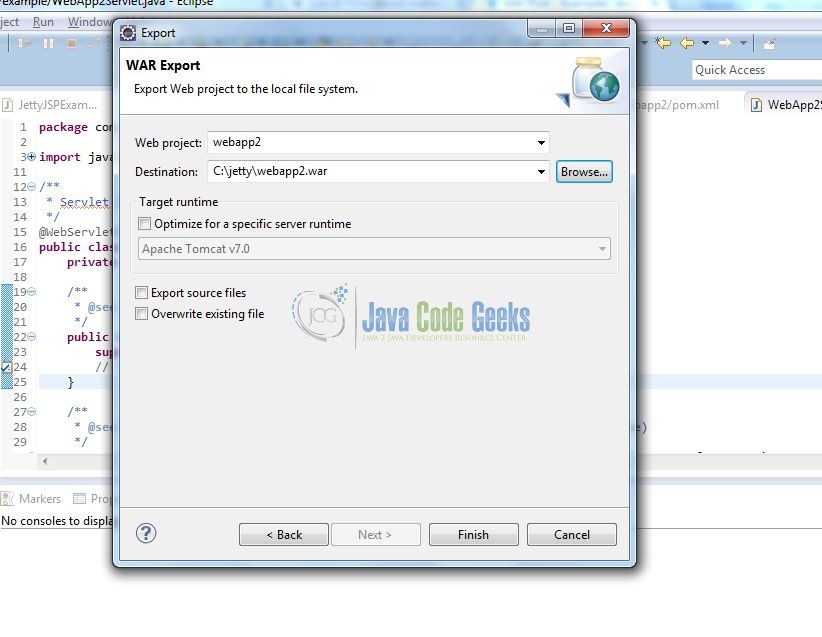
Now save both projects in eclipse and export them as separate war files as webapp1.war and webapp2.war as shown below
3.4 Run Jetty Runner
Once we have downloaded jetty-runner jar file in directory c:/jetty , we can run our example war files.
3.4.1 Running Single Web Application
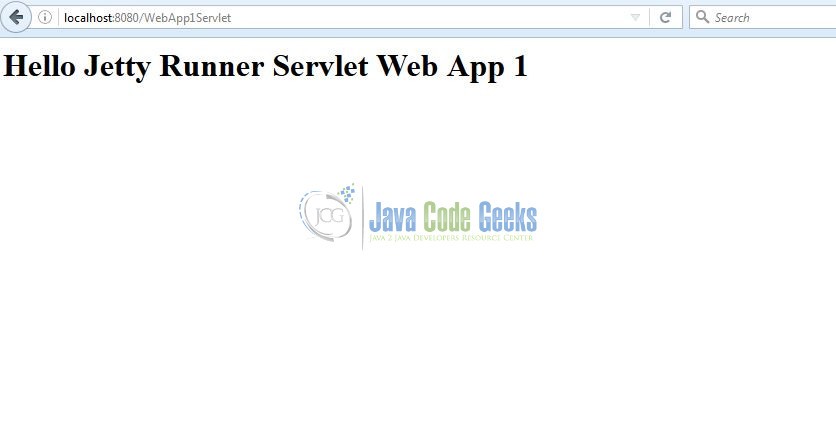
Go to directory where you have downloaded jetty-runner and use following command to run single web application. java -jar jetty-runner-9.2.10.v20150310.jar webapp1.war . This will be default run the web application on port 8080. So if we go to browser and access http://localhost:8080/WebApp1Servlet , we will see the result as below
3.4.2 Running Multiple Web Applications
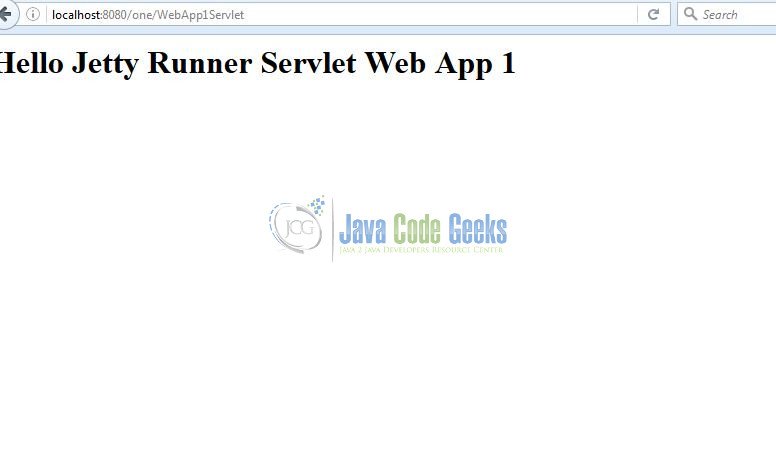
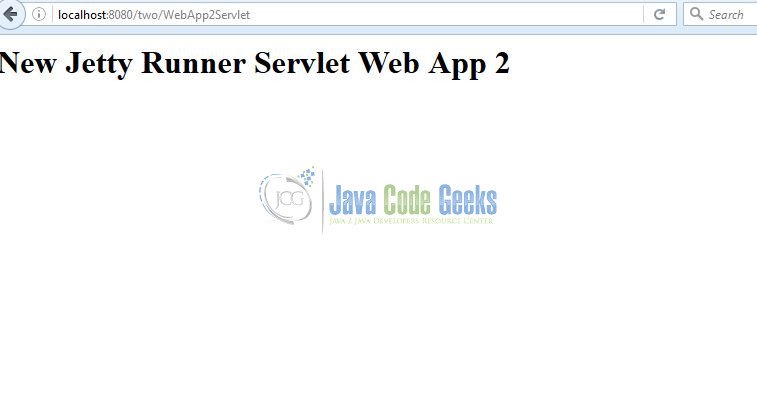
To run multiple web applications, just use the following command java -jar jetty-runner-9.2.10.v20150310.jar --path /one webapp1.war --path /two webapp2.war . Go to browser and access http://localhost:8080/one/WebApp1Servlet and http://localhost:8080/two/WebApp2Servlet . With --path , we are providing a context path.
jetty-runner can be used to configure a port for server and all other configurations.
4. Conclusion
In this example, we showed how to use jetty-runner to run web applications. jetty-runner offers the flexibility of not installing jetty distribution.
5. Download the eclipse project
This was an example for Jetty Runner.
You can download the full source code of this example here: jettyrunner

