Jetty Deploy War Example
In this example, we will see how to deploy a war file on a jetty and run the web application. In general, jetty server instance configures the deploy module. This will have web application deployer that hot deploys files. But other way to deploy a war file is through deployable descriptor XML file.
1. Environment
- Windows 7 SP 1
- Eclipse Kepler 4.3
- Jetty version 9.2.15.v20160210
- Java version 7
- Java servlet library – servlet-api-3.1
- Maven 3.0.4
2. Example Outline
In this example, we will create a sample example project and export that as a WAR file to deploy on jetty . And then we will configure the same project with deployable descriptor xml file with additional configuration parameters like context path.
3. Jetty Deploy War Example
Here we will create an eclipse project with a servlet and deploy that on jetty. We will deploy the same project with context path in second part of our example.
3.1 Create an Eclipse Project
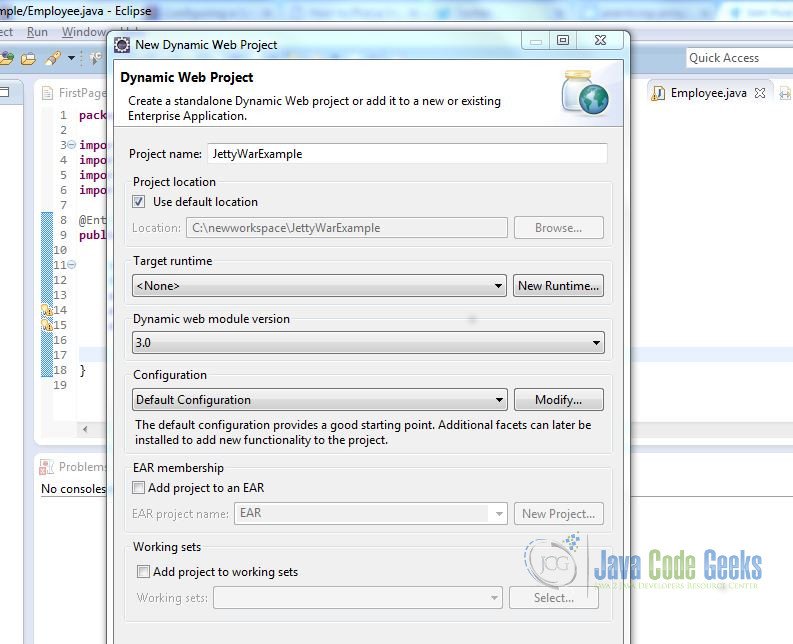
Create a new Dynamic Web Project in eclipse. Go to File -> New Project -> Web -> Dynamic Web Project.
After creating the project, we will add a servlet-api jar file so we can write our servlet.
- Go to Src folder in project directory and right click to select New Servlet
- Enter Package name
com.javacodegeeks.example - Enter Servlet Name – WarServlet
- Keep default options and click Finish
- We will add some code in our
WarServletindoGetmethod.
WarServlet.java
package com.javacodegeeks.example;

import java.io.IOException;
import javax.servlet.ServletException;
import javax.servlet.annotation.WebServlet;
import javax.servlet.http.HttpServlet;
import javax.servlet.http.HttpServletRequest;
import javax.servlet.http.HttpServletResponse;

/**
 * Servlet implementation class WarServlet
 */
@WebServlet(description = "Jetty War Deploy Example", urlPatterns = { "/WarServlet" })
public class WarServlet extends HttpServlet {
	private static final long serialVersionUID = 1L;

    /**
     * Default constructor.
     */
    public WarServlet() {

    }

	/**
	 * @see HttpServlet#doGet(HttpServletRequest request, HttpServletResponse response)
	 */
	protected void doGet(HttpServletRequest request, HttpServletResponse response) throws ServletException, IOException {

		response.setContentType("text/html");
		response.getWriter().println(" Jetty War Deploy Example with a simple Servlet ");
	}

	/**
	 * @see HttpServlet#doPost(HttpServletRequest request, HttpServletResponse response)
	 */
	protected void doPost(HttpServletRequest request, HttpServletResponse response) throws ServletException, IOException {

	}

}
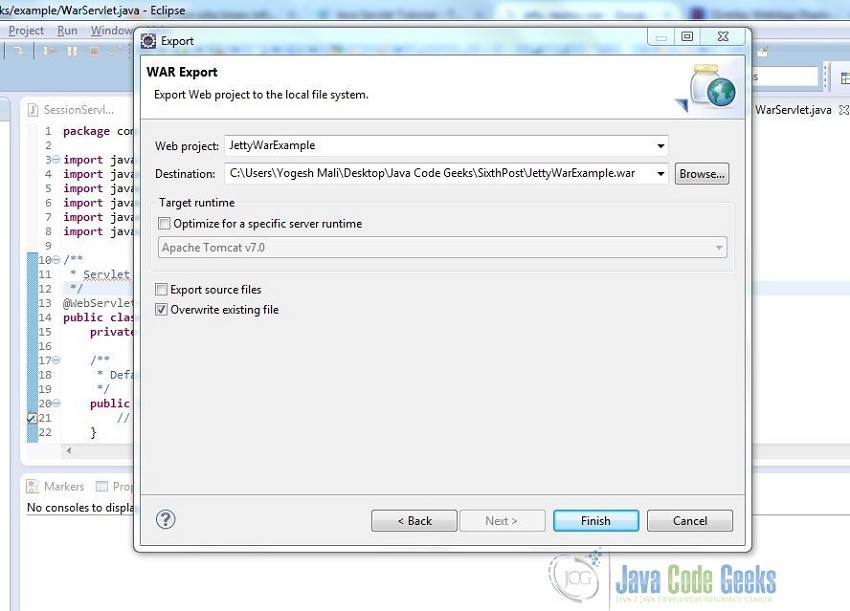
- Export the project from eclipse as war file JettyWarExample
- Copy this
WARfile injetty.base/webappsdirectory.
- If Jetty is running, it will pick up the WAR file dynamically
- Go to web browser and run
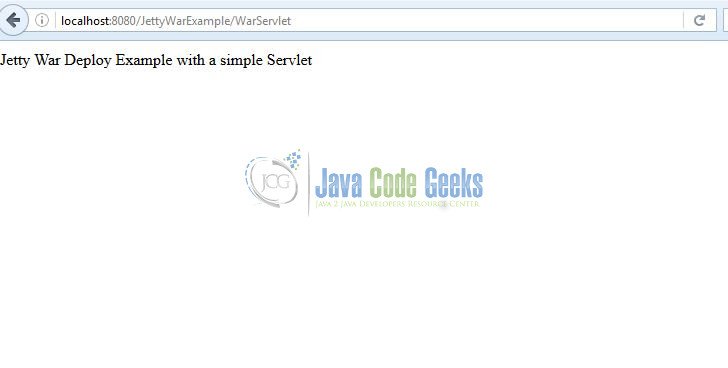
http://localhost:8080/JettyWarExample/WarServlet, we will see the result as below
3.2 Create A Jetty Deployable Descriptor XML file
The deployment descriptor xml file configures a WebAppContext class. For initial setting, we will set two properties war and contextPath . Jetty supports deploying Web Applications via XML files which will build an instance of a ContextHandler that Jetty can then deploy.
JettyWarExample.xml
<?xml version="1.0" encoding="UTF-8"?>
<!DOCTYPE Configure PUBLIC "-//Jetty//Configure//EN"

"http://www.eclipse.org/jetty/configure_9_0.dtd">

<Configure class="org.eclipse.jetty.webapp.WebAppContext">
  <Set name="contextPath">/JettyWar</Set>
  <Set name="war"><Property name="jetty.webapps" default="."/>/JettyWarExample.war</Set>
</Configure>
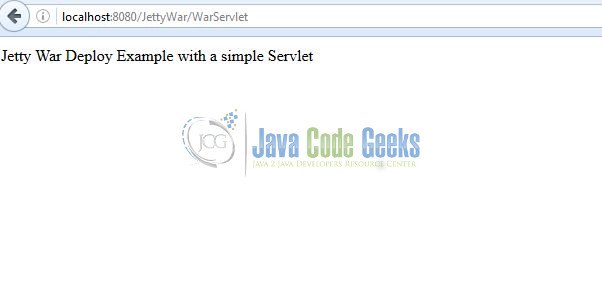
Copy this file in jetty.base/webapps directory and now restart jetty. Jetty scans its $JETTY_HOME/webapps directory at startup for web applications to deploy. Go to Browser and access http://localhost:8080/JettyWar/WarServlet . You will see our the result as shown below
There are lot of other properties that can be configured using Deployment Descriptor. One such example is to configure database connection pool. Example of such a file is shown below:
JettyWarExample.xml
<?xml version="1.0" encoding="UTF-8"?>
<!DOCTYPE Configure PUBLIC "-//Jetty//Configure//EN" "http://www.eclipse.org/jetty/configure_9_0.dtd">

<Configure class="org.eclipse.jetty.webapp.WebAppContext">
  <Set name="contextPath"> /JettyWar </Set>
  <Set name="war"><SystemProperty name="jetty.webapps"/> /JettyWarExample.war </Set>

  <New id="DSTest" class="org.eclipse.jetty.plus.jndi.Resource">
    <Arg> jdbc/DSTest </Arg>
    <Arg>
      <New class="org.apache.commons.dbcp.BasicDataSource">
        <Set name="driverClassName">org.some.Driver</Set>
        <Set name="url">jdbc.url</Set>
        <Set name="username">jdbc.user</Set>
        <Set name="password">jdbc.pass</Set>
      </New>
    </Arg>
  </New>
</Configure>
4. Conclusion
In this example we showed how to use automatic way to deploy a war file on jetty server dynamically and by using a deployable descriptor xml file.
5. Download the example
This was an example for Jetty WAR Deployment with standalone jetty.
You can download the full source code of this example here: JettyWarExample


