In this article, we will explain how to install Python on Linux. Python is definitely one of the most infamous programming languages. Python is very easy to learn due to the simple syntax, and high readability. This makes it a top choice among developers. Apart from that, Python’s versatility also makes it a preferred programming language.
Let us now go through the steps to install the latest version of Python on Linux. We will be installing Python on the Debian distribution of Linux.
1. Installing Development Packages
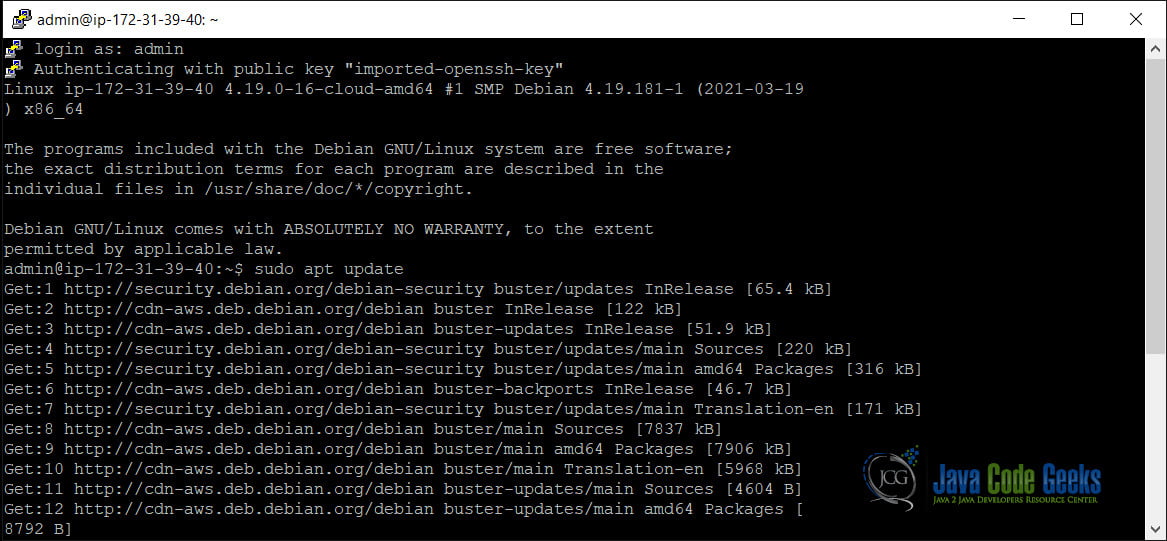
Before we start installing Python, we need to install the development packages. And, these packages include headers related to the libraries. First, run the below command to get the updated information related to the updated version of packages and dependencies.
sudo apt update
Then, run the below command to install the development packages necessary to build Python.
sudo apt install build-essential zlib1g-dev \
libncurses5-dev libgdbm-dev libnss3-dev \
libssl-dev libreadline-dev libffi-dev curl

2. Downloading the Latest Version of Python
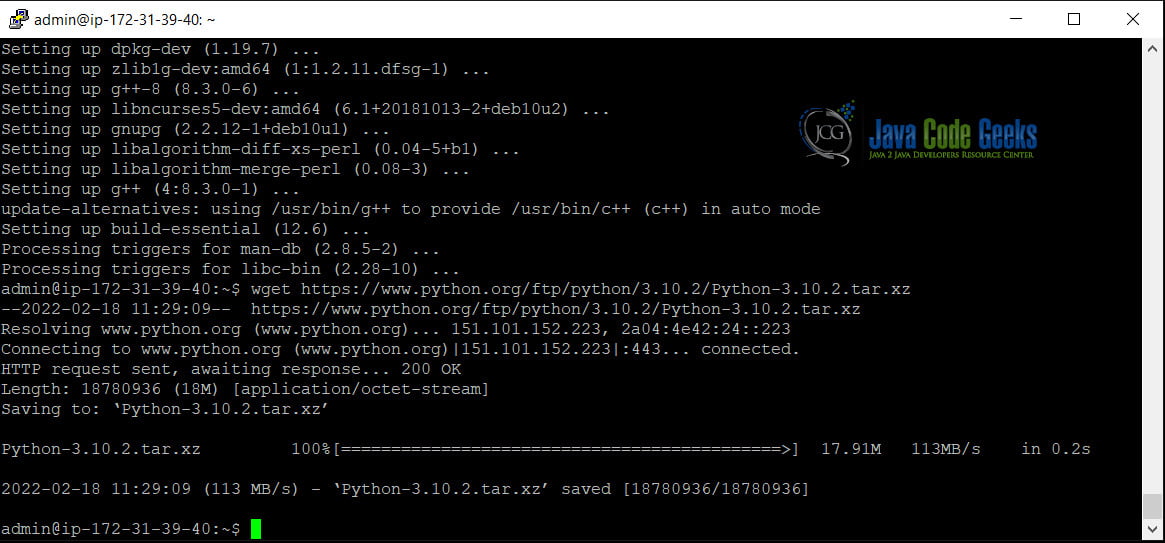
We are going to be installing the latest version of Python from the official Python website. The version to be installed is 3.10.2. Wget is a command utility in Linux that can download files. And, here we are going to be downloading the XZ compressed source tarball.
wget https://www.python.org/ftp/python/3.10.2/Python-3.10.2.tar.xz
3. Extracting the tarball
Now, we will be extracting the tarball that we had just downloaded in Step 2. Run the below command to extract the files.
tar -xf Python-3.10.2.tar.xz

4. Configuring the script
After extracting the tarball, we will now be executing the configure script. Navigate to the path as shown in the command below, and run the configure script.
cd Python-3.10.2/
./configure

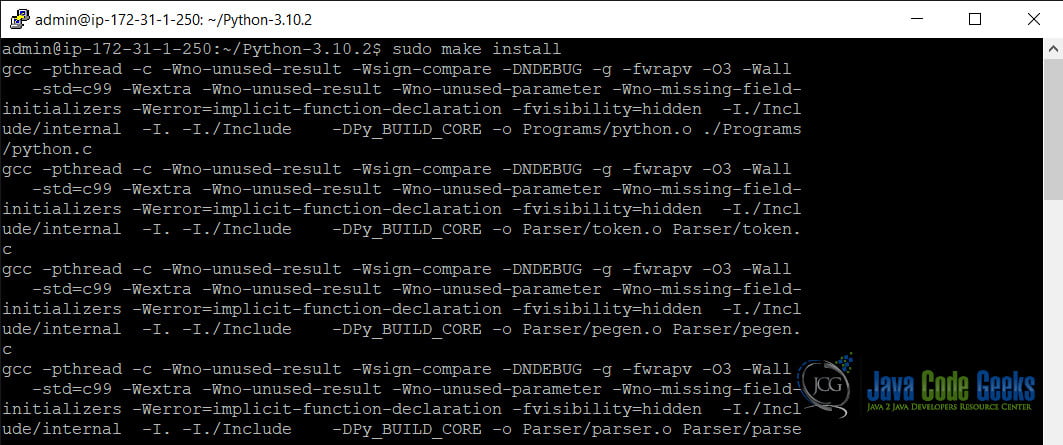
5. Starting the build process
sudo make install
6. Verifying the installation
To verify the successful installation of Python on your system, run the below command.
Python3 --version

7. Creating a virtual environment
This is an optional step. Virtual environment is a feature of Python which helps you keep your packages or project directory separate. It’s commonly known as venv.
To create the virtual environment, you use the below command. Here’s the virtual environment named environment is created.
python3.10 -m venv myenvironment
And, then you can activate the environment by executing the following command. In the console, you will then be logged in via the virtual environment.
source myenvironment/bin/activate
You can simply deactivate the environment by executing the deactivate command as shown below.

8. Conclusion
Python is one of the most popular programming languages with use-cases in a variety of fields. And, this article sums up the entire step-by-step process of installation of Python.
