Build Android application package file (APK) using Eclipse IDE
Android application package file (APK) compressed file that is used to install and distribute Android Applications. Remember when you install an new Application in your Android Phone (or when you run your Application in an emulator) the APK file of your project is installed on your device. APK files are really ZIP archive files. You may open APK files using any Archive program. You can also think of APK files as JAR files in Java.
In this example we’ll see how to create .apk file ready to be installed in Android device. For this tutorial, we will use the following tools in a Windows 64-bit platform:
- JDK 1.7
- Eclipse 4.2 Juno
- Android SKD 4.2
1. Create a new Android Project
Here, we are going to use an existing Android Handler Project in Eclipse. In the link you are going to find details on how to create and code the project.
2. Export Unsigned Application Package
Go to the Package Explorer and locate the Project you want to export. Right Click on the Project -> Android Tools ->Export Unsigned Application Package:
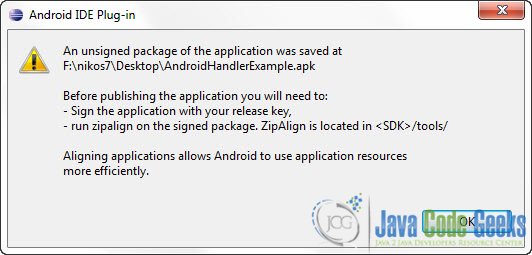
Then select the destination folder and the name of the exported package (.apk) and then save the file. When you’re done you will notice a Warning pop up. That is because android devices and emulators allow installations of digitally singed APK files (digitally signed Applications) only:
2. Export Signed Application Package
This, has an extra step of signing the APK file with a certificate. In this example we are going to create our own self signed certificate. You will see how Eclipse IDE helps us do that really quick and easy. As before, go to the Package Explorer and locate the Project you want to export. Right Click on the Project -> Android Tools ->Export Signed Application Package. The specify the project you want to sign and export and click Next.
2.1. Select/create a new Keystore
In the next form you can choose to use an already created certificate (or keystore), or you can select to create a new one on the fly. As we said, for this example we are going to create a new one. So go ahead and:
- Choose “Create new Keystore”.
- Specify the location of the Keystore.
- And provide a password for the Keystore. You will need this password to sign other applications with that specific Keystore.
And click Next.
2.2. Create a new Keystore
In the next window you have to fill up the form that populates the arguments of the Keystore. It’s actually pretty much the same procedure when creating a self-signed certificate (with openssl for instance).
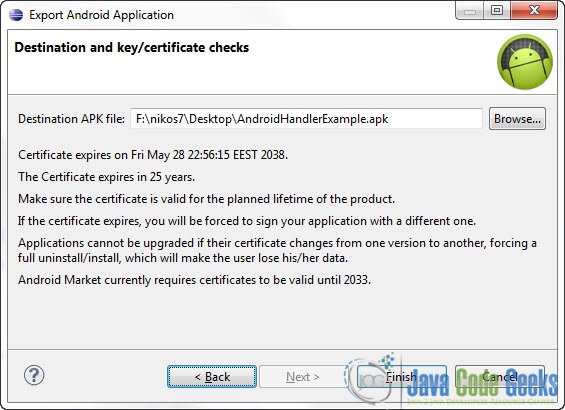
And click Next. Now you have to specify the name of the .apk file and the destination folder. You will also be informed on how the certificate will be used:
That’s it! Now, if you go to the destination folder you’ve specified, you will find AndroidHandlerExample.apk there ready to be installed on any Android Device or Emulator.


