1. Introduction
The Android Volley library is an Android library which enables developers building application which will make requests to some sort of API Server more manageable and fast in terms of overall application performance. This library achieves this by means of two main constructs that the library makes available, namely the RequestQueue and the RequestObject. Together these two constructs make it possible to successfully build up an application that can make an HTTP request to any backend API server.
In this article, we will build a basic application which will make a request to the google search API in order to search for restaurants within a certain distance. Further, once the request is successful, we will display the list of restaurant’ s names and ratings when the application loads up.
2. Technologies Used
- Android Studio 3
- Android 7.1.1 (Nougat): API 25
- Android Virtual Device: Nexus 5X
3. Creating the project
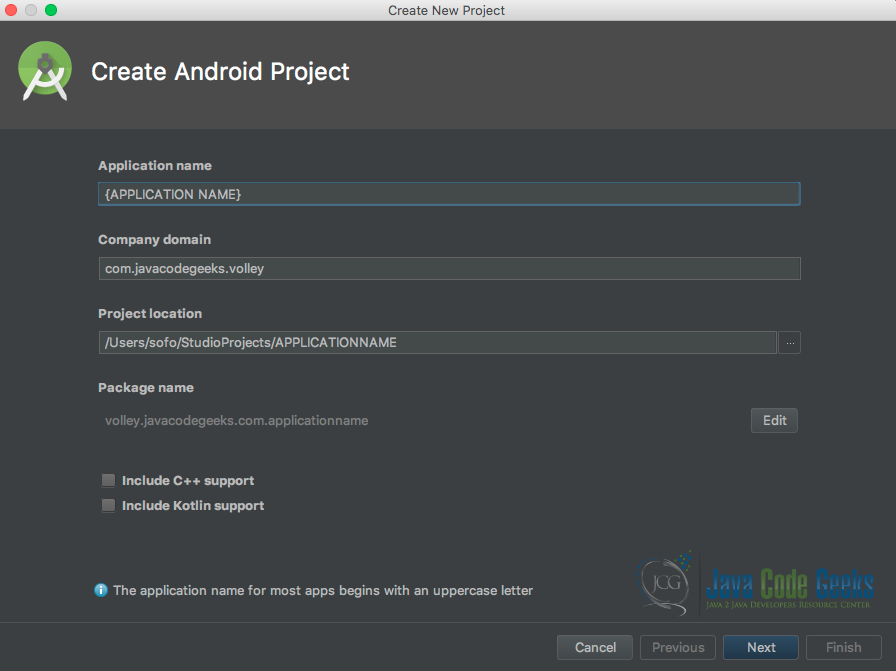
Below is the first screen when creating a new Android project in Android Studio.
Follow the below instructions as our first step in creating our application:
- Go to the main menu of the Android Studio IDE and select “New Project”
- Then give your project a name: in this example we calling it “AndroidVolleyExample”
- Then give it a package name: ours will be “com.javacodegeeks.volleyexample”
- Then click next
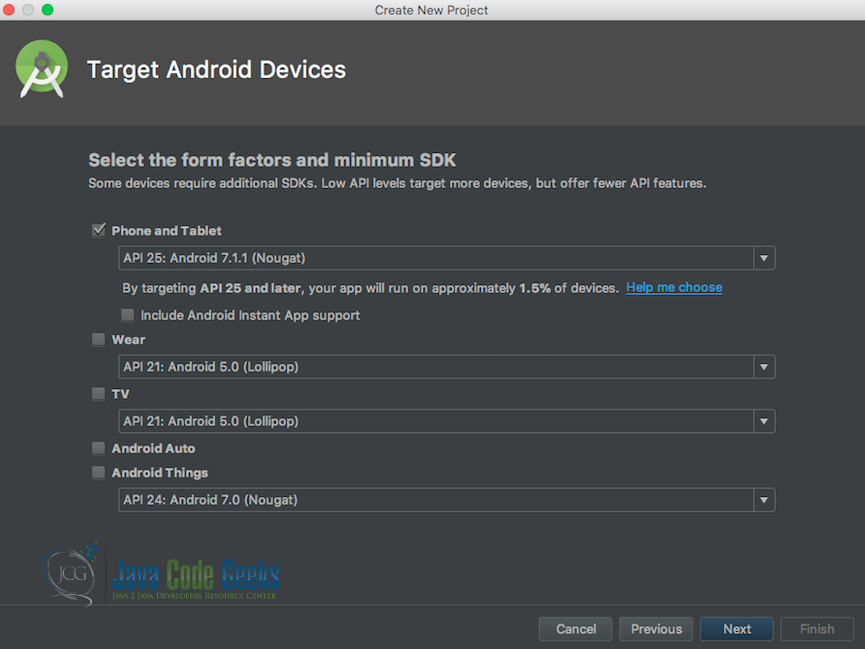
Below is the second screen when creating a new Android project in Android Studio.
Follow the below instructions as our next step in creating our application:
- Select the “Phone and Tablet” you are targeting with your application: in our case, we will be using “Android Nougat”
- Then since we are only building for the cell phone devices we are going to ignore all the other devices.
- Lastly, click Next.
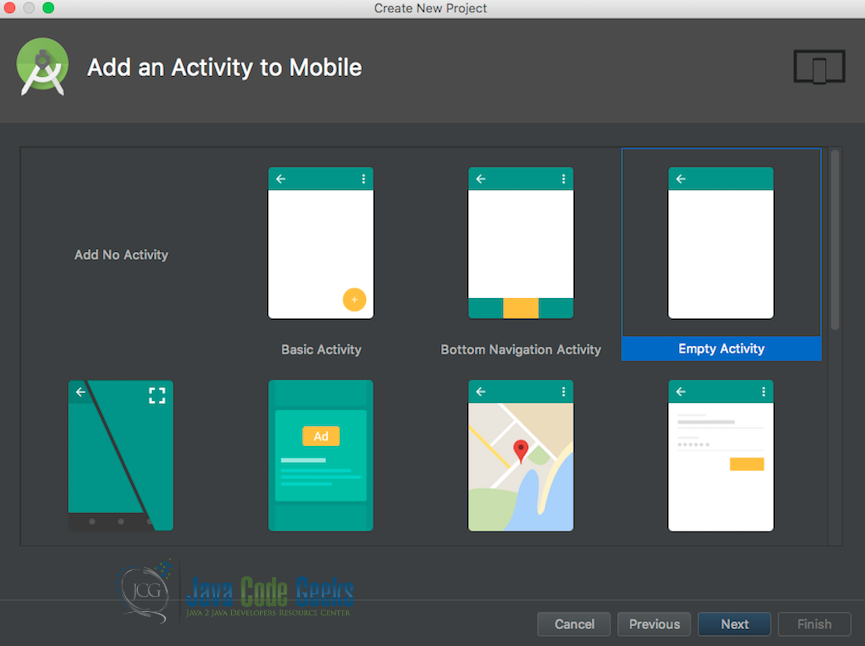
Below is the third screen when creating a new Android project in Android Studio.
Follow the below instructions as our last step in creating our application:
- Select the Activity template you would like to use for the first Activity of the project: in our case, we are going to choose the “Empty Activity” template.
- Then click Next
Below is the last screen when creating a new Android project in Android Studio.
Follow the below instructions as our last step in creating our application:
- Choose a name for the Activity: in our case, we are using the default Activity name “MainActivity”
- Select the “Generate Layout File” option. This is so that the corresponding layout file for our activity gets automatically generated.
- Select the “Backwards Compatibility (AppCompact)” option. This is so that our activity becomes backward compatible each time there is an upgrade to the Android platform.
- Then click Finish.

4. Implementing the VolleyActivity
The MainActivity is the Activity within which will be executing our HTTP request using the Request Object this time a specialized version of it called theJsonObjectRequest .This specialized version of the Request Object will allow us to transform the result to a JSON Object and this, in turn, will be made easy through the use of built-in helper methods. Further, this way we will access each individual field within the result set using a more programmatic approach.
MainActivity.java
package volley.javacodegeeks.com.androidvolleyexample;

import org.json.JSONArray;
import org.json.JSONException;
import org.json.JSONObject;
import android.os.Bundle;
import android.support.v7.app.AppCompatActivity;
import android.view.View;
import android.widget.TextView;
import com.android.volley.Request;
import com.android.volley.RequestQueue;
import com.android.volley.Response;
import com.android.volley.VolleyError;
import com.android.volley.toolbox.JsonObjectRequest;
import com.android.volley.toolbox.Volley;

public class MainActivity extends AppCompatActivity {

    private TextView txtShowTextResult;

    @Override
    protected void onCreate(Bundle savedInstanceState) {
        super.onCreate(savedInstanceState);
        setContentView(R.layout.activity_main);

        txtShowTextResult = findViewById(R.id.txtDisplay);

        RequestQueue requestQueue = Volley.newRequestQueue(this);
        final String url = "https://maps.googleapis.com/maps/api/place/nearbysearch/json?location=-33.8670522,151.1957362&radius=500&type=restaurant&keyword=cruise&key=[YOUR-GOOGLE-SEARCH-API-KEY]";

        JsonObjectRequest jsonObjectRequest = new JsonObjectRequest(Request.Method.GET, url, null, new Response.Listener() {

            @Override
            public void onResponse(JSONObject response) {
                try {
                    StringBuilder formattedResult = new StringBuilder();
                    JSONArray responseJSONArray = response.getJSONArray("results");
                    for (int i = 0; i < responseJSONArray.length(); i++) { formattedResult.append("\n" + responseJSONArray.getJSONObject(i).get("name") + "=> \t" + responseJSONArray.getJSONObject(i).get("rating"));
                    }
                    txtShowTextResult.setText("List of Restaurants \n" + " Name" + "\t Rating \n" + formattedResult);
                } catch (JSONException e) {
                    e.printStackTrace();
                }
                findViewById(R.id.progressBar).setVisibility(View.GONE);
            }
        }, new Response.ErrorListener() {
            @Override
            public void onErrorResponse(VolleyError error) {
                txtShowTextResult.setText("An Error occured while making the request");
            }
        });
        requestQueue.add(jsonObjectRequest);
    }
}
line 31: Here we instantiate a new instance of JsonObjectRequest. We also set the request method to a GET method using the Request.Method.GET construct of the Request Object. Within this same instantiation we also initialize the Request Object with the URL to the API we will be sending our request to. Since our request is a GET request (i.e we will not be posting any data to the API server) we can safely pass a null value as the third parameter. The next portion of initializing our Request Object is passing an instance of the Response.Listener interface. For our example, we are creating an anonymous class to represent an instance of the Response.Listener interface. Further and because this interface has an onResponse abstract method, we must implement this method in order to handle responses we get from our API server. The last portion of initializing our Request Object is passing an instance of the Response.ErrorListener interface and overriding its onErrorResponse method which will contain our business logic to handling error that might have occurred within the request.

line 36 to 44: Here we are basically formatting and displaying the result we get from the Google search API. In our case, we are only interested in the restaurant names and their ratings.
line 49: This statement will execute and show the specified text in our txtShowTextResult text field when an error occurs within our request to the Google search API server.
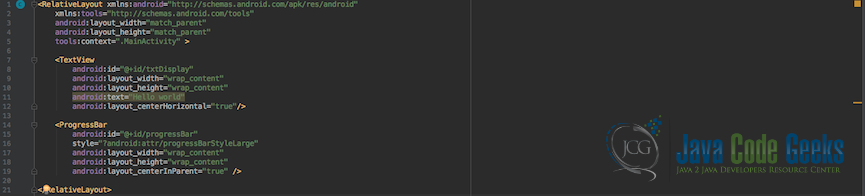
5. VolleyActivity Layout files
Below is the VolleyActivity ‘s layout file in which we define the text view component which we will be using to display the list of restaurants and their ratings. We also introduce a progress bar just in case the application takes too long to report back on the request’ s result.
The TextView Tag component is used in order to display the result of our HTTP request. The ProgressBar tag component is used to display a spinner which we use to indicate to the user that the request is still busy in the background of our application.
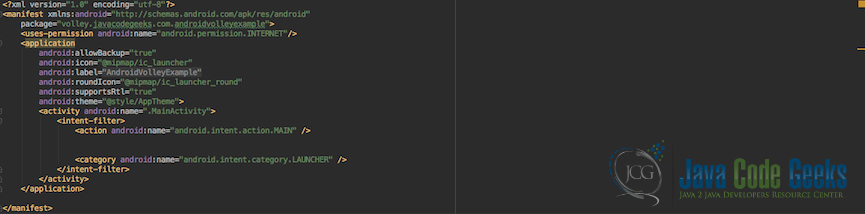
6. Manifest File
Below is the Manifest file of our application. It contains our application configuration mainly that of Activities within the application. In our example, we have the VolleyActivity. Below we define our activity as Mainthis is because we want to be able to run the activity as the main entry point to our application.
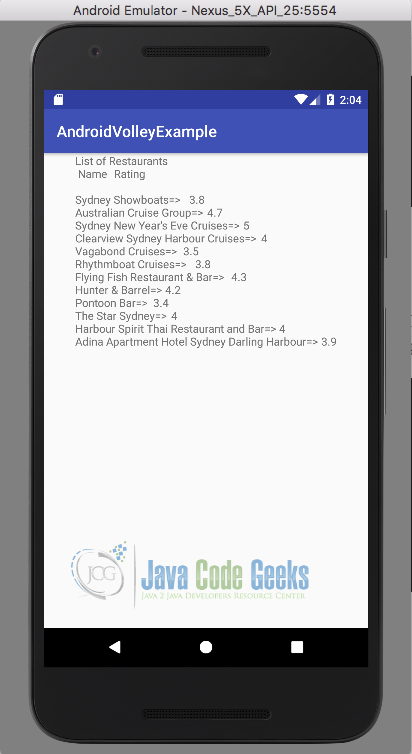
7. Final Running Application
Below is a screenshot of the Volley Activity demonstration.
On startup, the application makes a request is made to the Google search API using our API key. Further the result gets formatted and only the name and rating of each restaurant gets displayed.
8. Conclusion
In this example we went through the process of creating a basic VolleyActivity which was responsible on startup, to make a request to the Google search API in order to retrieve the list of restaurant in a particular area. We achieved this by relying on the Android Volley Library. We discovered that when using this library our code became more manageable as compared to using some generic HTTP library to make HTTP request within our Android Application. Another advantage of using the Volley library is that it runs in the background of our application and it also automatically caches the result of all requests which in turn improves the overall performance of our application.
The final outcome of our application was a list of restaurant s names and ratings that are within a certain range of an area.
9. Download the Source Code
That was Android Volley Example.
You can download the full source code of this example here: AndroidVolleyExample

Hello
problem
It displaying rate and resturants words only
this code displays Rate and resturants words only