Android Logging Example
1. Introduction
Being an Android developer, all of you might have heard of logging. Well if not, this tutorial will guide you with the concept usages and its implementation. Let us start with the quick introduction of the concept about what it is and why it is used.
LOG in a simple language can be defined as ”record of events”. In Android, Logging works as a diagnostic technique used by developers. It basically provides an insight of what’s happening in your application. We can write Log messages in the code with the help of LOG class and the messages get displayed in the Logcat window on running the application.
With the help of LOG class you can write your custom log messages in the application. The log methods used are:
Log.edisplay error messages.Log.wdisplay warnings.Log.idisplay information messages/ expected log messages.Log.ddisplay debug messages.Log.vdisplay all log messages. (least used as it records more info than usual logging)
Log method has 2 or 3 arguments :
Log.d(String tag, String msg)
Log.d(String tag, String msg, Throwable tr)
- A String called
TAG. You can define a global static string in the application and hence you can use log filters to limit the log output to specific data. ATAGcan be any string that you find helpful (eg: name of the class). - Second argument is
msg. It is the main content of the log message. - A third argument, of the class
Throwable, which represents an exception or error being thrown.
Following this, you will learn how to write log messages and check log messages for diagnostic purposes with the help of an example.
2. Android Logging Example
In this example, we have used various log methods and you will see how it helps in debugging the application.
IDE used – Android Studio 3.0 (You can use Eclipse as well, but Android studio works well with Gradle. Fore more info about Gradle read here – https://developer.android.com/studio/build/index.html)
Download Android Studio 3.0 : https://developer.android.com/studio/index.html
2.1 Open a New / Existing Android application
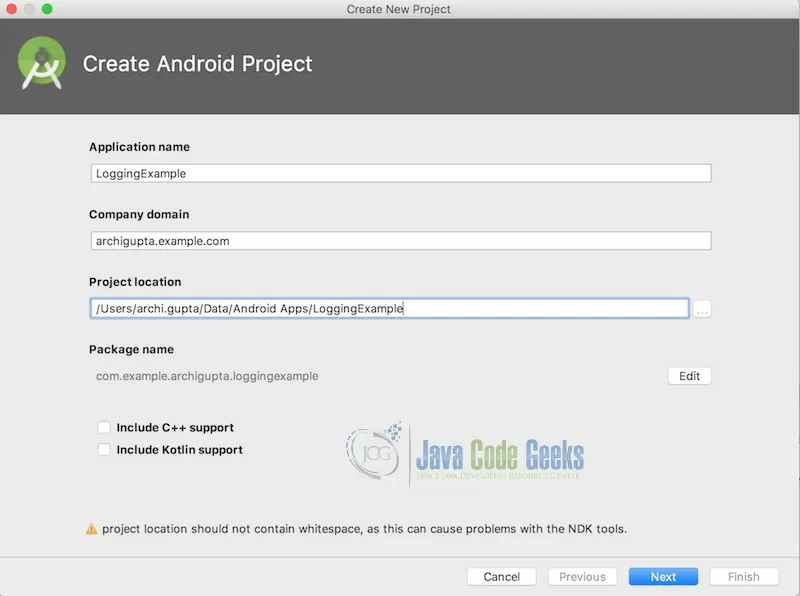
Create a New Project if you have not created one before.
2.2 Write Log messages
Alternatively use alt+enter while hovering over Log method, this will import the Log package.
LoggingExampleActivity.java
import android.util.Log;

public class LoggingExampleActivity extends AppCompatActivity {
private static final String TAG = "Logging Example";
private Button button;

@Override
 protected void onCreate(Bundle savedInstanceState) {

 super.onCreate(savedInstanceState);
 setContentView(R.layout.activity_logging_example);
 Toolbar toolbar = (Toolbar) findViewById(R.id.toolbar);
 setSupportActionBar(toolbar);
 button = (Button)findViewById(R.id.button);Log.d(TAG,"On Create" );
 try {
 //
 } catch (Exception e) {
 Log.e(TAG, "Received an exception " + e.getMessage() );
 }

 button.setOnClickListener(new View.OnClickListener() {
 @Override
 public void onClick(View view) {
 Toast.makeText(getApplication(), "Button Clicked", Toast.LENGTH_SHORT).show();
 Log.d(TAG,"On Create" );
 Log.i("Info log","Button Clicked" ); } });
 }
2.3 Run the application
Build and run your app on a device or an emulator. You should be able to see all the log messages of your application in the Logcat console. If you don’t, then go to View > Tool Windows > Logcat or click on Logcat in the tool window bar. By default Logcat shows all the messages of your application. To change this, you can filter Logcat messages by using buttons on the Logcat window sidebar.
Clear Logcat ![]() will clear the visible log.
will clear the visible log.
Scroll to the end ![]() will let you see the latest log messages.
will let you see the latest log messages.
Up the stack trace ![]() and
and Down the stack trace![]() for navigating up and down the stack traces.
for navigating up and down the stack traces.
Soft wraps ![]() will enable line wrapping.
will enable line wrapping.
Restart ![]() will clear the log and restart it.
will clear the log and restart it.
As we placed the Log methods in the OnCreate () method, so as soon as this method is triggered ,we will see the log messages. (Highlighted manually)

To check for the second log message i.e. Log.i , click the button. On clicking the button, OnClick() method will be called and as a result, you can see the log message with Info log(TAG) : Button Clicked(msg) in logcat.

2.4 Filtering the Logs
As you can see, there is a lot of log data from different sources. To make it simple, you can filter the logs. Let’s explore the different filter options available in the Logcat panel.
2.4.1 Source
The dropdown allows you to select the device whose log messages you want to see.

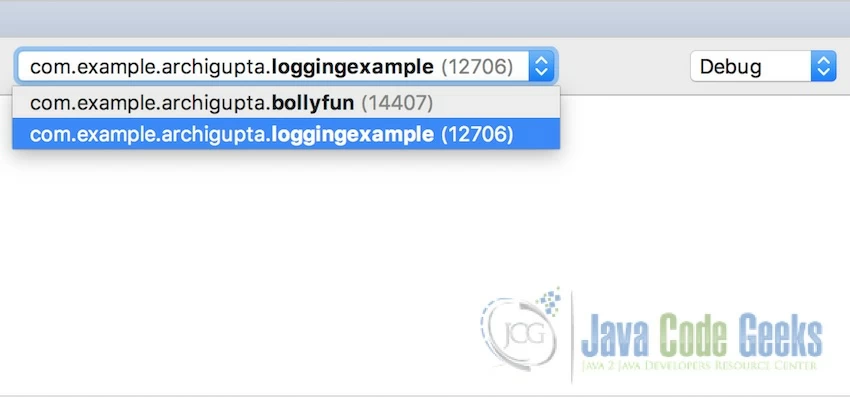
2.4.2 Application
This dropdown allows you to select which application’s log messages you want to view.

2.3.3 Log Levels
In this screenshot, log methods are ordered from low to high (Verbose has the lowest priority).
On selecting a particular level, you can see log messages of that level and beyond. For example, on selecting Info, you can see Log.i messages and higher priority messages.

On selecting Debug, you can see Log.d and Log.i messages as Debug has lower priority than Info.

2.4.4 Search
In the search field, you can search for particular Log message by typing in the keyword or TAG you used in the Log statement. It helps when you are not able to locate your Log message and check if the particular piece of code ever ran. For example, by putting TAG in the search field, you can actually see your Log message.

3. Conclusion
We have seen how Logcat works and by using this, how we can easily check the workflow of the application. Despite of all the benefits, its excessive use can decrease application performance. It is recommended to use Debug and Verbose only during development and not in the Released version.
4. Download the Source Code
This was an example of Android Logging with Filtering techniques.
You can download the full source code of this example here: Logging Example


