RadioGroup is a widget in Android which groups RadioButtons. More specifically, the use of RadioGroup provides the capability of selecting only one RadioButton from the set. When the user chooses one RadioButton, the previous one that was selected, becomes automatically unchecked.
In our example we are going to show you the use of RadioGroup in the Android apps.
For this tutorial, we will use the following tools in a Windows 64-bit platform:
- JDK 1.7
- Eclipse 4.2 Juno
- Android SDK 4.1
You may skip project creation and jump directly to the beginning of the example below.
1. Create a New Android Application Project
Open Eclipse IDE and go to File → New → Project → Android Application Project.
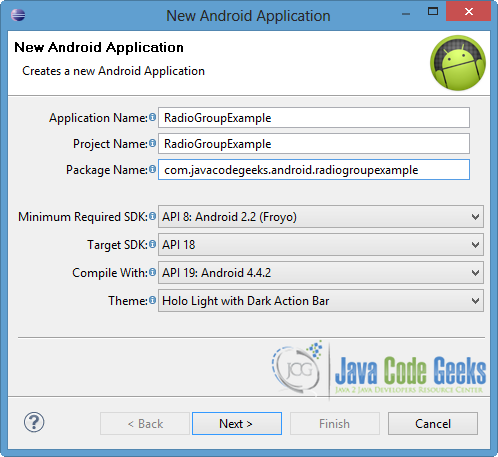
Specify the name of the application, the project and the package and then click Next.
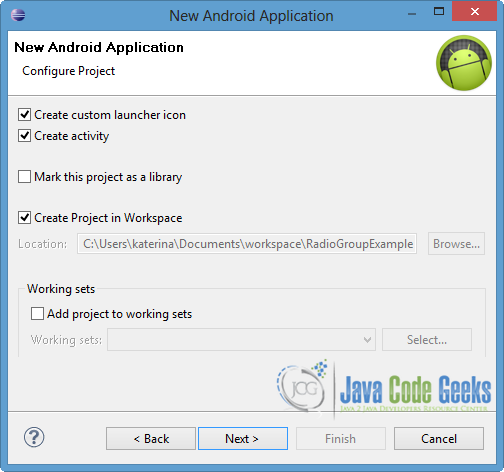
In the next window, the “Create Activity” option should be checked. The new created activity will be the main activity of your project. Then press Next button.
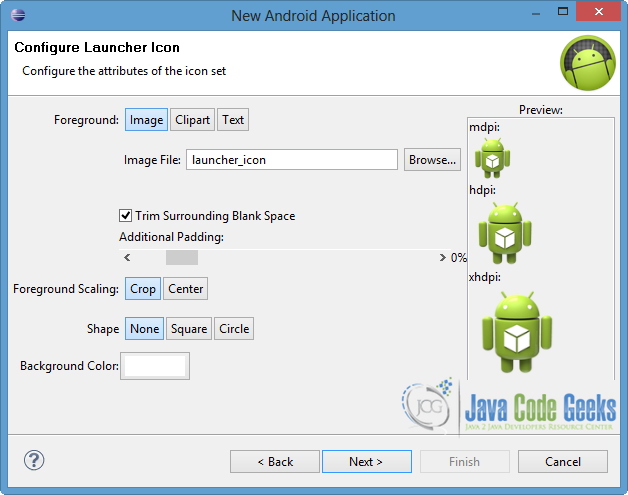
In “Configure Launcher Icon” window you should choose the icon you want to have in your app. We will use the default icon of android, so click Next button.
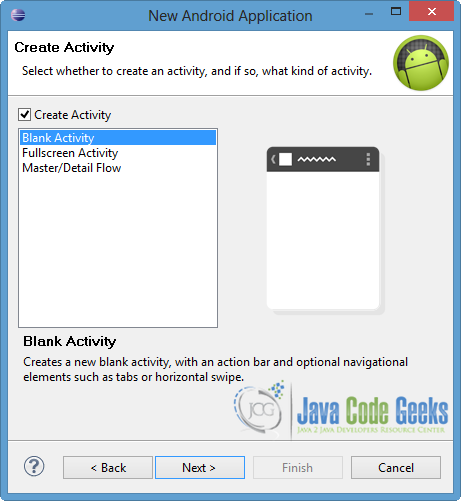
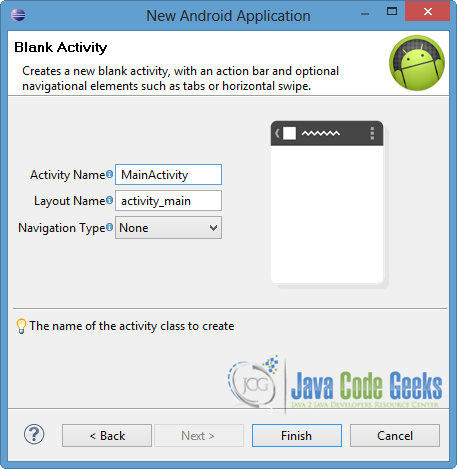
Select the “Blank Activity” option and press Next.
You have to specify a name for the new Activity and a name for the layout description of your app. The .xml file for the layout will automatically be created in the res/layout folder. Finally, press Finish.
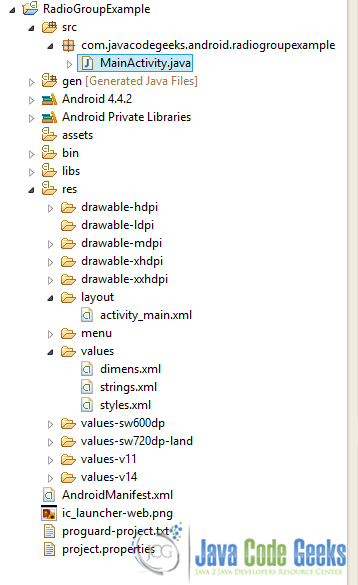
Now you can see the final structure of the project in the following image.
2. Create the layout of the Main Activity
Now we are going to create a simple UI that includes of course RadioGroup.
Open res/layout/activity_main.xml, go to the respective tab and paste the following code.
activity_main.xml:
<RelativeLayout xmlns:android="http://schemas.android.com/apk/res/android"
    xmlns:tools="http://schemas.android.com/tools"
    android:layout_width="match_parent"
    android:layout_height="match_parent"
    android:paddingBottom="@dimen/activity_vertical_margin"
    android:paddingLeft="@dimen/activity_horizontal_margin"
    android:paddingRight="@dimen/activity_horizontal_margin"
    android:paddingTop="@dimen/activity_vertical_margin"
    tools:context=".MainActivity" >

    <TextView
        android:layout_width="wrap_content"
        android:layout_height="wrap_content"
        android:layout_marginBottom="10dp"
        android:id="@+id/text"
        android:text="@string/ChoiceText" />

    <RadioGroup
        android:layout_width="wrap_content"
        android:layout_height="wrap_content"
        android:layout_below="@+id/text"
        android:id="@+id/myRadioGroup"
        android:background="#abf234"
        android:checkedButton="@+id/sound" >

        <RadioButton
            android:layout_width="wrap_content"
        	android:layout_height="wrap_content"
        	android:id="@+id/sound"
        	android:text="@string/Sound" />

        <RadioButton
            android:layout_width="wrap_content"
        	android:layout_height="wrap_content"
        	android:id="@+id/vibration"
        	android:text="@string/Vibration" />

        <RadioButton
            android:layout_width="wrap_content"
        	android:layout_height="wrap_content"
        	android:id="@+id/silent"
        	android:text="@string/Silent" />

    </RadioGroup>

    <Button
        android:layout_width="wrap_content"
        android:layout_height="wrap_content"
        android:layout_below="@+id/myRadioGroup"
        android:layout_marginTop="10dp"
        android:id="@+id/chooseBtn"
        android:text="@string/Choose" />

</RelativeLayout>
The basic attribute of RadioGroup is android:checkedButton, that specifies which radio button should be checked by default. The other components are inherited from the View class. As you can notice from the code above, the set of the radio buttons are embodied by a RadioGroup, so every configuration of its component affects the radio buttons too.
3. Set the string values
At this step we just going to declare the string references from the activity_main.xml to the appropriate resource.
So open res/values/strings.xml, go to the respective tab and paste the following code.
strings.xml
<?xml version="1.0" encoding="utf-8"?>
<resources>

    <string name="app_name">RadioGroupExample</string>
    <string name="action_settings">Settings</string>
    <string name="ChoiceText">Choose one of the radio buttons below</string>
    <string name="Sound">Sound</string>
    <string name="Vibration">Vibration</string>
    <string name="Silent">Silent</string>
    <string name="Choose">Choose</string>

</resources>
4. Code the Main Activity
At this point we will show how we can handle the change of a radio button, that belongs to a RadioGroup.
Open src/com.javacodegeeks.android.radiogroupexample/MainActivity.java and paste the following code.
MainActivity.java:
package com.javacodegeeks.android.radiogroupexample;

import android.os.Bundle;
import android.app.Activity;
import android.view.View;
import android.view.View.OnClickListener;
import android.widget.Button;
import android.widget.RadioButton;
import android.widget.RadioGroup;
import android.widget.RadioGroup.OnCheckedChangeListener;
import android.widget.TextView;
import android.widget.Toast;

public class MainActivity extends Activity {

	private RadioGroup radioGroup;
	private RadioButton sound, vibration, silent;
	private Button button;
	private TextView textView;

	@Override
	protected void onCreate(Bundle savedInstanceState) {
		super.onCreate(savedInstanceState);
		setContentView(R.layout.activity_main);

		radioGroup = (RadioGroup) findViewById(R.id.myRadioGroup);

		radioGroup.setOnCheckedChangeListener(new OnCheckedChangeListener() {

			@Override
			public void onCheckedChanged(RadioGroup group, int checkedId) {
				// find which radio button is selected
				if(checkedId == R.id.silent) {
					Toast.makeText(getApplicationContext(), "choice: Silent",
							Toast.LENGTH_SHORT).show();
				} else if(checkedId == R.id.sound) {
					Toast.makeText(getApplicationContext(), "choice: Sound",
							Toast.LENGTH_SHORT).show();
				} else {
					Toast.makeText(getApplicationContext(), "choice: Vibration",
							Toast.LENGTH_SHORT).show();
				}
			}

		});

		sound = (RadioButton) findViewById(R.id.sound);
		vibration = (RadioButton) findViewById(R.id.vibration);
	    silent = (RadioButton) findViewById(R.id.silent);
	    textView = (TextView) findViewById(R.id.text);

	    button = (Button)findViewById(R.id.chooseBtn);
	    button.setOnClickListener(new OnClickListener() {

			@Override
			public void onClick(View v) {
				int selectedId = radioGroup.getCheckedRadioButtonId();

				// find which radioButton is checked by id
				if(selectedId == sound.getId()) {
					textView.setText("You chose 'Sound' option");
				} else if(selectedId == vibration.getId()) {
					textView.setText("You chose 'Vibration' option");
				} else {
					textView.setText("You chose 'Silent' option");
				}
			}
	    });
	}

}
Now let’s have a look at the code above. When a checked radio button is changed in its group, OnCheckedChangeListener is invoked in order to handle this situation. The onCheckedChanged() method of this interface, includes the unique id of the radio button that was selected and caused the invoke of the callback.

In this example we will show you another way of selecting the choice information (for example when a button is pressed). This can be done through getCheckedRadioButtonId(), which is a public function of RadioGroup class. This method returns the unique id of the radio button that is chosen from the group. You can have a look at the code to see how you can handle both situations.
Of course Android system provides us a more dynamic way of changing and handling the attributes of the application views. As a prerequisite is to map every view with the unique id component of the XML. This can be done via findViewById() method.
5. Run the application
To run our application, right click on our project → Run as → Android Application. The AVD will appear with the app loaded.
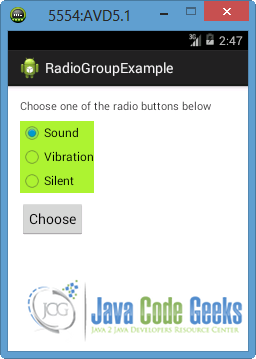
As you can see, the radio button – “Sound” is selected as default because we declared it through its id to the android:checkedButton attribute at the layout of the activity.
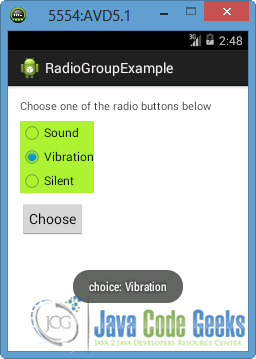
Now let’s choose another radio button, for example “Vibration”. A Toast is displayed on the screen because the callback method of the OnCheckedChangeListener is initialized.
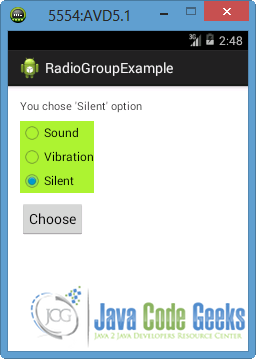
Now let’s select “Silent” radio button and after the disappearance of the Toast press “Choose” button. The TextView at the top of the screen changes to indicate our choice, as you can see in the next image. This is happening because getCheckedRadioButtonId() is called and a simple procedure is done inside the onClick() operation of the OnClickListener interface, as you can see in the MainActivity.java.
Download the Eclipse Project
This was an example of RadioGroup in Android.
You can download the full source code of this example here : RadioGroupExample.zip

nice work same kind of work is here
Android Radio and Toggle Button Example
How can we put a) before radio_button1, b) before radio_button2, c) before radio_button3, d) before radio_button4