1. Introduction
In my previous posts about Git, most of the contents are focusing on local repository operation. So in most of the time, you only need to deal with your local repository and operate on it.
However, you may not only be involving in local or self operation on you code. You may cooperate with others to work on the same project. Or you may want to involve some interesting projects which are shared by others. Then Github should make you be comfortable with all these.
Basically Github is a web-based Git repository, which is also called remote repository, compared to the local repository. It provides web-based GUI and desktop as well as mobile integration. It also provides access control and other features for collaboration, such as bug tracking, task management and wikis for every project.
As Github provides so many convenience to our developers, it’s important to be familiar with how to interact with it. From the figure below, we know that this can happen. By using command git pull/clone and git push, we can download and upload codes/project from Github.

In the remote repository, you may also notice that there’ll be multiple different branches. Here you can understand branches as different versions of your project. In this article we’ll focus on how to deal with different branches/versions in Github.
All the examples below is shown in MacOS EI Capitan Version 10.11.3 and the Git version is 2.5.4.
2. Github settings
To work with Github, firstly you need to have a Github account. You can register one from the webpage of Github. Also you need to install Git on you computer or laptop. The installation instruction could be found on my previous post on git repo example.
Then coming back to the Github settings. Open the terminal on your computer/laptop. Then type the following command to make sure that Git knows your user name.
$ git config --global user.name "YOUR NAME"
After this, you need to associate your email address with your Git commit. You can use the following command in your terminal to connect them. Here, be sure that the email address is he one that you used for register the Github account.
$ git config --global user.email "YOUR EMAIL ADDRESS"
Next you need to authenticate with Github from Git. When you want to connect Github from your Git, you need authentication from Github. Two methods could be chosen for this:
- Clone with HTTPS: the detailed instructions could be found here
- Clone with SSH: the detailed instructions could be found here
After all these steps, the Github settings are done. You can go to the further part.
3. Git clone
3.1 git clone command
As mentioned in the figure above, we can download projects from remote repository/Github. This can be achieved by using command git clone with the git link of that project.
For example, you may be interested in the Datastax Java driver for NoSQL database Apache Cassandra. You can go to the Github link https://github.com/datastax/java-driver. Below is the figure to show how it looks for this Git project.
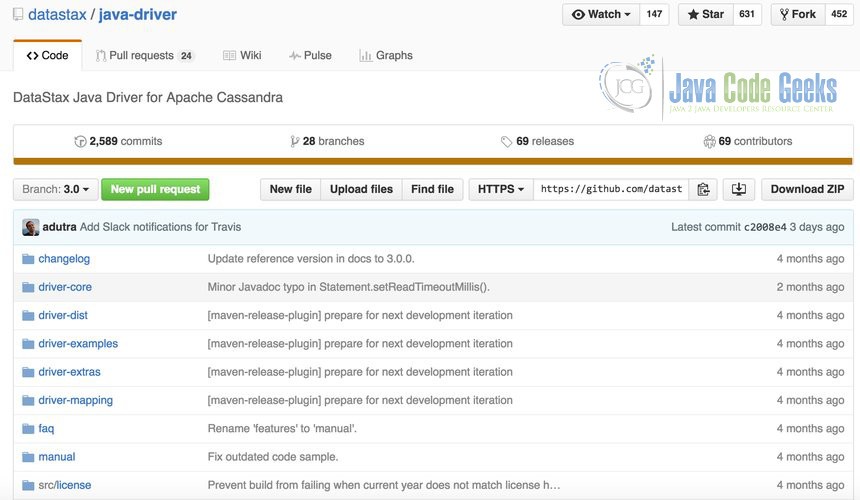
Then if you want to download it and work on this project on your local machine. You can use git clone command. To do this, you need to find the git link for this project. For this project, the git link is https://github.com/datastax/java-driver.git. The position of this link is below with blue part marked and you can copy it.

Then open you terminal and go to the position you want to save this project. Type git clone https://github.com/datastax/java-driver.git. Then it’ll download this project to your local machine like below:
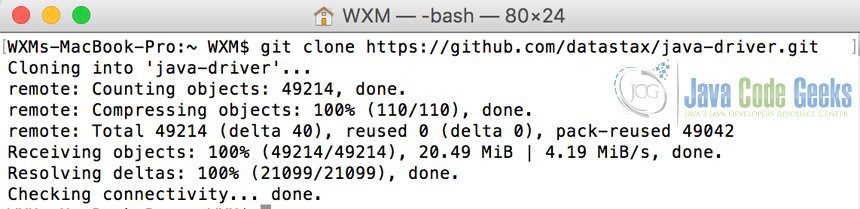
When you notice that it’s done, the whole project has been downloaded to your local repository on your machine.
3.2 git clone branch
In the git link of the Java driver, you may notice on the left side, there’s a Branch menu showing it’s in Branch: 3.0. This means that it’s current version is 3.0. Then click the menu, you can find other more different versions like below:
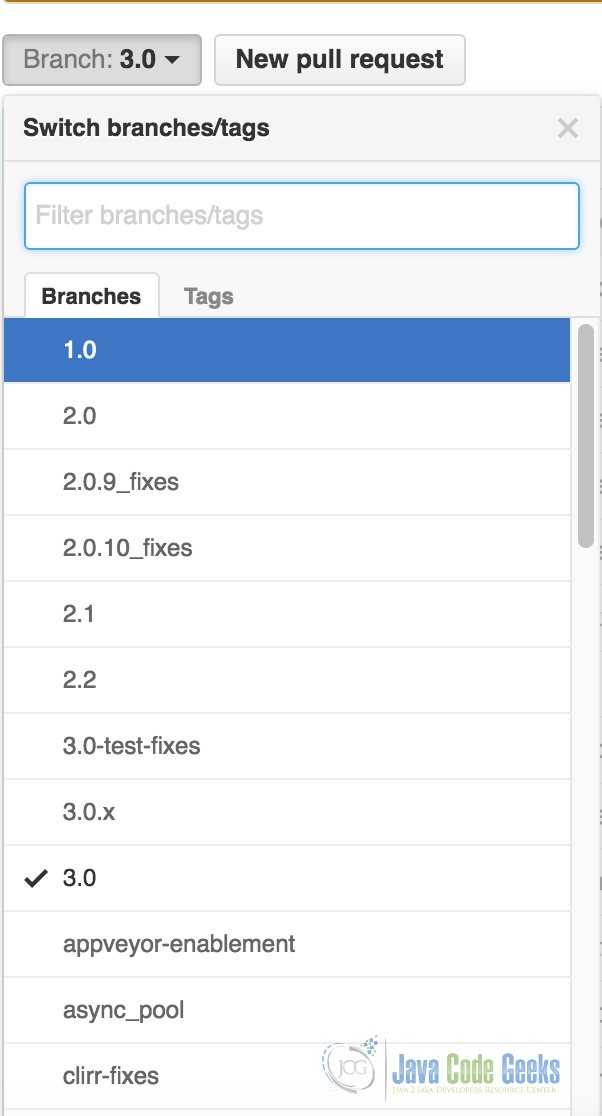
In the figure above, you may find out different numbers like 1.0, 2. 0, 3.0 etc. Actually these are the version name for this project. You can also click the branches like below to see the detailed information of different branches.
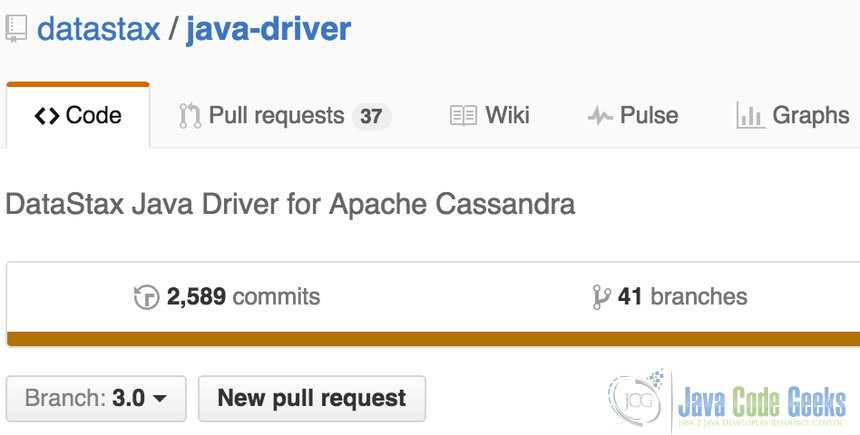

You can see that there’re 41 branches for this project. Then click inside the 41 branches, you can get more detailed information on these branches like below:
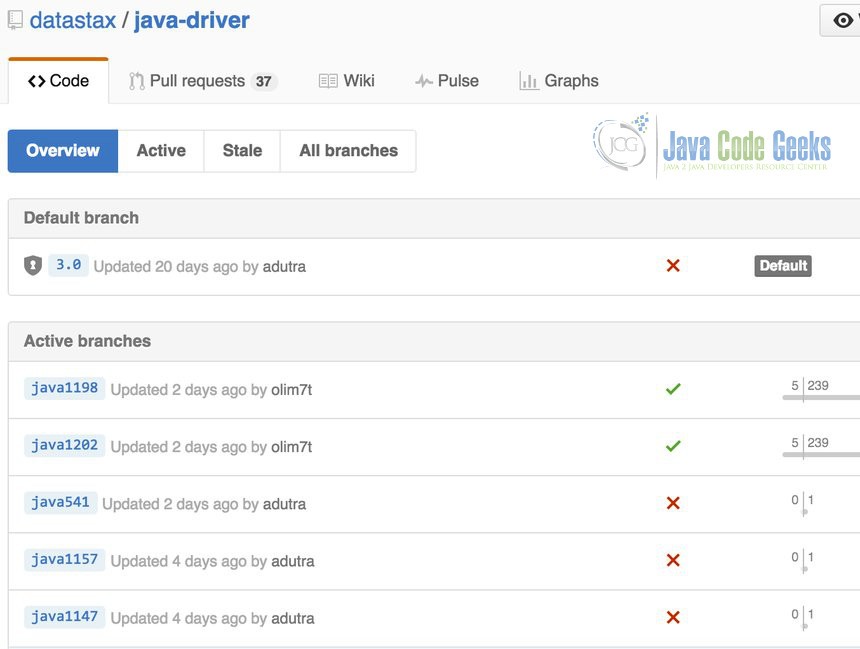
For example, the figure above shows you the overview of the whole project. You may notice that the version of 3.0 is the default version. You can also click the “Active”, “Stale”, “All branches” to check out other information for the different branches.
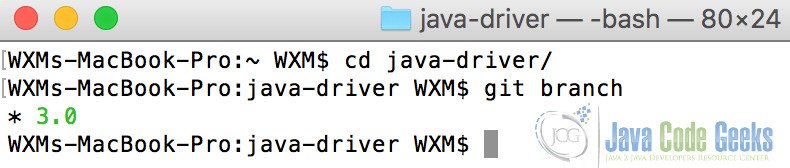
Also, you can double check it through the command which version you’re in. Open a terminal, cd into the project folder you’ve cloned through the git clone command. Then type git branch, you’ll find which version you’re in. In the figure below, we can see that we’re in the version of 3.0 for the Java driver.
Also you can use command git branch -a to list all branches in this project. Similarly you can see our example below:
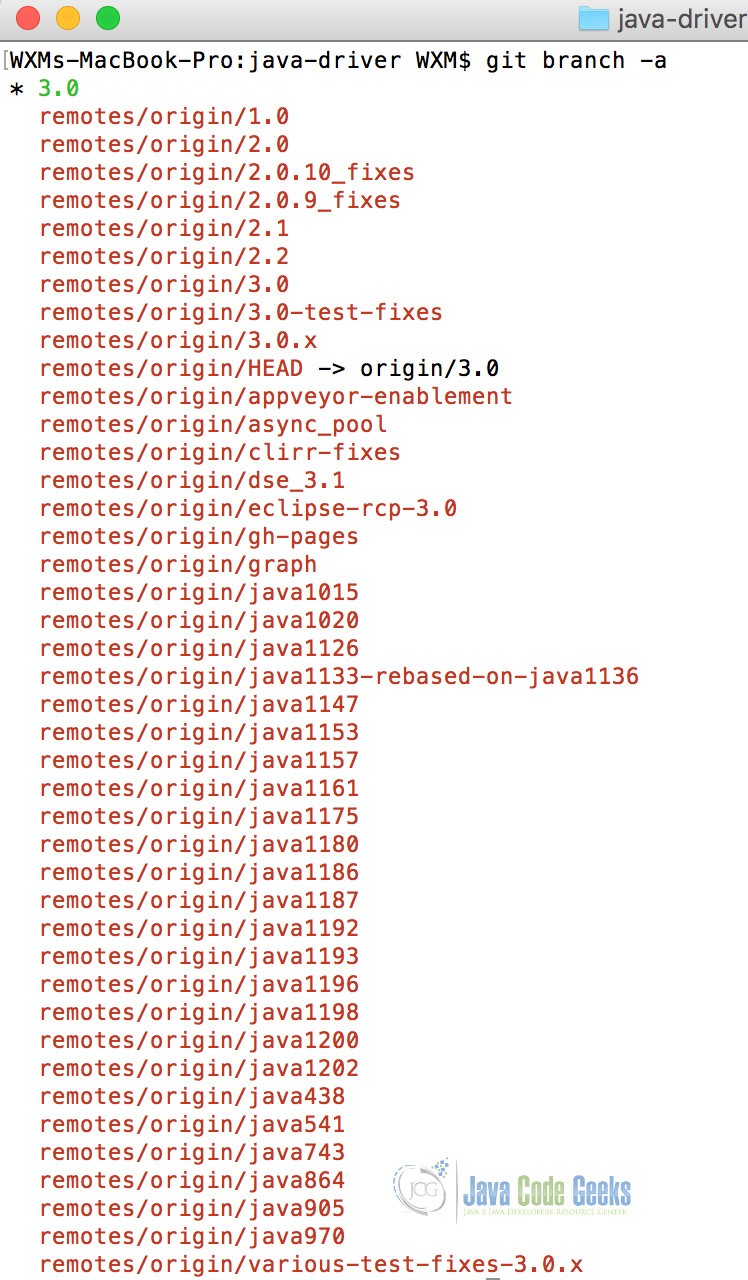
Through this command, you can find all branches in the whole project. After knowing all the names for all the branches. You can use command git checkout with the branch name. For example, if we want to go to the branch of version 2.1, we can use command git checkout remotes/origin/2.1. Note here, the name should be the same as the name after running the git branch -a. Afterwards, you can check out your current version like below:
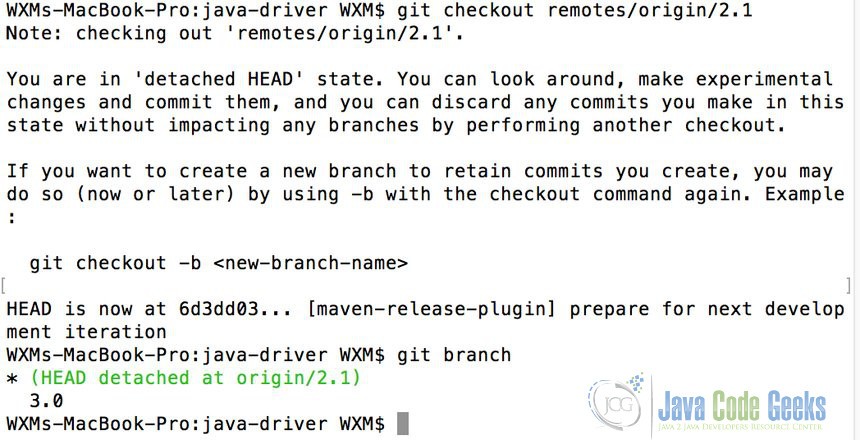
After checkout, you’ve switched to another version of the project. Then you may work on this version and add features into it.
Finally, if you know which version you want to work with. You can specify the version branch and download it with the branch name. Here the command git clone -b branchname git_link could be used here. For example, if you know that you want to work with the version of 2.1 for Java driver. Then you can type git clone -b 2.1 https://github.com/datastax/java-driver.git. This will make your current HEAD pointing to the version of 2.1. You may check this version with git branch and find that it’s in version of 2.1 like below:
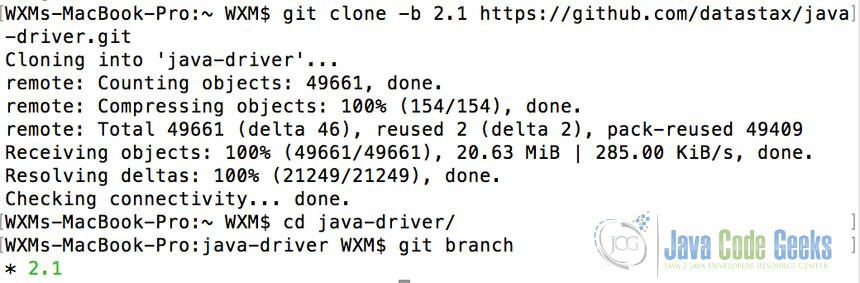
From the figure above, we can see that we’re in the version of 2.1 for the Java driver.
4. Conclusion
In conclusion, Git offers you with different choices to work with different branches. You may find all branches with git branch -a. You can also download specified branch with git clone -b branchname git_link. You can also switch to specific branch with git checkout branchname.
