In this example we shall show you how to start with Git. Git is a Version Control System (VCS) like CVS or Subversion but with one big difference it is not central repository, it is distributed.
First, we shall install git. You can download the installer to any O.S. from git-scm site here. Also, we will need an GitHub account in order to complete some steps in these example.
Note: We should take into account that the latest version is not available for all O.S at the same time.
1. History
- Started at 2005
- Created by Linus Tolvards
- Written in Perl and C
2. Advantages
- Allow different topologies (centralized, hierarchical, distributed)
- Backup are easy
- Reliable branching/merging
- Full local history
3. Git Protocols
- HTTP/HTTPS
- GIT
- SSH
- File
4. Example
Before to start with the example, we need to setup git after the installation. There are three configuration levels (system, global, local). For more information, visit Git Configuration Section.
git config --global user.name "[name]"
git config --global user.email "[email address]"
- Create hello-world directory and make your first git local repository.
mkdir hello-world
cd hello-world
git init
By default, master is the name of branch.
- Create a README.md file and add your first commit using
git commit --messageorgit commit -m.echo "Lorem ipsum dolor sit amet, eros maiestatis ei mel, utroque accumsan no pri. Ne his vocent tractatos, an soluta mollis sea. Delicata persequeris ne mei, cum no commodo detracto. Eu eam habemus lucilius. Facer sonet lobortis id pri, delectus fabellas id cum. Cum ex iuvaret inermis conclusionemque." >> README.md git add README.md git commit -m "Initial commit"
File status in git repositories:
- Untracked, initial status for new files.
- Staged, after
git addexecution. - Unmodified, once
git commitcommand is performed. - Modified, files committed have been edited.
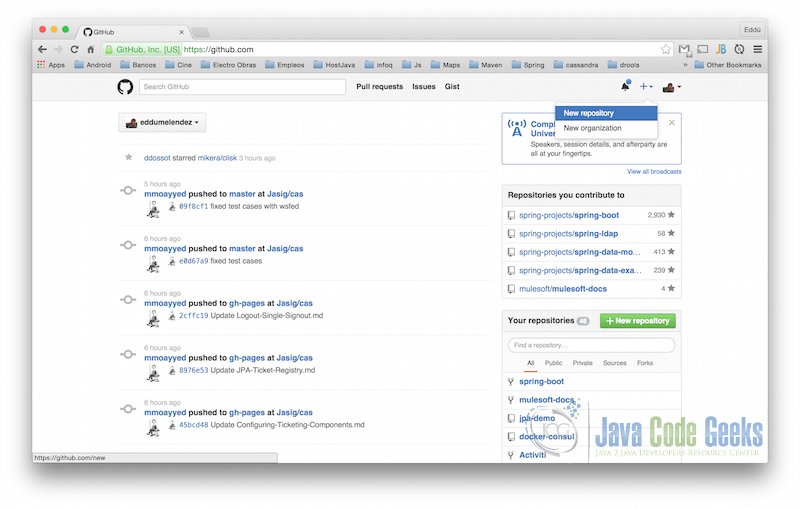
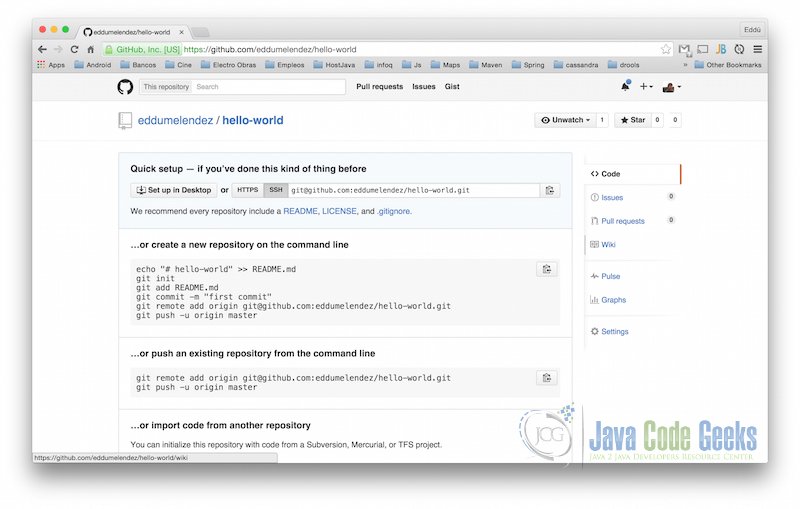
- Create a GitHub account and create your repository.

Create GitHub Repository 1 Create GitHub Repository 2 Create GitHub Repository 3 - At this time, all changes are in our local repository but before to push local changes to the remote repository we need to add the remote url in the local repository. The first command is
git remote --verboseorgit remote -vshow us the list of remote repositories associated but in this case is empty. Second command is used to add remote repositories.git remote -v git remote add origin git@github.com:eddumelendez/hello-world.git
After that, we can run
git remote -vand we will see something like this:origin git@github.com:eddumelendez/hello-world.git (fetch) origin git@github.com:eddumelendez/hello-world.git (push)
- Now, our local repository has communication with the remote repository. This allow us to push local changes to the remote repository on GitHub.
git push origin master
- Let’s create a new branch named development and add CONTRIBUTION.md file.
git branch development
git checkout development
echo "Contribution" >> CONTRIBUTION.md
We can use just one command
git checkout -b developmentinsteadgit branch developmentandgit checkout development.In order to see the list of branches we can use
git branch -a, the result must be:* development master
(*) means that we are working in that branch.
- Commit new file to the local repository in development branch.
git add CONTRIBUTION.md
git commit -m "Add CONTRIBUTION.md file"
- Let’s review the log. Our development branch must have one additional commit to master.
git log --oneline
Terminal will display:
11251d9 Add CONTRIBUTION.md file
a466c08 Initial commit
- In order to see the differences among our branches we will use
git diffcommandgit diff master.. development
In the terminal, we can see that there are a new file with content text Contribution.
diff --git a/CONTRIBUTION.d b/CONTRIBUTION.d
new file mode 100644
index 0000000..e07fa82
--- /dev/null
+++ b/CONTRIBUTION.d
@@ -0,0 +1 @@
+Contribution
- Finally, since we have been working in a different branch (development). We need to merge these changes in the main branch (master). Now, we will use
git mergecommand.git checkout master git merge development
Now, we will create another branch from master and will make changes to solve conflicts in merge.
- Create refactor branch from master.
git checkout -b refactor
- Edit README.md file, we are going to change word utroque to refactor.
- Back to the master branch and edit README.md file, we are going to change word utroque to master.
git checkout master
- Let see the difference among master and refactor
git checkout refactor
git diff master.. refactor
The output is:
diff --git a/README.md b/README.md
index 642ff12..ba22bb0 100644
--- a/README.md
+++ b/README.md
@@ -1 +1 @@
-Lorem ipsum dolor sit amet, eros maiestatis ei mel, master accumsan no pri. Ne his vocent tractatos, an soluta mollis sea. Delicata persequeris ne mei, cum no commodo detracto. Eu eam habemus lucilius. Facer sonet lobortis id pri, delectus fabellas id cum. Cum ex iuvaret inermis conclusionemque.
+Lorem ipsum dolor sit amet, eros maiestatis ei mel, refactor accumsan no pri. Ne his vocent tractatos, an soluta mollis sea. Delicata persequeris ne mei, cum no commodo detracto. Eu eam habemus lucilius. Facer sonet lobortis id pri, delectus fabellas id cum. Cum ex iuvaret inermis conclusionemque.
As we can see, there are conflicts between README.md files. Now, we will solve these conflicts in our merge process.
<<<<<<< HEAD Lorem ipsum dolor sit amet, eros maiestatis ei mel, master accumsan no pri. Ne his vocent tractatos, an soluta mollis sea. Delicata persequeris ne mei, cum no commodo detracto. Eu eam habemus lucilius. Facer sonet lobortis id pri, delectus fabellas id cum. Cum ex iuvaret inermis conclusionemque.
======= Lorem ipsum dolor sit amet, eros maiestatis ei mel, refactor accumsan no pri. Ne his vocent tractatos, an soluta mollis sea. Delicata persequeris ne mei, cum no commodo detracto. Eu eam habemus lucilius. Facer sonet lobortis id pri, delectus fabellas id cum. Cum ex iuvaret inermis conclusionemque. >>>>>>> refactor
- In order to proceed with merge. We need to locate at the branch we want to merge changes, in our case master is that branch. Now, we will perform
git mergegit checkout master git merge refactor
Now, we are going to work with the remote repository. You can clone the repository created on GitHub which was created in previous steps using
git clone:git clone https://github.com/eddumelendez/hello-world.git hello-world-copy
This working copy is out-of-date. But, imagine you have been working in a new feature in the master branch. There are two way to update. Using a rebase or merging changes.


4.1 Rebase
git pull --rebase origin master
git log --oneline
As you can see, your last commit is on the top. So, git pull --rebase have reallocated your commit. You can have some conflicts in the rebase process and there are three commands git rebase --continue, apply changes to the next commit,git rebase --skip, ignore the current commit and, git rebase --abort, abort all rebase process.
4.2 Merge
git fetch origin master
git merge origin/master
5. Resources
6. Download the source code
This was an example about Git “Hello World”.
You can download the source code of this example here: Git_Hello_World.zip
