Install Apache Tomcat on Mac os x Yosemite
OS X Yosemite (version 10.10) is the eleventh major release of macOS, Apple Inc.’s desktop and server operating system for Macintosh computers.
Apache Tomcat is a web server and servlet container that is used to serve Java applications. A servlet is a Java technology-based Web component, managed by a container, that generates dynamic content.
1. The tools
- OS X Yosemite
- Java JDK
- Apache Tomcat
2. Introduction
In this example we are going to install on OS X Yosemite:
Java JDK 8.
Tomcat Server.
We are going to create a script to make Tomcat start with the system and easily start and stop the Tomcat service. Edit the tomcat users to access the Tomcat management console.
3. Prerequisites
- OS X Yosemite installed
4. Download the JDK
Go to the page http://www.oracle.com/technetwork/java/javase/downloads/jdk8-downloads-2133151.html
Accept the end user Select the JDK to download:
5. Download Tomcat
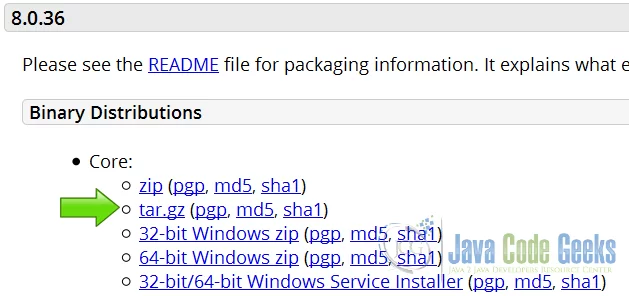
Go to the page https://tomcat.apache.org/download-80.cgi#8.0.36 and download the tomcat server.
6. Install the JDK
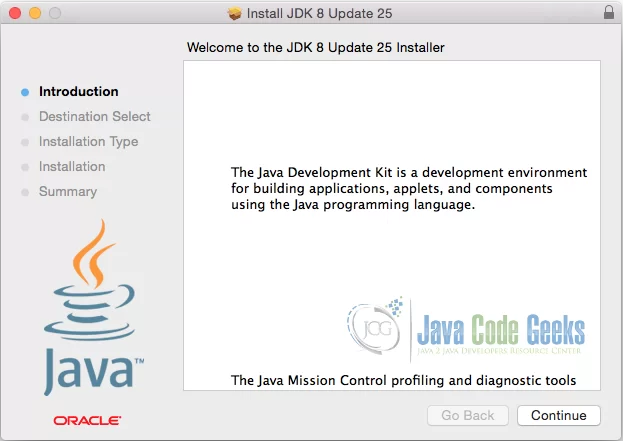
Double-click the downloaded dmg file and follow the on-screen installation.
Once it is successfully installed, it is installed inside /Library/Java/JavaVirtualMachines folder.
JavaVirtualMachines
$ ls -l /Library/Java/JavaVirtualMachines/
total 0
drwxr-xr-x  3 root  wheel  102 Nov  4  2013 jdk1.7.0_45.jdk
drwxr-xr-x  3 root  wheel  102 Jan 16 14:13 jdk1.8.0_25.jdk
Verify that the system is now using JDK 8.
Java Version
$ java -version
java version "1.8.0_25"
Java(TM) SE Runtime Environment (build 1.8.0_25-b17)
Java HotSpot(TM) 64-Bit Server VM (build 25.25-b02, mixed mode)
7. Install Tomcat server
We are going to extract the Tomcat server in the /Library directory.
Extract Tomcat
    cd Downloads
    sudo mv apache-tomcat-8.0.33.tar.gz /Library
    cd /Library
    sudo tar zxvf apache-tomcat-8.0.33.tar.gz
8. Starts the Tomcat server
Go to the Library/tomcat/bin directory and execute the following command.
start
sudo ./catalina.sh start
You should see the following output
output
Using CATALINA_BASE:   /Library/tomcat
Using CATALINA_HOME:   /Library/tomcat
Using CATALINA_TMPDIR: /Library/tomcat/temp
Using JRE_HOME:        /Library
Using CLASSPATH:       /Library/tomcat/bin/bootstrap.jar:/Library/tomcat/bin/tomcat-juli.jar
Tomcat started.
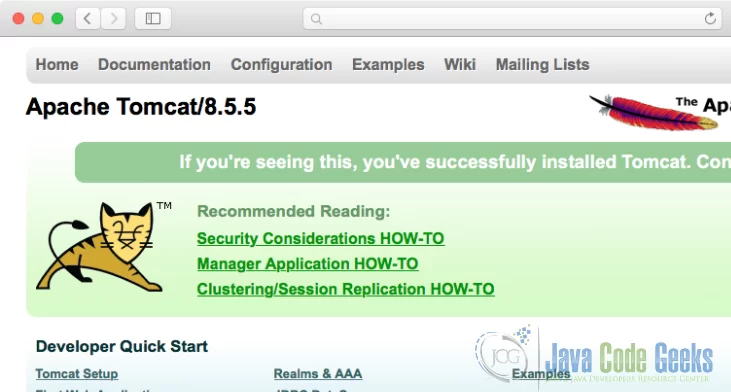
Now its time of test our server. Open your browser in the URL http://localhost:8080 and you should see the following page.
9. Activates the manager
To access the Tomcat manager we need to create an user whit the privileges to do that. Edit the file /Library/tomcat/conf/tomcat-users.xml. In this file we are going to define the users to access the tomcat manager.
tomcat-users.xml
<?xml version='1.0' encoding='utf-8'?>
<tomcat-users xmlns="http://tomcat.apache.org/xml"
              xmlns:xsi="http://www.w3.org/2001/XMLSchema-instance"
              xsi:schemaLocation="http://tomcat.apache.org/xml tomcat-users.xsd"
              version="1.0">
	<user username="admin" password="admin" roles="manager-gui,admin-gui"/>
</tomcat-users>
user username="admin" password="admin" roles="manager-gui,admin-gui"
Here we are defining an user admin with the password admin with the roles manager-gui and admin-gui.
Now restart the server and open again the URL http://localhost:8080
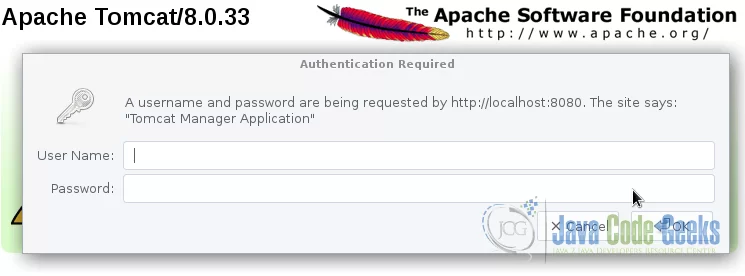
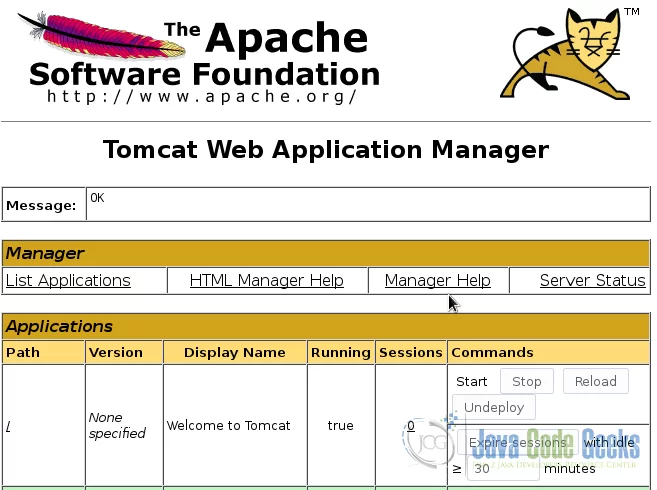
This time click on the Manager App button. No Tomcat will ask for credentials. You should see the following screen.
Both in the User Name and Password write admin. Then press enter. You should see the following screen.
10. Conclusion
Run the command sudo /Library/tomcat/bin/catalina.sh start to start the server. Open the browser in the URL http://localhost:8080 to verify the server is running.
Run the command sudo /Library/tomcat/bin/catalina.sh stop to stop the server. Reboot the machine and verify that the script is starting the Tomcat server.
You get a Tomcat server ready to deploy your Java war applications.


