WebSocket is a computer communications protocol which is designed to be implemented in web browsers and web servers, but it can be used by any client or server application.
The WebSocket Protocol is an independent TCP-based protocol. Its only relationship to HTTP is that its handshake is interpreted by HTTP servers as an Upgrade request. The WebSocket protocol makes more interaction between a browser and a web server possible, facilitating the real-time data transfer from and to the server.
This is made possible by providing a standardized way for the server to send content to the browser without being solicited by the client, and allowing for messages to be passed back and forth while keeping the connection open. In this way, a two-way (bi-directional) ongoing conversation can take place between a browser and the server. The communications are done over TCP port number 80, which is of benefit for those environments which block non-web Internet connections using a firewall.
The WebSocket protocol is currently supported in most major browsers including Google Chrome, Microsoft Edge, Internet Explorer, Firefox, Safari and Opera. WebSocket also requires web applications on the server to support it.
Table Of Contents
1. The tools
- Java JDK
- Eclipse IDE
- Apache Tomcat
2. Introduction
In this example we are going to show you how to use Apache Tomcat to establish a client server WebSocket connection. We are going to write a simple echo client server application and deploy it on Tomcat.
3. Prerequisites
- JDK installed
- Eclipse installed
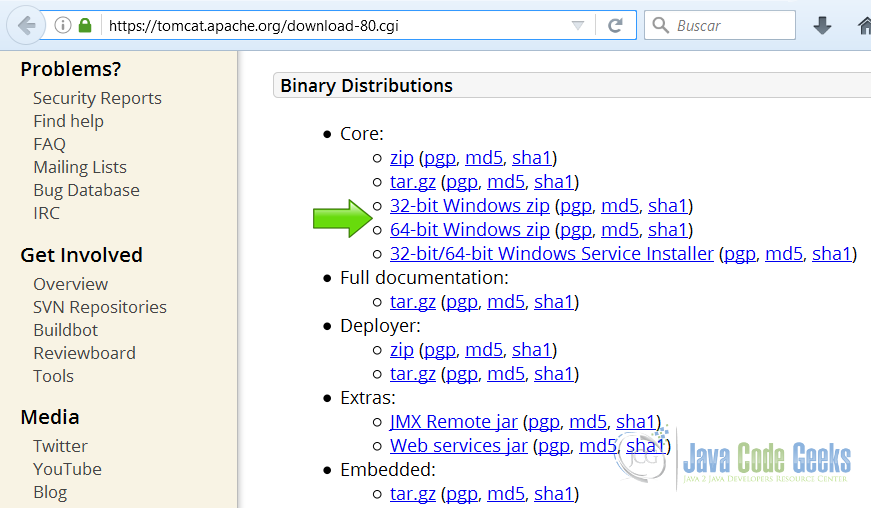
4. Download Tomcat
Go to the page https://tomcat.apache.org/download-80.cgi and download the tomcat server as a zip compressed file for windows.
5. Tomcat Installation
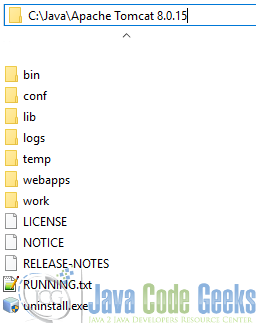
5.1 Uncompress Apache Tomcat
Choose an installation directory and uncompress the Tomcat server in its own directory.
5.2 Install the Tomcat service
Open the Windows terminal and go to the Tomcat Installation bin directory.
Tomcat installation directory
C:\Java\Apache Tomcat 8.0.15\bin>
Install the service with the following command:
Install Tomcat service
C:\Java\Apache Tomcat 8.0.15\bin>service install
You should get an output similar to this:
install Tomcat output
Installing the service 'Tomcat8' ...
Using CATALINA_HOME:    "C:\Java\Apache Tomcat 8.0.15"
Using CATALINA_BASE:    "C:\Java\Apache Tomcat 8.0.15"
Using JAVA_HOME:        "C:\Java\jdk1.8.0_40"
Using JRE_HOME:         "C:\Java\jre1.8.0_40"
Using JVM:              "C:\Java\jre1.8.0_40\bin\client\jvm.dll"
The service 'Tomcat8' has been installed.
5.3 Start the Tomcat service
Start the service with the following command:
Start tomcat output
C:\Java\Apache Tomcat 8.0.15\bin>sc start Tomcat8
You should get an output similar to the following:
console
SERVICE_NAME: Tomcat8
        TYPE               : 10  WIN32_OWN_PROCESS
        STATUS             : 2  START_PENDING
                                (NOT_STOPPABLE, NOT_PAUSABLE, IGNORES_SHUTDOWN)
        WIN32_OUTPUT_CODE  : 0  (0x0)
        SERVICE_OUTPUT_CODE: 0  (0x0)
        CHECK-POINT        : 0x0
        START-INDICATOR    : 0x7d0
        PID                : 5552
        MARKS              :
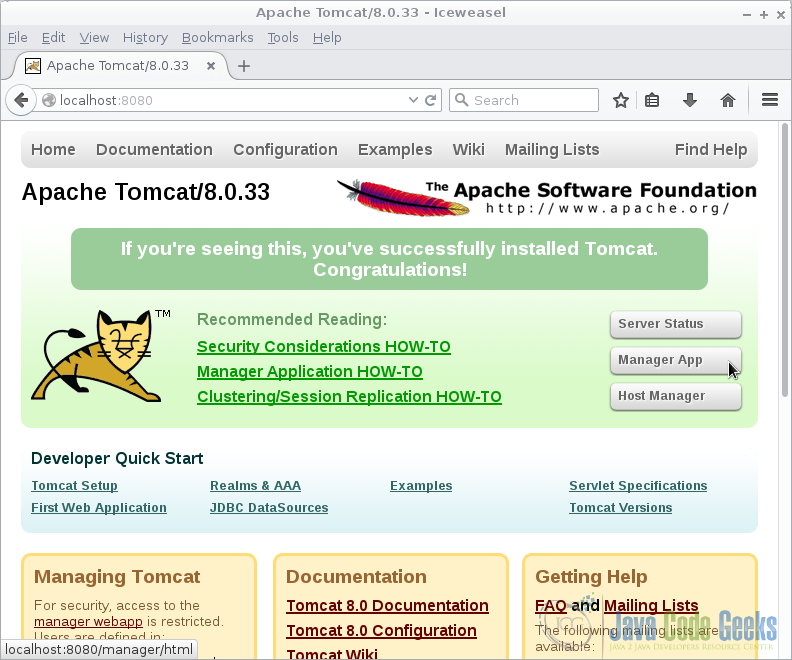
5.4 Check that tomcat is running
Open the browser in the URL: http://localhost:8080 and you should see the Tomcat Welcome screen.
6. Create the web socket server
We are going to create a new WebSocket server, open eclipse and create a new dynamic web application from the menu.
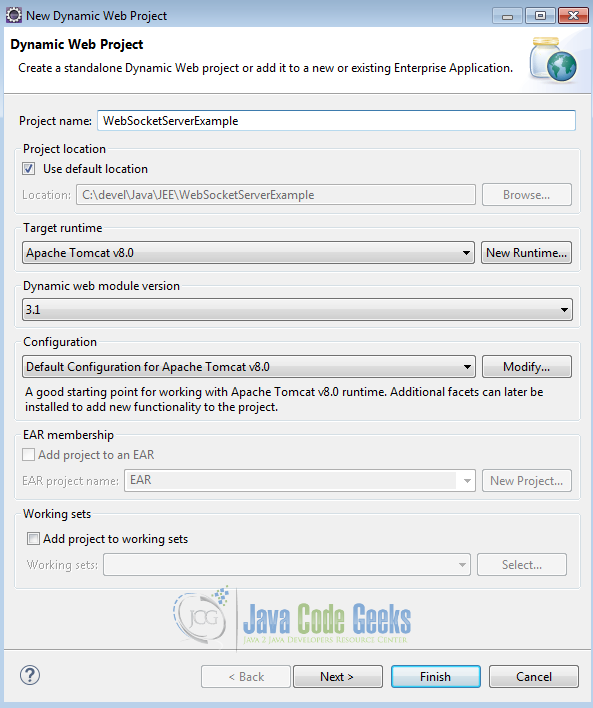
6.1 Create the project
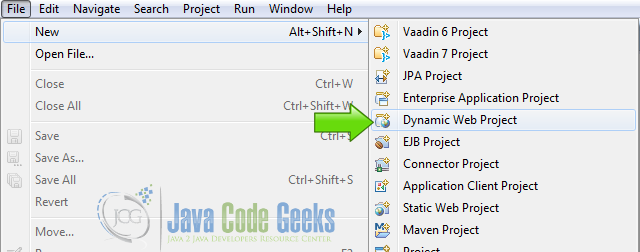
Name the application and press finish.
Create a new class with right click on the project menu.
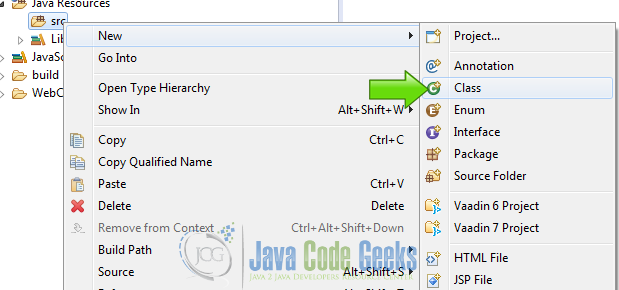
Name the class and press finish.

6.2 Coding the server
Anotate the class
@ServerEndpoint("/websocketendpoint")
public class WsServer {
This class level annotation declares that the class it decorates is a web socket endpoint that will be deployed and made available in the URI-space of a web socket server. The annotation allows the developer to define the URL which this endpoint will be published.
Server endpoint classes are Plain Old Java Objects that are annotated with javax.websocket.server.ServerEndpoint.
Open WebSocket
	@OnOpen
	public void onOpen(){
		System.out.println("Open Connection ...");
	}
@OnOpen annotation is used on a @ServerEndpoint method, but only once per endpoint. It is used to decorate a method which is called, once new connection is established.
Close WebSocket
	@OnClose
	public void onClose(){
		System.out.println("Close Connection ...");
	}
@OnClose annotation is used on a @ServerEndpoint method, but only once per endpoint. It is used to decorate a method which is called, once the connection is being closed.
Receive and echo the client message
	@OnMessage
	public String onMessage(String message){
		System.out.println("Message from the client: " + message);
		String echoMsg = "Echo from the server : " + message;
		return echoMsg;
	}
@OnMessage annotation is used on a @ServerEndpoint method, but only once per endpoint. It is used to decorate a method which is called, once new message is received.
Capture errors
	@OnError
	public void onError(Throwable e){
		e.printStackTrace();
	}
@OnError annotation is used on a @ServerEndpoint method, but only once per endpoint. It is used to decorate a method which is called, once Exception is being thrown by any method annotated with @OnOpen, @OnMessage and @OnClose.
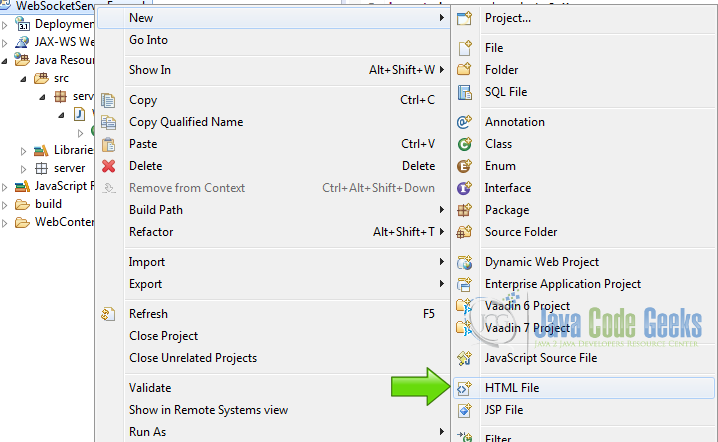
6.3 Create the client
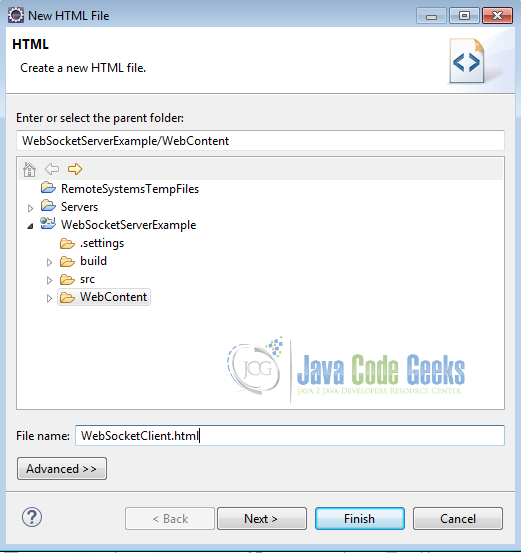
Right click on the project and choose New HTML File.

Write the name of the HTML file and click finish.
6.4 The HTML client
the form
	<form>
		<input id="message" type="text">
		<input onclick="wsSendMessage();" value="Echo" type="button">
		<input onclick="wsCloseConnection();" value="Disconnect" type="button">
	</form>
This form has an input text to write the message that we are going to send to the server. A button to send the message and a button to close the connection.
xml
<textarea id="echoText" rows="5" cols="30"></textarea>
In this text area we are going to write the echo from the server.
6.5 Javascript code
Web Socket
var webSocket = new WebSocket("ws://localhost:8080/WebSocketServerExample/websocketendpoint");
Open the web socket connection.
HTML elements
		var echoText = document.getElementById("echoText");
		echoText.value = "";
		var message = document.getElementById("message");
Get the HTML elements.
functions
		webSocket.onopen = function(message){ wsOpen(message);};
		webSocket.onmessage = function(message){ wsGetMessage(message);};
		webSocket.onclose = function(message){ wsClose(message);};
		webSocket.onerror = function(message){ wsError(message);};
Assign the functions to the webSocket we created before.
Open
		function wsOpen(message){
			echoText.value += "Connected ... \n";
		}
When we open the page the text “connected” is written to the text area.
Send message
		function wsSendMessage(){
			webSocket.send(message.value);
			echoText.value += "Message sended to the server : " + message.value + "\n";
			message.value = "";
		}
When the button echo is clicked this function is called and it invokes the send method of the web socket class with the value of the textbox as a parameter.
Also we write to the text area.
Close
		function wsCloseConnection(){
			webSocket.close();
		}
Close the WebSocket connection.
Response
		function wsGetMessage(message){
			echoText.value += "Message received from to the server : " + message.data + "\n";
		}
Get the WebSocket message from the server and send it to the text area.
Close event
		function wsClose(message){
			echoText.value += "Disconnect ... \n";
		}
Capture the close event and write a message to the text area.
Error
		function wsError(message){
			echoText.value += "Error ... \n";
		}
If we get any errors we write them to the text area.
7. The complete source code
7.1 Server
java
package server.ws;

import javax.websocket.OnClose;
import javax.websocket.OnError;
import javax.websocket.OnMessage;
import javax.websocket.OnOpen;
import javax.websocket.server.ServerEndpoint;

@ServerEndpoint("/websocketendpoint")
public class WsServer {

	@OnOpen
	public void onOpen(){
		System.out.println("Open Connection ...");
	}

	@OnClose
	public void onClose(){
		System.out.println("Close Connection ...");
	}

	@OnMessage
	public String onMessage(String message){
		System.out.println("Message from the client: " + message);
		String echoMsg = "Echo from the server : " + message;
		return echoMsg;
	}

	@OnError
	public void onError(Throwable e){
		e.printStackTrace();
	}

}
7.2 Client
xml
<!DOCTYPE html>
<html>
<head>
<meta charset="UTF-8">
<title>Tomcat WebSocket</title>
</head>
<body>
	<form>
		<input id="message" type="text">
		<input onclick="wsSendMessage();" value="Echo" type="button">
		<input onclick="wsCloseConnection();" value="Disconnect" type="button">
	</form>
	<br>
	<textarea id="echoText" rows="5" cols="30"></textarea>
	<script type="text/javascript">
		var webSocket = new WebSocket("ws://localhost:8080/WebSocketServerExample/websocketendpoint");
		var echoText = document.getElementById("echoText");
		echoText.value = "";
		var message = document.getElementById("message");
		webSocket.onopen = function(message){ wsOpen(message);};
		webSocket.onmessage = function(message){ wsGetMessage(message);};
		webSocket.onclose = function(message){ wsClose(message);};
		webSocket.onerror = function(message){ wsError(message);};
		function wsOpen(message){
			echoText.value += "Connected ... \n";
		}
		function wsSendMessage(){
			webSocket.send(message.value);
			echoText.value += "Message sended to the server : " + message.value + "\n";
			message.value = "";
		}
		function wsCloseConnection(){
			webSocket.close();
		}
		function wsGetMessage(message){
			echoText.value += "Message received from to the server : " + message.data + "\n";
		}
		function wsClose(message){
			echoText.value += "Disconnect ... \n";
		}

		function wsError(message){
			echoText.value += "Error ... \n";
		}
	</script>
</body>
</html>
8. Running the example
Right click on the project folder and choose Run as -> Run on server choose Tomcat 8 server and click finish.
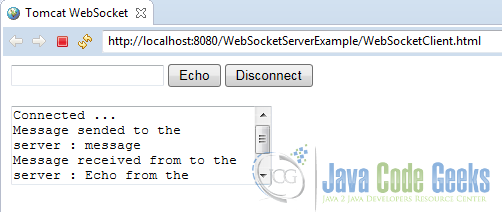
9. Results
The WebSocket is opened when the page is loaded. Everytime you write a text in the textbox, the message goes to the server and the latter sends the echo message response.
10. Download the Source Code
This was an example of: Tomcat WebSocket.

Very clearly written article. I could create a server based on code you posted and test with HTML client code taken from somebody else’s post on websocket that I already had. Worked without any problem. Thanks a lot!
After 5 minutes socket closes with handshake failed. Response code 404. Do you know why is this happening?
Really useful, thanks !
Nice article !
There is minor typo that needs to be corrected. While declaring function wserror, the ‘e’ has to be uppercase.
All I can say I cannot thank you enough for this.
i am not getting echo message response from the server
I wish all tutorials were this complete! This should seen as a gold standard template on how to construct a tutorial.