The Apache Tomcat connector allows to use the Apache httpd server as a front-end for Apache Tomcat applications. With this configuration you can get some features like Clustering, Load Balancing, and enhanced Security, provided by the httpd server.
The mod_jk connector is an Apache HTTPD module that allows HTTPD to communicate with Apache Tomcat instances over the AJP protocol. The module is used in conjunction with Tomcat’s AJP Connector component.
Table Of Contents
Mod_jk is an Apache module used to connect the Tomcat servlet container with web servers such as Apache and IIS using the Apache JServ Protocol (AJP). A web server waits for client HTTP requests. When these requests arrive, the server does what is needed to serve the requests by providing the necessary content.
Adding a servlet container alters this behavior. Now the web server needs also to: Load the servlet container adapter library and initialize it (prior to serving requests).
When a request arrives, it needs to check and see if a certain request belongs to a servlet, if so it needs to let the adapter take the request and handle it. The adapter needs to know what requests it is going to serve, usually based on some pattern in the request URL, and where to direct these requests.
1. The tools
- Java JDK
- Apache Tomcat
- Apache httpd server
- mod_jk connector
2. Introduction
In this example we are going to use the mod_jk connector to connect the httpd server to Apache Tomcat and show an application using the httpd server as a front end.
3. Prerequisites
- JDK installed
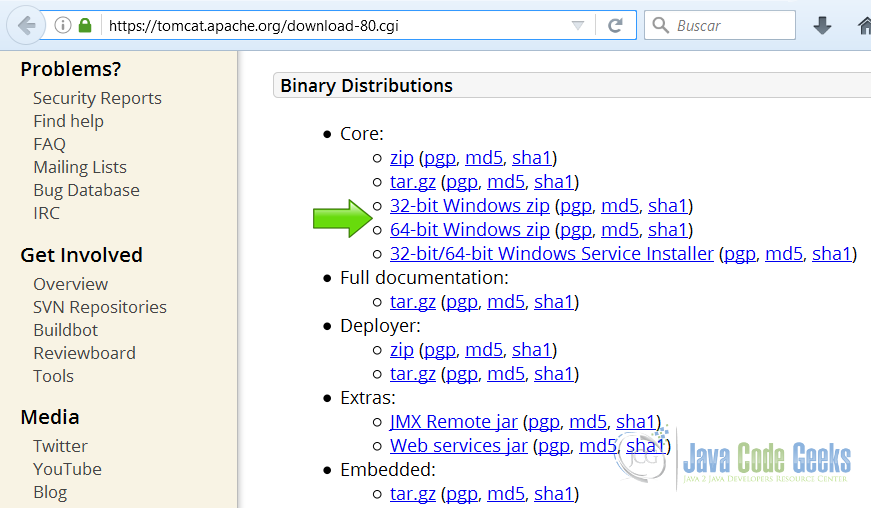
4. Download Tomcat
Go to the page https://tomcat.apache.org/download-80.cgi. Download the tomcat server as a zip compressed file for windows.
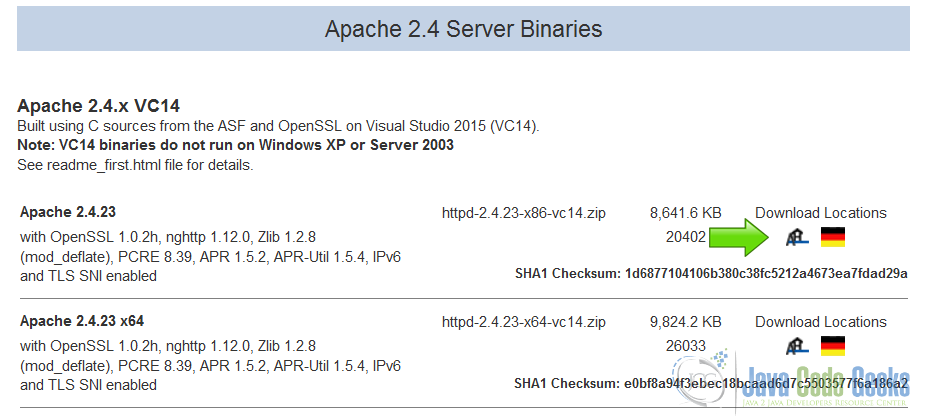
5. Download Apache httpd server
Go to the page http://www.apachehaus.com/cgi-bin/download.plx and download the httpd server as a zip compressed file for windows.
The Apache foundation doesn’t provide binaries for the httpd server. We are going to use a binary distribution from the recommended sites in the Apache web site.
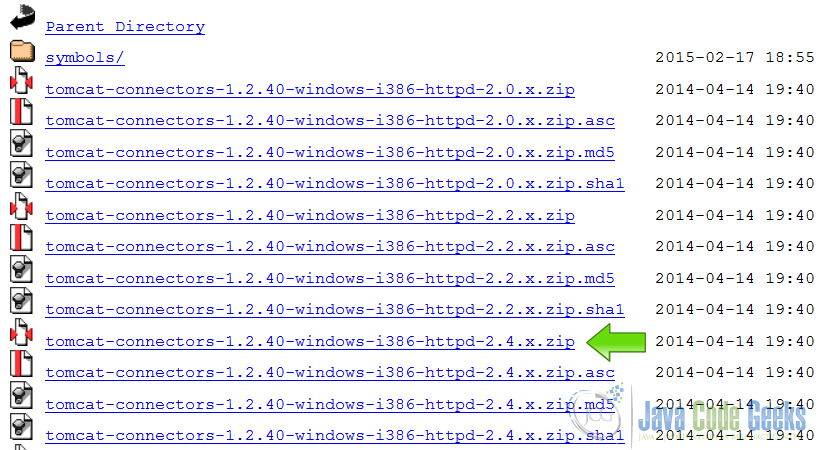
6. Download mod_jk
Go to the page https://www.apache.org/dist/tomcat/tomcat-connectors/jk/binaries/windows/ and download the mod_jk as a zip compressed file for windows.
7. Tomcat Installation
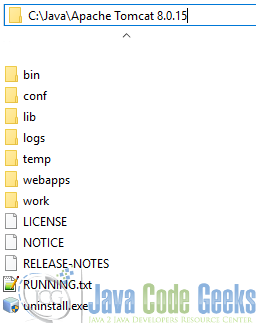
7.1 Uncompress Apache Tomcat
Choose an installation directory and uncompress the Tomcat server in its own directory.
7.2 Install the Tomcat service
Open the Windows terminal and go to the Tomcat Installation bin directory.
Tomcat installation directory
C:\Java\Apache Tomcat 8.0.15\bin>
Install the service with the following command:
Install Tomcat service
C:\Java\Apache Tomcat 8.0.15\bin>service install
You should get an output similar to this:
install Tomcat output
Installing the service 'Tomcat8' ...
Using CATALINA_HOME:    "C:\Java\Apache Tomcat 8.0.15"
Using CATALINA_BASE:    "C:\Java\Apache Tomcat 8.0.15"
Using JAVA_HOME:        "C:\Java\jdk1.8.0_40"
Using JRE_HOME:         "C:\Java\jre1.8.0_40"
Using JVM:              "C:\Java\jre1.8.0_40\bin\client\jvm.dll"
The service 'Tomcat8' has been installed.
7.3 Start the Tomcat service
Start the service with the following command:
Start tomcat output
C:\Java\Apache Tomcat 8.0.15\bin>sc start Tomcat8
You should get an output similar to the following:
console
SERVICE_NAME: Tomcat8
        TYPE               : 10  WIN32_OWN_PROCESS
        STATUS             : 2  START_PENDING
                                (NOT_STOPPABLE, NOT_PAUSABLE, IGNORES_SHUTDOWN)
        WIN32_OUTPUT_CODE  : 0  (0x0)
        SERVICE_OUTPUT_CODE: 0  (0x0)
        CHECK-POINT        : 0x0
        START-INDICATOR    : 0x7d0
        PID                : 5552
        MARKS              :
7.4 Check that tomcat is running
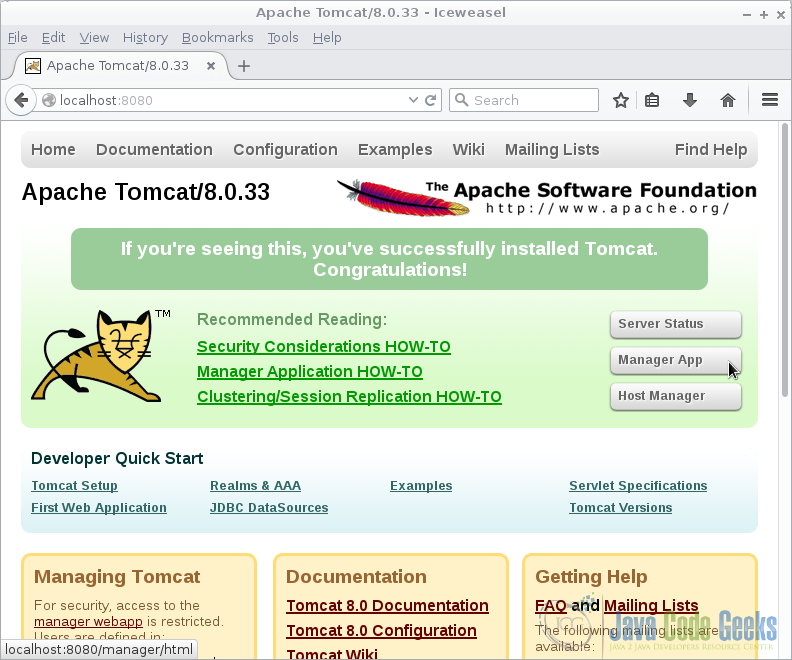
Open the browser in the URL: localhost
And you should see the Tomcat Welcome screen.
8. Apache httpd Installation
8.1 Uncompress Apache httpd server
Choose a directory and uncompress the Apache httpd server.
8.2 Edit the server root
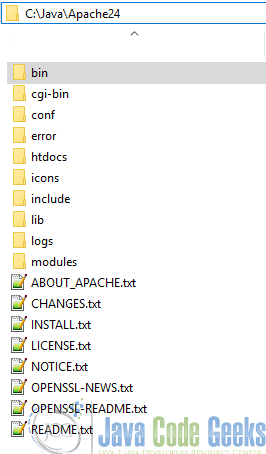
Before we run the Apache httpd server we need to tell Apache where is the server root. Open the httpd server configuration file and edit the SRVROOT parameter using the appropriate directory.
SRVROOT
Define SRVROOT "C:\Java\Apache24"
8.3 Install the httpd service
Open the Windows terminal and go to the httpd server Installation bin directory.
httpd server bin installation directory
C:\Java\Apache24\bin>
Install the service with the following command:
Install httpd server service
C:\Java\Apache24\bin>httpd -k install
You should get an output similar to this:
install Tomcat output
Installing the 'Apache2.4' service
The 'Apache2.4' service is successfully installed.
Testing httpd.conf....
Errors reported here must be corrected before the service can be started.
8.4 Start the Tomcat service
Start the service with the following command:
Start tomcat output
C:\Java\Apache24\bin>sc start Apache2.4
You should get an output similar to the following:
console
SERVICE_NAME: Apache2.4
        TYPE               : 10  WIN32_OWN_PROCESS
        STATUS             : 2  START_PENDING
                                (NOT_STOPPABLE, NOT_PAUSABLE, IGNORES_SHUTDOWN)
        WIN32_OUTPUT_CODE  : 0  (0x0)
        SERVICE_OUTPUT_CODE: 0  (0x0)
        CHECK-POINT        : 0x0
        START-INDICATOR    : 0x7d0
        PID                : 3268
        MARKS              :
8.5 Check that tomcat is running
Open the browser in the URL: localhost and you should see the httpd server Welcome screen.

9. mod_jk installation
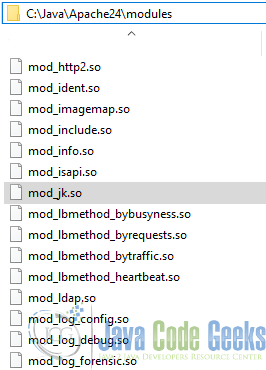
Extract the mod_jk compressed file and copy the file mod_jk.so into the httpd server modules directory.
9.1 Add mod_jk to the httpd.conf
Edit the httpd.conf file.


Add the following line to load the connector.
Load mod_jk
LoadModule jk_module modules/mod_jk.so
9.2 Configure mod_jk in the Apache httpd server
We are going to configure the mod_jk to work with our Apache httpd server. Add the following lines to the httpd.conf
Configure mod_jk
JkWorkersFile C:\Java\Apache24\conf\workers.properties
JkShmFile     C:\Java\Apache24\log\mod_jk.shm
JkLogFile     C:\Java\Apache24\log\mod_jk.log
JkLogLevel    error
JkMount       /docs/* workerTomcatDocs
JkWorkersFile C:\Java\Apache24\conf\workers.properties
In this file we define the Tomcat workers.
JkShmFile C:\Java\Apache24\log\mod_jk.shm
Defines where is the jk_mod shared memory file.
JkLogFile C:\Java\Apache24\log\mod_jk.log
Defines where are the mod_jk log file.
JkLogLevel error
Sets the error level of the mod_jk.
JkMount /docs/* workerTomcatDocs
Maps a worker to the Tomcat server instance, in this case we are using the tomcat docs.
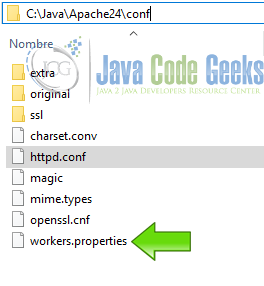
9.3 Create the workers.properties file
In the conf directory of the Apache httpd server, create a new text file with the name workers.properties
Edit the worker.properties file and put the following lines:
Workers properties
worker.list=workerTomcatDocs
worker.workerTomcatDocs.type=ajp13
worker.workerTomcatDocs.host=localhost
worker.workerTomcatDocs.port=8009
worker.list=workerTomcatDocs Creates a new Tomcat worker.
worker.workerTomcatDocs.type=ajp13 Defines a native connector to use with the Tomcat instance.
worker.workerTomcatDocs.host=localhost Sets the host of the worker.
worker.workerTomcatDocs.port=8009 Sets the port of the worker.
At this point the Apache httpd server its working as a front end of the Tomcat instance.
10. Complete source code
httpd.conf
Define SRVROOT "C:\Java\Apache24"
ServerRoot "${SRVROOT}"
Listen 80
LoadModule actions_module modules/mod_actions.so
LoadModule alias_module modules/mod_alias.so
LoadModule allowmethods_module modules/mod_allowmethods.so
LoadModule asis_module modules/mod_asis.so
LoadModule auth_basic_module modules/mod_auth_basic.so
LoadModule authn_core_module modules/mod_authn_core.so
LoadModule authn_file_module modules/mod_authn_file.so
LoadModule authz_core_module modules/mod_authz_core.so
LoadModule authz_groupfile_module modules/mod_authz_groupfile.so
LoadModule authz_host_module modules/mod_authz_host.so
LoadModule authz_user_module modules/mod_authz_user.so
LoadModule autoindex_module modules/mod_autoindex.so
LoadModule cgi_module modules/mod_cgi.so
LoadModule dir_module modules/mod_dir.so
LoadModule env_module modules/mod_env.so
LoadModule include_module modules/mod_include.so
LoadModule info_module modules/mod_info.so
LoadModule isapi_module modules/mod_isapi.so
LoadModule log_config_module modules/mod_log_config.so
LoadModule mime_module modules/mod_mime.so
LoadModule negotiation_module modules/mod_negotiation.so
LoadModule setenvif_module modules/mod_setenvif.so
LoadModule socache_shmcb_module modules/mod_socache_shmcb.so
LoadModule ssl_module modules/mod_ssl.so
LoadModule status_module modules/mod_status.so
LoadModule jk_module modules/mod_jk.so


User daemon
Group daemon

ServerAdmin admin@example.com
ServerName localhost:80

    AllowOverride none
    Require all denied

DocumentRoot "${SRVROOT}/htdocs"

    Options Indexes FollowSymLinks
    AllowOverride None
    Require all granted


    DirectoryIndex index.html


    Require all denied

ErrorLog "logs/error.log"
LogLevel warn

    LogFormat "%h %l %u %t \"%r\" %>s %b \"%{Referer}i\" \"%{User-Agent}i\"" combined
    LogFormat "%h %l %u %t \"%r\" %>s %b" common

      LogFormat "%h %l %u %t \"%r\" %>s %b \"%{Referer}i\" \"%{User-Agent}i\" %I %O" combinedio

    CustomLog "logs/access.log" common


    ScriptAlias /cgi-bin/ "${SRVROOT}/cgi-bin/"


    AllowOverride None
    Options None
    Require all granted


    TypesConfig conf/mime.types
    AddType application/x-compress .Z
    AddType application/x-gzip .gz .tgz

Include conf/extra/httpd-info.conf


Include conf/extra/httpd-proxy-html.conf


Include conf/extra/httpd-ahssl.conf
SSLRandomSeed startup builtin
SSLRandomSeed connect builtin


    ProtocolsHonorOrder On
    Protocols h2 h2c http/1.1


# Define the tomcat worker
# In this case we are using the /docs url

JkWorkersFile C:\Java\Apache24\conf\workers.properties
JkShmFile     C:\Java\Apache24\log\mod_jk.shm
#JkLogFile     C:\Java\Apache24\log\mod_jk.log
JkLogLevel    error
JkMount  /docs/* workerTomcatDocs
workers.properties
worker.list=workerTomcatDocs
worker.workerTomcatDocs.type=ajp13
worker.workerTomcatDocs.host=localhost
worker.workerTomcatDocs.port=8009
11. Running the example
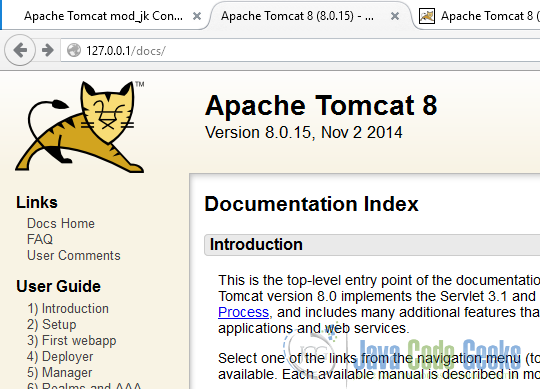
Open your brower in the url http://127.0.0.1/docs/
12. Results
As you can see now, we are viewing the Tomcat docs, served by the Apache httpd server.
13. Conclusion
The Apache Tomcat mod_jk Connector is part of the Tomcat project and provides a web server plugin to connect web servers with Tomcat and other backends. In all cases the plugin uses a special protocol named Apache JServ Protocol or simply AJP to connect to the backend. Backends known to support AJP are Apache Tomcat, Jetty and JBoss.
Although there exist 3 versions of the protocol, ajp12, ajp13, ajp14, most installations only use ajp13. The older ajp12 does not use persistent connections and is obsolete, the newer version ajp14 is still experimental. Sometimes ajp13 is called AJP 1.3 or AJPv13, but we will mostly use the name ajp13.
The ajp13 protocol is packet-oriented. A binary format was presumably chosen over the more readable plain text for reasons of performance. The web server communicates with the servlet container over TCP connections.
To cut down on the expensive process of socket creation, the web server will attempt to maintain persistent TCP connections to the servlet container, and to reuse a connection for multiple request/response cycles.
14. Download the Source Code
This was an example of: Apache Tomcat mod_jk connector.
