Apache Tomcat Manager Tutorial
The Apache Tomcat® software is an open source implementation of the Java Servlet, JavaServer Pages, Java Expression Language and Java WebSocket technologies
Table Of Contents
1. The tools
- Apache Tomcat 8
2. Introduction
In this tutorial we are going to learn how to use the Tomcat Manager to deploy and undeploy Tomcat applications in a running environment without shutdown the servlet container.
It is very useful to have the capability to deploy a new web application, or undeploy an existing one, without having to shut down and restart the entire servlet container. In addition, you can request an existing application to reload itself.
3. Prerequisites
- JDK 8 Installed
- Tomcat 8 installed and running
4. Launch Tomcat
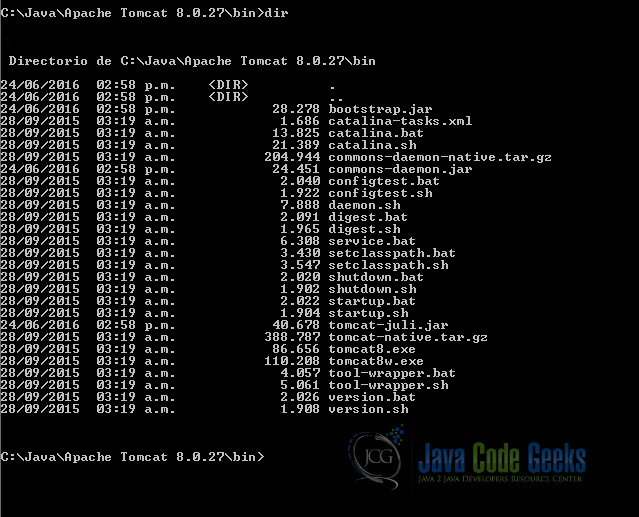
Go to Tomcat Install bin directory.
Type the command
start tomcat
C:\Java\Apache Tomcat 8.0.27\bin>startup.bat
A new window opens and you get the following output
startup output
Using CATALINA_BASE:   "C:\Java\Apache Tomcat 8.0.27"
Using CATALINA_HOME:   "C:\Java\Apache Tomcat 8.0.27"
Using CATALINA_TMPDIR: "C:\Java\Apache Tomcat 8.0.27\temp"
Using JRE_HOME:        "C:\Java\jdk1.8.0_40"
Using CLASSPATH:       "C:\Java\Apache Tomcat 8.0.27\bin\bootstrap.jar;C:\Java\Apache Tomcat 8.0.27\bin\tomcat-juli.jar"
And in the window opened by the script you get last lines like that:
Tomcat console
INFO [main] org.apache.coyote.AbstractProtocol.start Starting ProtocolHandler ["ajp-nio-8009"]
INFO [main] org.apache.catalina.startup.Catalina.startServer startup in 2649 ms
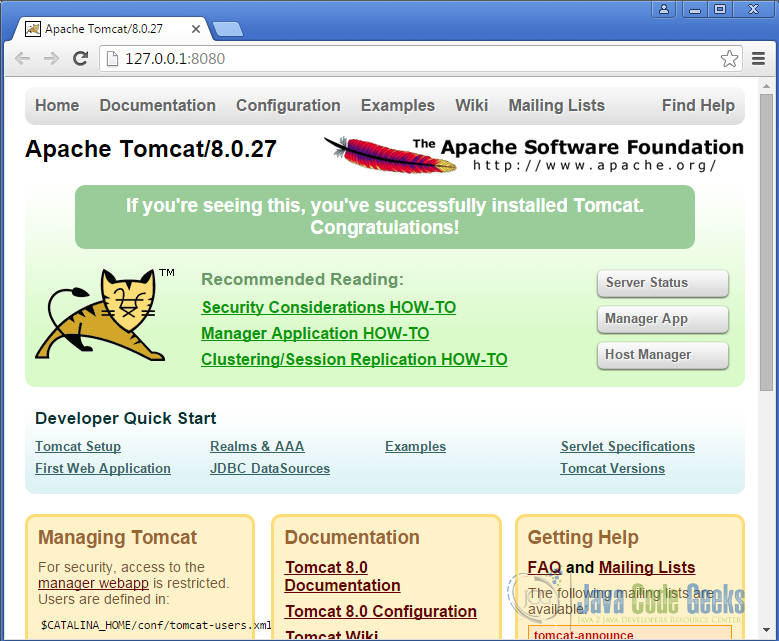
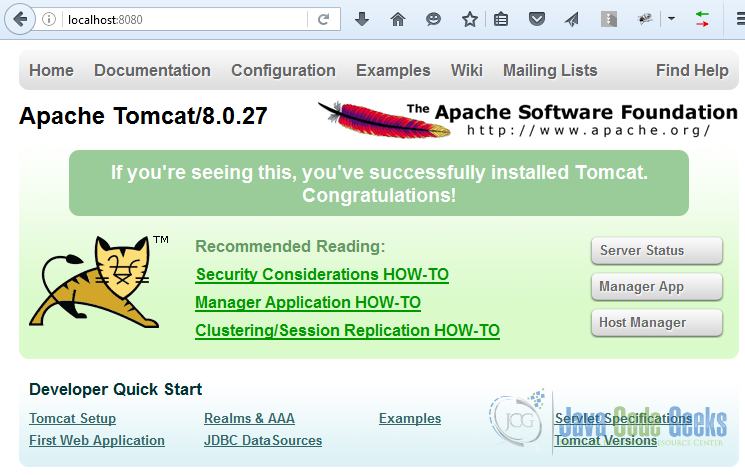
Indicating that Tomcat has started. Check that Tomcat is started opening the link
You get the following output on the browser:
5. Tomcat manager User
By default, no user is included in the “manager-gui” role required to operate the “/manager/html” web application. To use the Tomcat Manager, you must define such a user
We are going to define a user to use the Tomcat manager application.
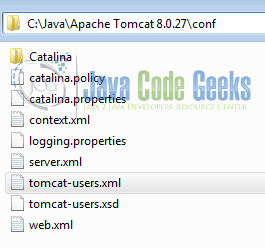
Edit the file:
/conf
Add a user with the admin, admin-gui, manager-gui roles.
manager-gui user
<tomcat-users xmlns="http://tomcat.apache.org/xml"
              xmlns:xsi="http://www.w3.org/2001/XMLSchema-instance"
              xsi:schemaLocation="http://tomcat.apache.org/xml tomcat-users.xsd"
              version="1.0">

			  <user username="admin" password="admin" roles="admin, admin-gui, manager-gui"/>
</tomcat-users>
6. Launch the manager
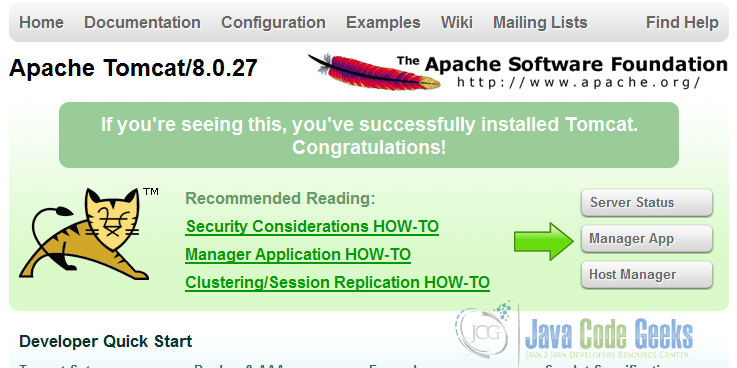
Open the URL:
And click on the button Manager App
You should be prompted for a user and a password. Write the user and password defined before and click OK.
7. Manager Application
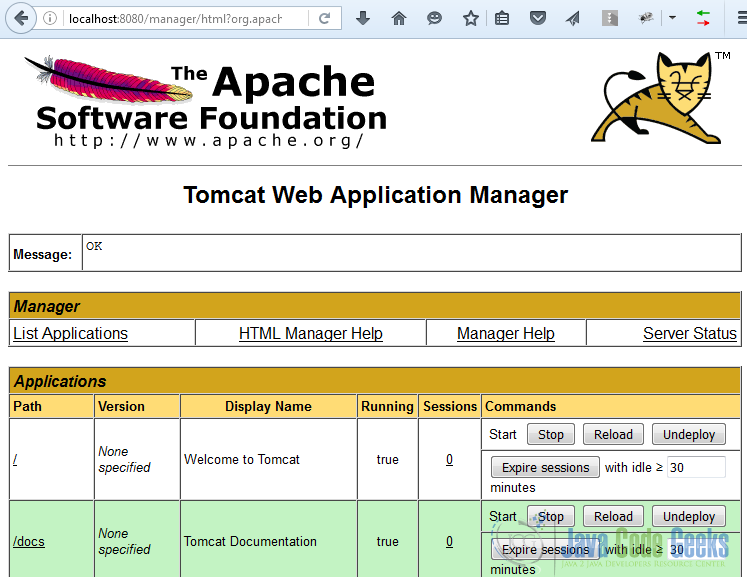
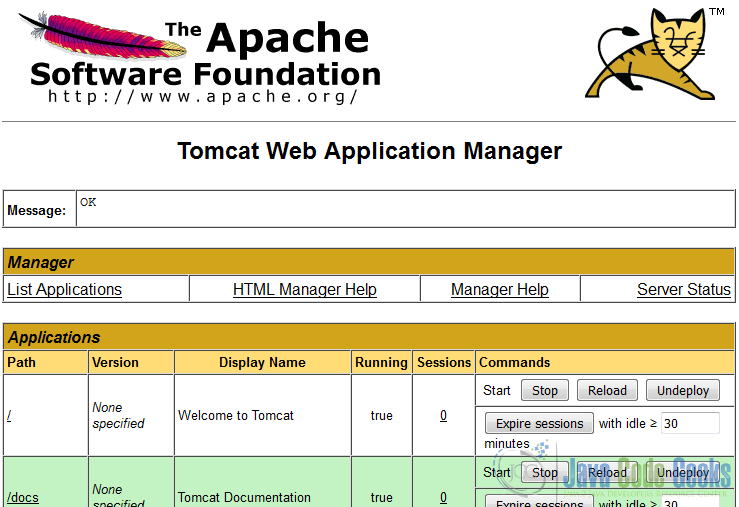
You should see a screen similar to the following image.
5 Tomcat Web Application Manager
Here you can:
List your applications. The application could be deployed or stopped, if you undeploy the application, the application id is being deleted from this list.
The default applications that come with a Tomcat binary distribution are:
/
Is the root of Tomcat when you open the URL http://localhost:8080
/docs
The Tomcat documentation.
/examples
Some Tomcat examples.
/host-manager
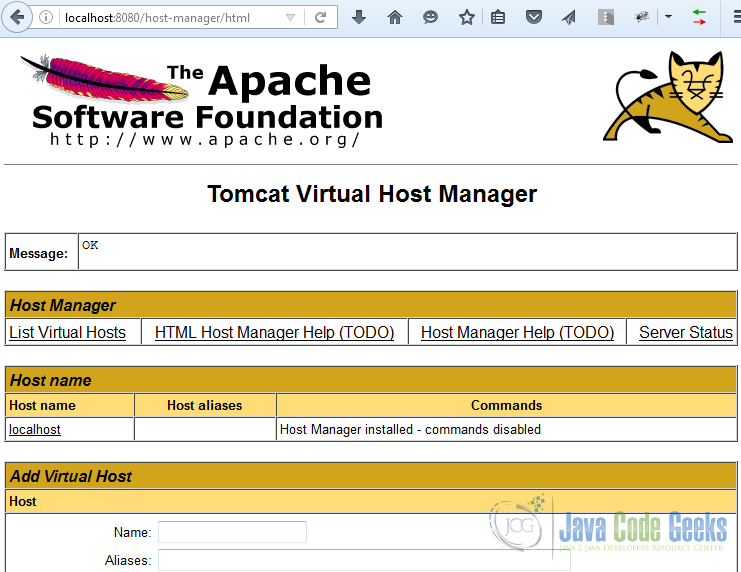
Is the web application to manage virtual hosts in Tomcat.
/manager
Is the Tomcat manager.
You could delete these defaults applications on a production server and manage everything from the command line. If you manage your Tomcat from a remote machine the Tomcat Manager Application and the Tomcat Host Manager Application could be useful.
8. Create a test application
We are going to use NetBeans to create a Test application to show how to use the Tomcat Manager to deploy, start, stop and undeploy an application.
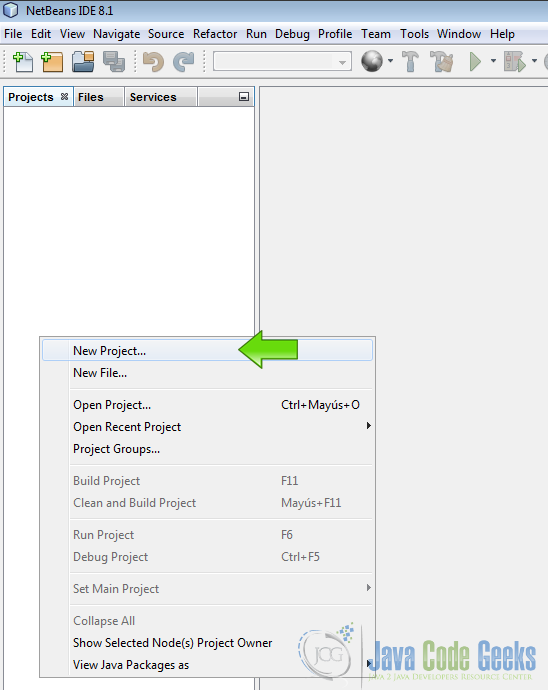
Open NetBeans and right click on the projects windows then select New Project
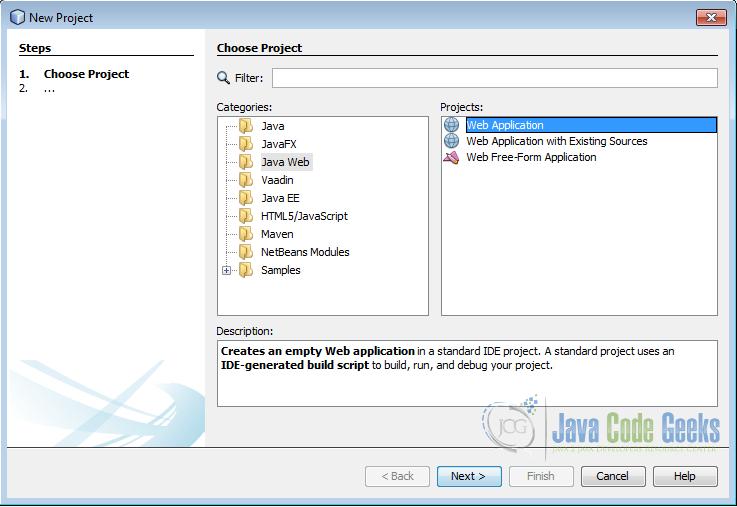
In the next window choose Web Application and then press next.
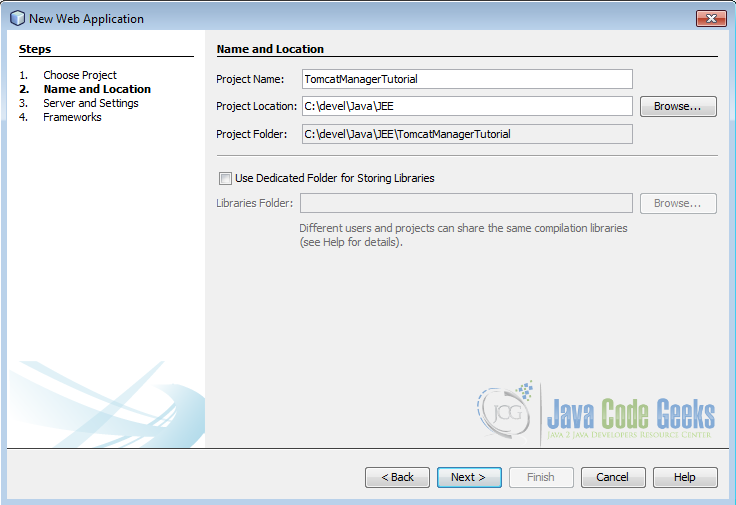
Write a name for your new application and then press next.
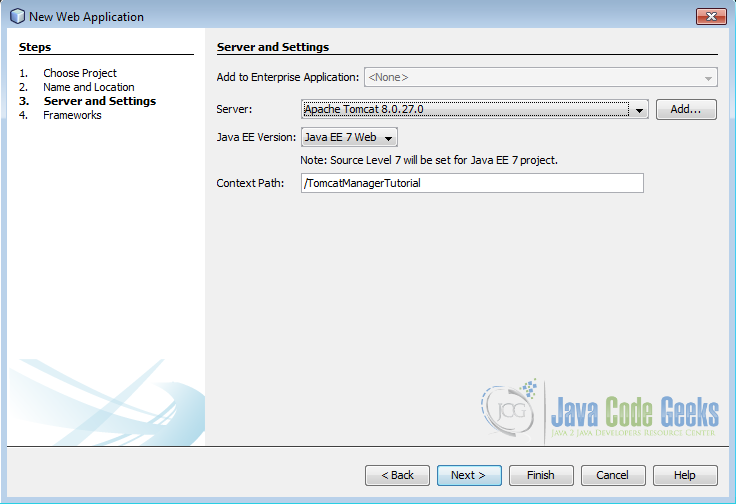
From the next window choose Tomcat server and write a name for your context path. The context path is the relative path in the URL where you can run your application.
Now edit the file index.html and write some modifications as you like to show them when the application is running.
This file is going to be called by Tomcat when we run the application.
index.html
<!DOCTYPE html>
<html>
    <head>
        <title>Tomcat Manager Tutorial</title>
        <meta charset="UTF-8">
        <meta name="viewport" content="width=device-width, initial-scale=1.0">
    </head>
    <body>
        <div>Tomcat Manager Tutorial</div>
    </body>
</html>
9. Create a deployable war file for our application
A WAR file (or Web application ARchive) is a JAR file used to distribute a collection of JavaServer Pages, Java Servlets, Java classes, XML files, tag libraries, static web pages (HTML and related files) and other resources that together constitute a web application.
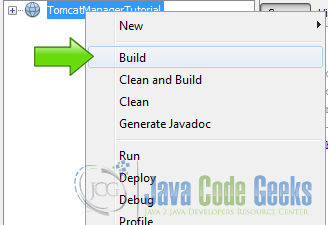
Right click on the project and press Build
You should get a following similar output in the console:
Build WAR output
ant -f C:\\devel\\Java\\JEE\\TomcatManagerTutorial -Dnb.internal.action.name=build -DforceRedeploy=false -Dbrowser.context=C:\\devel\\Java\\JEE\\TomcatManagerTutorial dist
init:
deps-module-jar:
deps-ear-jar:
deps-jar:
Created dir: C:\devel\Java\JEE\TomcatManagerTutorial\build\web\WEB-INF\classes
Created dir: C:\devel\Java\JEE\TomcatManagerTutorial\build\web\META-INF
Copying 1 file to C:\devel\Java\JEE\TomcatManagerTutorial\build\web\META-INF
Copying 2 files to C:\devel\Java\JEE\TomcatManagerTutorial\build\web
library-inclusion-in-archive:
library-inclusion-in-manifest:
Created dir: C:\devel\Java\JEE\TomcatManagerTutorial\build\empty
Created dir: C:\devel\Java\JEE\TomcatManagerTutorial\build\generated-sources\ap-source-output
compile:
compile-jsps:
Created dir: C:\devel\Java\JEE\TomcatManagerTutorial\dist
Building jar: C:\devel\Java\JEE\TomcatManagerTutorial\dist\TomcatManagerTutorial.war
do-dist:
dist:
BUILD SUCCESSFUL (total time: 0 seconds)
In the last line you could see BUILD SUCCESSFUL (total time: 0 seconds), indicating that everything wen OK.
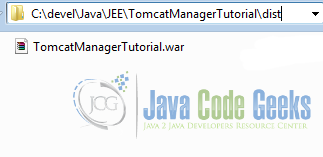
The WAR file is created inside the dist folder in your project folder.
10. Deploy the WAR file
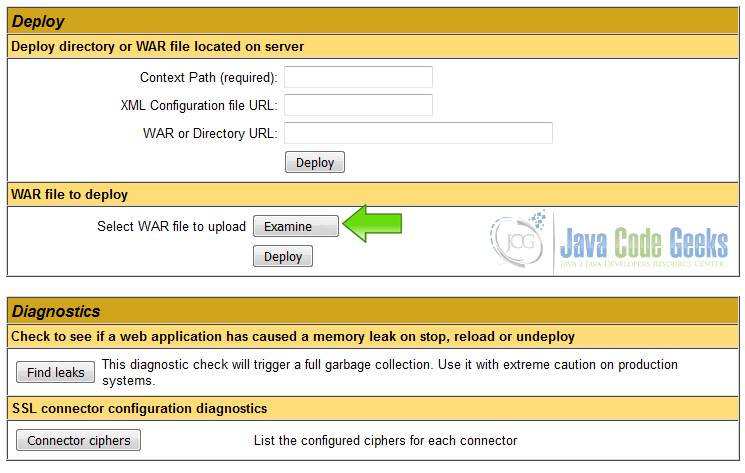
Open the Tomcat Manager, scroll down to the Deploy section and press Examine...
Locate the WAR file, select it and click open.
Once the file is selected, click on the button Deploy.
Now you can see your application on the list of Tomcat manager applications
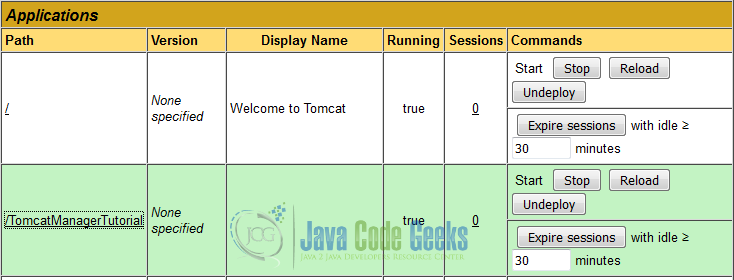
You can use these buttons to stop, reload and undeploy your application. When the application is stopped you can use the start button to start the application again.
Open the URL:
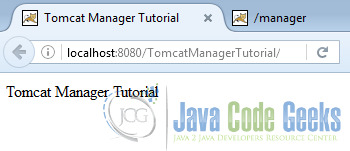
and you can see your application working now.
11. Conclusion
With the Tomcat Manager you can see and manage your applications running in the Tomcat Server, deploy new applications and undeploy the existing applications. With the web interface you can use your Tomcat Manager from any location with an Internet connection.
Just remember if you are going to make the Tomcat Manager accessible from the Internet, take a time to verify your security settings.
12. Download the Source Code
This was an tutorial of: Tomcat Manager.

