This is an article about using Wildfly 10, an application server formerly known as JBoss, developed by Red Hat.
You will get a brief introduction about how to install the application server on OpenShift’s cloud platform and deploy an application via the Eclipse Integrated Development Environment (IDE). You will also learn about managing the application server.
The following table shows an overview of the entire article:
Table of Contents
1. Introduction
1.1 Wildfly

Wildfly, formerly known as the JBoss Application Server, is a free open-source application server that provides an environment in which applications can run. Wildfly is written in Java and was originally authored by JBoss but is now actively maintained by Red Hat. Wildfly implements the Java Platform, Enterprise Edition (Java EE) specification and version 10 supports Java 8. Because Wilfly is written in Java, it can run on multiple platforms.
Wildfly offers several noteworthy features:
- Java Server Pages (JSPs)/Java Servlets
- Clustering
- Load Balancing
- Enterprise Java Beans
- Failover
- Java Message Service (JMS) integration,
- Java Naming and Directory Interface (JNDI),
- Java Transaction API (JTA),
- Java Authorization Contract for Containers, (JACC) and JavaMail
- Caching
- ActiveMQ as JMS Broker
- Server Side JavaScript
- Migration Assistance from Older Systems
- Automatic Pool Sizing
The main benefit of Wildfly over other application servers is that Wilfly provides a full Java Enterprise Edition (JEE) stack, including Enterprise JavaBeans and many other technologies used when building an enterprise level Java application. The administrative console is also intuitive and easy to use.
1.2 OpenShift
OpenShift is Red Hat’s Platform-as-a-Service (PaaS) application hosting platform that makes it easy to run container-based web applications in the cloud. OpenShift offers a free tier that gives you the ability to run up to three applications. If you need more than three, you will need to upgrade to a non-free tier that provides enhanced features. However for the sake of this tutorial, the free tier will meet your needs.
A PaaS environment like OpenShift speeds up application development by allowing developers to focus on writing code and giving them the tools needed to manage and deploy applications in the cloud. OpenShift provides several benefits:
- access to free containers for running web applications
- automation of building and deploying applications
- automatic application scaling
- self-service platform and on-demand application stacks
- multi-language support
- popular frameworks
- persistence
- source code version management
- integration with popular IDEs
1.3 Eclipse

Eclipse is a well-known and respected Integrated Development Environment (IDE) developed by the Eclipse Foundation. Eclipse is beneficial to programmers because it aids in the development process by providing the following key features:
- An easy to use graphical user interface that navigates through your code hierarchy.
- Syntax highlighting that displays source code in a color code format to improve readability.
- Code completion that makes recommendations on methods and parameters as you type.
- Recommendations on how to fix errors and automatic error correction.
- A graphical debugger that allows for line-by-line code inspection.
- Single key compilation and execution of a program.
- Automatic code generation for commonly used patterns.
- Integration with source code version control repositories.
To learn more about the Eclipse IDE, read my Eclipse Tutorial for Beginners blog post.
2. Prerequisites
2.1 OpenShift Free Account
You will need an OpenShift account in order to complete the steps in this tutorial. If you do not have an OpenShift account, you can sign up for one on the OpenShift website.
2.2 OpenShift Client Tools
You will need the OpenShift Client Tools installed on your machine in order to complete the steps in this tutorial. If you do not have the client tools installed on your machine, follow the installation steps.
2.3 Eclipse IDE for Java Developers & OpenShift JBoss Tools
You will need the Eclipse IDE for Java Developers and the OpenShift JBoss Tools. If you do not have these tools installed, follow the installation instructions.
3. Install Wildfly in the Cloud
There are several options for installing a Wildfly cartridge on OpenShift:
- RHC Command Line Tools
- Eclipse OpenShift JBoss Tools plugin
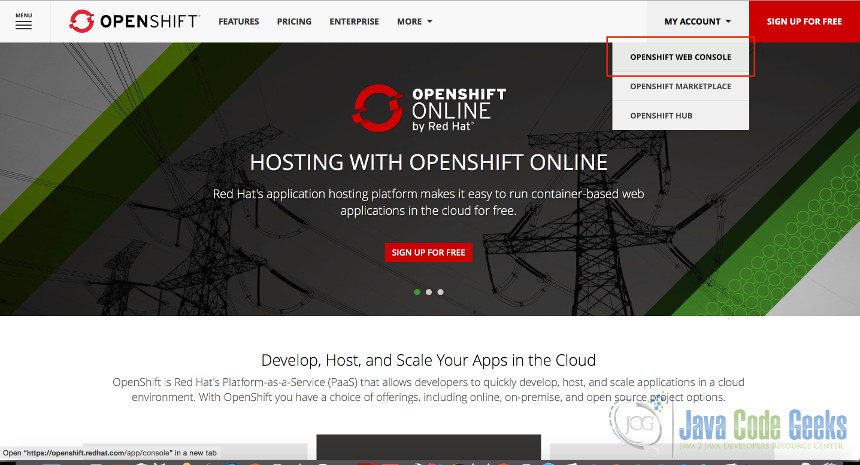
- OpenShift Web Console
This tutorial covers using the OpenShift Web Console to install the Widfly cartridge with a starter application. The first step is to login to your OpenShift Web Console.
After accessing your OpenShift Web Console, a page displays showing your list of applications.
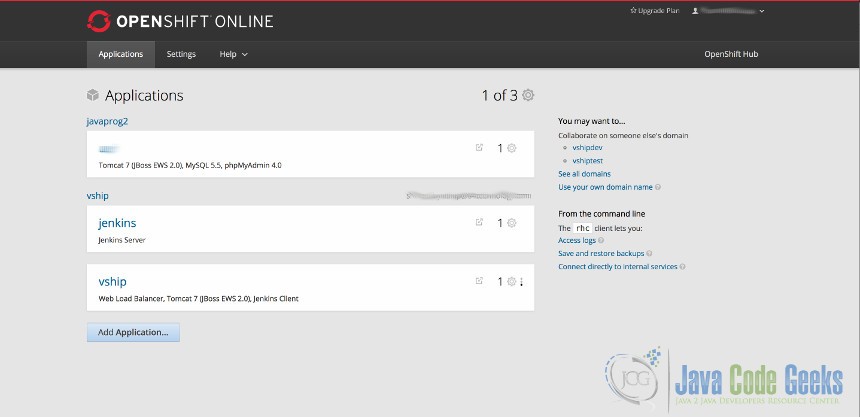
The next step is to click on “Add Application” to add a new application.
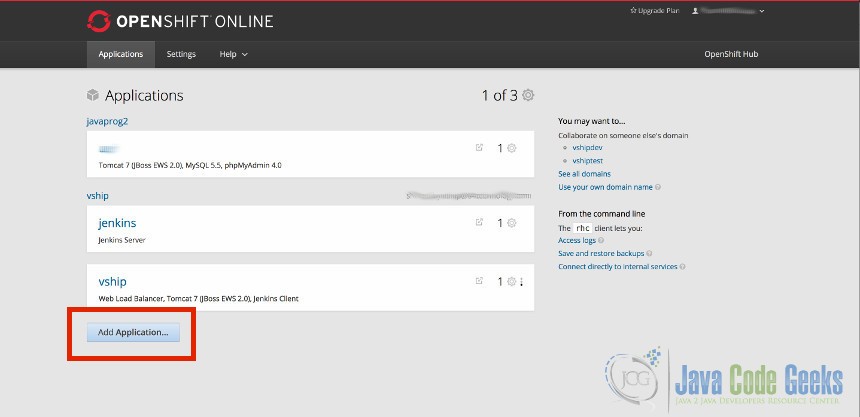
After clicking on “Add Application”, a screen will display that shows a list of cartridges available.
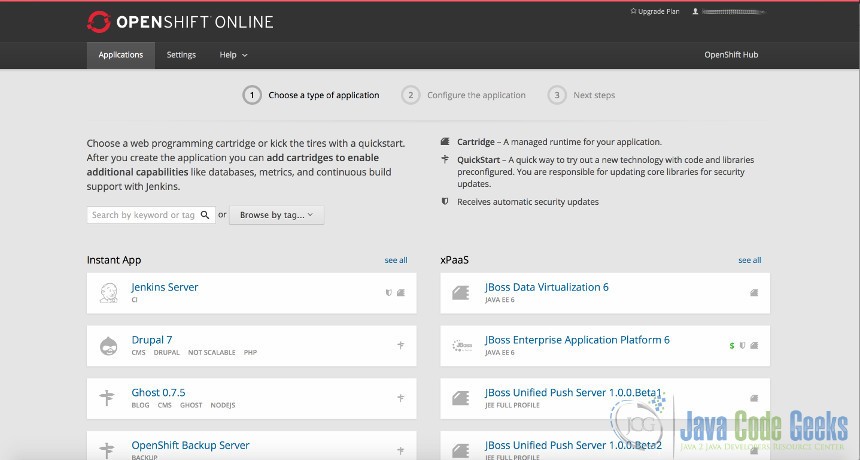
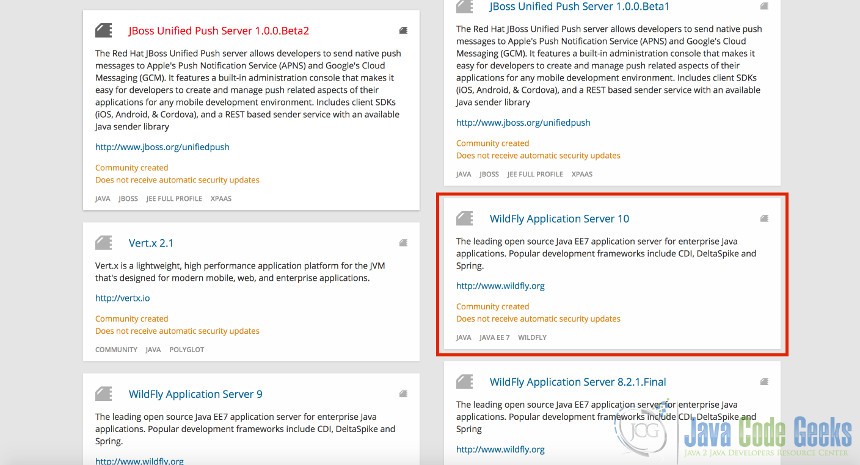
For this tutorial, you need to add the Wildfly cartridge, specifically, Wildfly Application Server 10.
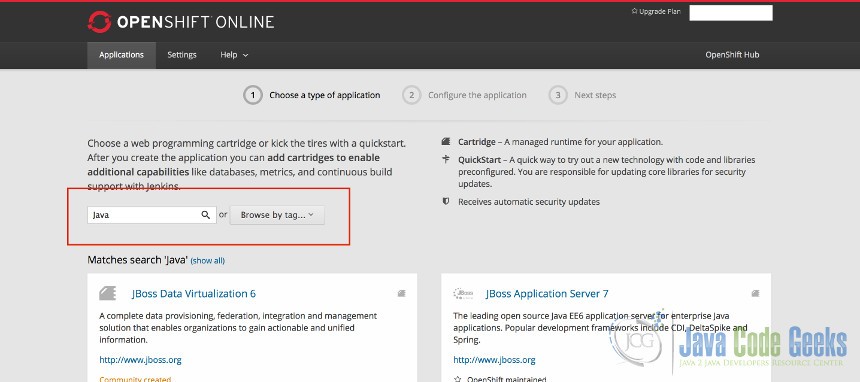
If you cannot easy locate the Wildfly cartridge, enter the word “Java” in the search box to limit the possible choices.
When you click on “Wildfly Application Server 10”, the cartridge page displays.
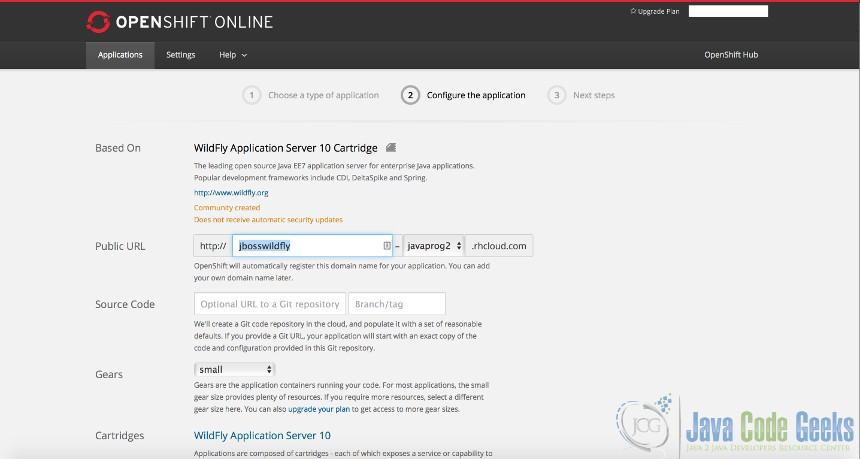
Enter an application name in the “Public URL” section. For this example, I have entered “myjbosswidlfy”; however, you are free to enter whatever name you want for your application.

Click on “Create Application” and the application is created and the application detail page displays.
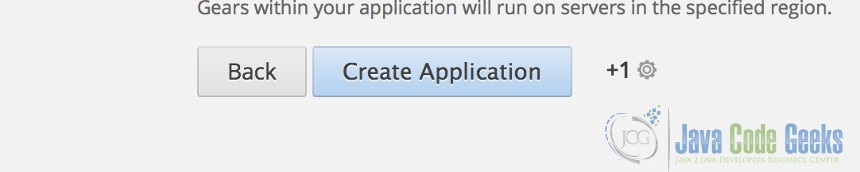
Several steps occur in the background when you click on “Create Application”:
- The gear is provisioned.
- The Wildfly cartridge is installed.
- A demo web application is created and started.
A gear is nothing more than a secure container in which your code will run. When a new gear is provisioned, it is allocated memory, disk space, CPU, and network bandwidth. The free tier allows you up to 3 gears.
After the application is created, the application detail page displays. Be sure to make a note of your administrator Username and Password as they will be required for additional setup steps later in the tutorial.
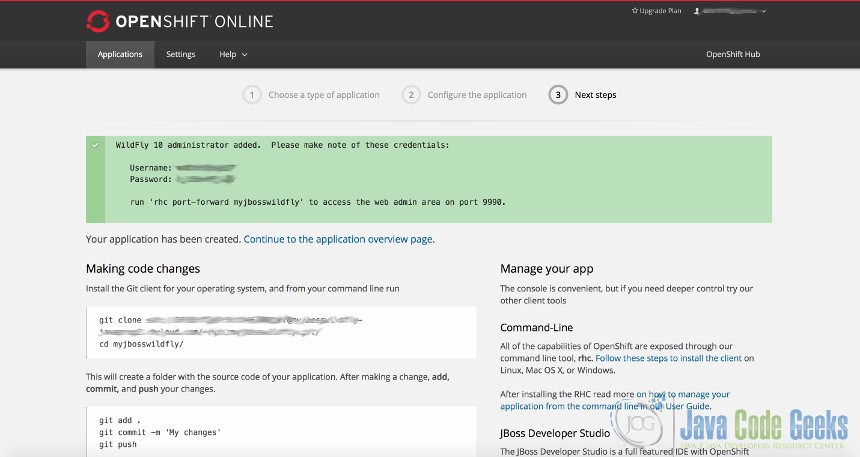
That is it; in just one easy step, you have installed the Wildfly application server! The OpenShift PaaS platform saves you from having to download, install, and configure the application server locally, which can be very time consuming and problematic.
4. Access Wildfly Administrative Web Console
4.1 Port Forwarding
In order to access the Wildfly Administrative Web Console from your local machine, port forwarding must be setup. Ensure that you have followed the prerequisite to install RHC Command Line Tools before attempting to setup port forwarding. The “Administrative Credentials Screen” provides the command to setup port forwarding for your application.
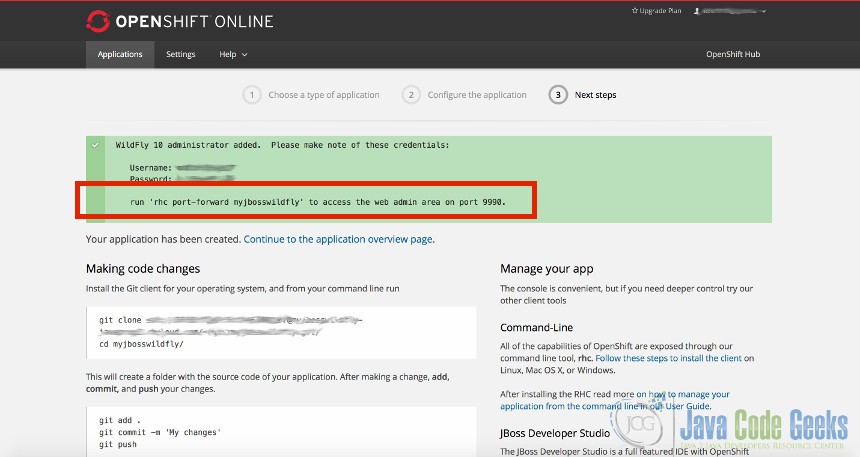
In my example, the command is
rhc port-forward myjbosswildfly
When configuring port forwarding ensure the application is up and running before doing so. To setup port forwarding from your local ports to the ports running on my Wildfly instance at OpenShift, go to a command/terminal window and enter the port forward command.

The port forwarding command does several steps:
- Check for available ports to forward
- Automatically forward available ports to the Wildfly instance
After the ports have been successfully forward, a success screen displays.
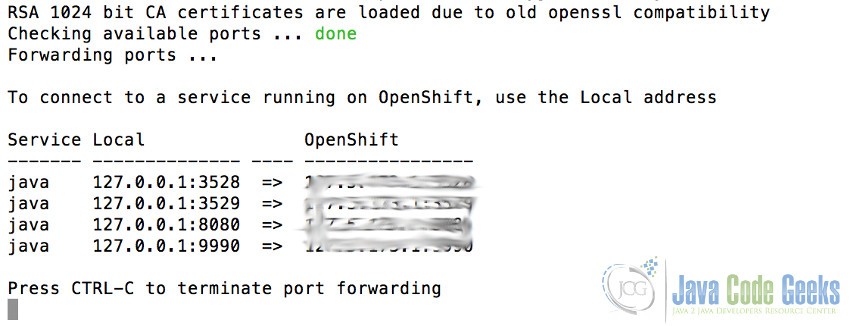
The following ports are forwarded:
- 8080 – normal web traffic
- 9990 – administrative port for Wildfly
You may terminate port forwarding at anytime by entering “CTRL-C” in the command/terminal window.
You may now access the administrative console from your local machine by opening a web browser and entering in “http://127.0.0.1:9990/”. You will be prompted to enter your administrative user name and password.
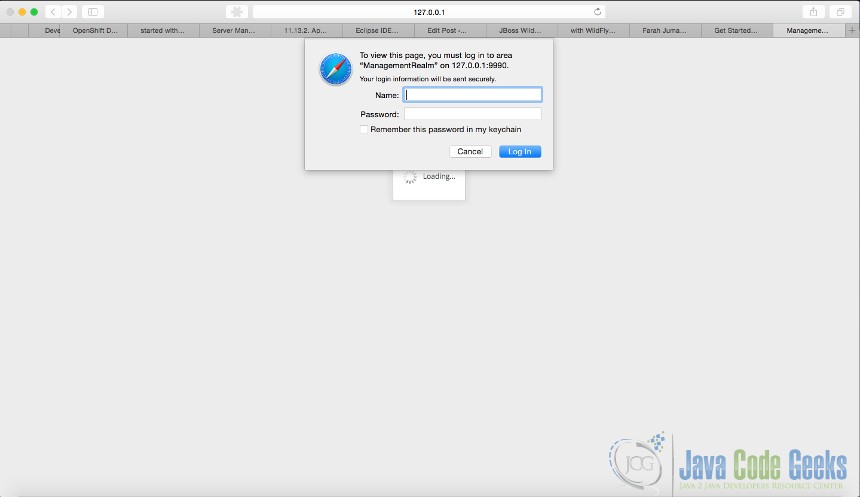
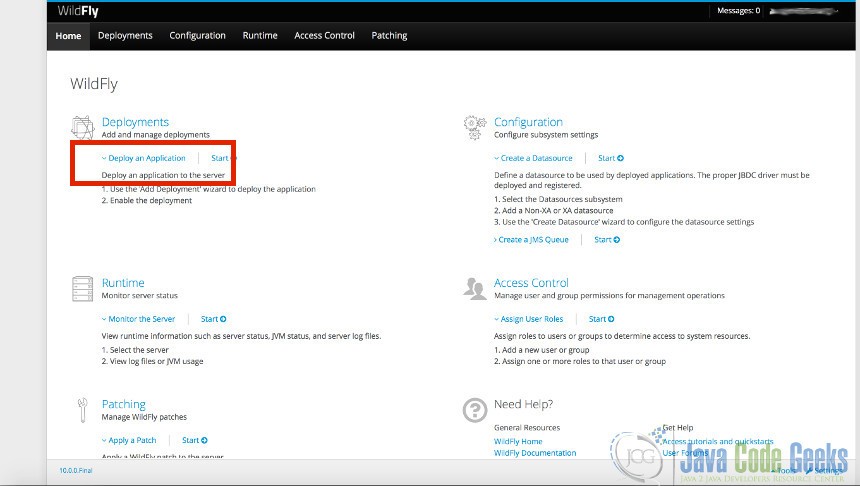
Once you supply the user name and password, you are brought to the Administrative Console main page.
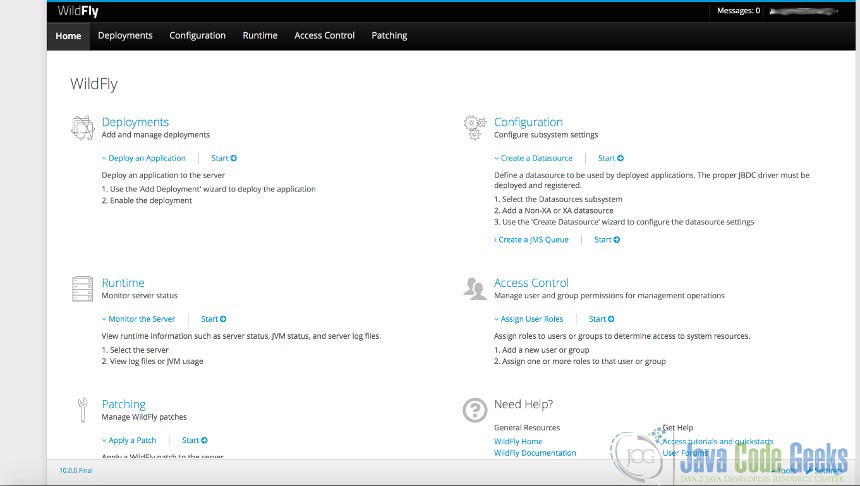
From this page, you have several options available to you:
- Deployments – Add and manage deployments
- Configuration – Configure subsystem settings
- Runtime – Monitor server status
- Access Control – Manage user and group permissions for management operations
- Patching – Manage WildFly patches
These options will be covered in greater detail later in this tutorial. Our next step now is to access the application we created, “myjbosswidlfy”, from within the Eclipse IDE.
5. Connect to Wildfly Application from Eclipse
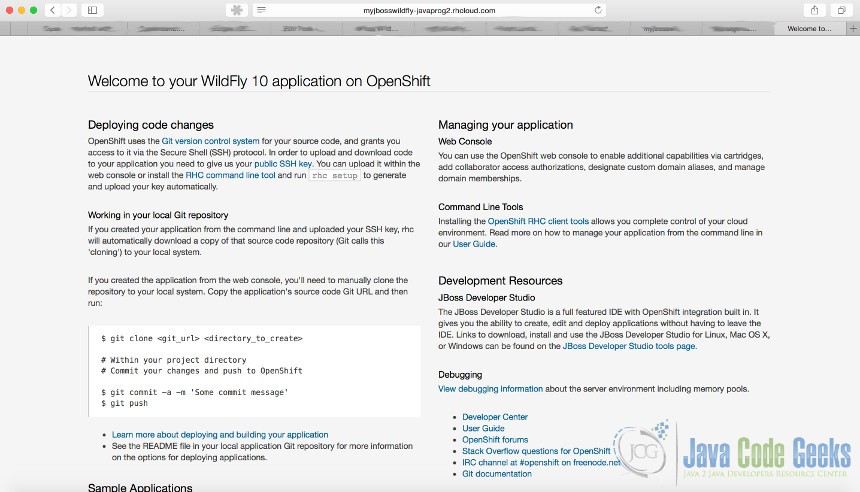
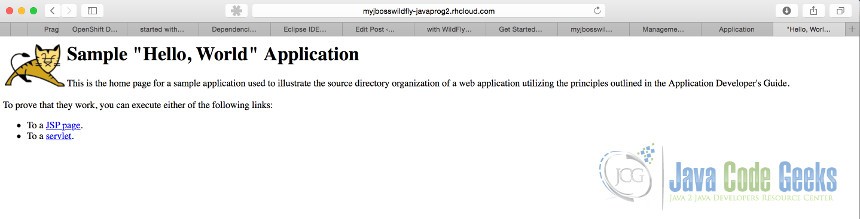
You may view the starter web application that was created for you when you provisioned your Wildfly cartridge by going to the application URL in a web browser. The previously created application was called, “myjbosswidlfy” and is accessible via the URL http://myjbosswildfly-javaprog2.rhcloud.com. The web application homepage is shown below.
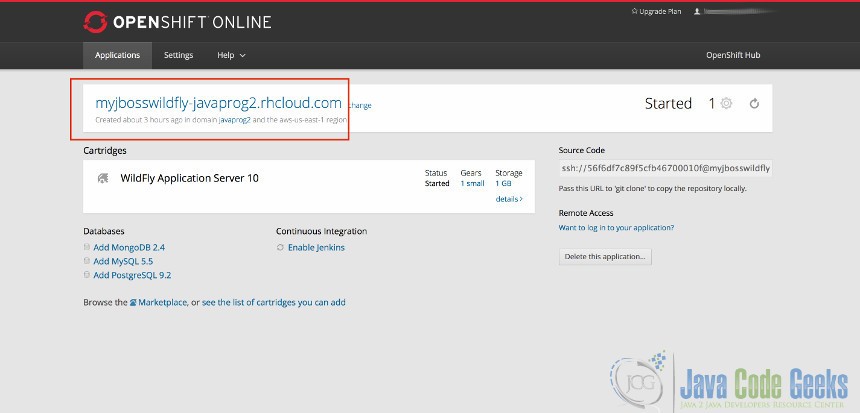
If you are unsure of your application URL, you may click on the “Continue to application overview page” text from the “Administration Credentials” page.
When you click on “Continue to application overview page”, the application overview page will appear, which displays the URL to your application at the top of the page.
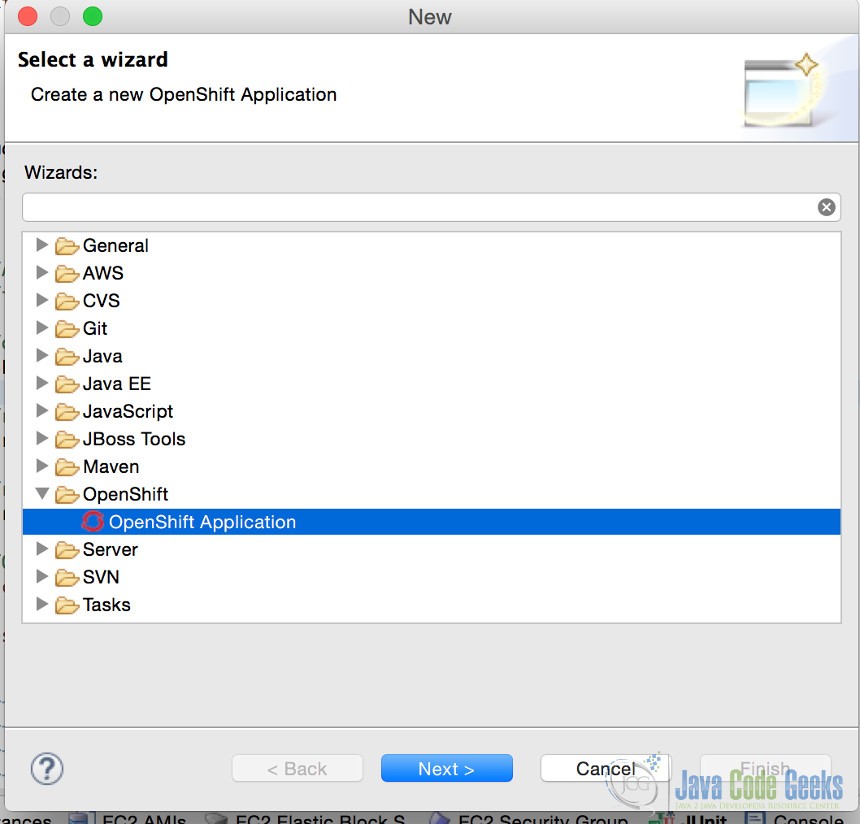
Now that we’ve accessed the web application via a browser, let’s review the source code by connecting to it from Eclipse. Ensure that you have followed the prerequisite to install the OpenShift JBoss Tools plugins within the Eclipse IDE before attempting to connect to your application . Open your Eclipse IDE and create a new OpenShift Application by clicking on File->New->Other->OpenShift Application:
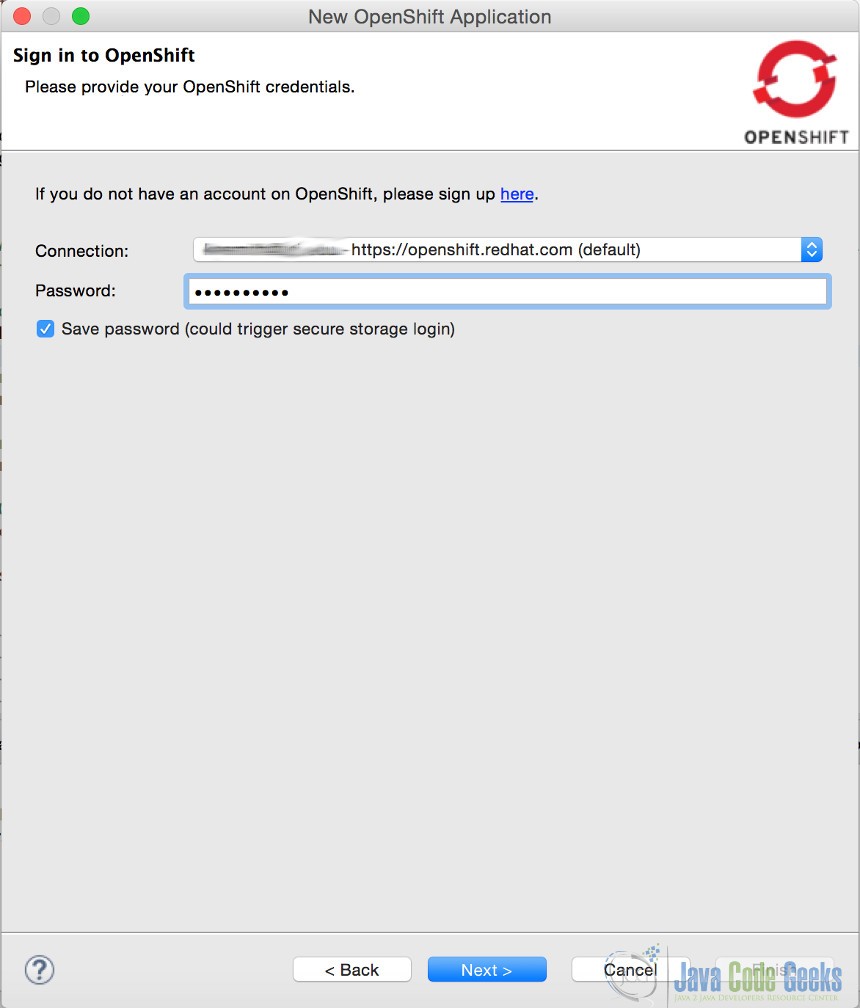
Enter your credentials:
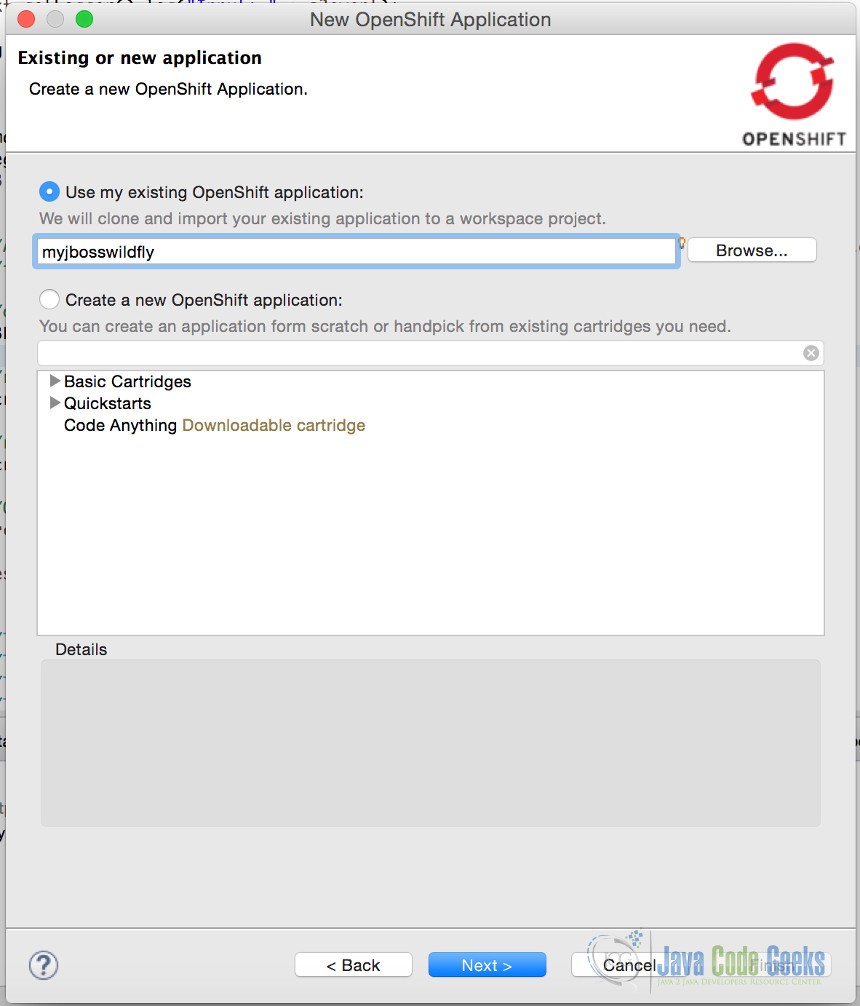
Select “Use my existing OpenShift application”:
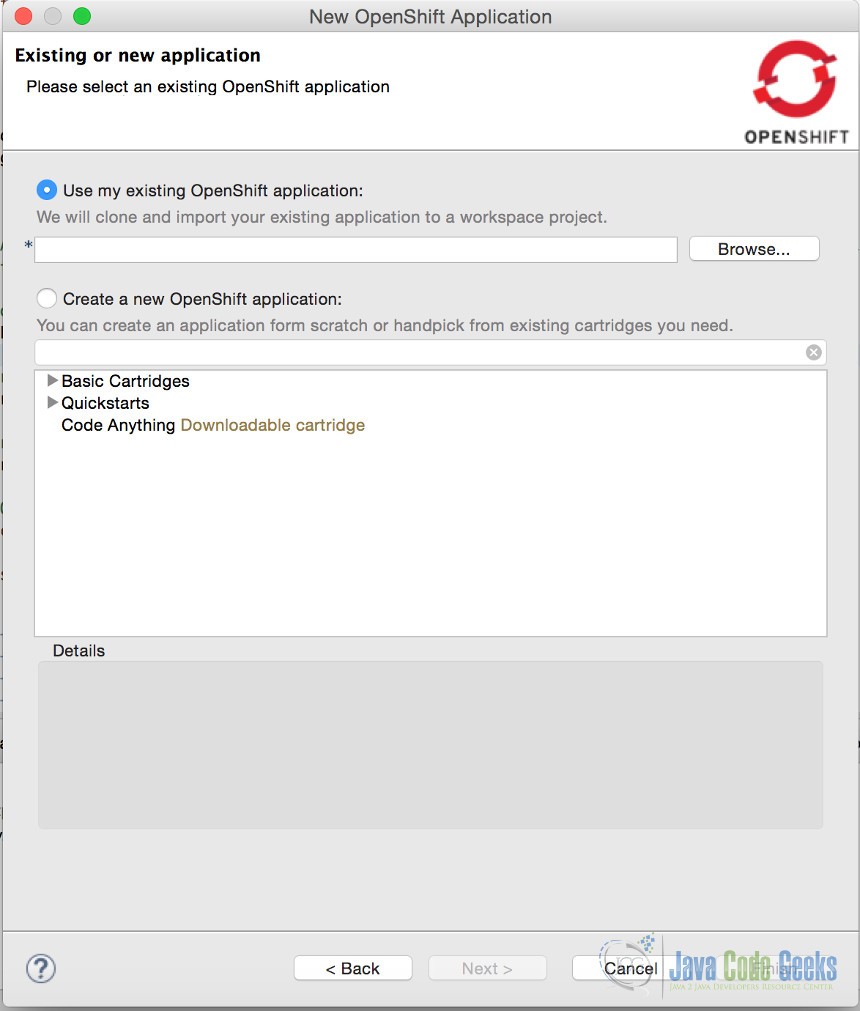
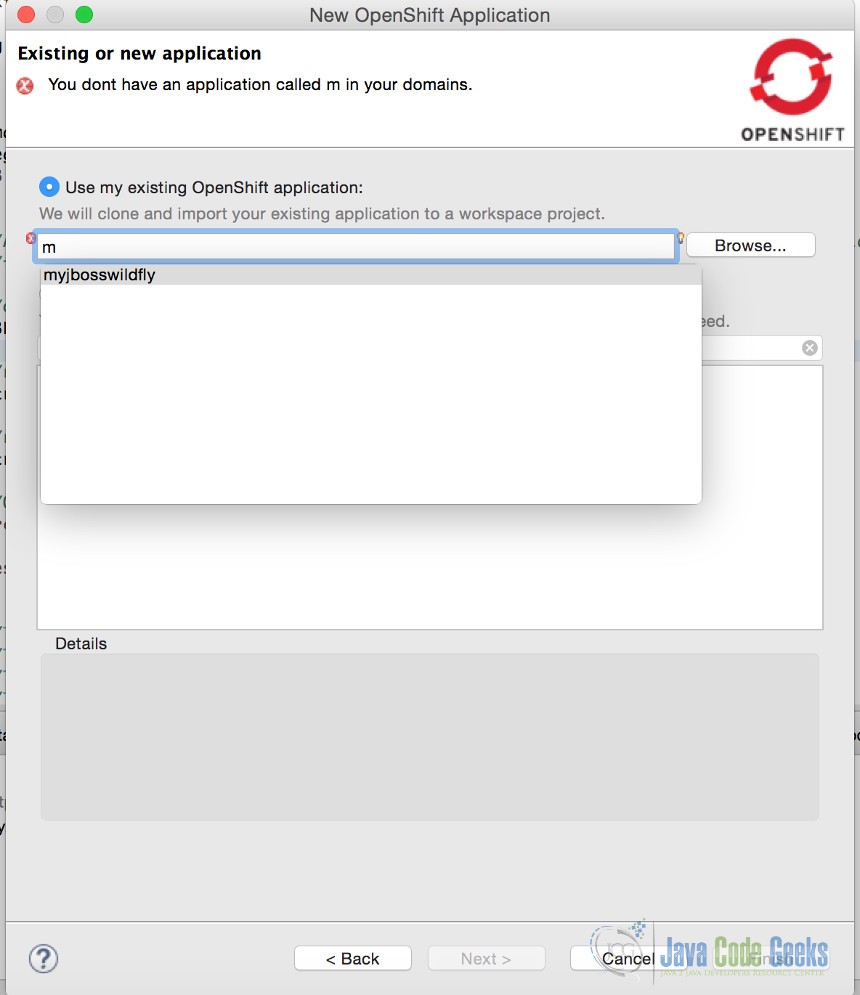
Select the application to locally clone and import into Eclipse:
Select “Use my existing OpenShift application”:
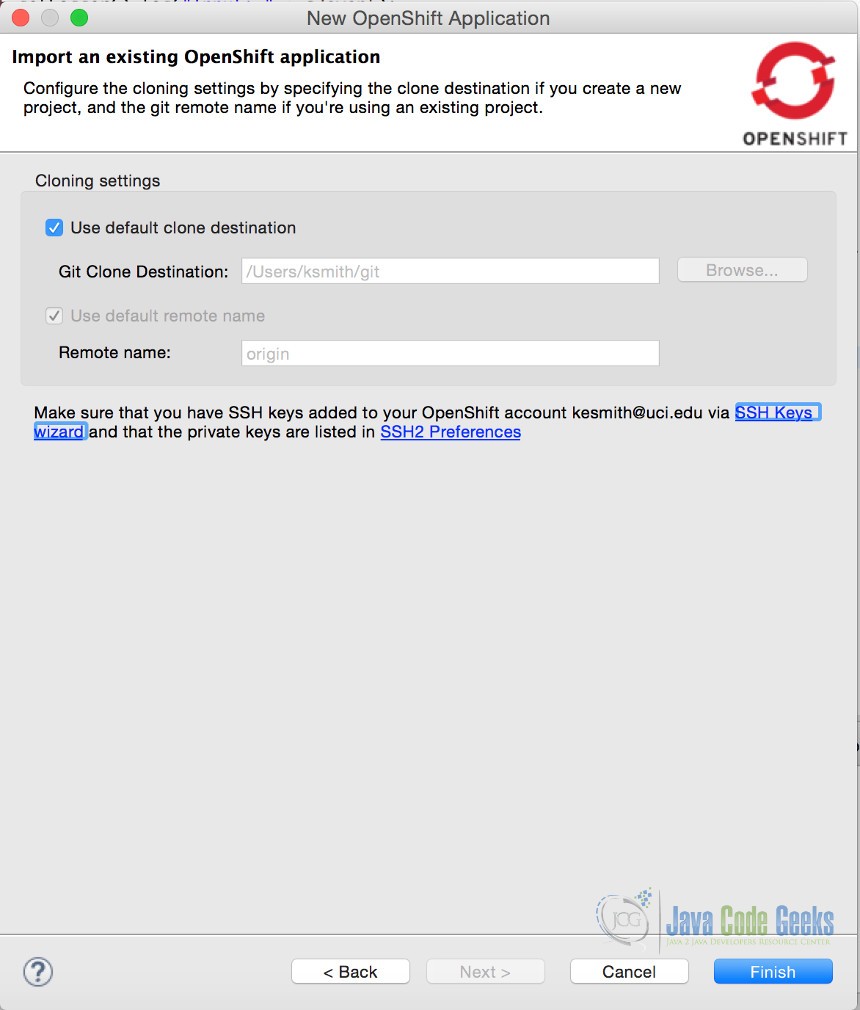
Select “Use default clone destination” and click “Finish”:
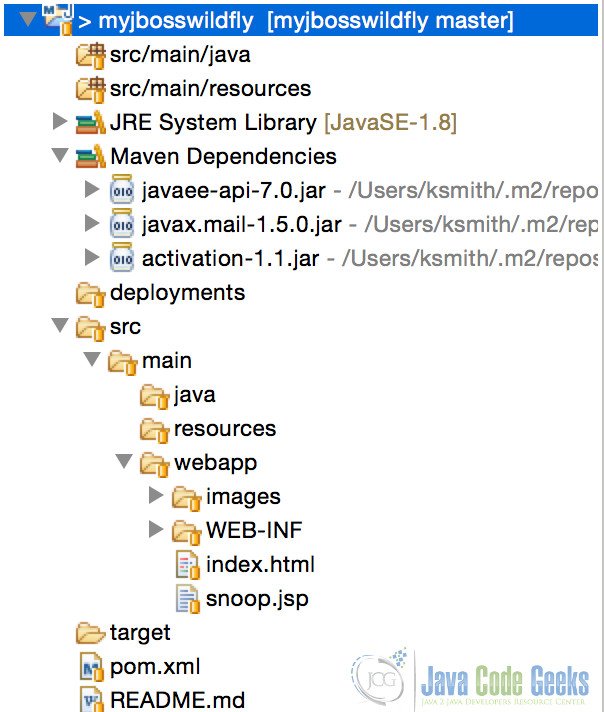
Your application is displayed in the Project Explorer:
6. Modify and Deploy Wildfly Application from Eclipse
Let’s modify our application and deploy the update to Wildfly.
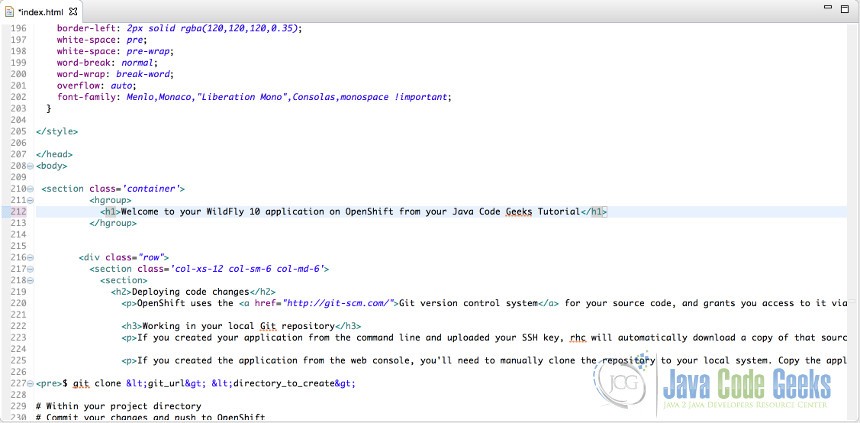
Open the index.html page and add the text “from your Java Code Geeks Tutorial” to your header:
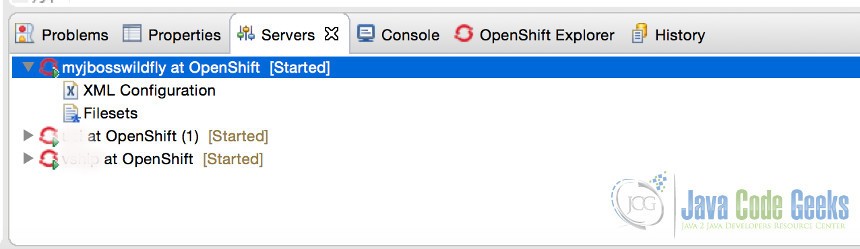
Deploy your application by going to your “Servers” tab in the bottom tabbed window of the Eclipse IDE:
Right click on your application name and click “Publish”:
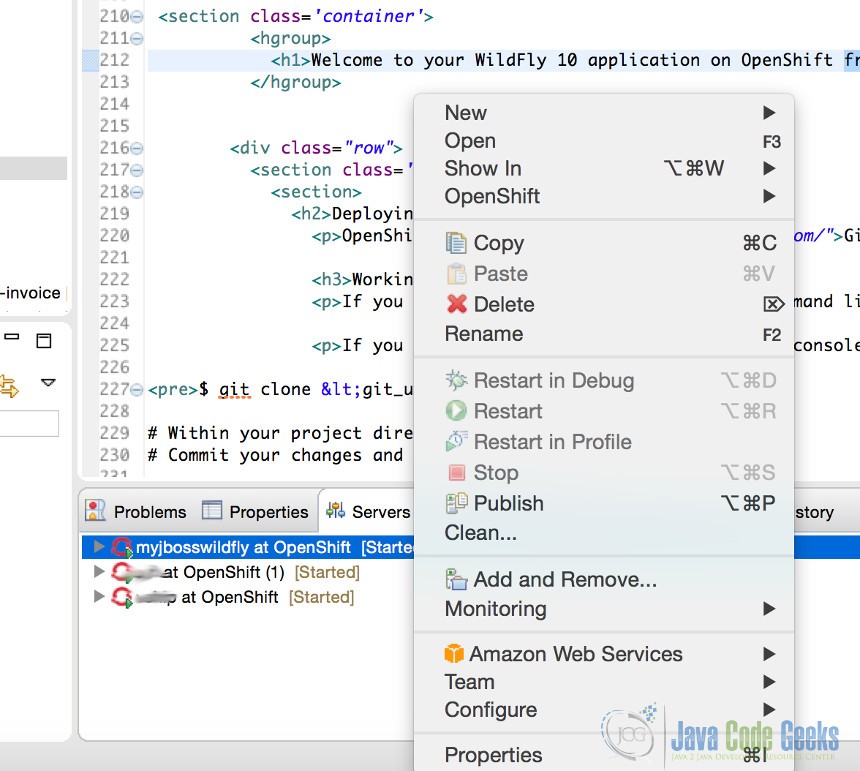
The step to publish will check in your code changes to the Git repository that was automatically created when the starter application was provisioned to your Wildfly cartridge.
Git is distributed source code version control system used by application developers.
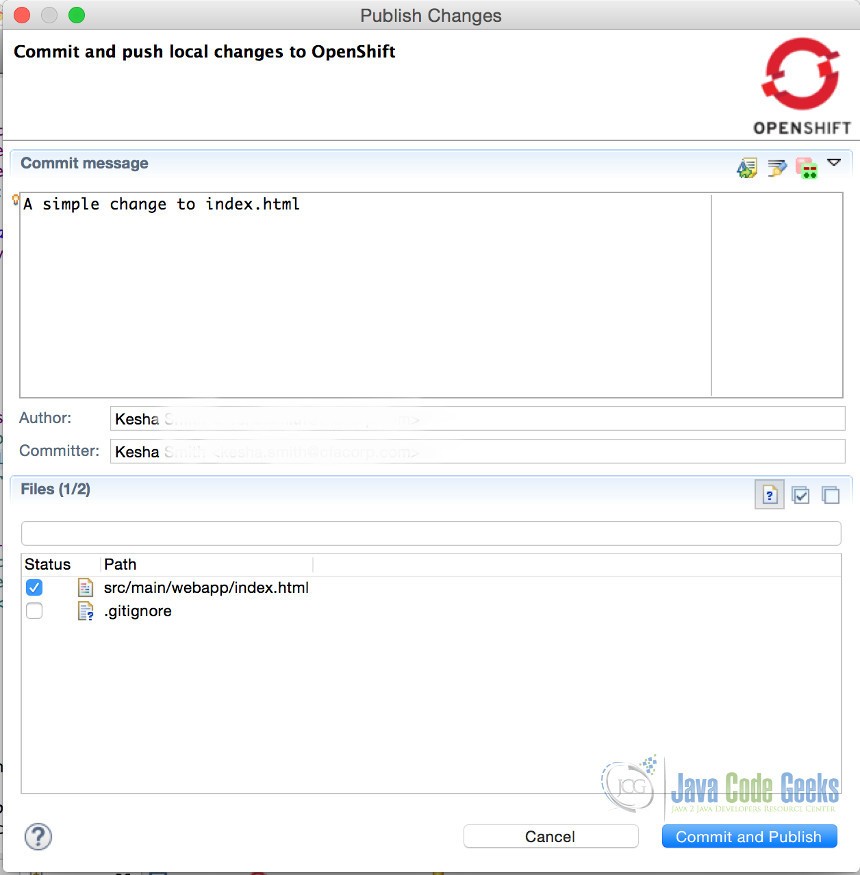
Enter a commit message and select “Commit and Publish”:
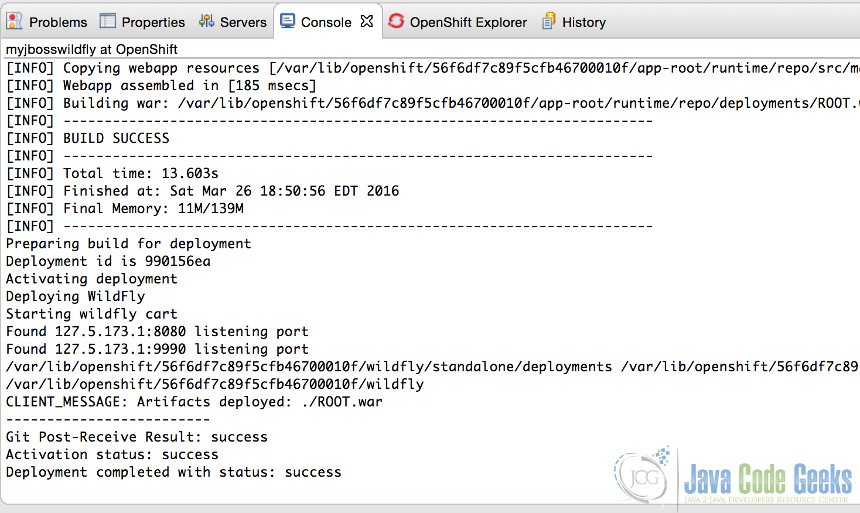
The “Console” tab displays the status of your deployment, which should end in a successful deployment status:
View the changes to your web application by refreshing your web browser:

7. Taking Control of Your Application Server
In order to adjust the settings for your application server, go back to the Administrative Console main page.
7.1 Manually Deploying An Application
OpenShift supports deployment of existing WAR files. If you have an existing application that you want to deploy to your Wildfly application server, there are two steps that you must follow:
- Use the add deployment wizard to deploy the application
- After deploying the application, enable the deployment
Click on “Start”:
The Start button displays the deployment wizard main screen:
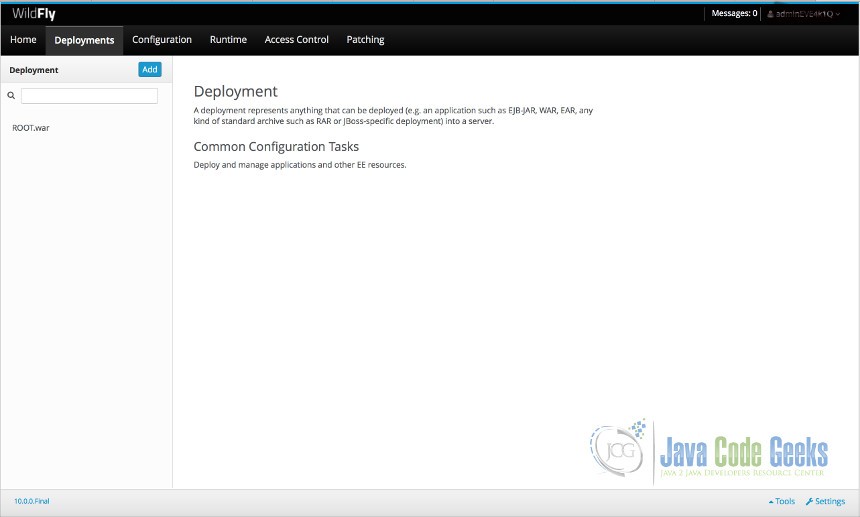
Click the “Add” button in the upper left-hand corner, which displays the “New Deployment” popup.
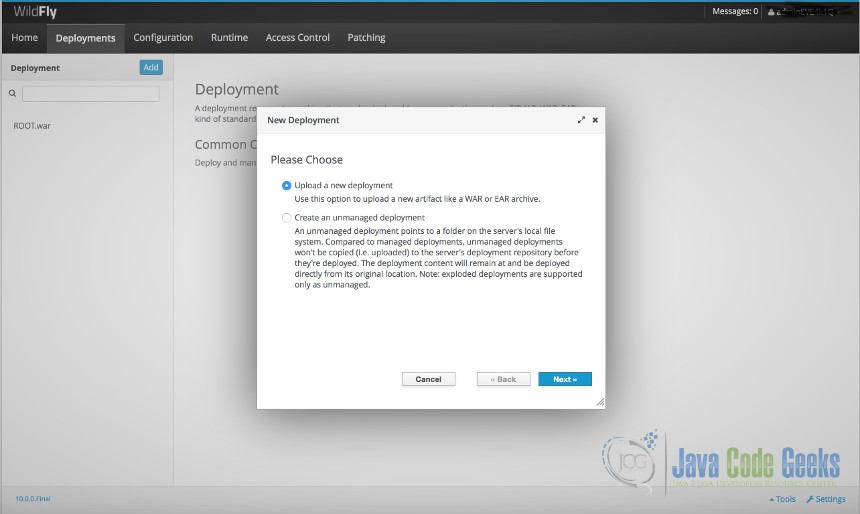
Click Next in order to choose a file to upload:
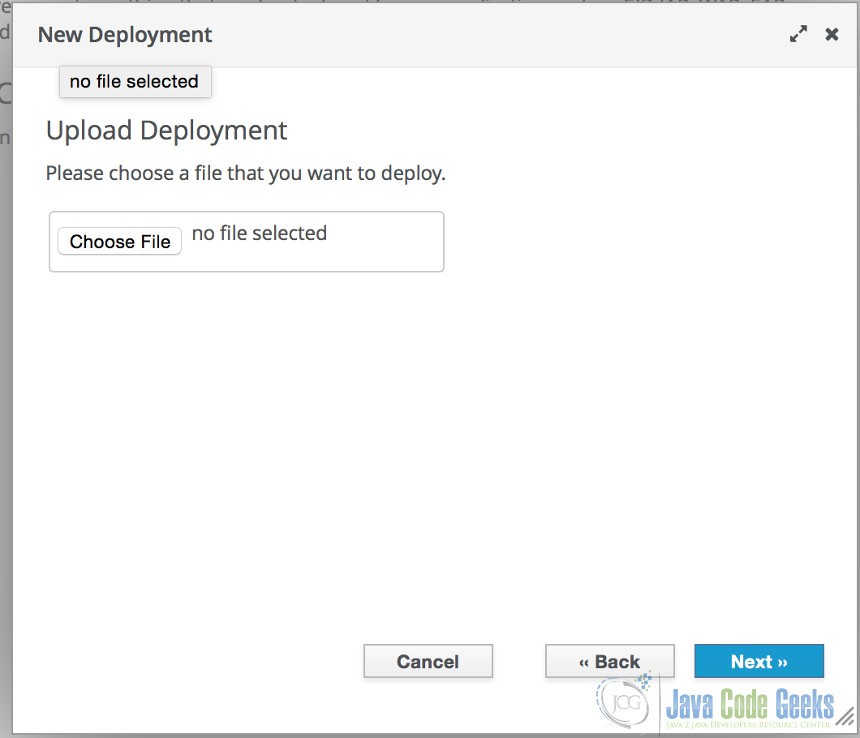
Choose your file, in this example, I am using sample.war.
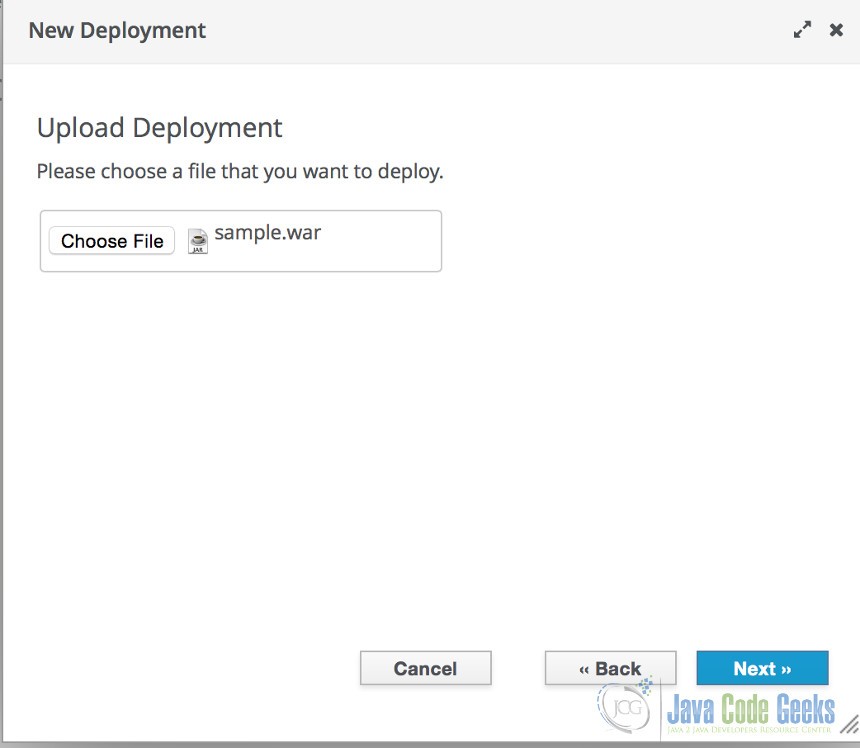
Click “Next” to verify your upload:
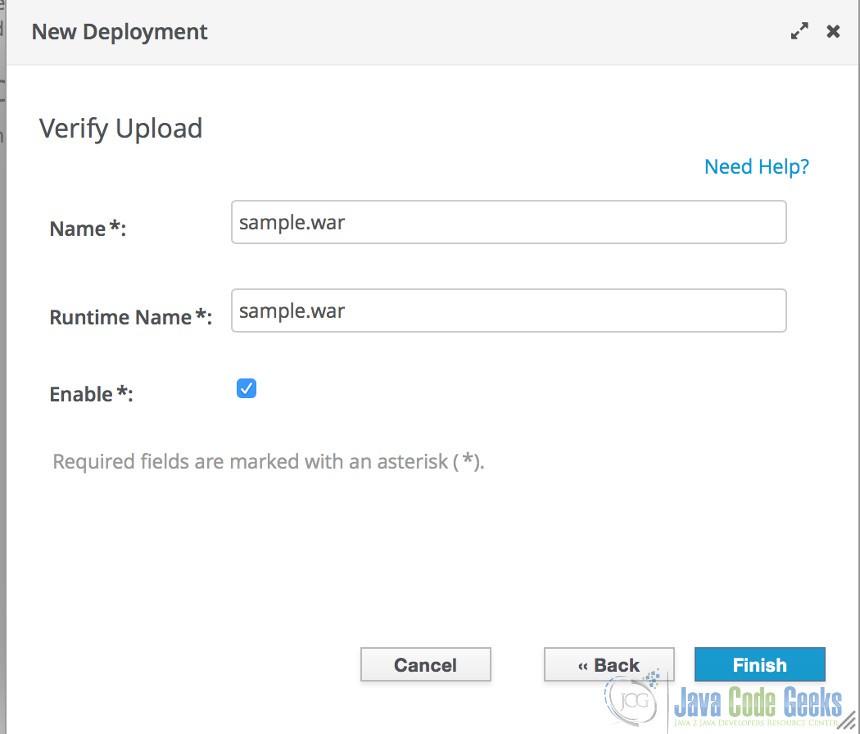
Click Finish:
If your deployment is successful, you should see a message stating so. When you see the deployment screen, click on your newly added WAR file on the left-hand side to ensure your deployment is enabled. If you checked “Enable” on the Verify Upload screen, your application should be enabled. If you application is not enabled, you will need to enable it by clicking the “View” button.
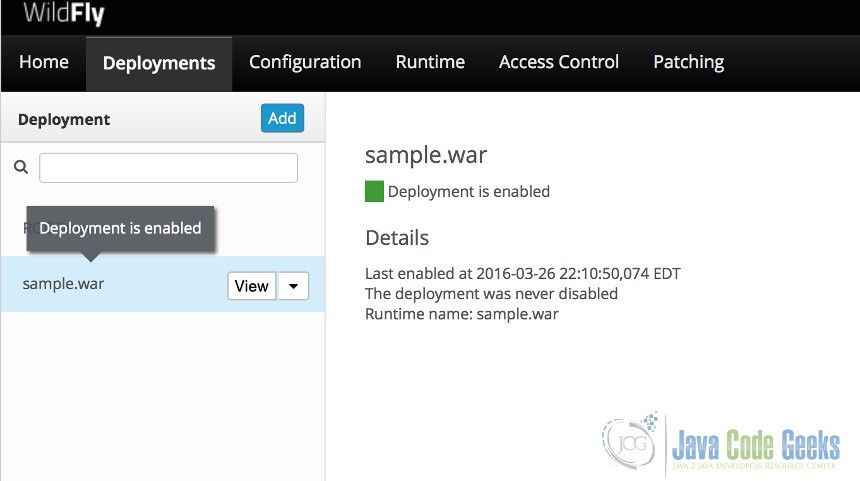
Test your Deployment by going to a browser window and entering the URL for your application:

The deployed application will display in your browser window:
7.2 Adding Application Dependencies
The starter Java web application that was deployed when the Wildfly cartridge was provisioned uses Maven to download dependencies, build, and deploy your application.
Maven is a build automation tool used primarily for Java projects.
You may find depencies that you would like to include in your project in the Maven Central Repository. The lines provided for the artifact need to be placed inside of the <dependencies></dependencies> section of your pom.xml file.
Here is an example of including the openshift-java-client dependency within my pom.xml.
<dependencies>
<dependency>
<groupId>com.openshift</groupId>
<artifactId>openshift-java-client</artifactId>
<version>2.7.0.Final</version>
</dependency>
</dependencies>
I can now develop against version 2.7.0 of the OpenShift Java client.
7.3 Adding a Database
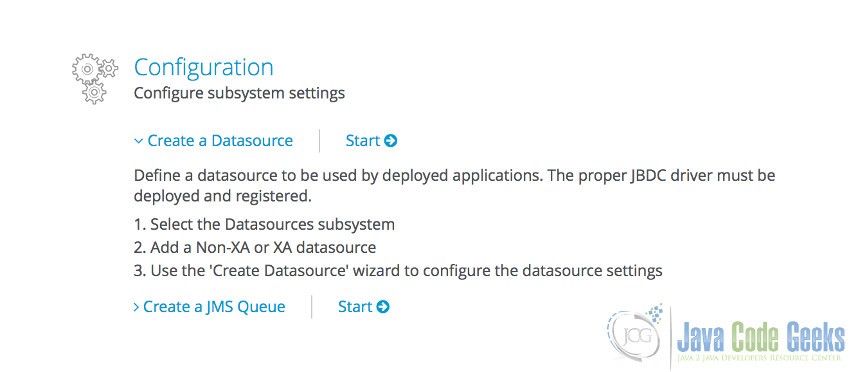
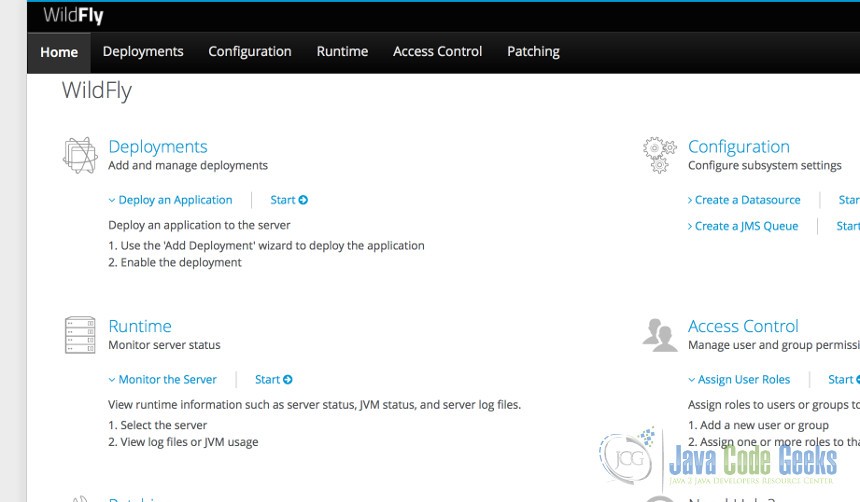
You may add a database after your application is created by going to the “Configuration” section and selecting “Start” by the “Create a Datasource” link.
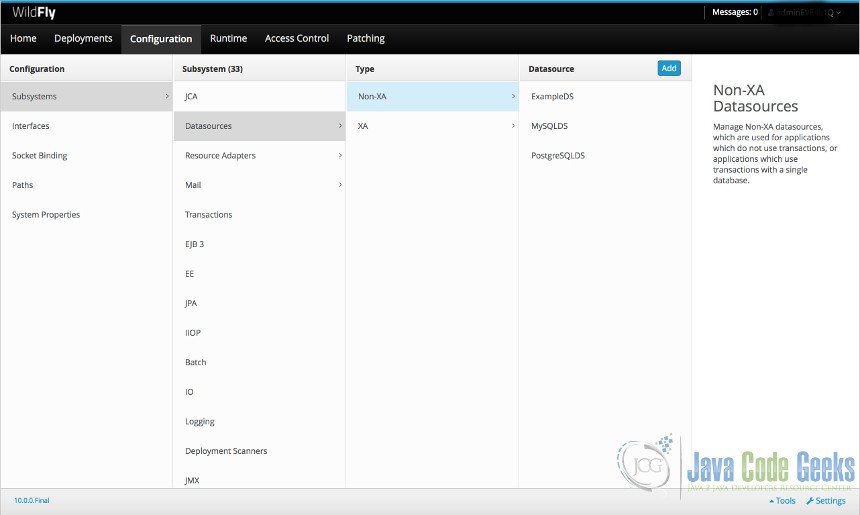
Select “Subsystems”->”Datasources”->”Non-XA”->”Add”
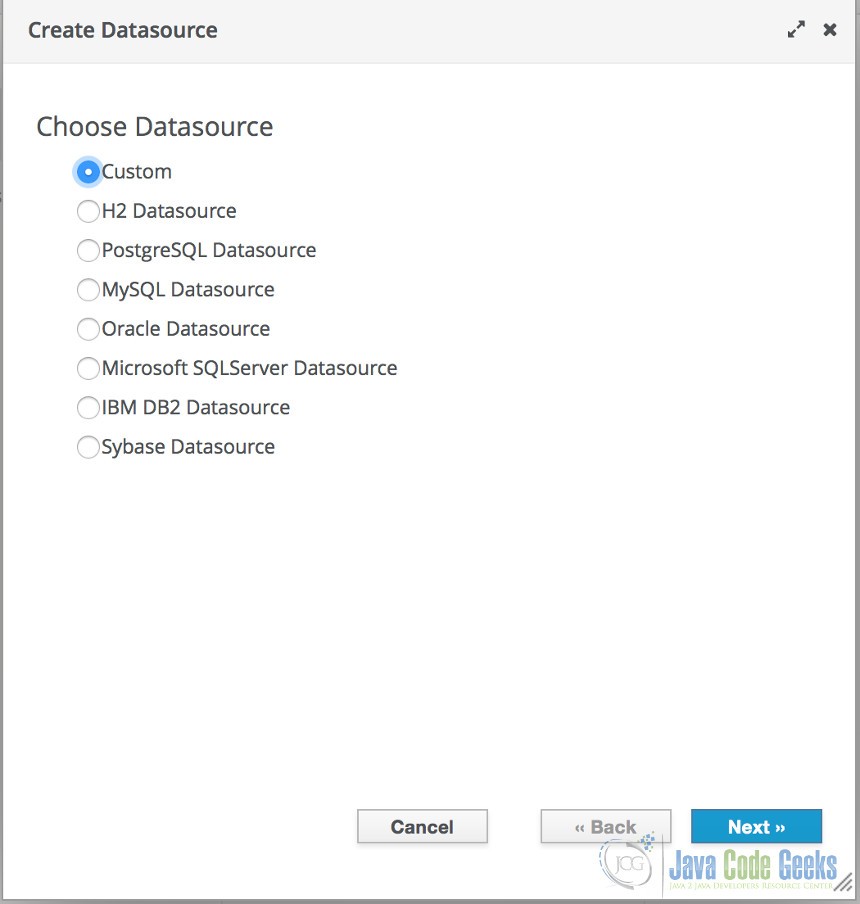
When clicking “Add”, the “Create Datasource” popup displays. Select “MySQL Datasource” and click “Next”:
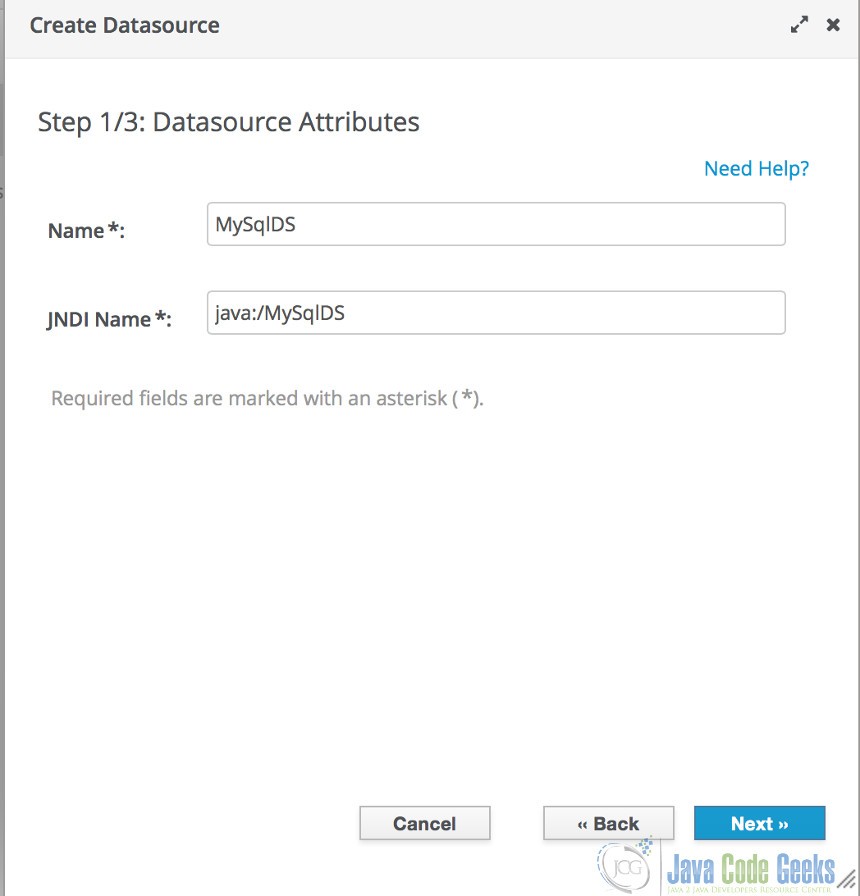
Enter a name for your datasource and click “Next”:
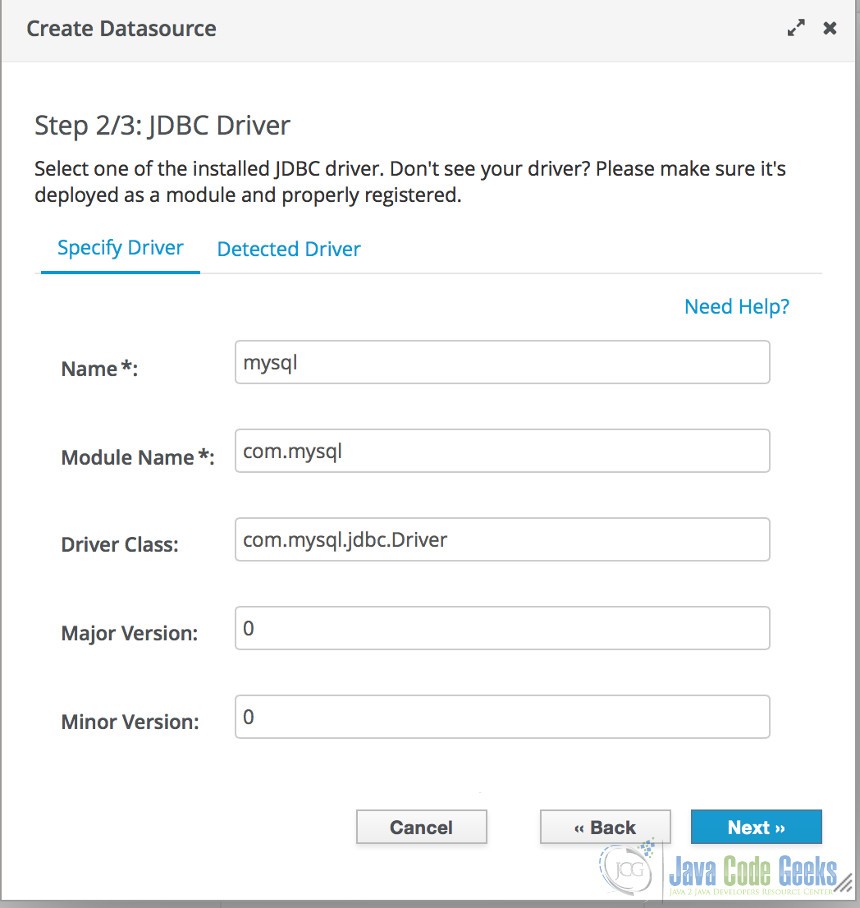
Select the appropriate driver and click “Next”:
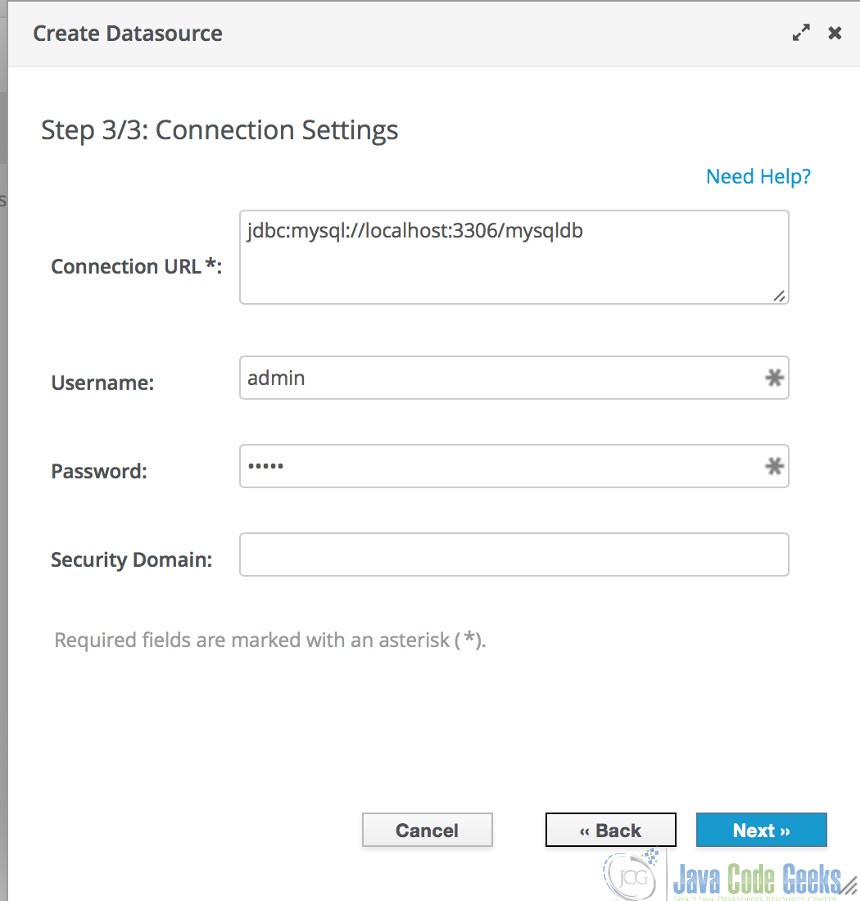
This would be the time to change the administrative password to something you can remember. Take note of “Connection Settings” and click “Next”.
After clicking “Next”, your datasource is created based on the name entered, “MySqlDS”. Note that datasources are case-sensitive.

The environment properties for your database are shown below.
Environment Variable Name | Usage |
OPENSHIFT_MYSQL_DB_HOST | The host name or IP address used to connect to the database. |
OPENSHIFT_MYSQL_DB_PORT | The port the database server is listening on. |
OPENSHIFT_MYSQL_DB_USERNAME | The database administrative user name. |
OPENSHIFT_MYSQL_DB_PASSWORD | The database administrative user’s password. |
OPENSHIFT_MYSQL_DB_SOCKET | An AF socket for connecting to the database (for non-scaled apps only). |
OPENSHIFT_MYSQL_DB_URL | Database connection URL. |
7.4 Log Files to Monitor Server Status
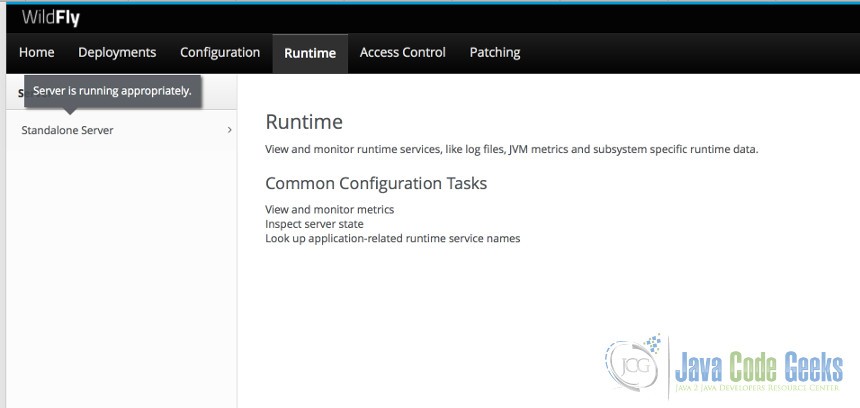
To review the log files for your Wildfly application server, go to the Runtime section and select “Start”:
Select “Standalone Server”:
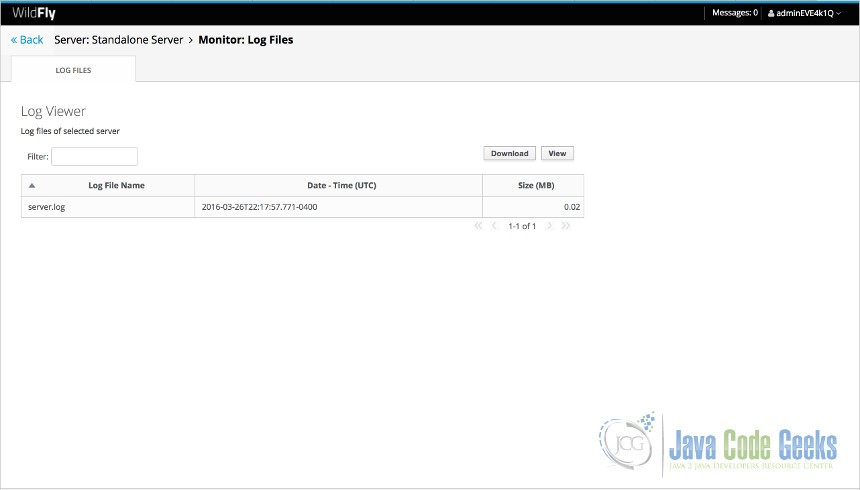
Select “Log Files”:
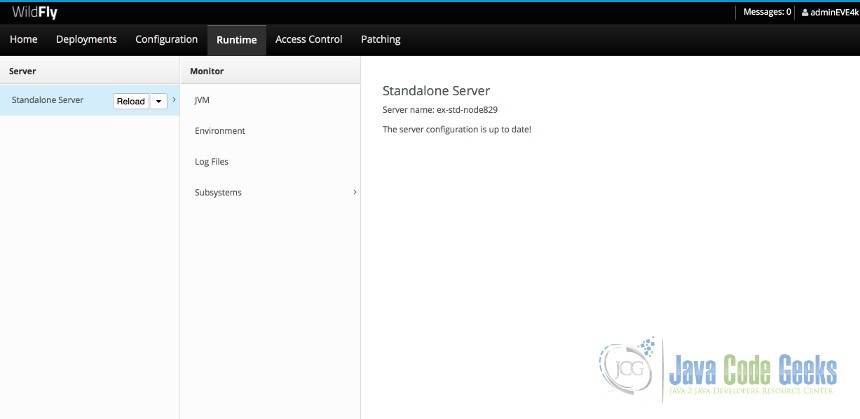
Select “View”:
8. Conclusion
In this tutorial, we covered the JBoss Wildfly 10 Application Server. We reviewed installing the application server on OpenShift’s cloud platform and deploying an application via the Eclipse Integrated Development Environment (IDE). Additionally, we learned how to take control of the application server by manually deploying WAR files, adding application dependencies, adding a database, and reviewing log files.

Kindly let me know how to deploy a java application on Wildfly 16, with JDK 11