In this example we will learn how to use Textbox in GWT. The Google Web Toolkit is a development framework for creating Ajax-enabled web applications in Java. A Textbox represents a standard single-line text box in UI. Tools and technologies used in this example are Java 1.8, Eclipse Luna 4.4.2, Eclipse GWT Plugin 2.6
1. Introduction
GWT Textbox is capable of automatically adjusting its direction according to the input text. This feature is controlled by ValueBoxBase.setDirectionEstimator(boolean), and is available by default when at least one of the application’s locales is right-to-left. The instance can be created by calling the constructor without any parameter – new TextBox(). There are another constructor which takes the com.google.gwt.dom.client.Element as the parameter. This constructor may be used by subclasses to explicitly use an existing element. This element must be an <input type=”text” /> element whose type is ‘text’.
The com.google.gwt.user.client.ui.PasswordTextBox extends the TextBox. PasswordTextBox is a text box that visually masks its input to prevent eavesdropping.
2. Methods
In this section me will discuss the methods defined in the com.google.gwt.user.client.ui.TextBox class.
- wrap
public static TextBox wrap(Element element)Creates a TextBox widget that wraps an existing <input type=’text’> element. This element must already be attached to the document. If the element is removed from the document, you must callRootPanel.detachNow(Widget). - getMaxLength
public int getMaxLength()Gets the maximum allowable length of the text box - getVisibleLenght
public int getVisibleLength()Gets the number of visible characters in the text box. - setMaxLength
public void setMaxLength(int length)Sets the maximum allowable length of the text box. - setVisibleLength
public void setVisibleLength(int length)Sets the number of visible characters in the text box.
3. Creating GWT project
To create a new GWT project go to File->New->Other, then type ‘Web App’. Choose ‘Web Application Project’ under ‘Google’.

On the next window enter the Project name (‘GWTTextBox’) and the Package (com.javacodegeeks). Leave the other details as it is and click on ‘Finish’. Eclipse will generate some files automatically for you.

4. Modification
We only need to modify the Entry point class in the client module. Below is the modified entry point class.
GWTTextbox.java
package com.javacodegeeks.client;

import com.google.gwt.core.client.EntryPoint;
import com.google.gwt.event.dom.client.KeyPressEvent;
import com.google.gwt.event.dom.client.KeyPressHandler;
import com.google.gwt.user.client.Window;
import com.google.gwt.user.client.ui.RootPanel;
import com.google.gwt.user.client.ui.TextBox;
import com.google.gwt.user.client.ui.VerticalPanel;

/**
* Entry point classes define <code>onModuleLoad()</code>.
*/
public class GWTTextbox implements EntryPoint {
  /**
  * This is the entry point method.
  */
  public void onModuleLoad() {
    TextBox textBox = new TextBox();
    textBox.setMaxLength(100);
    textBox.setVisibleLength(50);

    textBox.addKeyPressHandler(new KeyPressHandler() {

      public void onKeyPress(KeyPressEvent event) {
        Window.alert("Key Pressed: " + Character.toString(event.getCharCode()));
      }
    });

    // Add them to the root panel.
    VerticalPanel panel = new VerticalPanel();
    panel.add(textBox);
    RootPanel.get().add(panel);
  }
}
5. Compile
To compile the application right click on the project and select ‘Google’ ==> ‘GWT Compile’. You will get a pop-up showing the project name. Click on the ‘Compile’ button.

GWT will start compiling the project. You will see the below logs in the ‘Console’ window.
Compiling module com.javacodegeeks.GWTTextbox
  Compiling 5 permutations
    Compiling permutation 0...
    Compiling permutation 1...
    Compiling permutation 2...
    Compiling permutation 3...
    Compiling permutation 4...
  Compile of permutations succeeded
Linking into E:\meraj\study\eclipse-workspace\GWTTextbox\war\gwttextbox
  Link succeeded
  Compilation succeeded -- 69.126s
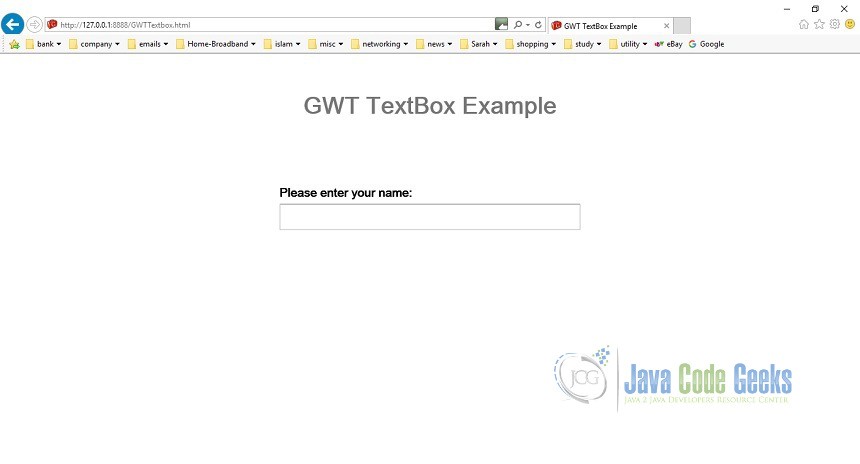
6. Running the application
To run the application right click on the project and select ‘Run As’ ==> ‘Web Application (Classic Dev Mode)’. Eclipse will display a URL in the ‘Development Mode’ tab. Copy this URL and paste it on you favourite browser. Remove the part after ‘.html’ and click enter. You will see the button displayed on the screen. Click on the button. Magic!!!,
7. Download the source file
This was an example of GWT TextBox.
You can download the full source code of this example here: GWTTextbox. Please note that the jar files have been removed to save some space.
