Overview
In this tutorial, we will get to know about Google Web Toolkit (GWT) Panels and we shall see how to use GWT Panels in a GWT Web Application to design user interface.
In our previous tutorial GWT Tutorial for Beginners, we explained how to create a GWT Web Application project using eclipse and we have seen the basic steps to develop user interface using widgets. In this tutorial we shall see how to use different type of Panels to develop user interface.
The following table shows an overview of the entire article:
Table Of Contents
1. Introduction
Panels in a GWT Web Application are used to set the layout of the Application. GWT Panels use HTMP element such as DIV and TABLE to layout their child Widgets. It is similar to use LayoutManagers in desktop Java Application. Panels contain Widgets and other Panels. They are used to define the layout of the user interface in the browser.
Here we are using GWT 2.7 integrated with Eclipse Mars 4.5.
2. Layout of a GWT Web Application UI
Layout design of user interface can be controlled via HTML and Java. A typical user interface comprises of Top-level panel and simple panels. Top-level panels are usually DeckLayoutPanel, TabLaypitPanel, StacklayoutPanel etc. Simple Panels or Basic Panels are FlowPanel, HTMLPanel, FormPanel, ScrollPanel, Grid, FlexTable etc. Each panel can contain other panels.
3. Basic Panels
3.1. RootPanel
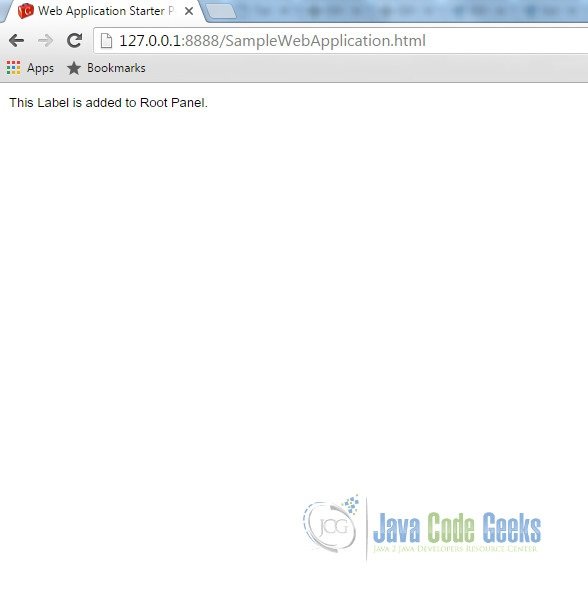
RootPanel is the top most Panel to which all other Widgets are ultimately attached. RootPanels are never created directly. On the other hand, they are accessed via RootPanel.get(). It returns a singleton panel that wraps the GWT Web Application’s welcome HTML page’s body element. To achieve more control over user interface via HTML, we can use RootPanel.get(String argument) that returns a panel for any other element on the HTML page against provided argument.
Frequently used methods:
| Method Name | Description |
|---|---|
| public static RootPanel.get() | Gets the default root panel. This panel wraps the body of the browser’s document. |
| public static RootPanel.get(String id) | Gets the root panel associated with a given browser element against the provided element’s id. |
Refer RootPanel Javadoc for detailed api description.
SampleRootPanel.java
        /**
	 * This is the entry point method.
	 */
	public void onModuleLoad() {

		Label lbl = new Label("This Label is added to Root Panel.");
		/*
		 * Adding label into HTML page.
		 */
		RootPanel.get().add(lbl);
	}
Output:
3.2. FlowPanel
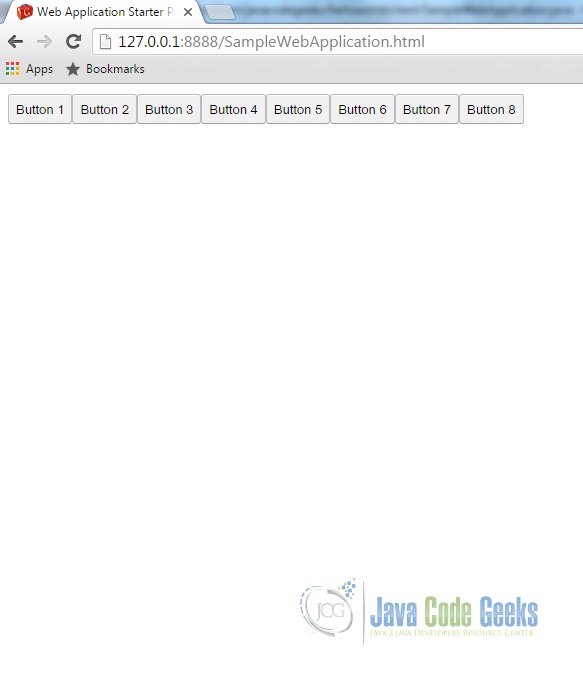
A FlowPanel is the simplest panel that formats its child widgets using the default HTML layout behavior. A FlowPanel is rendered as an HTML div and attaches children directly to it without modification. Use it in cases where you want the natural HTML flow to determine the layout of child widgets.
Frequently used methods:
| Method Name | Description |
|---|---|
| public void add(Widget w) | Adds a new child widget to the panel. |
Refer FlowPanel Javadoc for detailed api description.
SampleFlowPanel.java
     /**
      * This is the entry point method.
      */
	public void onModuleLoad() {

		FlowPanel flowPanel = new FlowPanel();
		// Add buttons to flow Panel
		for(int i = 1;  i <= 8; i++){
			Button btn = new Button("Button " + i);
			flowPanel.add(btn);
		}

		// Add the Flow Panel to the root panel.
		RootPanel.get().add(flowPanel);
	}
Output:
3.3. HTMLPanel
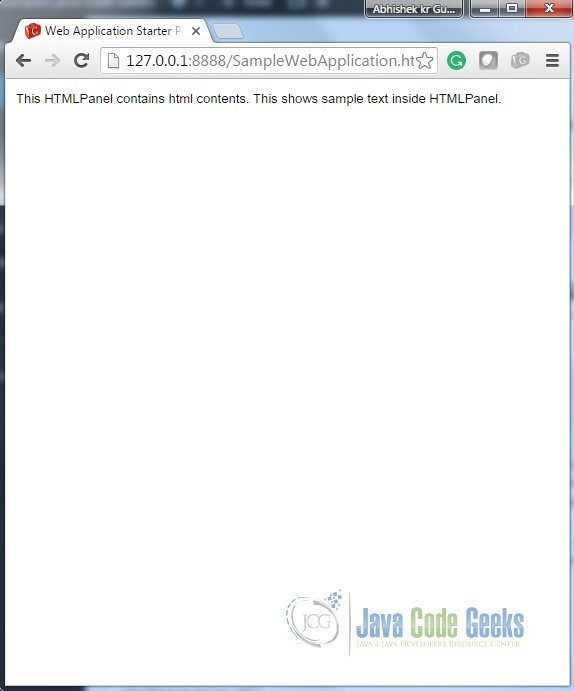
An HTMLPanel rendered with the specified HTML contents. Child widgets can be added into identified elements within that HTML contents.
Frequently used methods:
| Method Name | Description |
|---|---|
| public HTMLPanel(String html) | Creates an HTML panel with the specified HTML contents inside a DIV element. |
Refer HTMLPanel Javadoc for detailed api description.
SampleHTMLPanel.java
        /**
	 * This is the entry point method.
	 */
	public void onModuleLoad(){

		// Add buttons to html Panel
		String htmlString = "This HTMLPanel contains"
				+" html contents. This shows sample text inside HTMLPanel.";
		HTMLPanel htmlPanel = new HTMLPanel(htmlString);

		// Add the HTML Panel to the root panel.
		RootPanel.get().add(htmlPanel);
	}
Output:
3.4. FormPanel
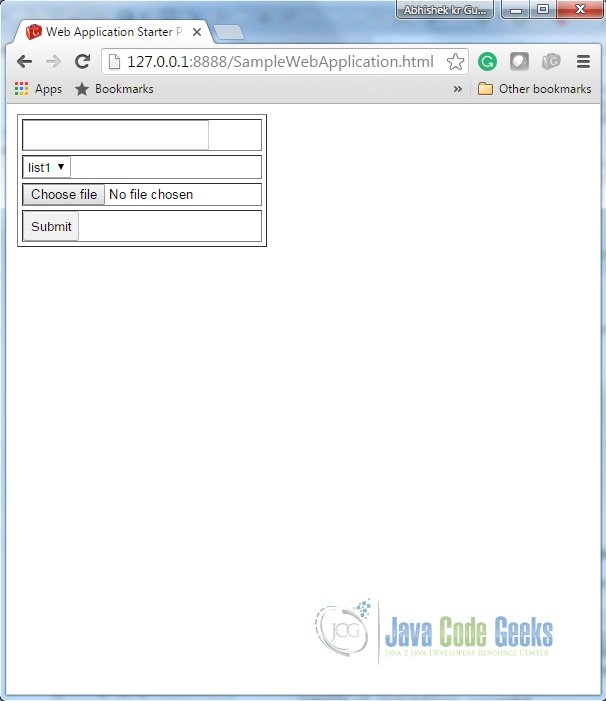
The panel provides the behavior of an HTML FORM element. Any widgets added to this panel will be wrapped inside HTML form element. The panel can be used to achieve interoperability with servers that accept traditional HTML form encoding.
Frequently used methods:
| Method Name | Description |
|---|---|
| public HandlerRegistration addSubmitCompleteHandler(SubmitCompleteHandler handler) | Adds a SubmitCompleteEvent handler. |
| public HandlerRegistration addSubmitHandler(SubmitHandler handler) | Adds a SubmitEvent handler. |
Refer FormPanel Javadoc for detailed api description.
SampleFormPanel.java
        /**
	 * This is the entry point method.
	 */
	public void onModuleLoad() {
		// Create a FormPanel and point it at a service.
		final FormPanel form = new FormPanel();
		form.setAction("/myFormHandler");

		// Because we're going to add a FileUpload widget, we'll need to set the
		// form to use the POST method, and multipart MIME encoding.
		form.setEncoding(FormPanel.ENCODING_MULTIPART);
		form.setMethod(FormPanel.METHOD_POST);

		// Create a panel to contains all of the form widgets.
		VerticalPanel panel = new VerticalPanel();
		panel.setBorderWidth(1);
		panel.setSpacing(4);
		form.setWidget(panel);

		// Create a TextBox, giving it a name so that it will be submitted.
		final TextBox tb = new TextBox();
		tb.setName("textBoxForm");
		panel.add(tb);

		// Create a ListBox, giving it a name and some values to be associated with
		// its options.
		ListBox lb = new ListBox();
		lb.setName("listBoxForm");
		lb.addItem("list1", "List1 Value");
		lb.addItem("list2", "List2 Value");
		lb.addItem("list3", "List3 Value");
		panel.add(lb);

		// Create a FileUpload widget.
		FileUpload upload = new FileUpload();
		upload.setName("uploadForm");
		panel.add(upload);

		// Adding a submit button.
		panel.add(new Button("Submit", new ClickHandler() {
			@Override
			public void onClick(ClickEvent event) {
				form.submit();
			}
		}));

		// Adding an event handler to the form.
		form.addSubmitHandler(new FormPanel.SubmitHandler() {
			public void onSubmit(SubmitEvent event) {
				// This event is fired just before the form is submitted.
				// this provides opportunity to perform validation.
				if (tb.getText().length() == 0) {
					Window.alert("Text box must not be empty");
					event.cancel();
				}
			}
		});
		form.addSubmitCompleteHandler(new FormPanel.SubmitCompleteHandler() {
			public void onSubmitComplete(SubmitCompleteEvent event) {
				// This event fired after the form submission is successfully completed.
				// Assuming the service returned a response of type text/html,
				// we can get the result text here.
				Window.alert(event.getResults());
			}
		});

		RootPanel.get().add(form);
	}
Output:
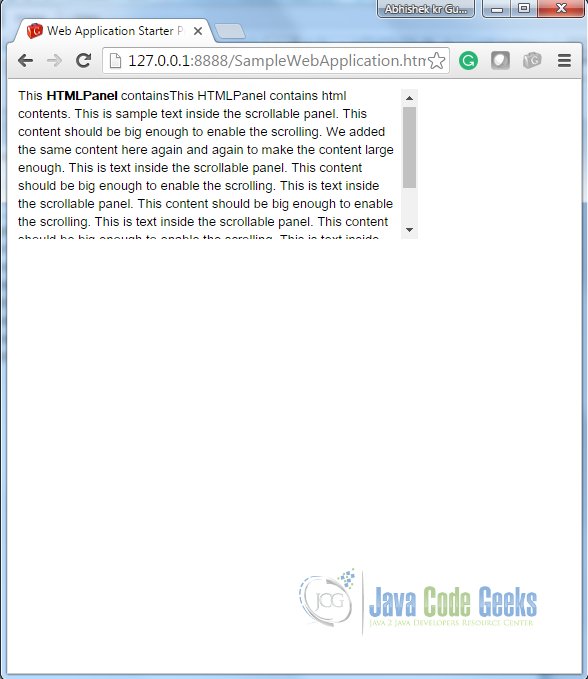
3.5. ScrollPanel
A Simple panel that wraps its contents into a scrollable area. Using constructor scrollPanle() and scrolPanle(Widget w) we can create empty scroll panel and scroll panel with given widget.
Frequently used methods:
| Method Name | Description |
|---|---|
| public ScrollPanel(Widget child) | Creates a new scroll panel with the given child widget. |
| public void setSize(String width, String height) | Sets the object’s size. |
Refer ScrollPanel Javadoc for detailed api description.
SampleScrollPanel.java
        /**
	 * This is the entry point method.
	 */
	public void onModuleLoad() {
		// scrollable text
		HTML htmlString = new HTML("This HTMLPanel contains"
				+"This is sample text inside the scrollable panel. "
				+ "This content should be big enough to enable the scrolling. "
				+ "We added the same content here again and again to make the "
				+ "content large enough. This is text inside the scrollable panel."
				+ " This content should be big enough to enable the scrolling."
				+ " This is text inside the scrollable panel. This content should "
				+ "be big enough to enable the scrolling. This is text inside the "
				+ "scrollable panel. This content should be big enough to enable"
				+ " the scrolling. This is text inside the scrollable panel."
				+ " This content should be big enough to enable the scrolling."
				+ " This is text inside the scrollable panel. This content "
				+ "should be big enough to enable the scrolling.");

		// scrollpanel with text
		ScrollPanel scrollPanel = new ScrollPanel(htmlString);
		scrollPanel.setSize("400px", "150px");

		// Adding the scroll panel to the root panel.
		RootPanel.get().add(scrollPanel);
	}
Output:
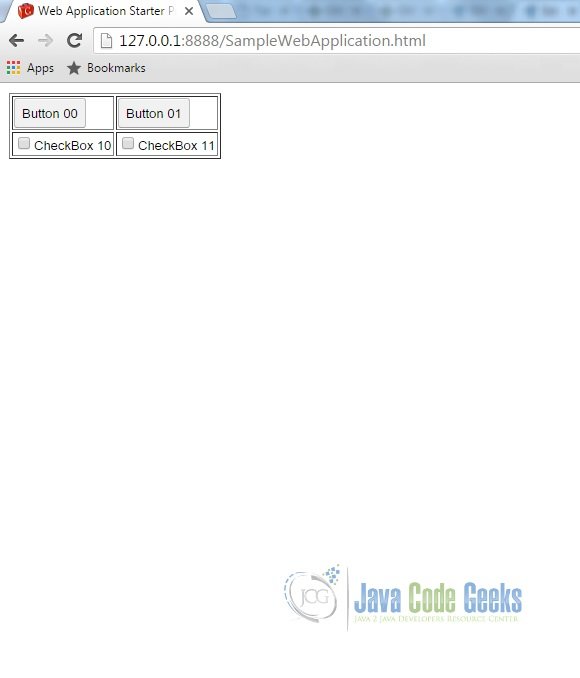
3.6. Grid
A Grid is used to create traditional HTML table. It extends HTMLTable. Grid which can contain text, HTML, or a child Widget within its cells. It can be configured as per required number of rows and columns.
Frequently used methods:
| Method Name | Description |
|---|---|
| public Grid(int rows, int columns) | Constructs a grid with the requested size. |
| public void setWidget(int row, int column, Widget widget) | Sets the widget within the specified cell. It belongs to it’s parent class HTMLTable. |
Refer Grid Javadoc for detailed api description.
SampleGrid.java
        /**
	 * This is the entry point method.
	 */
	public void onModuleLoad() {
		// Create a grid
		Grid grid = new Grid(2, 2);
		grid.setBorderWidth(1);

		// Add buttons, checkboxes to the grid
		int rows = grid.getRowCount();
		int columns = grid.getColumnCount();
		for (int row = 0; row < rows; row++) {
			for (int col = 0; col < columns; col++) {
				if (row == 0) {
					grid.setWidget(row, col, new Button("Button " + row + col));
				} else {
					grid.setWidget(row, col, new CheckBox("CheckBox " + row + col));
				}
			}
		}

		// Adding grid to the root panel.
		RootPanel.get().add(grid);
	}
Output:
3.7. FlexTable
FlexTable also extends HTMLTable like Grid. This table creates cells on demand. Individual cells inside the table can be set to span multiple rows or columns based on indexes.
Frequently used methods:
| Method Name | Description |
|---|---|
| public void setWidget(int row, int column, Widget widget) | Sets the widget within the specified cell. It belongs to it’s parent class HTMLTable. |
| public void removeRow(int row) | Removes the specified row from the table. |
Refer FlexTable Javadoc for detailed api description.
SampleFlexTable.java
        /**
	 * This is the entry point method.
	 */
	public void onModuleLoad() {

		// Create a Flex Table
		final FlexTable flexTable = new FlexTable();
		// Add button that will add more rows to the table
		Button addBtn = new Button(" Add Button ", new ClickHandler() {

			@Override
			public void onClick(ClickEvent event) {
				addRow(flexTable);
			}
		});
		addBtn.setWidth("120px");
		// Remove button that will add more rows to the table
		Button removeBtn = new Button("Remove Button", new ClickHandler() {

			@Override
			public void onClick(ClickEvent event) {
				removeRow(flexTable);
			}
		});
		removeBtn.setWidth("120px");
		VerticalPanel buttonPanel = new VerticalPanel();
	    buttonPanel.add(addBtn);
	    buttonPanel.add(removeBtn);
	    flexTable.setWidget(0, 2, buttonPanel);

	    // Add two rows to start
	    addRow(flexTable);
	    addRow(flexTable);
		RootPanel.get().add(flexTable);
	}

	/**
	 * Add a row to the flex table.
	 */
	private void addRow(FlexTable flexTable) {
		int numRows = flexTable.getRowCount();
		flexTable.setWidget(numRows, 0, new Button("Button at column " + "0"));
		flexTable.setWidget(numRows, 1, new Button("Button at column " + "1"));
	}

	/**
	 * Remove a row from the flex table.
	 */
	private void removeRow(FlexTable flexTable) {
		int numRows = flexTable.getRowCount();
		if (numRows > 1) {
			flexTable.removeRow(numRows - 1);
		}
	}
Output:
4. LayoutPanels
LayoutPanel is the most general approach to design layout. Mostly other layouts are built upon it. LayoutPanel always tries to fill all the available size in the window, so the content inside of the panel will perfectly fit the browser window size. LayoutPanel follows the size of the browser window, and try to resizes child elements accordingly. Whereas Panel’s child widgets are not automatically resized when the browser window resizes.
It is notable that this panel works in standard mode, which requires that the HTML page in which it is run has an explicit !DOCTYPE declaration.
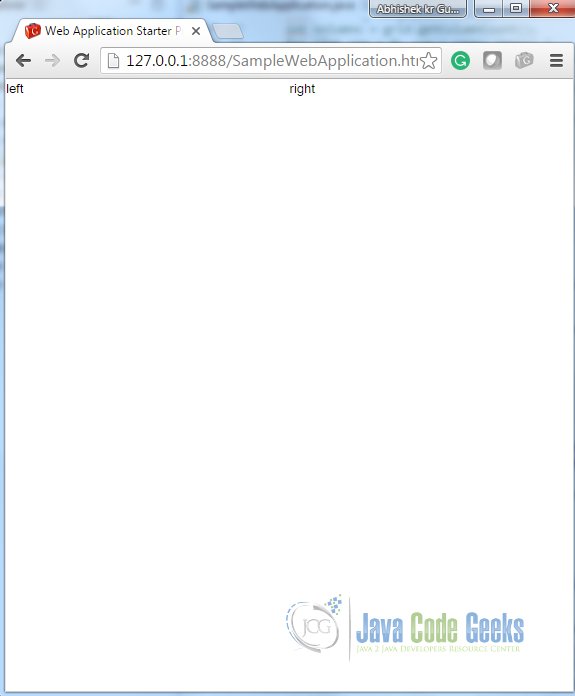
4.1 RootLayoutPanel
A singleton implementation of LayoutPanel always attaches itself to the element of GWT Web Application Welcome HTML Page. You can’t choose which HTML element on the welcome page will become a starting point unlike RootPanel.
This panel automatically calls RequiresResize.onResize() on itself when initially created, and whenever the window is resized.
Frequently used methods:
| Method Name | Description |
|---|---|
| public static RootLayoutPanel get() | Gets the singleton instance of RootLayoutPanel. This instance will always be attached to the document body. |
Refer RootLayoutPanel Javadoc for detailed api description.
SampleRootLayoutPanel.java
        /**
	 * This is the entry point method.
	 */
	public void onModuleLoad() {
		// Attach two child widgets to a LayoutPanel, laying them out horizontally,
		// splitting at 50%.
		Widget childOne = new HTML("left");
		Widget childTwo = new HTML("right");
		LayoutPanel p = new LayoutPanel();
		p.add(childOne);
		p.add(childTwo);

		p.setWidgetLeftWidth(childOne, 0, Unit.PCT, 50, Unit.PCT);
		p.setWidgetRightWidth(childTwo, 0, Unit.PCT, 50, Unit.PCT);

		// Attach the LayoutPanel to the RootLayoutPanel.
		RootLayoutPanel.get().add(p);
	}
Output:
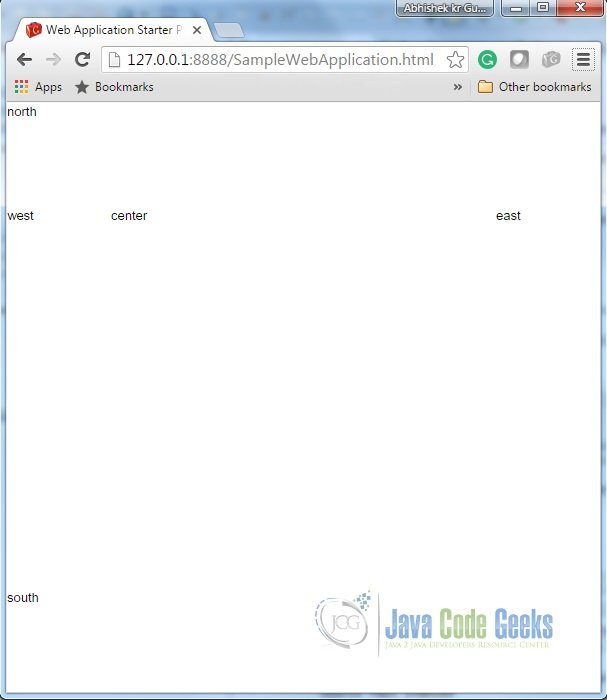
4.2 DockLayoutPanel
A panel that lays its child widgets at its outer edges, and allows its last widget to take up the remaining space in its center.This widget will also work only in standards mode, which requires that GWT Web Application welcome HTML page contains !DOCTYPE declaration.
Frequently used methods:
| Method Name | Description |
|---|---|
| public DockLayoutPanel(Unit unit) | Creates an empty dock panel. Provide the unit to be used for layout. |
| public void add(Widget widget) | Adds a widget at the center of the dock. |
| public void addEast(Widget widget, double size) | Adds a widget to the east edge of the dock. |
| public void addNorth(Widget widget, double size) | Adds a widget to the north edge of the dock. |
| public void addSouth(Widget widget, double size) | Adds a widget to the south edge of the dock. |
| public void addWest(Widget widget, double size) | Adds a widget to the west edge of the dock. |
Refer DockLayoutPanel Javadoc for detailed api description.
SampleDockLayoutPanel.java
        /**
	 * This is the entry point method.
	 */
	public void onModuleLoad() {
		// Attach five widgets to a DockLayoutPanel, one in each direction. Lay
		// them out in 'em' units.
		DockLayoutPanel p = new DockLayoutPanel(Unit.EM);
		p.addNorth(new HTML("north"), 8);
		p.addSouth(new HTML("south"), 8);
		p.addEast(new HTML("east"),8);
		p.addWest(new HTML("west"), 8);
		p.add(new HTML("center"));

		// Attach the DockLayoutPanel to the RootLayoutPanel.
		RootLayoutPanel rp = RootLayoutPanel.get();
		rp.add(p);
	}
Output:
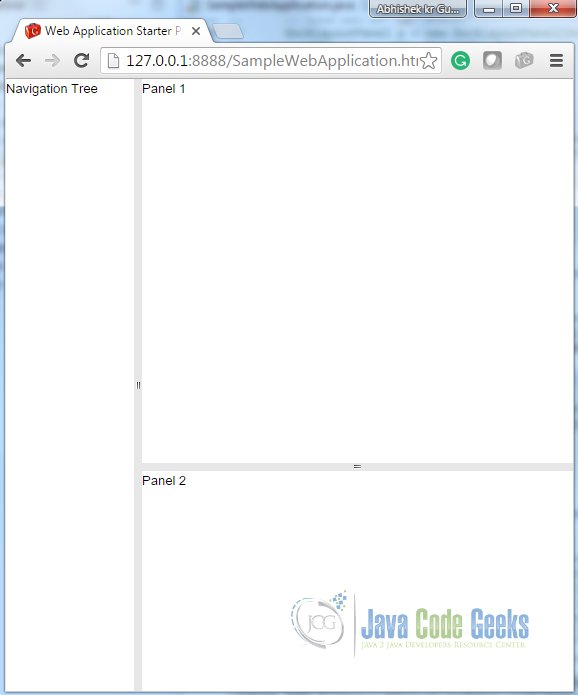
4.3 SplitLayoutPanel
This panel extends DockLayoutPanel. The panel is used in the same way as DockLayoutPanel, except that its children’s sizes are always specified in absolute value, and each pair of child widget has a splitter between them, that the user can drag.
Frequently used methods:
| Method Name | Description |
|---|---|
| public SplitLayoutPanel() | Construct a new SplitLayoutPanel with the default splitter size of 8px. |
Refer SplitLayoutPanel Javadoc for detailed api description.
SampleSplitLayoutPanel.java
        /**
	 * This is the entry point method.
	 */
	public void onModuleLoad() {
		// Create a three-pane layout with splitters.
		SplitLayoutPanel p = new SplitLayoutPanel();
		p.addWest(new HTML("Navigation Tree"), 128);
		p.addNorth(new HTML("Panel 1"), 384);
		p.add(new HTML("Panel 2"));

		// Attach the LayoutPanel to the RootLayoutPanel.
		RootLayoutPanel rp = RootLayoutPanel.get();
		rp.add(p);
	}
Output:
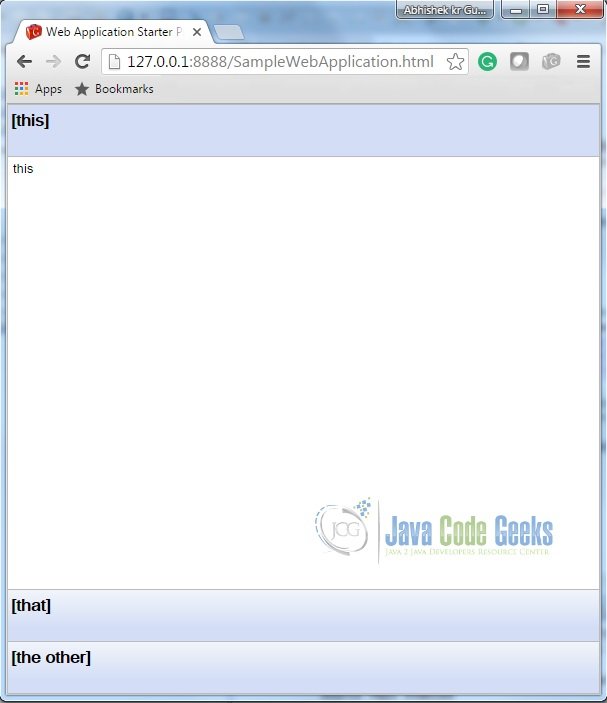
4.4 StackLayoutPanel
The panel stacks its children vertically, displaying only one at a time, with a header for each child which the user can click to display.
This widget will only work in standards mode as well.
Frequently used methods:
| Method Name | Description |
|---|---|
| public StackLayoutPanel(Unit unit) | Creates an empty stack panel. Provide the unit to be used for layout. |
| public void add(final Widget widget, SafeHtml header, double headerSize) | Adds a child widget to this stack, along with a widget representing the stack header. |
Refer StackLayoutPanel Javadoc for detailed api description.
SampleStackLayoutPanel.java
        /**
	 * This is the entry point method.
	 */
	public void onModuleLoad() {
		// Create a three-item stack, with headers sized in EMs.
		StackLayoutPanel p = new StackLayoutPanel(Unit.EM);
		p.add(new HTML("this"), new HTML("[this]"), 4);
		p.add(new HTML("that"), new HTML("[that]"), 4);
		p.add(new HTML("the other"), new HTML("[the other]"), 4);

		// Attach the StackLayoutPanelto the RootLayoutPanel.
		RootLayoutPanel rp = RootLayoutPanel.get();
		rp.add(p);
	}
Output:
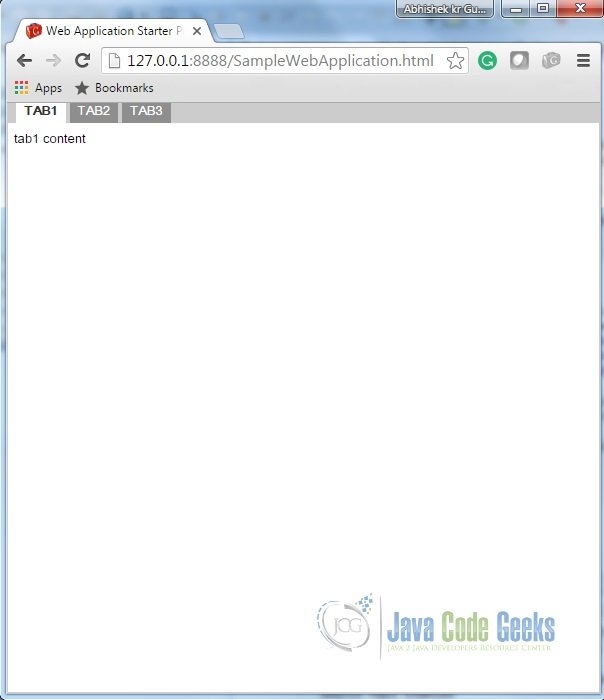
4.5 TabLayoutPanel
A panel represents a tabbed set of pages, each of which contains another widget. It’s child widgets are shown as the user selects the various tabs associated with them. The tabs can contain arbitrary text, HTML, or widgets.
This widget will only work in standards mode as well.
Frequently used methods:
| Method Name | Description |
|---|---|
| public TabLayoutPanel(double barHeight, Unit barUnit) | Creates an empty tab panel. |
| public void add(Widget child, String text) | Adds a widget to the panel. If the Widget is already attached, it will be moved to the right-most index. |
Refer TabLayoutPanel Javadoc for detailed api description.
SampleTabLayoutPanel.java
        /**
	 * This is the entry point method.
	 */
	public void onModuleLoad() {
		// Create a three-item tab panel, with the tab area 1.5em tall.
		TabLayoutPanel p = new TabLayoutPanel(1.5, Unit.EM);
		p.add(new HTML("tab1 content"), "TAB1");
		p.add(new HTML("tab2 content"), "TAB2");
		p.add(new HTML("tab3 content"), "TAB3");

		// Attach the TabLayoutPanel to the RootLayoutPanel.
		RootLayoutPanel rp = RootLayoutPanel.get();
		rp.add(p);
	}
Output:
5. References
• GWT UIPanels
• GWT API Reference
• GWT Showcase of Features
6. Download Eclipse Project
You can download the full source code of this example here: GWTPanelExamples
