GWT Eclipse plugin guide
In this guide, we will look at installing and using the GWT eclipse plugin required while developing a GWT application.
Google Web Toolkit (GWT) is an open source Java software development framework that makes writing AJAX applications easy. With GWT, complex browser-based applications can be developed and optimized in the Java language using the Java development tools of one’s choice.
The beauty of GWT lies in it’s compiler which translates the Java application code to browser-compliant JavaScript and HTML. This, in turn makes application development faster and easier for Java developers.
The Google Web toolkit contains the following two components:
- GWT SDK – Compiler, Java API Libraries and Dev server
- Plugin for Eclipse
The GWT SDK contains the Java API libraries, compiler, and development server. It lets you write client-side applications in Java and deploy them as JavaScript.
The Plugin for Eclipse provides IDE support for GWT and App Engine web projects.
Note:This article is prepared using JDK 1.7 and Eclipse 4.3 (Kepler).
Installing the Plugin
The features of GWT for eclipse are available under the Google Plugin for eclipse.
- Go to Menu Help –> Install New Software
- Select Plugin Features
- Select the checkbox next to Google Plugin for Eclipse (required). The required component is Google Plugin for Eclipse.
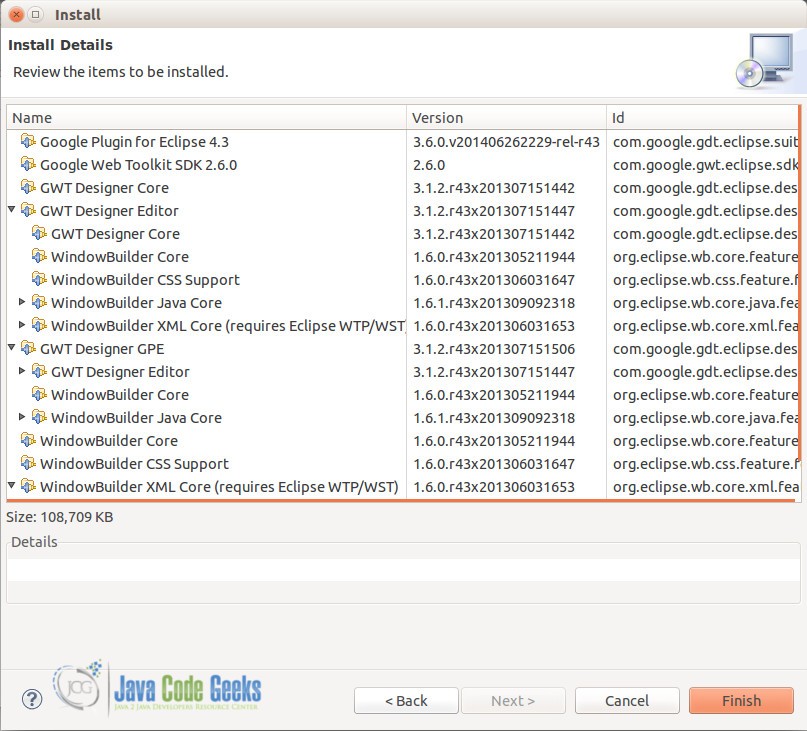
- Select the checkbox next to GWT Designer for the Google Plugin for Eclipse and the Google Web Toolkit SDK. As seen below, the Google Plugin for Eclipse Kepler contains the Google Web Toolkit 2.6.0 SDK.
- If you want to install the latest Google App Engine Java SDK, select the checkbox next to Google App Engine Engine Java SDK.
- If you want to install the Android Developer Tools, select the checkbox next to Developer Tools.
- If you want to install the developer tooling for Cloud Endpoints, select the checkboxes next to Developer Tools and Google App Engine Tools for Android (Requires ADT).
- Review Installation and Accept the Terms of agreement to begin installation.
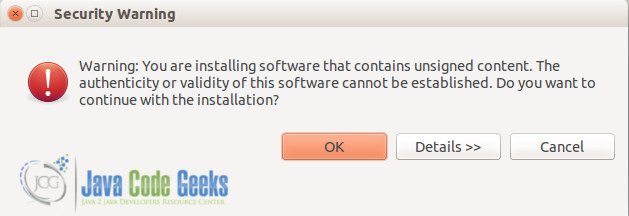
- Accept the unsigned content and complete the installation. Restart eclipse.
- The development browser plugin for GWT is not available for Firefox versions beyond version 27. For this tutorial, older version of Firefox 24.2 was used by creating a separate user profile.
- The Google Chromium browser does not have a development plugin for GWT for Linux.
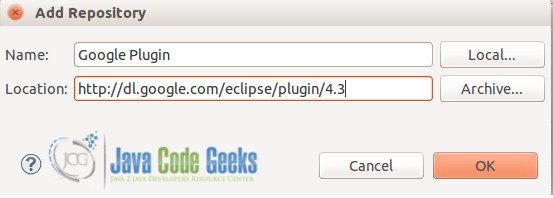
Add Software Site for Google Plugin.
The plugin repository link for Eclipse 4.3 (Kepler) is http://dl.google.com/eclipse/plugin/4.3
The plugin repository site for Eclipse 3.8/4.2 (Juno) is https://dl.google.com/eclipse/plugin/4.2
Note:
If you are looking for other versions of the plugin for older Eclipse IDE releases, you can find the software update (plugin repository) links for the respective plugins here
Mandatory
Optional Features
Click Next.
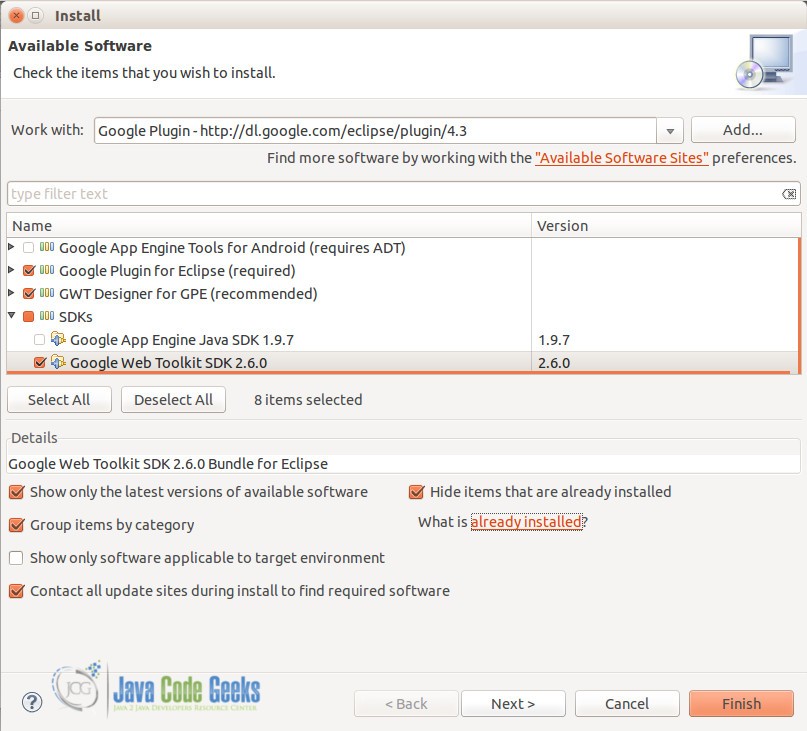
After the installation is completed and eclipse is re-started, you may notice the GWT icon in the Toolbar and new options in the File –> New Menu Item under Google and GWT.
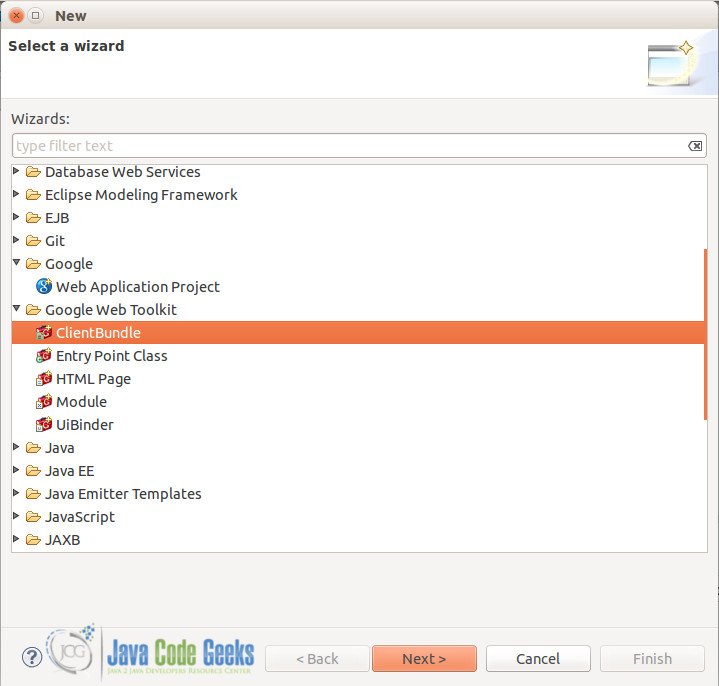 New” width=”719″ height=”686″ class=”size-full wp-image-11734″> GWT Plugin Options Under File -> New
Creating a sample GWT Project
We can now move to creating a simple GWT application in eclipse using the Google plugin. The plugin helps create all the necessary files for the project and includes the necessary modules to make development easier.
Select Menu –> New –> Google –> Web Application Project
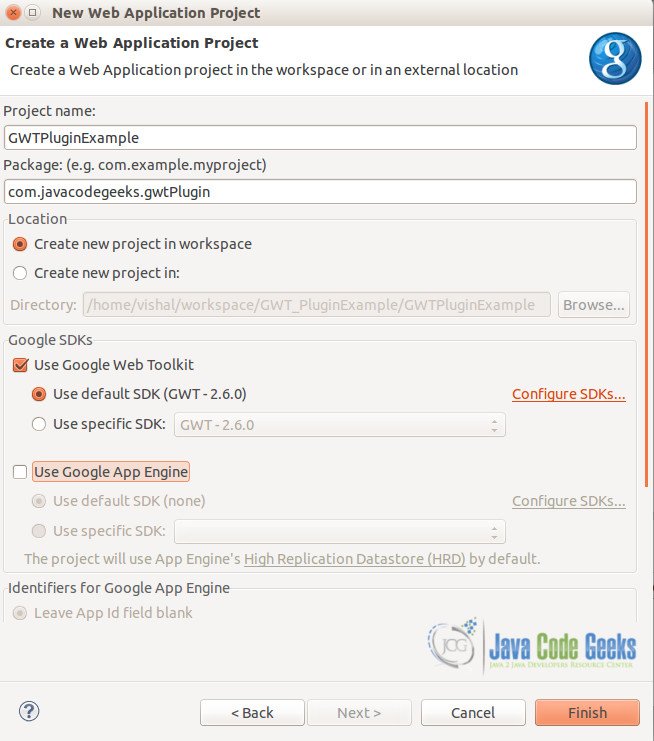
As seen above, the GWT SDK being used is the default GWT-2.6.0 available with the plugin. This can be changed to any prior version by downloading the SDK separately and providing it while configuring the New Web Application Project for GWT.
Once the project is created, you may notice the default folder structure + some template (sample) files created by the Plugin. These folder structure provide the necessary framework structure to help develop and deploy your GWT application.
The Google Plugin does not allow to create a new Web Application Project without creating template files. You may want to delete the sample files as appropriate.
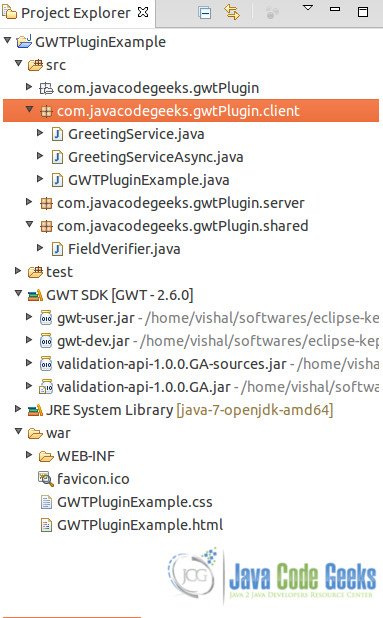
For the sake of this tutorial, we will only look at the plugin and not dwelve into GWT API – UIBinders, layouts, RPC mechanism, etc. Hence, we will run the sample GWT project built by the plugin to test it.
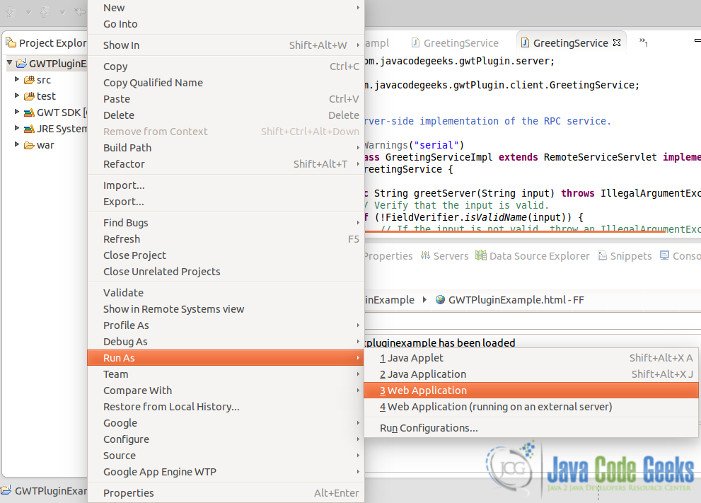
Right click (Project) –> Run As –> Web Application
The plugin builds and provides a URL to view in a browser.
Copy the URL from the Development Mode Window and open it using any browser which supports Development Mode using GWT Developer Plugin.
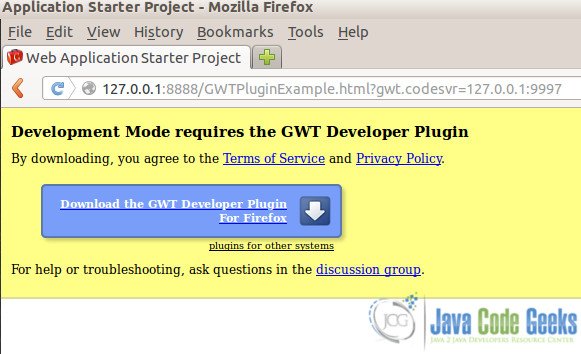
In case, you receive a message to install the plugin from the browser (as shown below), please go ahead and install the GWT Developer plugin for the browser.
-
Note:
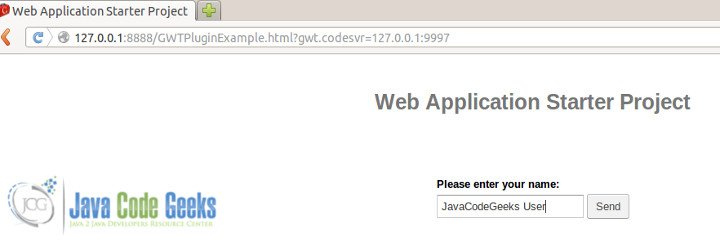
Once the browser plugin is installed, the URL opens and the project is deployed to development mode.
Compiling a GWT project
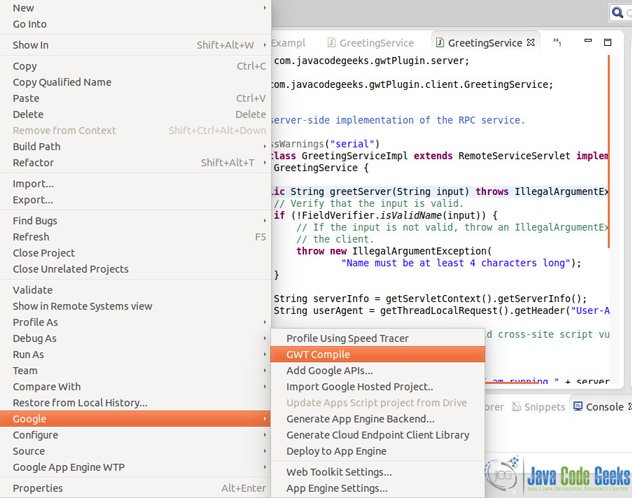
Right Click (project) –> Google –> GWT Compile
Another important feature of Google Plugin for GWT is the GWT Compile.
Google Web Toolkit compiler creates different versions of your application for different browser targets and localizations.
Once the compilation (along with desired permutations set for various browsers) completes, the war folder is populated with the generated js, html and css files to run the GWT code (developed in Java) as a ajax web application.
Some development aiding features of the plugin
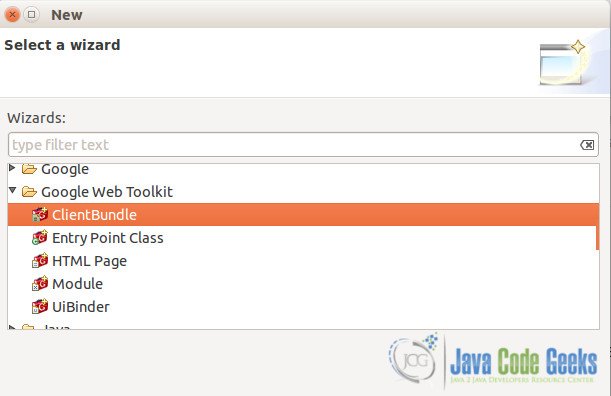
The GWT Plugin offers easy wizard based creation for adding modules, entry points, HTML pages, UiBinders, and ClientBundles. You can also integrate Javascript to your GWT project.
The source code as generated by the plugin is available for download here.

