In this example we will learn how to use CellTable in GWT. The Google Web Toolkit is a development framework for creating Ajax-enabled web applications in Java. A CellTable represents a tabular view that supports paging and columns. Tools and technologies used in this example are Java 1.8, Eclipse Luna 4.4.2, Eclipse GWT Plugin 2.6
1. Introduction
A GWT CellTable is used to represent a data in tabular format. The Column class defines the Cell used to render a column. Implement Column.getValue(Object) to retrieve the field value from the row object that will be rendered in the Cell. A Header can be placed at the top (header) or bottom (footer) of the CellTable. You can specify a header as text using AbstractCellTable.addColumn(Column, String), or you can create a custom Header that can change with the value of the cells, such as a column total. The Header will be rendered every time the row data changes or the table is redrawn. If you pass the same header instance (==) into adjacent columns, the header will span the columns.
2. Creating GWT project
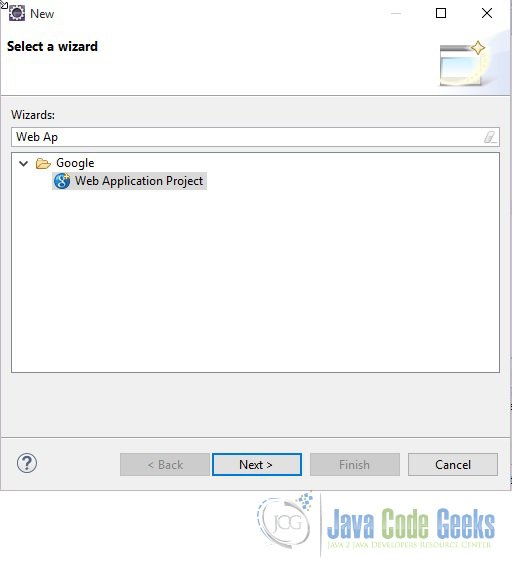
To create a new GWT project go to File->New->Other, then type ‘Web App’. Choose ‘Web Application Project’ under ‘Google’.
On the next window enter the Project name (‘GWT CellTable’) and the Package (com.javacodegeeks). Leave the other details as it is and click on ‘Finish’. Eclipse will generate some files automatically for you.
For this example we don’t need to change the GWT configuration file. We only need to change the Entry point class – ‘GWTCellTable.java’. We will create a new model class in the shared folder called – ‘Employee.java’.
3. Java classes
First we show the model class – Employee.java. It represents an employee data. It’s a simple class which uses constructor to set the values and getters to retrieve them.
Employee.java
package com.javacodegeeks.shared;

public class Employee {

  private String name;
  private String department;
  private String location;

  public Employee(String name, String department, String location) {
    this.name = name;
    this.department = department;
    this.location = location;
  }

  public String getName() {
    return name;
  }

  public String getDepartment() {
    return department;
  }

  public String getLocation() {
    return location;
  }
}
Now we will see the entry point class. First we create a CellTable instance with the Employee data: CellTable<Employee> cellTable = new CellTable<Employee>.() Then we create text columns and add these to the table: cellTable.addColumn(nameColumn, "Name"). Then we define the selection model to handle user selection. Enum HasKeyboardSelectionPolicy.KeyboardSelectionPolicy is used to determine how keyboard selection will work.
GWTCelltable.java
package com.javacodegeeks.client;

import java.util.Arrays;
import java.util.List;

import com.google.gwt.core.client.EntryPoint;
import com.google.gwt.user.cellview.client.CellTable;
import com.google.gwt.user.cellview.client.HasKeyboardSelectionPolicy.KeyboardSelectionPolicy;
import com.google.gwt.user.cellview.client.TextColumn;
import com.google.gwt.user.client.Window;
import com.google.gwt.user.client.ui.RootPanel;
import com.google.gwt.view.client.SelectionChangeEvent;
import com.google.gwt.view.client.SingleSelectionModel;
import com.javacodegeeks.shared.Employee;

/**
* Entry point classes define <code>onModuleLoad()</code>.
*/
public class GWTCelltable implements EntryPoint {

  private static final List<Employee> EMPLOYEES = Arrays.asList(
    new Employee("Nicole Kidman", "Accounts", "New York"),
    new Employee("Tom Cruise", "HR", "Ney York")
  );

  /**
  * This is the entry point method.
  */
  public void onModuleLoad() {
    CellTable<Employee> cellTable = new CellTable<Employee>();
    cellTable.setKeyboardSelectionPolicy(KeyboardSelectionPolicy.ENABLED);

    addNameColumn(cellTable);
    addDepartmentColumn(cellTable);
    addLocationColumn(cellTable);

    // Add a selection model to handle user selection.
    final SingleSelectionModel<Employee> singleSelectionModel = new SingleSelectionModel<Employee>();
    cellTable.setSelectionModel(singleSelectionModel);
    singleSelectionModel.addSelectionChangeHandler(new SelectionChangeEvent.Handler() {
      public void onSelectionChange(SelectionChangeEvent event) {
        Employee selectedEmployee = singleSelectionModel.getSelectedObject();
        if (selectedEmployee != null) {
          Window.alert("Selected: " + selectedEmployee.getName());
        }
      }
    });

    // Set the total row count. This isn't strictly necessary, but it affects
    // paging calculations, so its good habit to keep the row count up to date.
    cellTable.setRowCount(EMPLOYEES.size(), true);

    // Push the data into the widget.
    cellTable.setRowData(0, EMPLOYEES);

    // Add it to the root panel.
    RootPanel.get().add(cellTable);
  }

  private void addNameColumn(CellTable<Employee> cellTable) {
    TextColumn<Employee> nameColumn = new TextColumn<Employee>() {

      @Override
      public String getValue(Employee object) {
        return object.getName();
      }
    };

    // Add column to table
    cellTable.addColumn(nameColumn, "Name");
  }

  private void addDepartmentColumn(CellTable<Employee> cellTable) {
    TextColumn<Employee> departmentColumn = new TextColumn<Employee>() {

      @Override
      public String getValue(Employee object) {
        return object.getDepartment();
      }
    };

    // Add column to table
    cellTable.addColumn(departmentColumn, "Department");
  }

  private void addLocationColumn(CellTable<Employee> cellTable) {
    TextColumn<Employee> locationColumn = new TextColumn<Employee>() {

      @Override
      public String getValue(Employee object) {
        return object.getLocation();
      }
    };

    // Add column to table
    cellTable.addColumn(locationColumn, "Location");
  }
}
4. Column Sorting
CellTable has built-in support for column sorting. Use Column.setSortable(boolean) to make a column sortable. Users will then be able to click on the column header and trigger a ColumnSortEvent. How you handle the event depends on how you push data into your CellTable. GWT provides a default implementation of ColumnSortEvent.Handler called ColumnSortEvent.ListHandler that is designed to perform local sorting of a java.util.List.

// Create a data provider.
ListDataProvider<Employee> employeeListDataProvider = new ListDataProvider<Employee>();

// Connect the table to the data provider.
employeeListDataProvider.addDataDisplay(table);

// Add the data to the data provider, which automatically pushes it to the widget.
List<Employee> list = employeeListDataProvider.getList();
for (Employee employee: EMPLOYEES) {
  list.add(employee);
}

// Add a ColumnSortEvent.ListHandler to connect sorting to the list.
ListHandler<Employee> columnSortHandler = new ListHandler<Tester.Employee>(list);
columnSortHandler.setComparator(nameColumn,
  new Comparator<Tester.Employee>() {
    public int compare(Employee o1, Employee o2) {
      if (o1 == o2) {
        return 0;
      }

      // Compare the name columns.
      if (o1 != null) {
        return (o2 != null) ? o1.name.compareTo(o2.name) : 1;
      }
      return -1;
    }
  });
table.addColumnSortHandler(columnSortHandler);
table.getColumnSortList().push(nameColumn);
GWT provides a default implementation of ColumnSortEvent.Handler called ColumnSortEvent.AsyncHandler that helps with asynchronous (server-side) column sorting. When the user sorts a Column, AsyncHandler calls HasData.setVisibleRangeAndClearData(Range, boolean) , which triggers a RangeChangeEvent to the AsyncDataProvider.
By default, columns in a CellTable expand to fit the contents of the Cells. This works fine for a static table, but if the content changes due to paging or user interaction, the columns might change width and appear jumpy. CellTable provides an API that gives you fine grain control of how the available width is distributed between columns.
In order to gain fine-grain control over the width of columns, you must set the table layout to ‘fixed’ by passing true into CellTable.setWidth(String, boolean). Once in fixed-width mode, tables behave differently than they normally would. The following sections describe recipes for achieving various effects.
If you want to assign a specific width to every column, then you must set the table width to ‘auto’ and assign an absolute width to every column. If you set the width of the table to ‘auto’ and do not set the width of a column, the column will not be visible. Columns default to a width of 0.
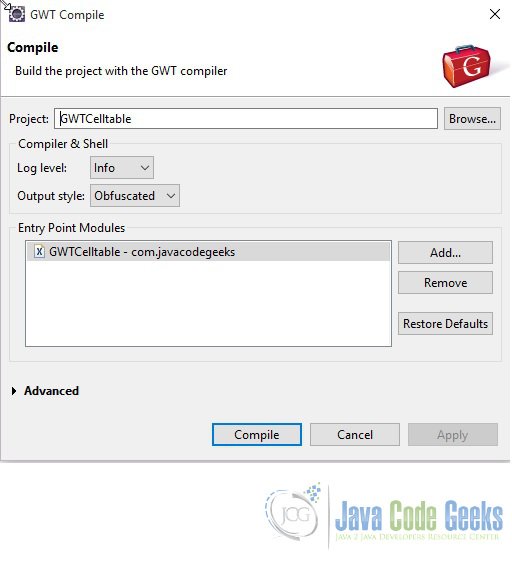
5. Compile
To compile the application right click on the project and select ‘Google’ ==> ‘GWT Compile’.
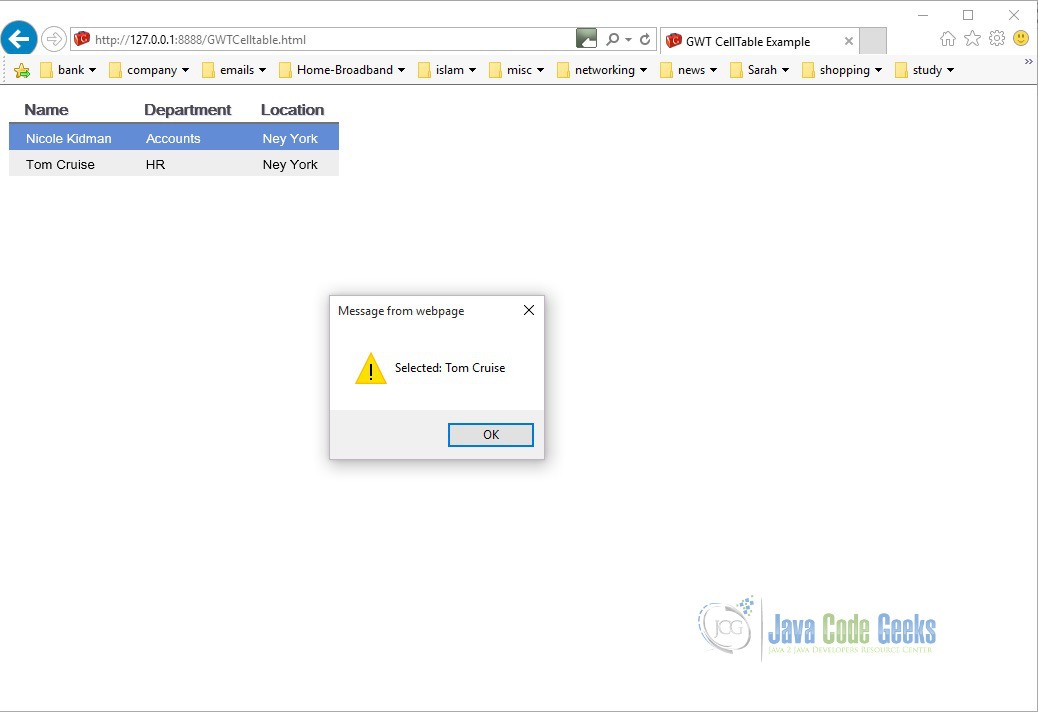
6. Running the application
To run the application right click on the project and select ‘Run As’ ==> ‘Web Application (Classic Dev Mode)’. Eclipse will display a URL in the ‘Development Mode’ tab. Copy this URL and paste it on you favourite browser. Remove the part after ‘.html’ and click enter. You will see the button displayed on the screen. Click on the button. Magic!!!,
7. Download the source file
This was an example of using CellTable in GWT.
You can download the full source code of this example here : GWT Celltable
