In this tutorial, we will go through and introduce another component of the Apache Hadoop ecosystem that is Apache Nutch. Apache Nutch is a Web crawler which takes advantage of the distributed Hadoop ecosystem for crawling data.
1. Introduction
Apache Nutch is a production ready web crawler which relies on Apache Hadoop data structures and makes use of the distributed framework of Hadoop. Nutch follows the plugins structures and provides interfaces for many of the popular components which can be used as per the requirement. For example, Interfaces for Apache Tika for parsing, Apache Solr, Elastic Search etc for search functionalities.
In this tutorial, we are going to learn how to configure the local installation of Apache Nutch, how to handle the crawling URL lists and how to crawl using Nutch.
Let us dig straight into the installation.
2. Prerequisite
There are only two prerequisites of this tutorial and Apache Nutch:
- Unix system or if you want to use windows then make sure it have Cygwin environment setup.
- Java runtime (JRE) and development environment (JDK)
If the JRE and JDK are not already installed following the steps below to install:
- Let us start with update the packages using the command:
sudo apt-get update
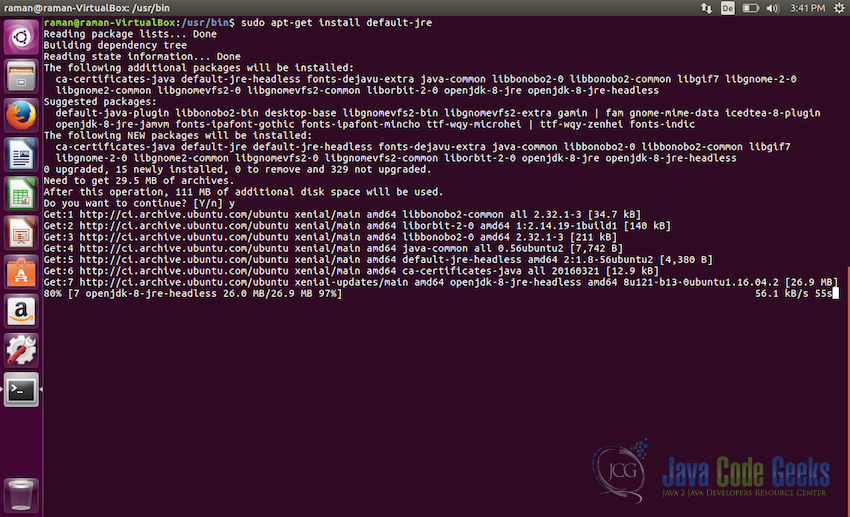
- Once pakages are updated, next step will be to install the Java JRE, we will install the
default-jre. Use the following command for that:sudo apt-get install default-jre
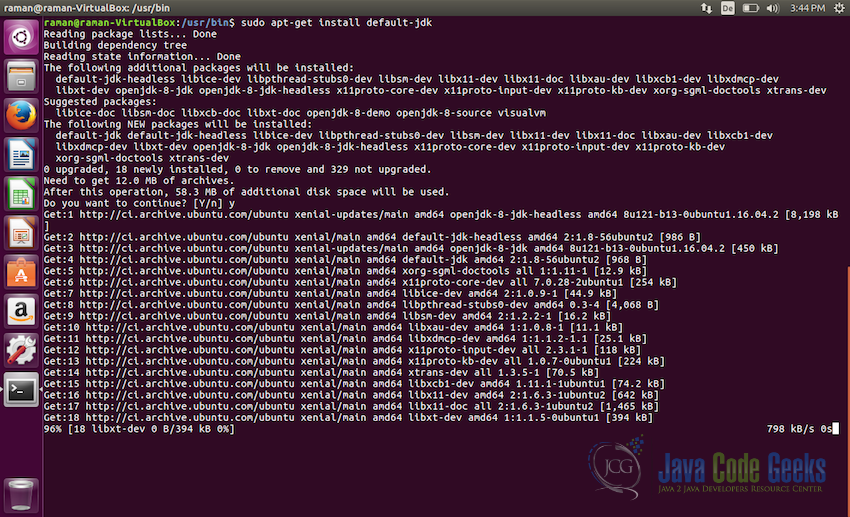
Installing Java JRE - After JRE, next we willinstall the Java JDK, for this also we will install the
default-jdk. Use the following command for that:sudo apt-get install default-jdk
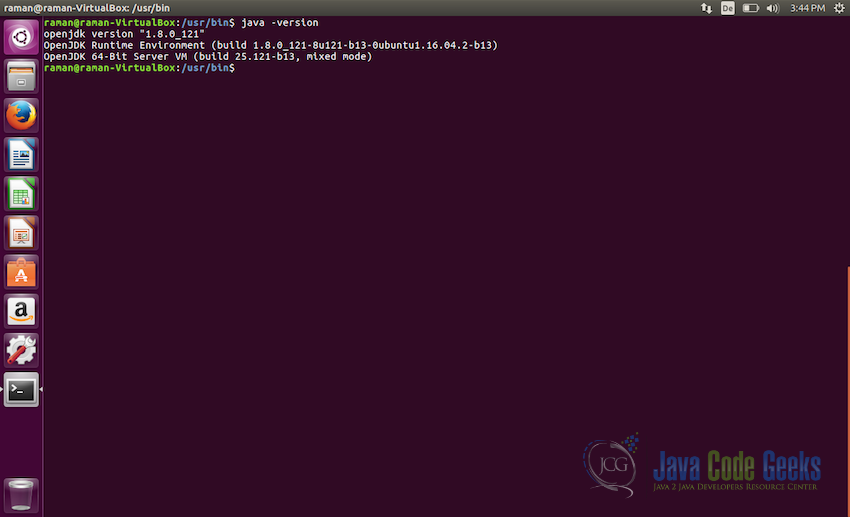
Installing Java JDK - After successful installation of JRE and JDK lets check if everything is installed properly, to do so use the following command:
java -version
It should show the output similar to the screenshot below:
Checking Java installation - Now the final step is to set
JAVA_HOMEin the bash file. To do so, execute the following command:export JAVA_HOME=$(readlink -f /usr/bin/java | sed "s:bin/java::") //Now to check if the path is set correctly, use the following command //it should give the full path of the java echo JAVA_HOME
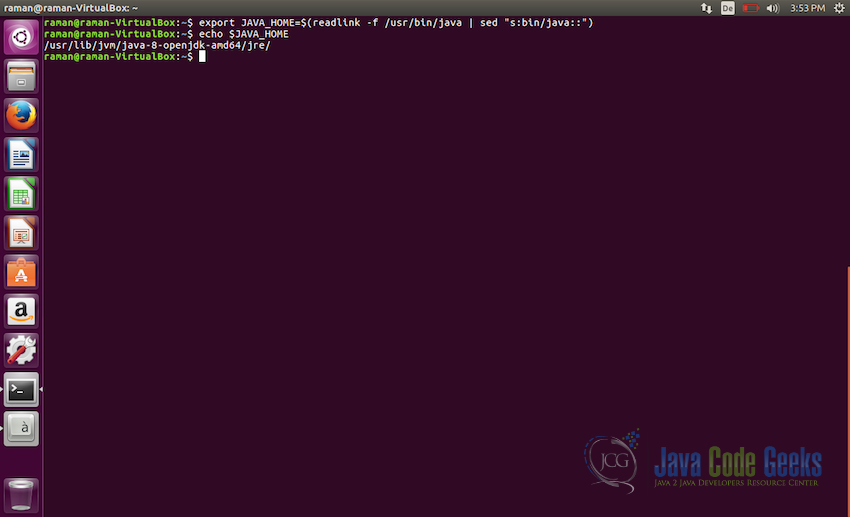
Adding JAVA_HOME path in bash file Note: Make sure to use the actual path in the above command, where the java is installed in your system. It should be in
/usr/bin/javabut there is no harm in making sure.


3. Installing Apache Nutch
Apache Nutch can be installed by downloading either the binary distribution or by downloading source distribution and building it. We will use the binary distribution to install Apache Nutch.
- Download the binary distribution of Apache Nutch from here
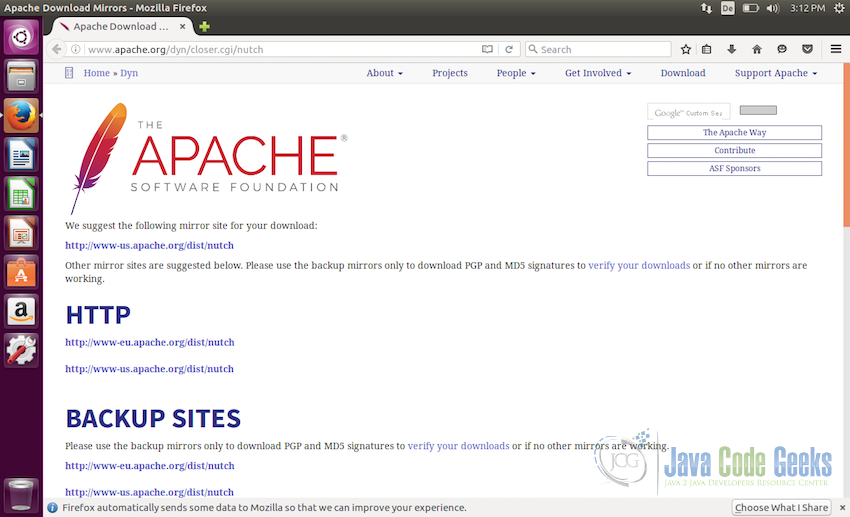
Downloading Apache Nutch - Select the Apache Nutch mirror from the website above and download
apache-nutch-1.12-bin.tar.gz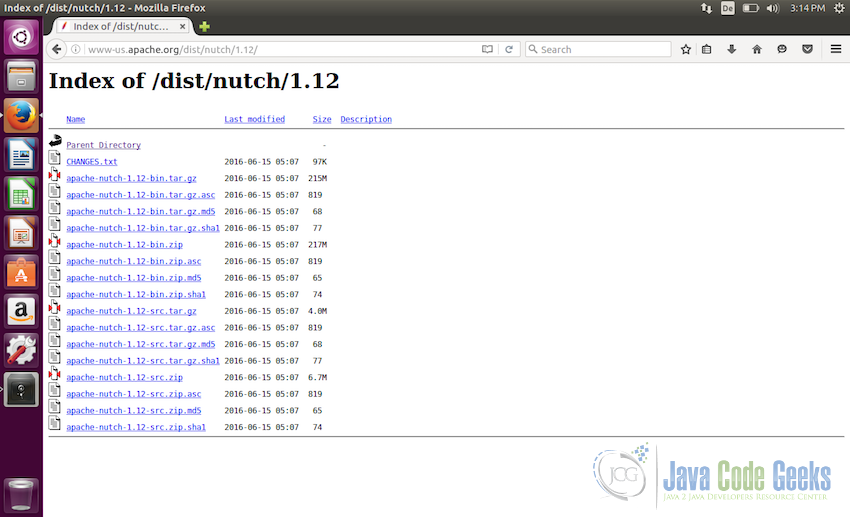
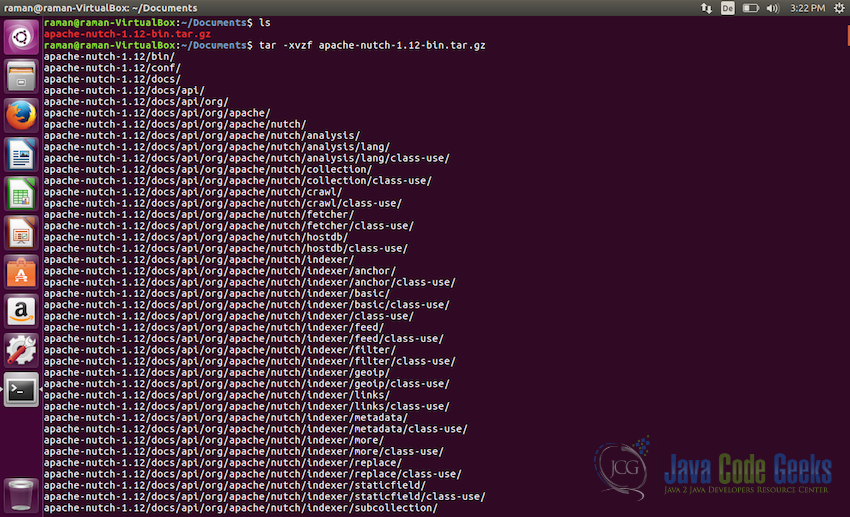
Downloading binary distribution package - Once the package is downloaded, we need to untar it. We will use the
Documentsfolder for installing Apache Nutch. Copy the downloaded package to the folder and untar it using the following command:tar -xvzf apache-nutch-1.12-bin.tar.gz
Untar the package - Before proceeding further, we need to make sure that Apache Nutch is unpacked properly and can run fine. Use the following command for that:
cd apache-nutch-1.12
bin/nutch
It should display the version of Nutch i.e. Nutch 1.12 and should also printout the usage of the command
nutchsimilar to what is shown in the screenshot below: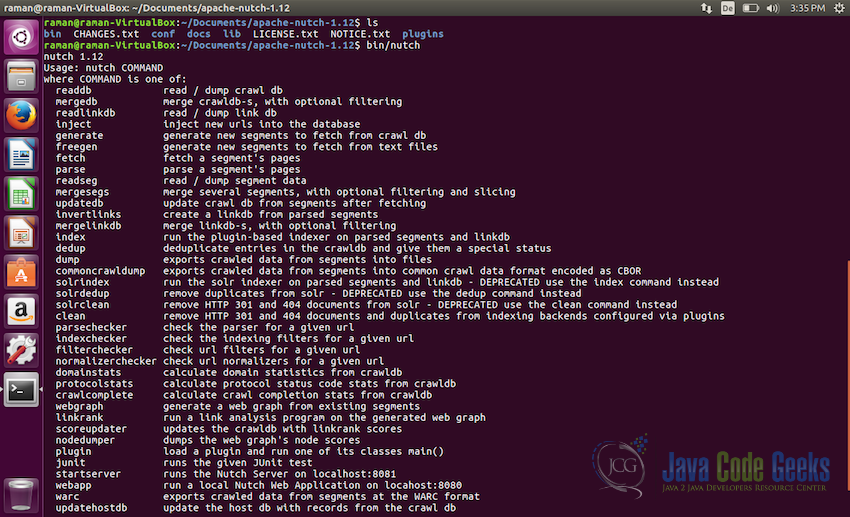
Checking the installation of Apache Nutch


4. Configuration and Crawling first URL
Once we are sure that Apache Nutch is downloaded and extracted properly, we will not see how to conjure it and how to crawl out very first URLs.
4.1 Configuration
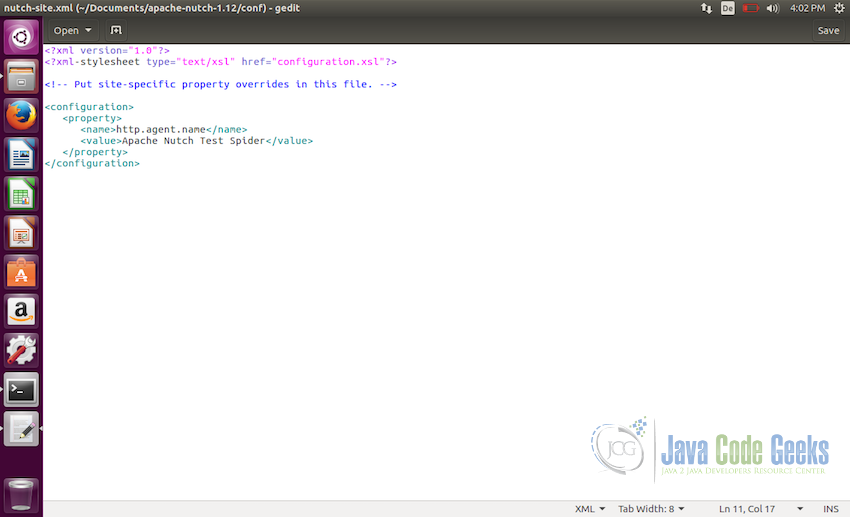
The default properties of Apache Nutch are stored in conf/nutch-default.xml file. We do not need to touch any of the configuration in that file. There is another file nutch-site.xml, we can add the configuration we need in this file and this overwrites the configuration properties in nutch-default.xml. For starting, the only basic configuration we need is to set the name of the crawler so that the website can no the name of the crawler which is trying to crawl them.
To do so, open the file nutch-site.xml and add the property http.agent.name and in the value field, give the name to the crawler.
<property>
   <name>http.agent.name</name>
   <value>Apache Nutch Test Spider</value>
</property>
The file should look like the screenshot below after the modifications:
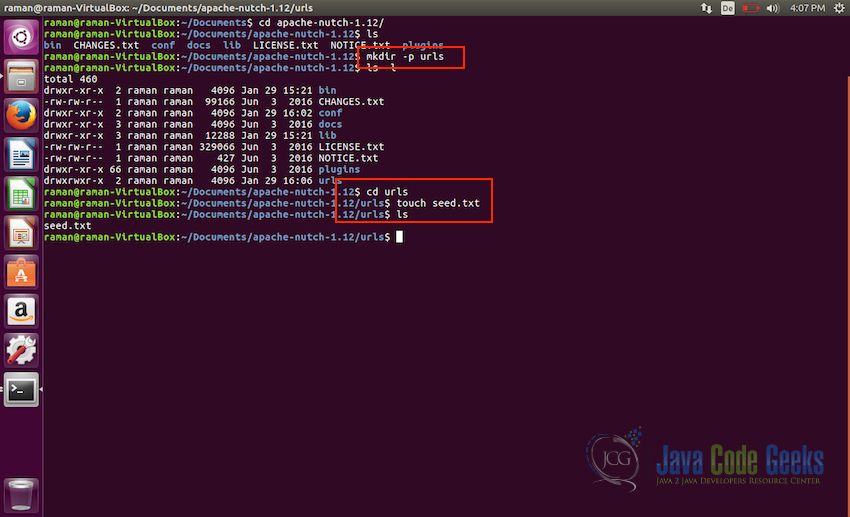
4.2 URL Seed list
URL seed list as evident from the name is the list of URLs which will be used as the seed for the crawler to start crawling.
Following the steps below to create a test URL seed list:
- Let us first make a directory
urlsmkdir -p urls
- Next we will go to the directory
urlsand will create a text file with the nameseed.txttouch seed.txt
Creating a seed.txt file - Lets edit the file and add some seed urls to be used by the crawler.
http://nutch.apache.org/
https://www.javacodegeeks.com/
https://examples.javacodegeeks.com/
The file will looks like this:
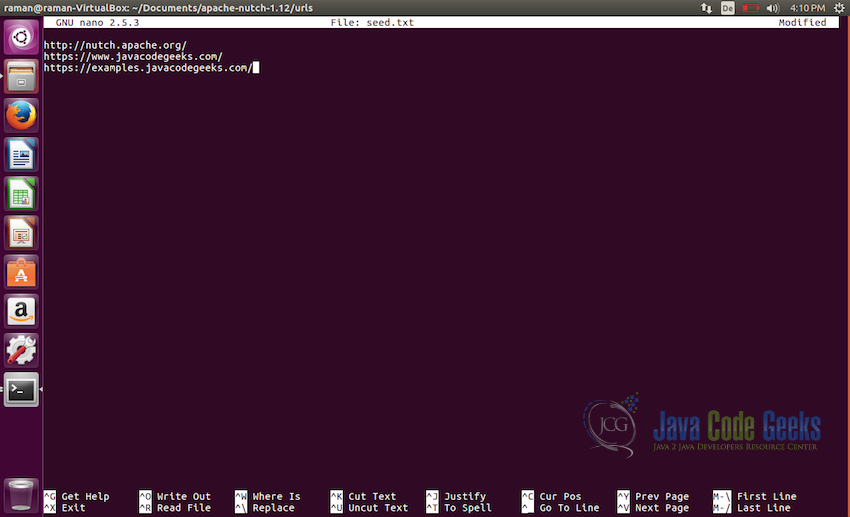
seed.txt file


4.3 Crawling the Websites
We have configured the crawler and created the seed list, its time for crawling.
- First of all, we will need to inject the seeds into the apache
crawldbof Apache Nutch. To do so, execute the following command:bin/nutch inject crawl/crawldb urls
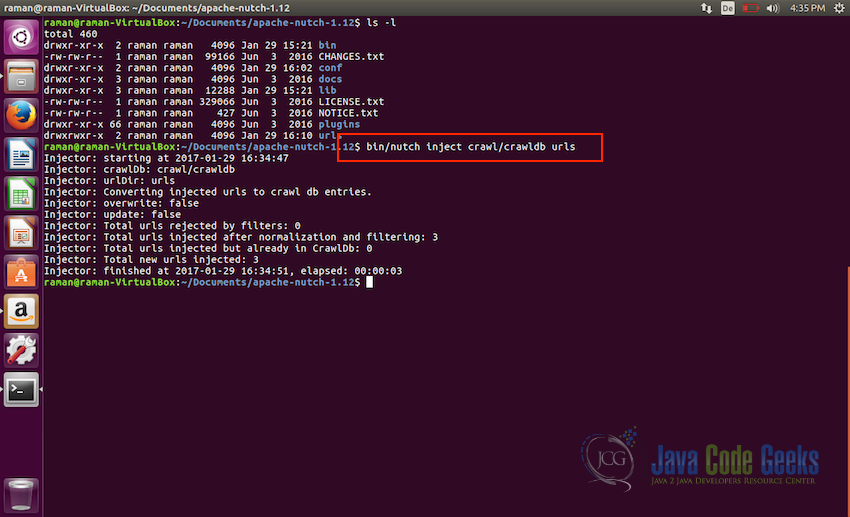
Injecting the urls in crawldb - Now, next step is to generate a list of pages to be fetched from the seed urls. Each url contains a lot of other links, we need to fetch those in our list before we can start crawling. Use the following command to do so:
bin/nutch generate crawl/crawldb crawl/segments
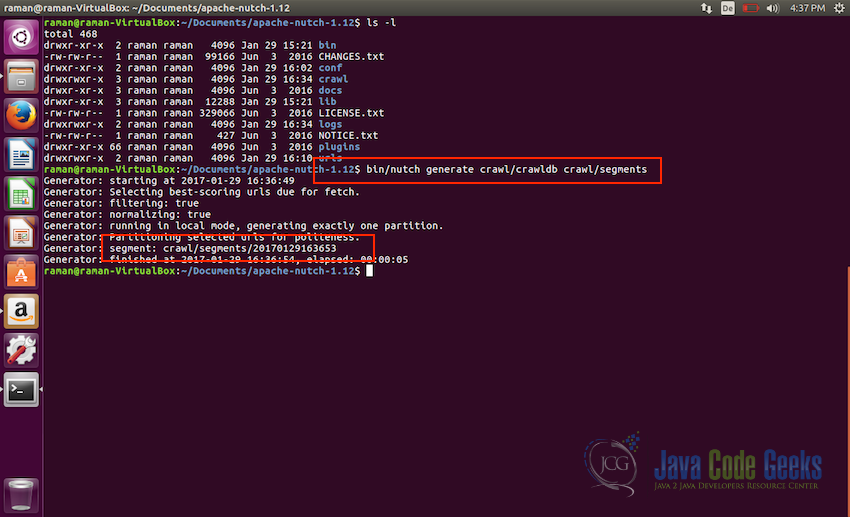
Generating the fetch list from the seed urls This fetch list will be placed in the segment directory with the timestamp as the name of the directory. In the screenshot above, the second red box shows the name of the segment directory created.
- For ease of use for us, let’s create a shell variable with the path to the segment to make it easy to run commands on that.
s1 = crawl/segments/20170129163653
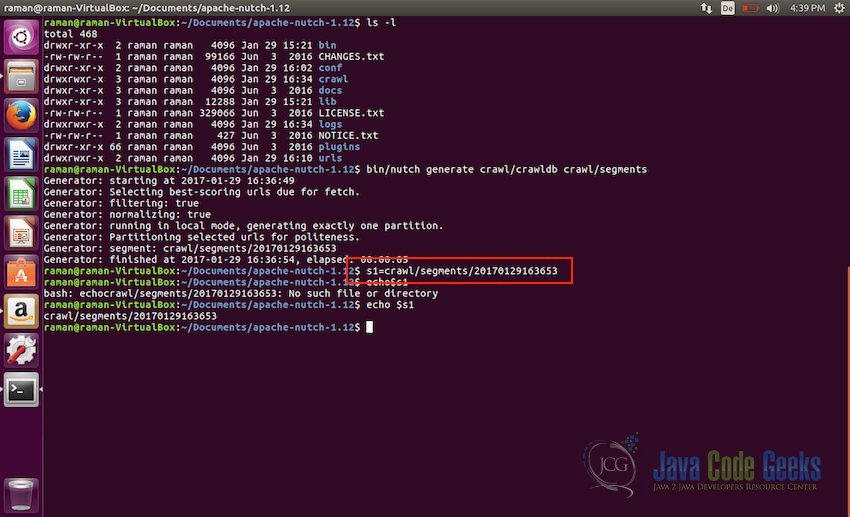
Setting the shell variable with the path of the segment directory - Now we are ready to start fetching the content, we will start the crawler using the following command:
bin/nutch fetch $s1
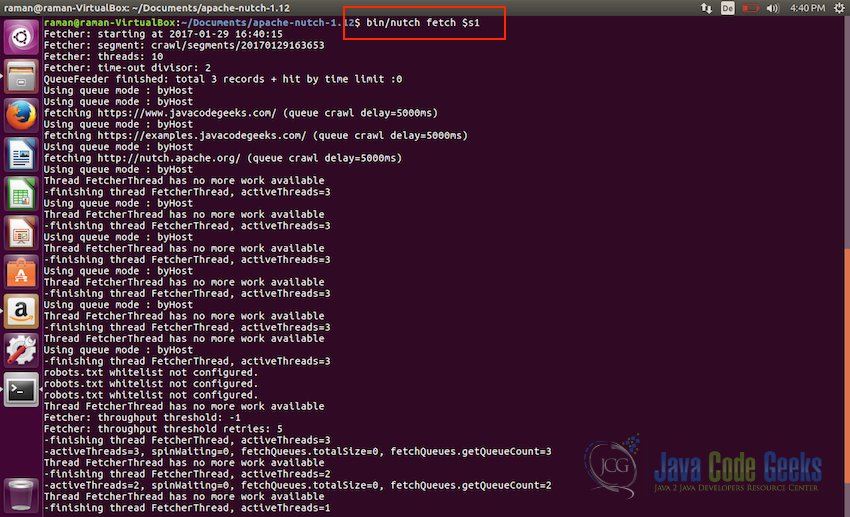
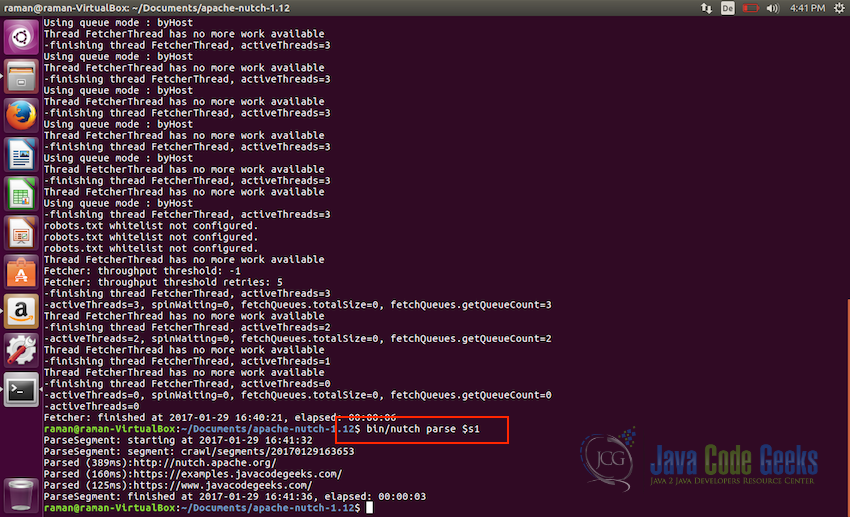
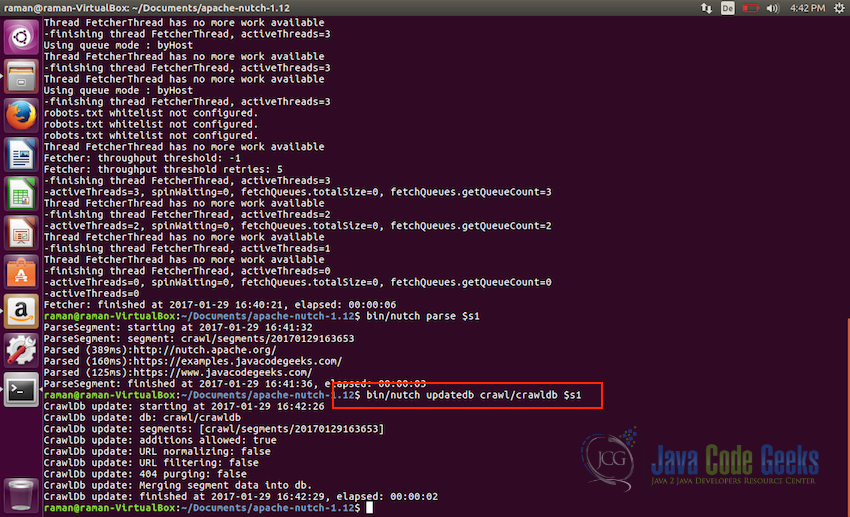
Start the crawler and start fetching the url contents - Let us wait for the fetching to finish, once fetching is completed we will parse all of the entries using the following command:
bin/nutch parse $s1
Parsing the fetched entities - After parsing the entities, it is time to update the database, use the following command for that:
bin/nutch updatedb crawl/crawldb $s1
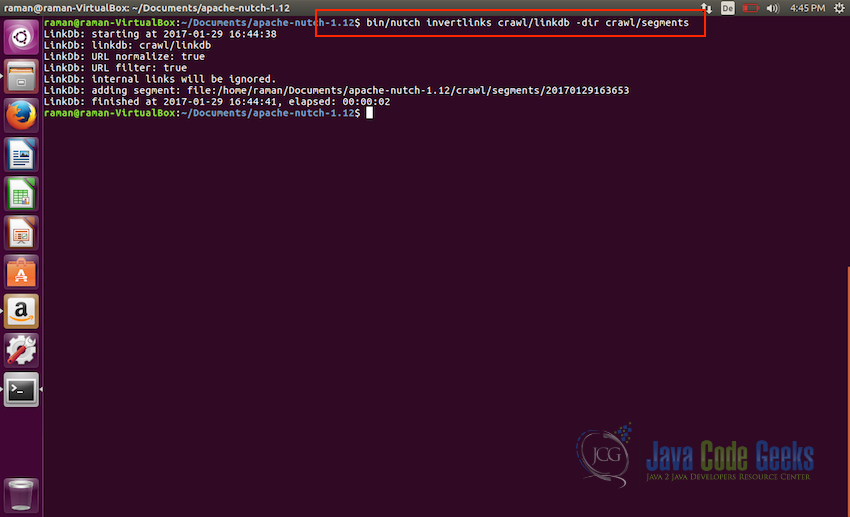
Updating the database - Final step now is to prepare the updated db for indexing invert links so that if we use something like Apache SOLR for indexing, it can index incoming anchor text with the pages. Use the following command for invert links:
bin/nutch invertlinks crawl/linkdb -dir crawl/segments
Inverting links for indexing


5. Summary
This brings us to the end of the introductory tutorial on Apache Nutch. In this tutorial, we saw how to install and configure Apache Nutch. How to prepare the seed for crawling and how to crawl out first test websites. This crawled resultant database after this can be indexed in Apache Solr and can be made available for use. For that, check out the Apache Nutch official website for the tutorial on Nutch-Solr Integration.
Keep in mind that this is just and introductory tutorial and we have just scratched the surface here, Apache Nutch is much more capable and complex and will need a lot more configurations and setup to run in production environment.
I hope this tutorial helped in giving the introduction to Apache Nutch and how it can be used for crawling. Feel free to post a comment in case of any feedback or help.

what if i want to use nutch for crawlinG e-commerce sites?