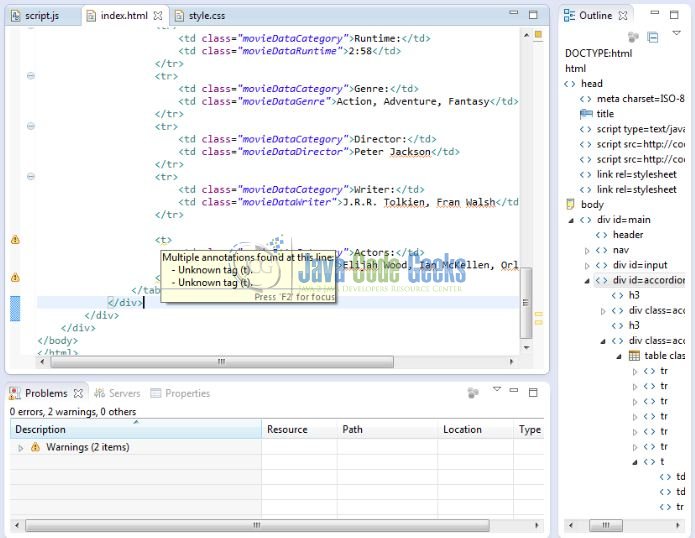
Hello, I started using Eclipse IDE to work with HTML5 and Bootstrap. However, editing HTML files in Eclipse IDE was not nice and it felt like using Windows Notepad. In this tutorial, we will learn how to use the HTML Editor available through the Web Tools Platform (WTP) within Eclipse.
1. Introduction
HTML stands for Hyper Text Markup Language and is a language for specifying how the text and graphics will appear on a web page. The web browser can read such HTML documents and compose them into visible or audible web pages. The web browser does not display the HTML tags, but uses them to interpret the content of the page.

This post details the instructions for adding Web Page Editor to the Eclipse. It is really a simple process, but I’ve detailed it out anyway.
1.1 HTML Editor
Eclipse HTML Editor is an Eclipse plugin for HTML, JSP, and XML editing and has the following features:
HTML,JSP,XML,CSS,DTD, andJavaScriptcolored highlighting.HTMLandJSPpreview.JSPandXMLvalidation.- Contents Assist for
HTMLTags and Attributes,XMLbased onDTDandJSPTaglib and more. - Wizards for creating
HTML,JSP, andXMLfiles. - Editor Preferences.
- Web Browser.
CSScode completion.DTDcode completion, outline, and validation.JavaScriptcode completion, outline, and validation.- Format all or portion of a document.
In short, The Eclipse HTML editor helps ease HTML, JSP, and XML page development within the eclipse.
1.2 HTML Editor Plugin Installation
I’m using Eclipse Kepler SR2 and it’s probably a similar process in other versions. Below are the steps involved in the installation of this plugin.
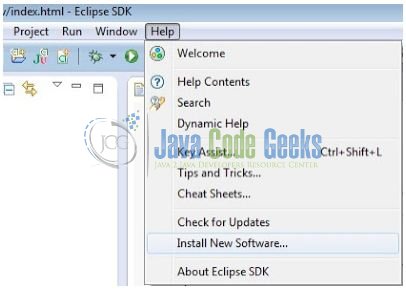
- Go to Help –> Install New Software…
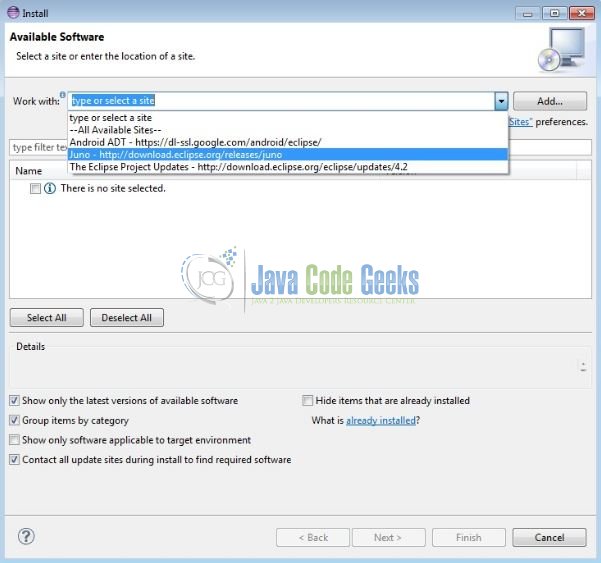
- Select the Juno Repository (
http://download.eclipse.org/releases/juno/) from the ‘Work with:‘ menu.
- In the search box, enter web to filter the results and select ‘Web Page Editor‘.
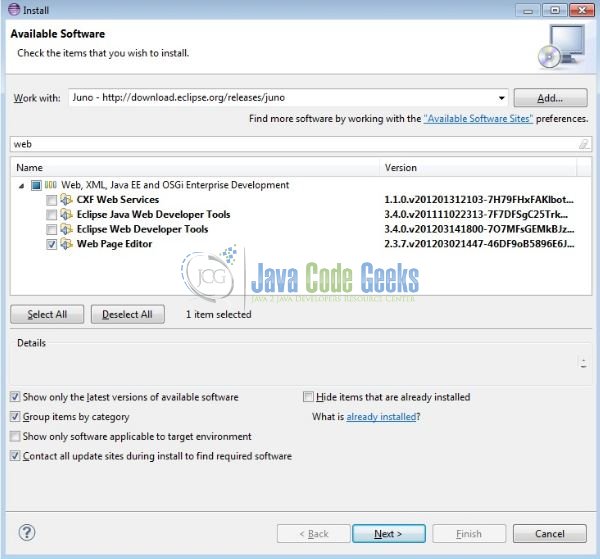
- Click Next.
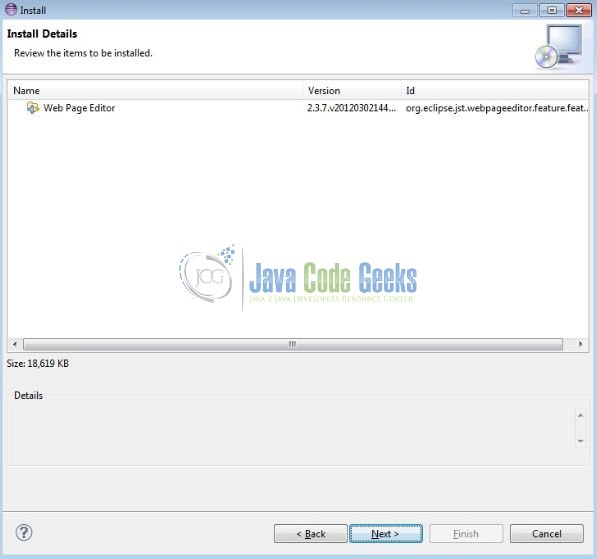
- Accept the terms and click Finish.

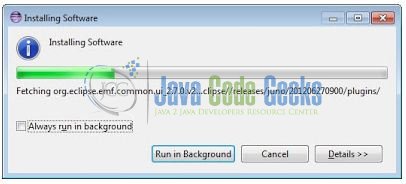
- Wait for the installation to run.
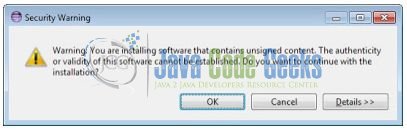
- You might see this – just click OK.
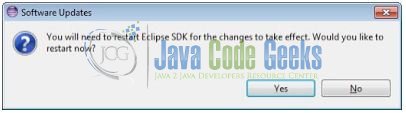
- Click Yes when ready.
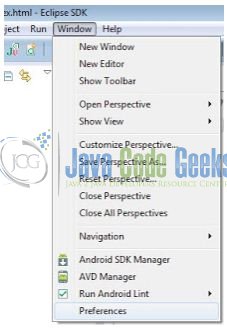
- Now that you have finished installing this and restarted. All you need to do is go to the Window –> Preferences menu as shown.
- Then for both
*.htmand*.html, click on the Eclipse HTML Editor in the Window below and click the Default and OK to apply. The result should be like below.

Anyway, that was pretty easy, wasn’t it? Now, let’s start building the sample application!
2. Eclipse HTML Plugin Tutorial
After reviewing the HTML Editors features and configuration, let’s see now the HTML editor in action. Below are the steps involved in developing this application.
2.1 Getting Started
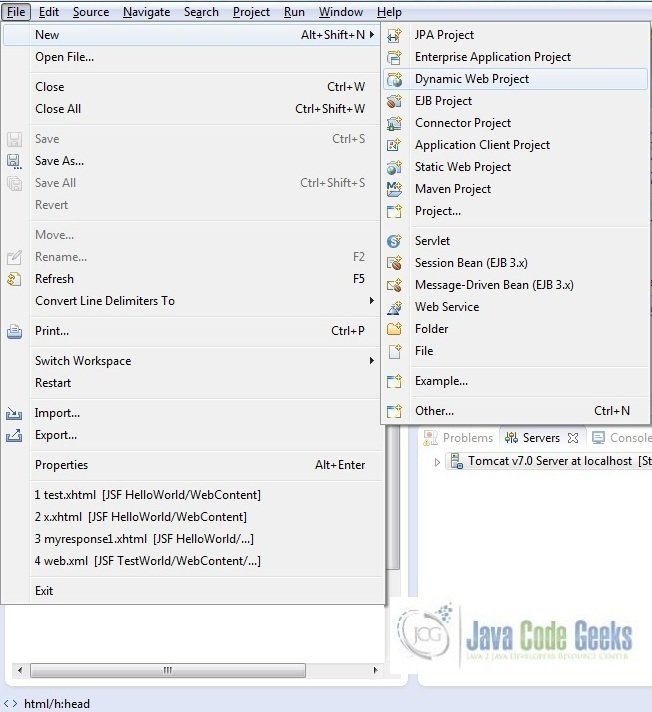
This section will demonstrate on how to create a Dynamic Web Java project with Eclipse. In Eclipse IDE, go to File -> New -> Dynamic web project.
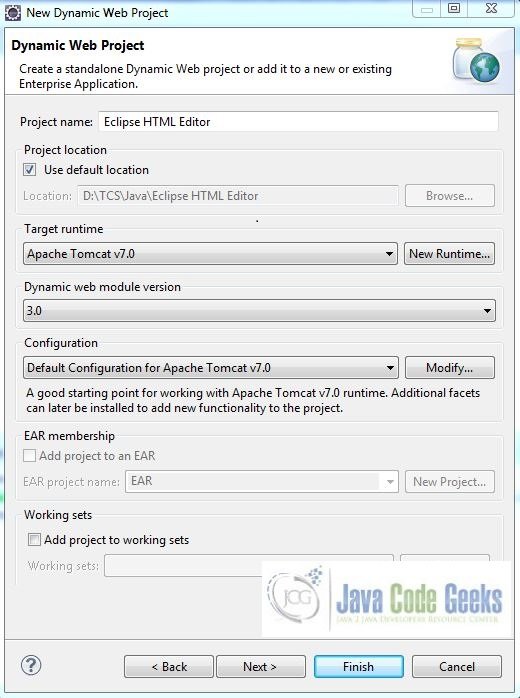
In the New, Dynamic Project window fill in the below details and click next.
- Enter the project name and project location.
- Select Target runtime as Apache Tomcat v7.0 from the drop-down.
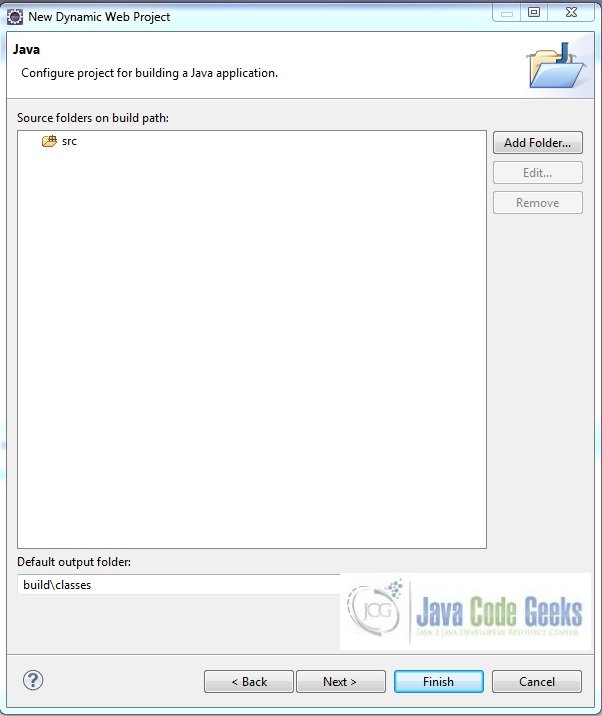
Leave everything as default in this window as we will be making the required java file at a later stage. Simply click next and we will land up on the web-module window.
In the Web Module window, leave the context_root and content_directory values as default (however, you can change the context_root but for the first application let’s keep it as a default value). Simply, check Generate web.xml deployment descriptor check box and click Finish.
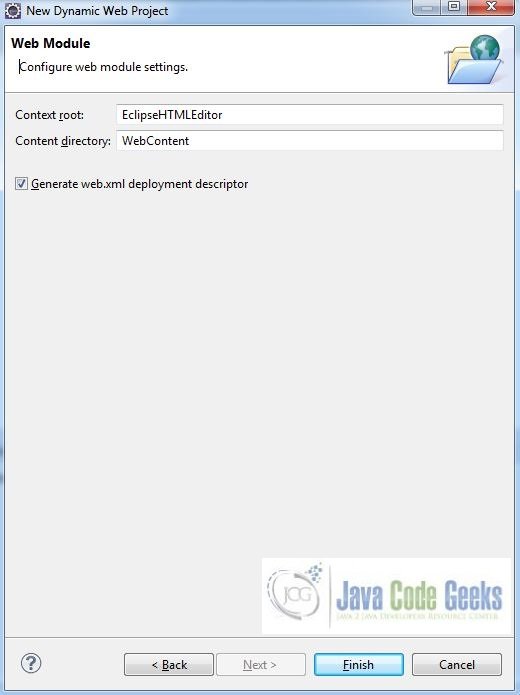
Eclipse will create the project named Eclipse HTML Editor in the workspace and web.xml will be configured.
2.2 HTML Editor in Action
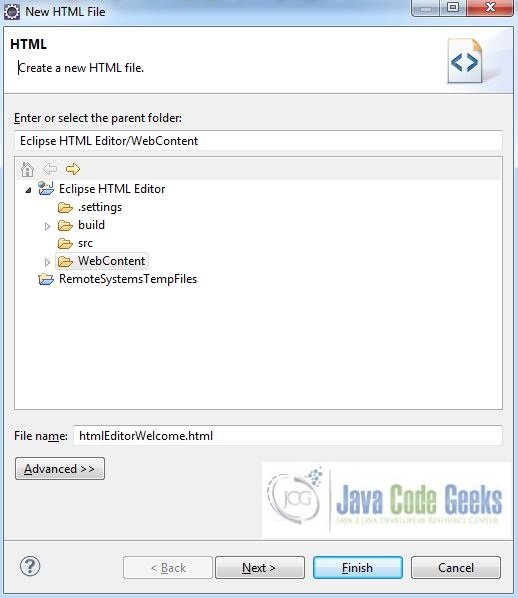
Once the web project is created, we can now create a new HTML file. Right click on the project context, and click New. Select HTML file and provide a name to the file: htmlEditorWelcome.html. Click Next.
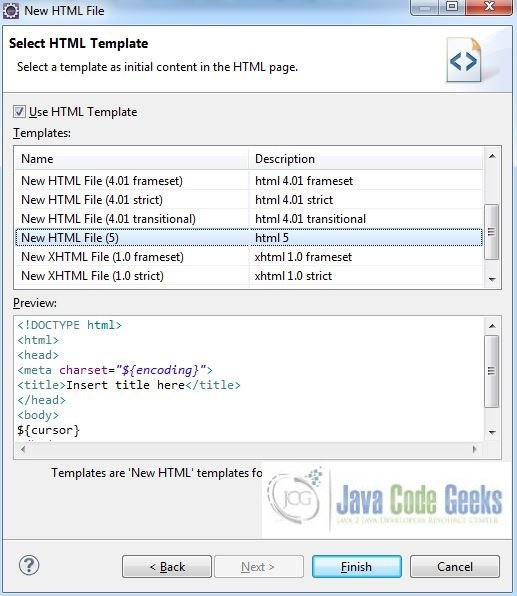
In this step, we will select the desired template to use for the new HTML file. In this tutorial, we will use the already existing HTML 5 Template. Click Finish and the new HTML file will be created.
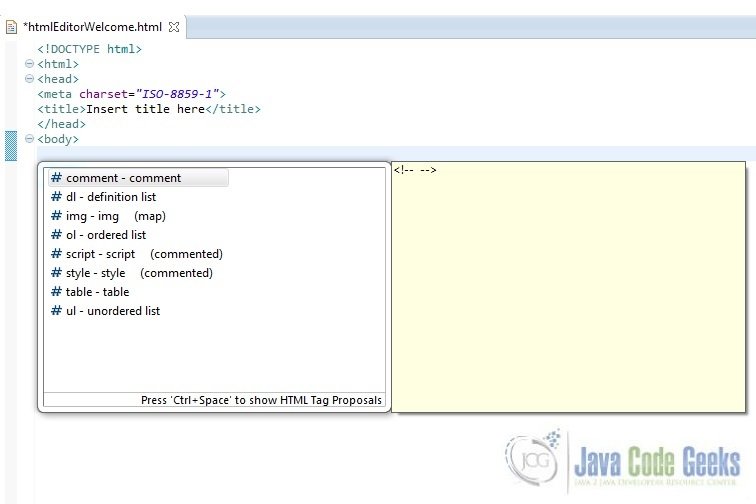
Once the HTML file is created, use the Ctrl + Space content assist to see the available HTML tags options.

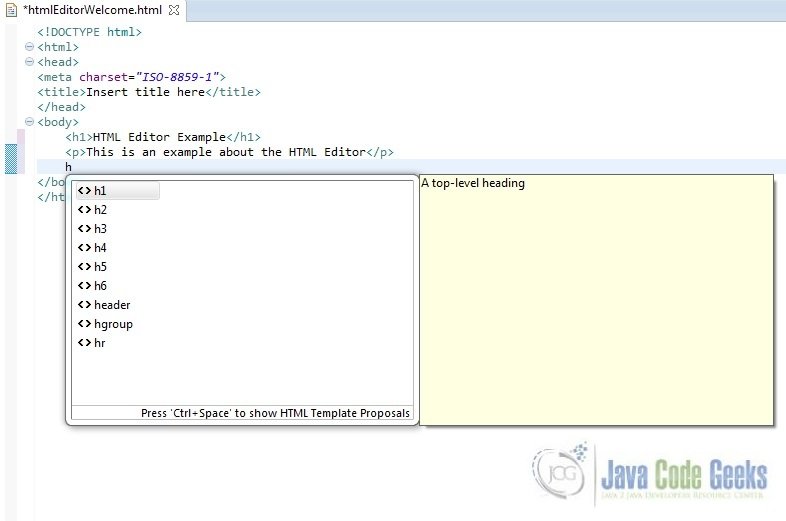
On hitting Ctrl + Space the second time, the default and any new templates created are available to be inserted into the HTML file.
Let us complete our example HTML page by adding some headers and paragraph tags.
2.3 Application Building and Configuration
Here in the htmlEditorWelcome.html, we will have the basic HTML components. Add the following code to it.
htmlEditorWelcome.html
<!DOCTYPE html>
<html>

<head>
    <meta charset="ISO-8859-1">
    <title>Eclipse HTML Editor</title>
</head>

<body>
    <h1>HTML Editor Example</h1>
    <p>This is an example about the HTML Editor</p>
    <h2><i>By Java Code Geeks!</i></h2>
</body>

</html>
Add the created HTML file as a welcome page in the web.xml.
web.xml
<?xml version="1.0" encoding="UTF-8"?>
<web-app xmlns:xsi="http://www.w3.org/2001/XMLSchema-instance" xmlns="http://java.sun.com/xml/ns/javaee" xsi:schemaLocation="http://java.sun.com/xml/ns/javaee http://java.sun.com/xml/ns/javaee/web-app_3_0.xsd" id="WebApp_ID" version="3.0">
    <display-name>EclipseHTMLEditor</display-name>
    <welcome-file-list>
        <welcome-file>index.html</welcome-file>
        <welcome-file>index.htm</welcome-file>
        <welcome-file>index.jsp</welcome-file>
        <welcome-file>default.html</welcome-file>
        <welcome-file>default.htm</welcome-file>
        <welcome-file>default.jsp</welcome-file>
        <welcome-file>htmlEditorWelcome.html</welcome-file>
    </welcome-file-list>
</web-app>
3. Project Deploy
Once we are ready with all the changes, let us compile and deploy the application on Tomcat7 server. In order to deploy the application on Tomcat7, Right-click on the project and navigate to Run as -> Run on Server.

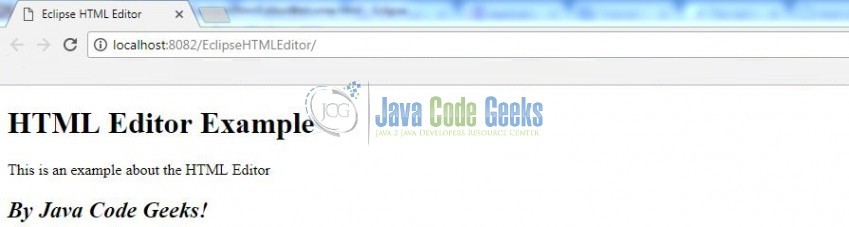
4. Project Demo
The result should look like the following.
That’s all for this post. Happy Learning!
5. Conclusion
In this article, we saw how to install an HTML Editor Plugin in Eclipse. We also discussed what HTML is and how we can easily create and edit an HTML file in Eclipse. There are other HTML Editor Plugins available in Eclipse but we chose this because it’s easy and powerful. You can try other plugins as well to see if they suit your requirements better.
6. Download the Eclipse Project
This was an example of Eclipse HTML Editor Plugin.
You can download the full source code of this example here: Eclipse HTML Editor Example
