Every Android device is provided with physical keys. In the wide variety of Android mobile devices, we may meet devices with three or four physical or virtual keys, however the default and most common pattern nowadays, are the three basic soft keys, which are the back button KEYCODE_BACK, the home button KEYCODE_HOME, and the menu button KEYCODE_MENU.
Android devices, in their vast majority, also have the VOLUME_UP and VOLUME_DOWN keys, for executing the basic sound functionality.
In this example, we are going to discuss how to catch the basic events of press and release of these keys, and how we can slightly change their basic functionality.
However, be careful each time you override the functionality of the back button action, and the functionality of all the hard buttons as well, as it is not suggested to change the Android default user experience. Android users expect certain behavior from certain buttons. This is the reason, why in the latest Android API versions, we are no more able to catch the KEYCODE_HOME key event, and the KEYCODE_MENU is only able to implement certain functionality.
But, let’s begin with our code! For our example will use the following tools in a Windows 64-bit or an OS X platform:
- JDK 1.7
- Eclipse 4.2 Juno
- Android SDK 4.4.2
Let’s take a closer look:
1. Create a New Android Application Project
You may skip project creation and jump directly to the beginning of the example below.
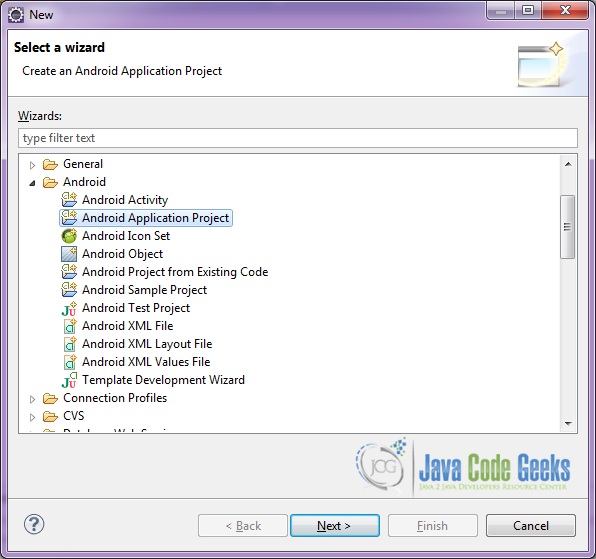
Open Eclipse IDE and go to File → New → Project → Android Application Project.
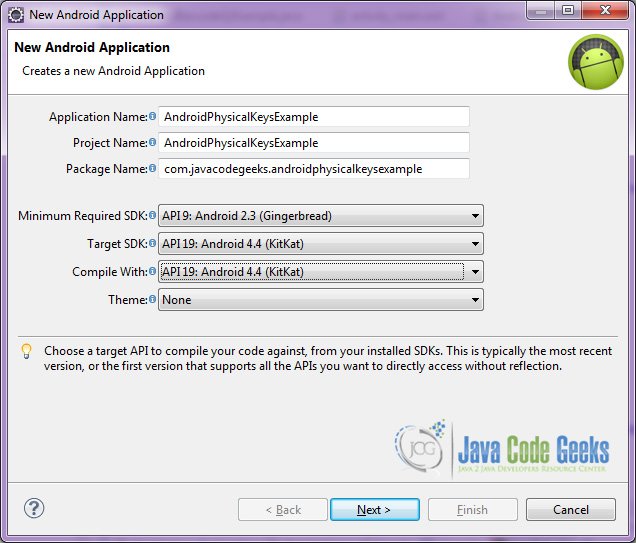
Specify the name of the application, the project and the package and then click Next.
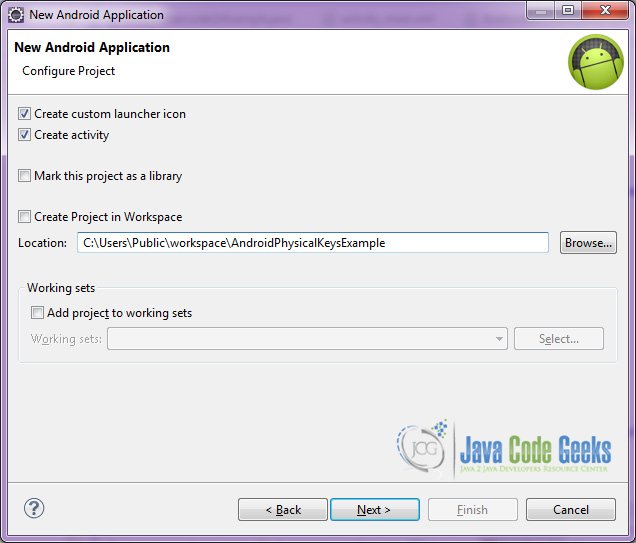
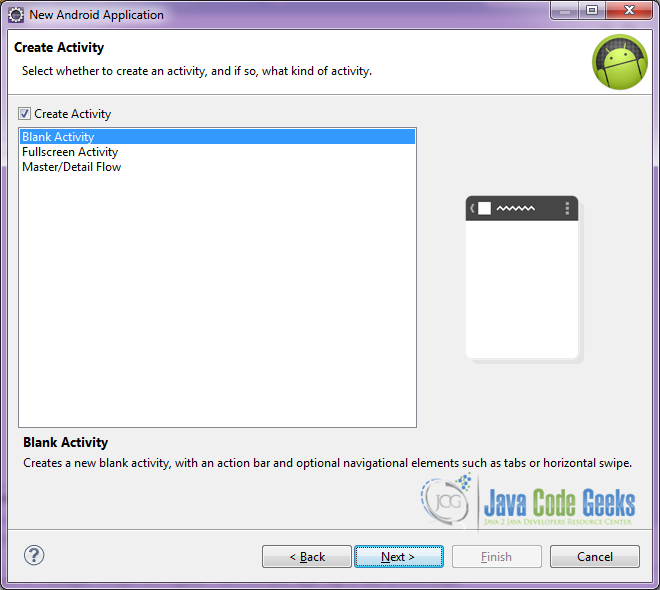
In the next window, the “Create Activity” option should be checked. The new created activity will be the main activity of your project. Then press Next button.
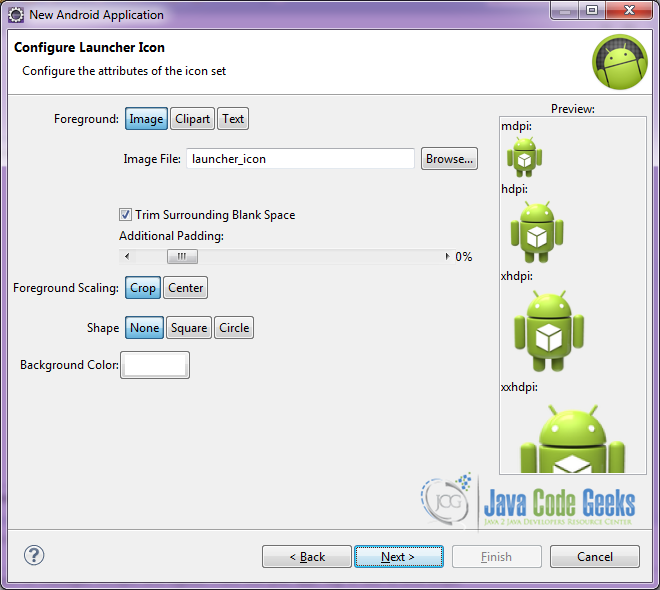
In “Configure Launcher Icon” window you should choose the icon you want to have in your app. We will use the default icon of android, so click Next.
Select the “Blank Activity” option and press Next.
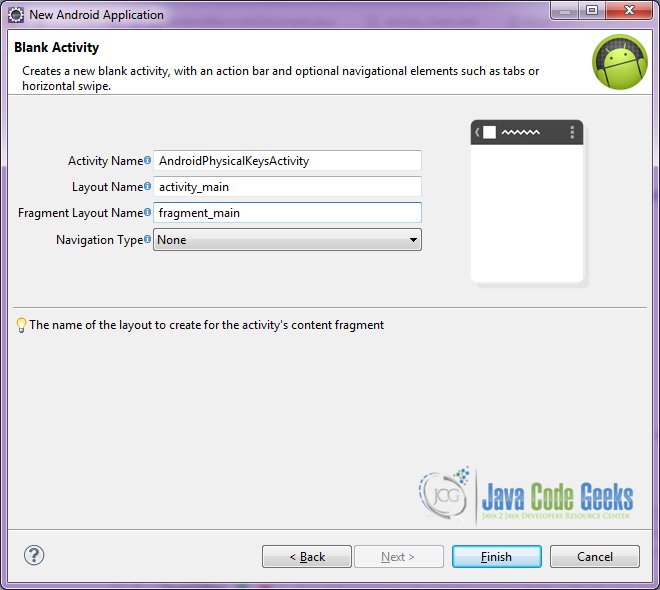
You have to specify a name for the new Activity and a name for the layout description of your app. The .xml file for the layout will automatically be created in the res/layout folder. It will also be created a fragment layout xml, that we are not going to use in this project and you can remove it if you want. Then press Finish.
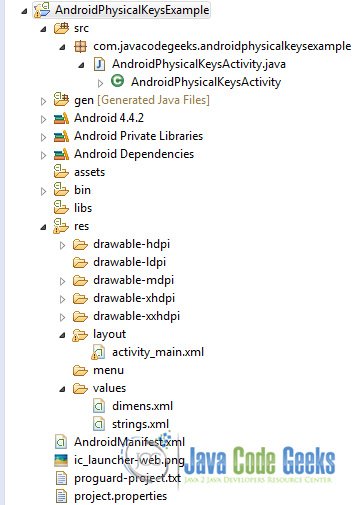
Here you can see, how will the structure of the project become when finished:
2. Creating the layout of the main AndroidPhysicalKeysActivity
We are going to make a simple layout xml for the AndroidPhysicalKeysActivity.class, that consists of a LinearLayout with vertical orientation, that includes two TextViews to help us visualize the actions done, when the physical keys are pressed.
Open res/layout/activity_main.xml, go to the respective xml tab and paste the following:
activity_main.xml
<LinearLayout xmlns:android="http://schemas.android.com/apk/res/android"
    xmlns:tools="http://schemas.android.com/tools"
    android:id="@+id/container"
    android:layout_width="match_parent"
    android:layout_height="match_parent"
    android:gravity="center"
    android:orientation="vertical"
    tools:context="com.javacodegeeks.androidphysicalkeysexample.AndroidPhysicalKeysActivity"
    tools:ignore="MergeRootFrame" >

    <TextView
        android:id="@+id/label"
        android:layout_width="wrap_content"
        android:layout_height="wrap_content"
        android:layout_gravity="center"
        android:text="Action:"
        android:textAppearance="?android:attr/textAppearanceLarge" />

    <TextView
        android:id="@+id/action"
        android:layout_width="wrap_content"
        android:layout_height="wrap_content"
        android:layout_gravity="center"
        android:textAppearance="?android:attr/textAppearanceLarge" />

</LinearLayout>
3. Creating the source code of the main AndroidPhysicalKeysActivity Activity
Open src/com.javacodegeeks.androidphysicalkeysexample/AndroidPhysicalKeysActivity.java file and paste the code below.

AndroidPhysicalKeysActivity.java
package com.javacodegeeks.androidphysicalkeysexample;

import android.app.Activity;
import android.os.Bundle;
import android.view.KeyEvent;
import android.view.MotionEvent;
import android.widget.TextView;
import android.widget.Toast;

public class AndroidPhysicalKeysActivity extends Activity {

	TextView actionLabel;
	int counter = 0;

	@Override
	public void onCreate(Bundle savedInstanceState) {
		super.onCreate(savedInstanceState);
		setContentView(R.layout.activity_main);
		actionLabel = (TextView) findViewById(R.id.action);
	}

	@Override
	// catches the onKeyDown button event
	public boolean onKeyDown(int keyCode, KeyEvent event) {

		switch (keyCode) {
		case KeyEvent.KEYCODE_BACK:
			actionLabel.setText("KEYCODE_BACK key pressed");
			Toast.makeText(this, "Press again back for exit", Toast.LENGTH_SHORT).show();
			counter++;
			if (counter > 1) {
				super.onBackPressed();
			}
			return true;
		case KeyEvent.KEYCODE_VOLUME_UP:
			actionLabel.setText("VOLUME_UP key pressed");
			return true;
		case KeyEvent.KEYCODE_VOLUME_DOWN:
			actionLabel.setText("VOLUME_DOWN key pressed");
			return true;
		}

		return super.onKeyDown(keyCode, event);
	}

	// catches the onKeyUp button event
	@Override
	public boolean onKeyUp(int keyCode, KeyEvent event) {
		switch (keyCode) {
		case KeyEvent.KEYCODE_BACK:
			actionLabel.setText("KEYCODE_BACK key released");
			return true;
		case KeyEvent.KEYCODE_VOLUME_UP:
			actionLabel.setText("VOLUME_UP key released");
			return true;
		case KeyEvent.KEYCODE_VOLUME_DOWN:
			actionLabel.setText("VOLUME_DOWN key released");
			return true;
		}
		return super.onKeyDown(keyCode, event);
	}

	// works for API level 5 and lower
	@Override
	public void onBackPressed() {
		actionLabel.setText("BACK key pressed");
		super.onBackPressed();
	}

	// catches the long press button event (longer than 2 seconds)
	@Override
	public boolean onKeyLongPress(int keyCode, KeyEvent event) {
		Toast.makeText(this, "Pressed for a long time", Toast.LENGTH_SHORT).show();
		return true;
	}

	// catches the on touch event on screen and shows the specific pixels
	// touched
	@Override
	public boolean onTouchEvent(MotionEvent event) {
		float x = event.getX();
		float y = event.getY();
		actionLabel.setText("Touch press on x: " + x + " y: " + y);
		return true;
	}
}
4. Android Manifest
The AndroidManifest.xml of our project is very very simple:
AndroidManifest.xml
<?xml version="1.0" encoding="utf-8"?>
<manifest xmlns:android="http://schemas.android.com/apk/res/android"
    package="com.javacodegeeks.androidphysicalkeysexample"
    android:versionCode="1"
    android:versionName="1.0" >

    <uses-sdk
        android:minSdkVersion="9"
        android:targetSdkVersion="19" />

    <application
        android:allowBackup="true"
        android:icon="@drawable/ic_launcher"
        android:label="@string/app_name" >
        <activity
            android:name="com.javacodegeeks.androidphysicalkeysexample.AndroidPhysicalKeysActivity"
            android:label="@string/app_name" >
            <intent-filter>
                <action android:name="android.intent.action.MAIN" />

                <category android:name="android.intent.category.LAUNCHER" />
            </intent-filter>
        </activity>
    </application>
</manifest>
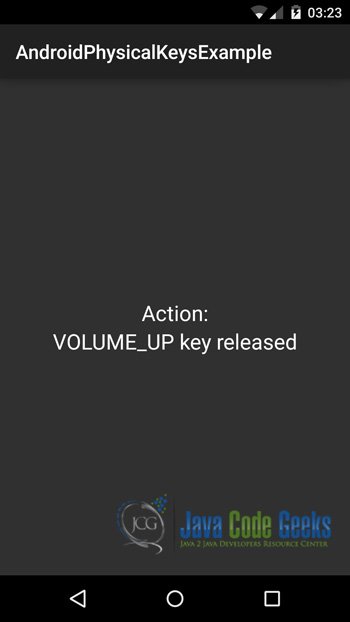
5. Build, compile and run
When we build, compile and run our project, the main AndroidPhysicalKeysActivity should look like this:

Download the Eclipse Project
This was an example of Android Physical Keys.
You can download the full source code of this example here: AndroidPhysicalKeysExample
