Today we ‘re gonna see how to create a Menu with icon items, which on click, fire a respective to them message. What differentiates this article from other similars, is that we ‘re using the latest Android APIs, where Menus are manipulated differently.
Having created an Android project, using the latest platform, gives us by default a menu layout, as we can see:
1. Introduction
For those who are more curious about what this contains, have a look at the menu.xml:
main.xml
<menu xmlns:android="http://schemas.android.com/apk/res/android"
    xmlns:app="http://schemas.android.com/apk/res-auto"
    xmlns:tools="http://schemas.android.com/tools"
    tools:context="com.javacodegeeks.android.menu.MainActivity" >

    <item
        android:id="@+id/action_settings"
        android:orderInCategory="100"
        android:title="@string/action_settings"
        app:showAsAction="never"/>

</menu>
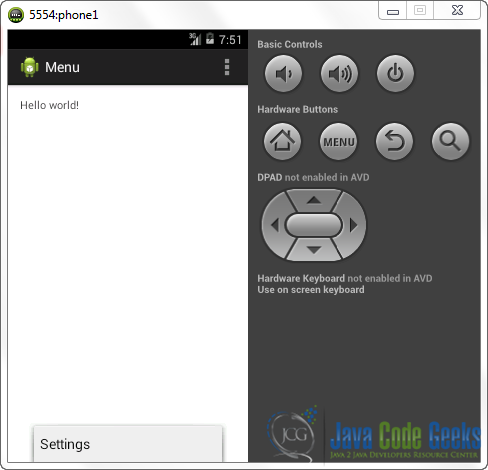
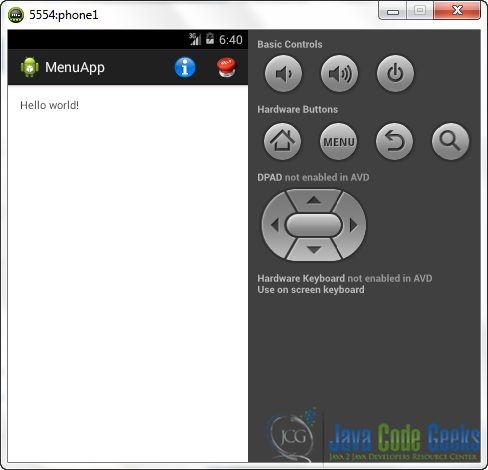
Let’s pretend that we don’t really know anything about menus, so when running the app on our emulator, if we press the hardware “Menu” button, we should get something like this:
That is, a menu tag defines a menu, while an item tag defines different menu ite elements (i.e “Help”, “About”, etc.).
Creating a custom menu in Android is very easy, so, don’t be afraid of the default code that we are provided from Eclipse. Regarding an item, we actually need to define 3 properties:
- An
id, which is useful to handle the action that we want our menu option to implement, when clicked. This can be done through a Java class. - An
icon, which has to lie under thedrawable(we also have to take care about dimensions, as it is a serious objective in Android; for more details, you can refer here). - A
title, which is the displayed text in our menuitem; this is about thetitleattribute we already know: it can be manipulated with both the “hardcoded” way (as we ‘ll show in this example) and through the storedstringsof our app.
Following the fore-mentioned guidelines, we have everything we need, in order to create a menu whom’s items have icons attached on them. Well, not exactly, please take a look here. That is, the above guidelines support our development if only our application targets Android 2.3 or lower.
But here, we deal with the latest Android API (that’s why we ‘re getting by default the marked lines in main.xml; please consider the following article, too) and what does this mean, is that the dashed line in the right of our ActionBar represents the latest functionality of a menu; so, on click, its reaction is same as by pressing the hardware “Menu” button.
So, before jumping to the full example, here is the list of tools that we ‘ll use:
For the need of this example, we will use the following tools in a Windows 64-bit platform:
- JDK 1.7
- Eclipse 4.4 Luna
- Android SDK 4.4
You may skip project creation and jump directly to the beginning of the example below.
2. Creating a New Android Application Project
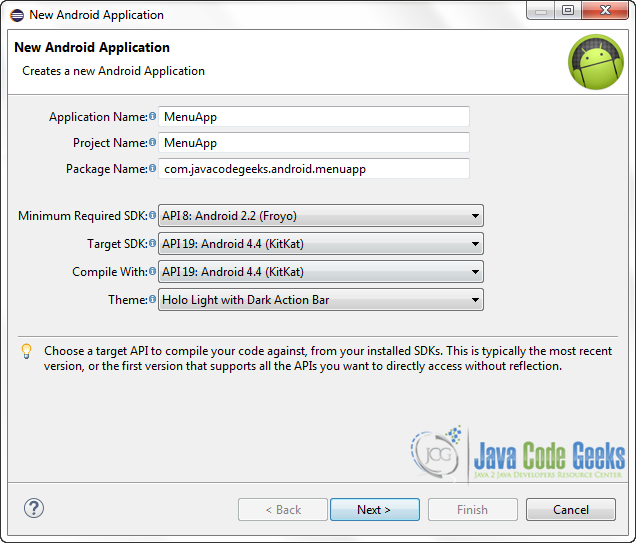
Open Eclipse IDE and go to File → New → Project → Android Application Project.
Fill in the name of the application, the project and the package in the appropriate fields and then click Next.
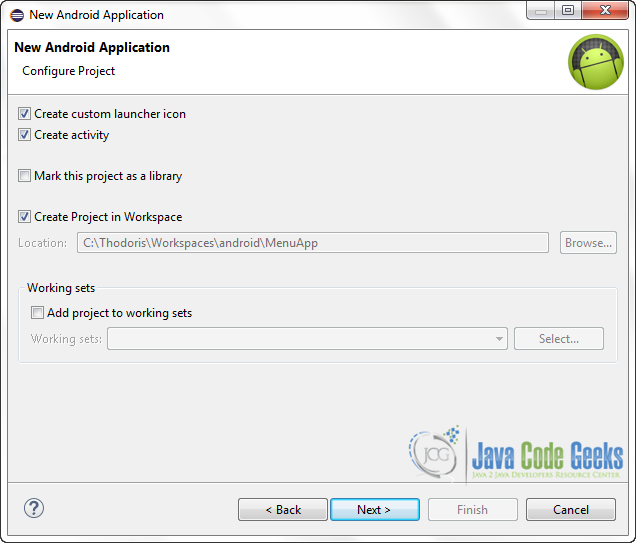
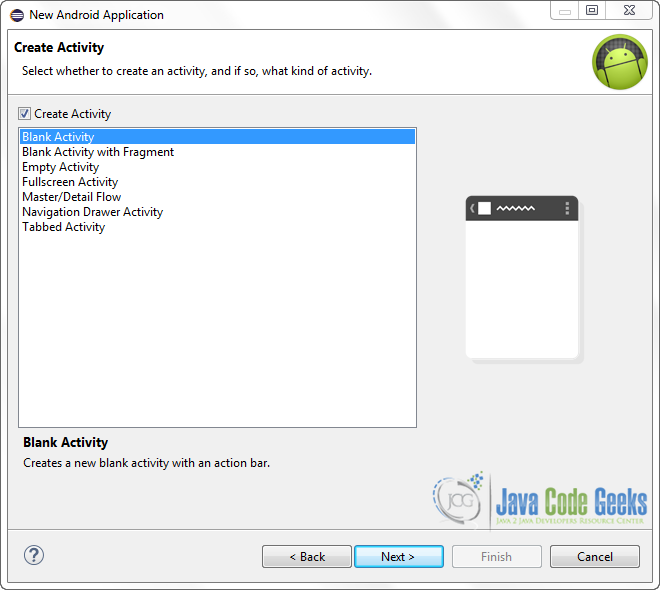
In the next window, the “Create Activity” option should be checked. The new created activity will be the main activity of your project. Then press Next button.
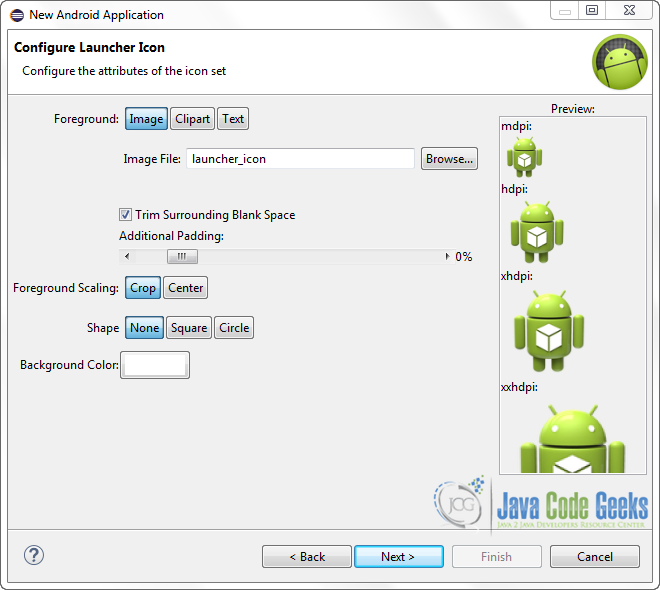
In “Configure Launcher Icon” window you should choose the icon you want to have in your app. We will use the default icon of android, so click Next button.
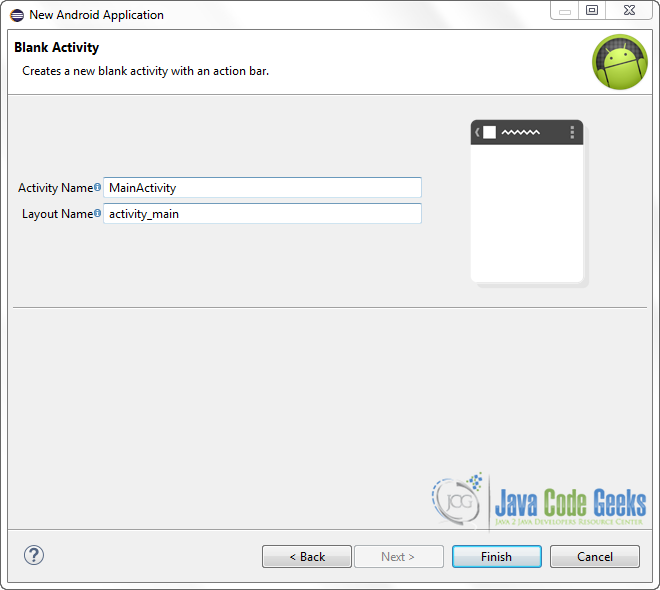
Select the “Blank Activity” option and press Next.
You then have to specify a name for the new Activity and a name for the layout description of your app. The .xml files for the layout will automatically be created in the res/layout folder. Finally, press Finish.
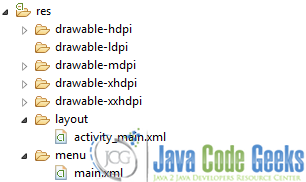
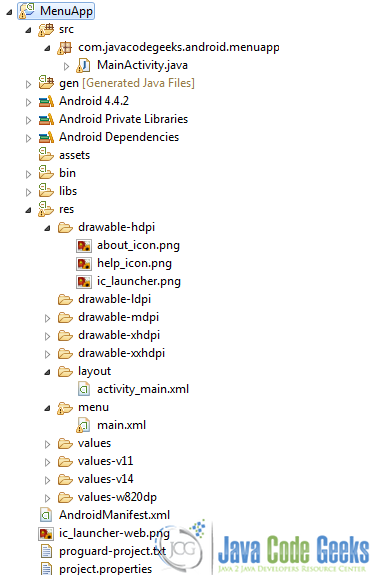
Here is the very final structure of the project, just in case you ‘ll miss something, while developing:
3. Creating the layout of our Menu
As we deal with menus in this example, I ‘ll just leave the default TextView provided/generated by the IDE, as is.

Let’s do it by opening res/menu/main.xml and navigating to the respective xml tab and paste the following.
main.xml
<menu xmlns:android="http://schemas.android.com/apk/res/android"
    xmlns:app="http://schemas.android.com/apk/res-auto"
    xmlns:tools="http://schemas.android.com/tools"
    tools:context="com.javacodegeeks.android.menu.MainActivity"
    xmlns:custom="http://schemas.android.com/apk/res-auto">

    <item android:id="@+id/about"
		android:icon="@drawable/about_icon"
		android:title="About"
		app:showAsAction="always"/>

	<item android:id="@+id/help"
		android:icon="@drawable/help_icon"
		android:title="Help"
		app:showAsAction="always"/>

</menu>
That is, we want both of our menu items to be displayed as icons in the action bar, so we have to configure our menu, by considering the highlighted lines.
At this point, a possible question could be relative to the source of our test icons and the quick adjustment of them in our project. To get things easier, I’m always using this site, when I have to find an icon/image for an application that I’m developing; every resource there is completely free and you have the right to use it wherever you want.
We also have to provide ids to our menu items, in order to make them accesible through a Java class; i.e. we want to show a Toast, each time the user interacts with one of them.
4. Coding the Main Activity
Let’s first navigate to src/com.javacodegeeks.android.menuapp/MainActivity.java. Next, complete the class like this:
MainActivity.java
package com.javacodegeeks.android.menuapp;
import android.os.Bundle;
import android.support.v7.app.ActionBarActivity;
import android.view.Menu;
import android.view.MenuItem;
import android.widget.Toast;
public class MainActivity extends ActionBarActivity {
@Override
protected void onCreate(Bundle savedInstanceState) {
super.onCreate(savedInstanceState);
setContentView(R.layout.activity_main);
}
@Override
public boolean onCreateOptionsMenu(Menu menu) {
// Inflate the menu; this adds items to the action bar if it is present.
getMenuInflater().inflate(R.menu.main, menu);
return true;
}
@Override
public boolean onOptionsItemSelected(MenuItem item) {
// Handle action bar item clicks here. The action bar will
// automatically handle clicks on the Home/Up button, so long
// as you specify a parent activity in AndroidManifest.xml.
int id = item.getItemId();
switch (id) {
case R.id.about:
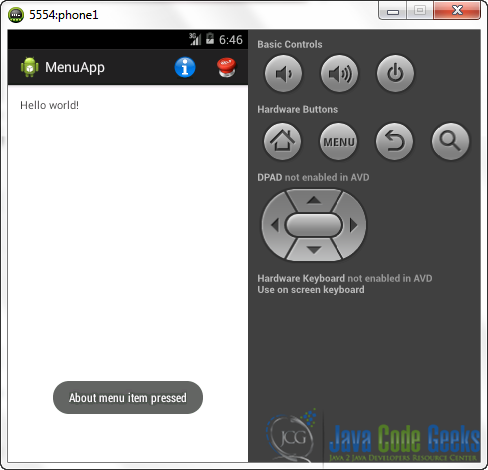
Toast.makeText(getApplicationContext(), "About menu item pressed", Toast.LENGTH_SHORT).show();
break;
case R.id.help:
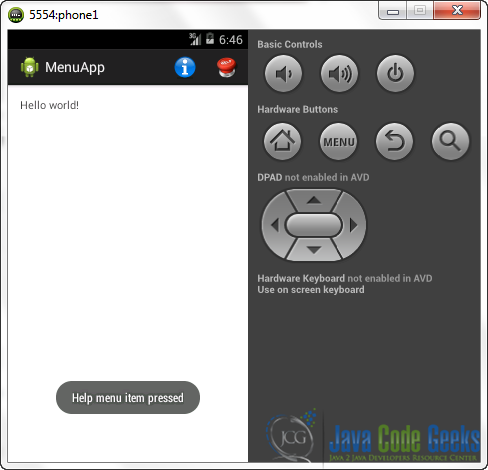
Toast.makeText(getApplicationContext(), "Help menu item pressed", Toast.LENGTH_SHORT).show();
break;
}
return super.onOptionsItemSelected(item);
}
}
Here, an ActionBar element exists, so, line’s 20 execution will add the menu.xml items to our action bar.
Having set our initial view of our app, we then have to set a listener, in order to make our app interactive in each menu’s item tap – a simple message, relative to the item clicked. This can be done by overriding the existing onOptionsItemSelected method (you can find more details about the realtionship of it with a Menu, in the “Handling click events” section of the official documentation).
5. Running the application
Let’s first tap the blue button and then the red one!
6. Download the Eclipse Project
This was an example of Menu in Android.
You can download the full source code of this example here : MenuApp.zip
